

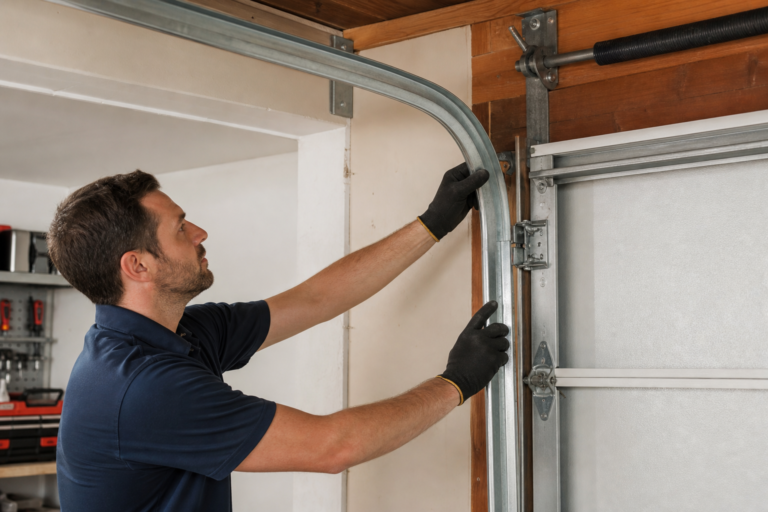
If your garage door track is bent or misaligned, you’re dealing with one of the most reported garage issues. Climate, age, and usage all play a role, but the root causes fall into a surprisingly short list.
This troubleshooting guide covers each possibility with clear explanations and actionable fixes. By the end, you’ll have the problem solved or know exactly what to tell a technician.
Understanding the Basics
Start troubleshooting by disconnecting the opener (pull the red emergency release cord) and testing the door by hand. If it moves smoothly and holds at the halfway point, the mechanical system is fine and the problem is in the opener or electronics. If the door is heavy or drifts, suspect the springs and consider our guide on fixing garage door balance issues for detailed spring diagnostics.
A garage door system includes panels, tracks, rollers, springs (torsion or extension), cables, hinges, weatherstripping, and the opener with its motor, drive mechanism, and safety sensors. When symptoms appear, the root cause isn’t always in the most obvious component.
Tracks typically run vertically along each side of the door opening, then curve to horizontal along the garage ceiling. The vertical section takes the most abuse because that’s where impact happens. That’s also where temperature cycling hits hardest if your garage isn’t climate-controlled.
Steel expands and contracts, mounting brackets loosen, and alignment shifts over time. Rollers ride inside the track channel. Standard tracks are 2 inches wide with a 1-inch depth.
If the track narrows or bends inward even a quarter-inch, rollers bind. If it bends outward, rollers can derail entirely. Either scenario puts uneven load on the opener motor, wears down roller bearings, and stresses the door panels themselves.
Lubrication is the cheapest, most effective maintenance. Apply white lithium grease or silicone-based lubricant to hinges, rollers (unless sealed nylon), spring coils, and track contact points every 6 months. Skip WD-40 for this; it’s a solvent that displaces moisture but doesn’t provide lasting lubrication.

Garage Door Track Roller Lubricant
Proper lubrication reduces friction and extends component life significantly
Proper lube reduces friction, quiets operation, and extends component life by years.
Recognizing the Signs
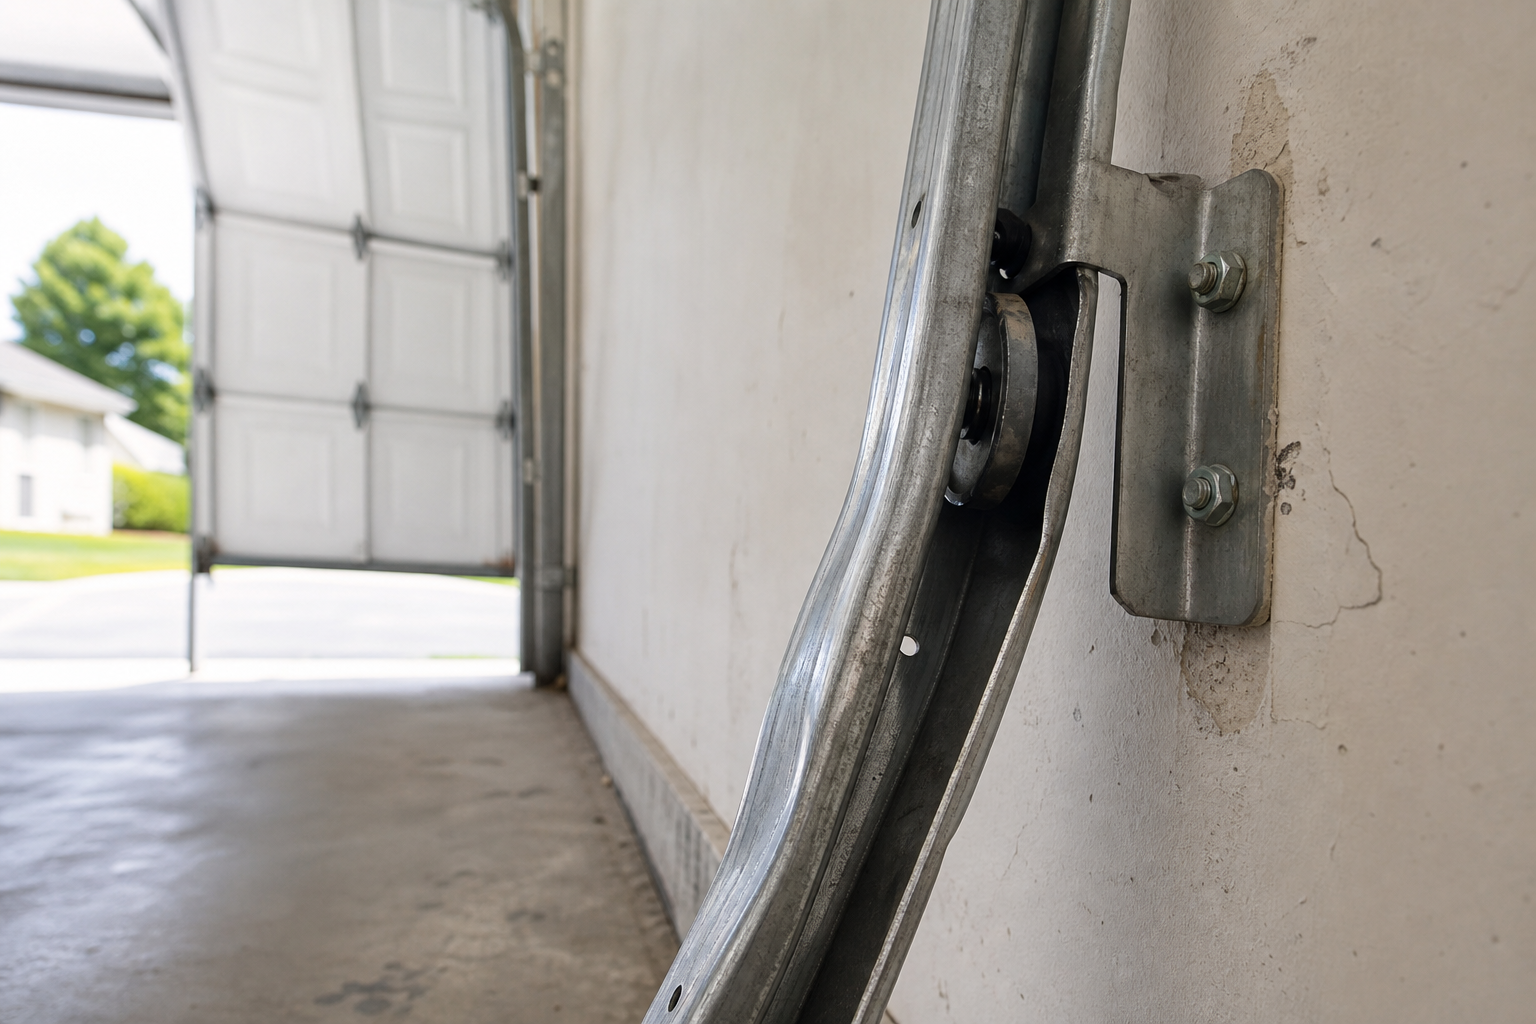
The most obvious symptom is visible misalignment. Stand inside the garage with the door closed. Look at the gap between the track and the rollers on both sides.
It should be consistent, top to bottom. If one side shows more daylight than the other, or if the rollers are pressed hard against one edge of the track channel, the track is out of plumb. This often manifests as an uneven or crooked door that appears tilted during operation.
Binding during operation is the next clue. The door hesitates or jerks at a specific point in its travel, usually in the vertical section. That hesitation is a roller hitting a bent spot or a narrowed section of track. Keep operating the door like this and you’ll wear flat spots on the rollers, which makes the problem worse.
Scraping or grinding sounds point to metal-on-metal contact. Rollers should turn smoothly inside the track. If you hear scraping, either the roller bearing has failed or the track has crimped inward enough to pinch the roller. Both need fixing before the roller shatters or the shaft bends.
Gaps between rollers and the track when the door is stationary indicate the track has pulled away from the wall or twisted. This usually happens at the mounting brackets. A loose bracket allows the track to shift under the door’s weight, and once it shifts, stress concentrates at that point.
If the door won’t stay in place when you release it halfway, springs are the issue, not tracks. But if the door sticks at one height and requires force to move past that point, you’re looking at a track obstruction or bend.
Common Causes of Track Damage
Impact from a vehicle is the leading cause. You back out too fast, misjudge the clearance, and clip the bottom of the vertical track with a bumper or trailer hitch. Even a low-speed tap can bend the track inward or knock a mounting bracket loose.
Heavier vehicles do more damage, but even a riding mower can bend a track if it catches the corner.
Loose mounting brackets develop over time. The bolts that secure the track to the wall or ceiling framing work loose from vibration. Each cycle of the door creates a tiny amount of movement. After thousands of cycles, that movement adds up.
The track sags, twists, or pulls away from the wall. This happens faster in garages that aren’t framed well or where the installer skipped lag screws in favor of smaller fasteners.
Worn or seized rollers put uneven stress on the track. When a roller stops turning freely, it drags instead of rolling. That drag pulls the track in the direction of travel, bending it over time.
Nylon rollers last longer and run quieter than steel, but both types eventually wear out. If your door is ten years old and the rollers have never been replaced, they’re due.
Improper installation shows up as misalignment from day one, but it gets worse with use. If the installer didn’t plumb the vertical sections or didn’t level the horizontal runs, the door binds from the start. Over time, that constant binding bends the track at the stress points.
Foundation settling affects track alignment in older homes. The garage wall shifts a fraction of an inch as the slab settles or frost heaves the foundation. That shift pulls the bottom track bracket out of alignment with the top bracket. The track isn’t bent, but it’s no longer vertical, which has the same effect on door operation.
Diagnosing the Problem
Close the door and inspect both vertical tracks from the inside. Use a carpenter’s level held against the track face. It should read plumb (perfectly vertical). Check at three points: bottom, middle, and where the curve starts.
If the level shows the track leaning in or out, note the location and the degree of tilt.
Next, check the horizontal sections. With the door open, place the level on top of each horizontal track. Both sides should read level. If one side is higher than the other, the door will twist as it travels, which accelerates wear and can eventually jam the door.
Measure the track spacing. Use a tape measure to check the distance between the two tracks at the bottom, middle of the vertical section, and at the back of the horizontal run. All three measurements should match within a quarter-inch. Wider spacing at one point means a bracket has shifted or the track is pulling away.
Examine each mounting bracket. Wiggle it by hand. There should be zero movement. If the bracket shifts even slightly, the fasteners have loosened or the framing behind the drywall has deteriorated.
Check whether the installer used lag screws into solid wood or toggle bolts into block. Drywall anchors alone won’t hold a garage door track under load.
Inspect the track interior for dents, crimps, or debris. Run your hand along the inside of the channel. You’ll feel any spot where the metal has creased inward. Small dents (less than an eighth-inch deep) usually don’t cause problems. Anything deeper will catch the rollers.
Look at the rollers themselves. They should spin freely when you turn them by hand. If a roller is stiff, rusted, or cracked, it’s contributing to the problem even if the track looks fine. Roller stems should be straight. A bent stem means the door took a hard impact at some point.
Repairing Minor Bends
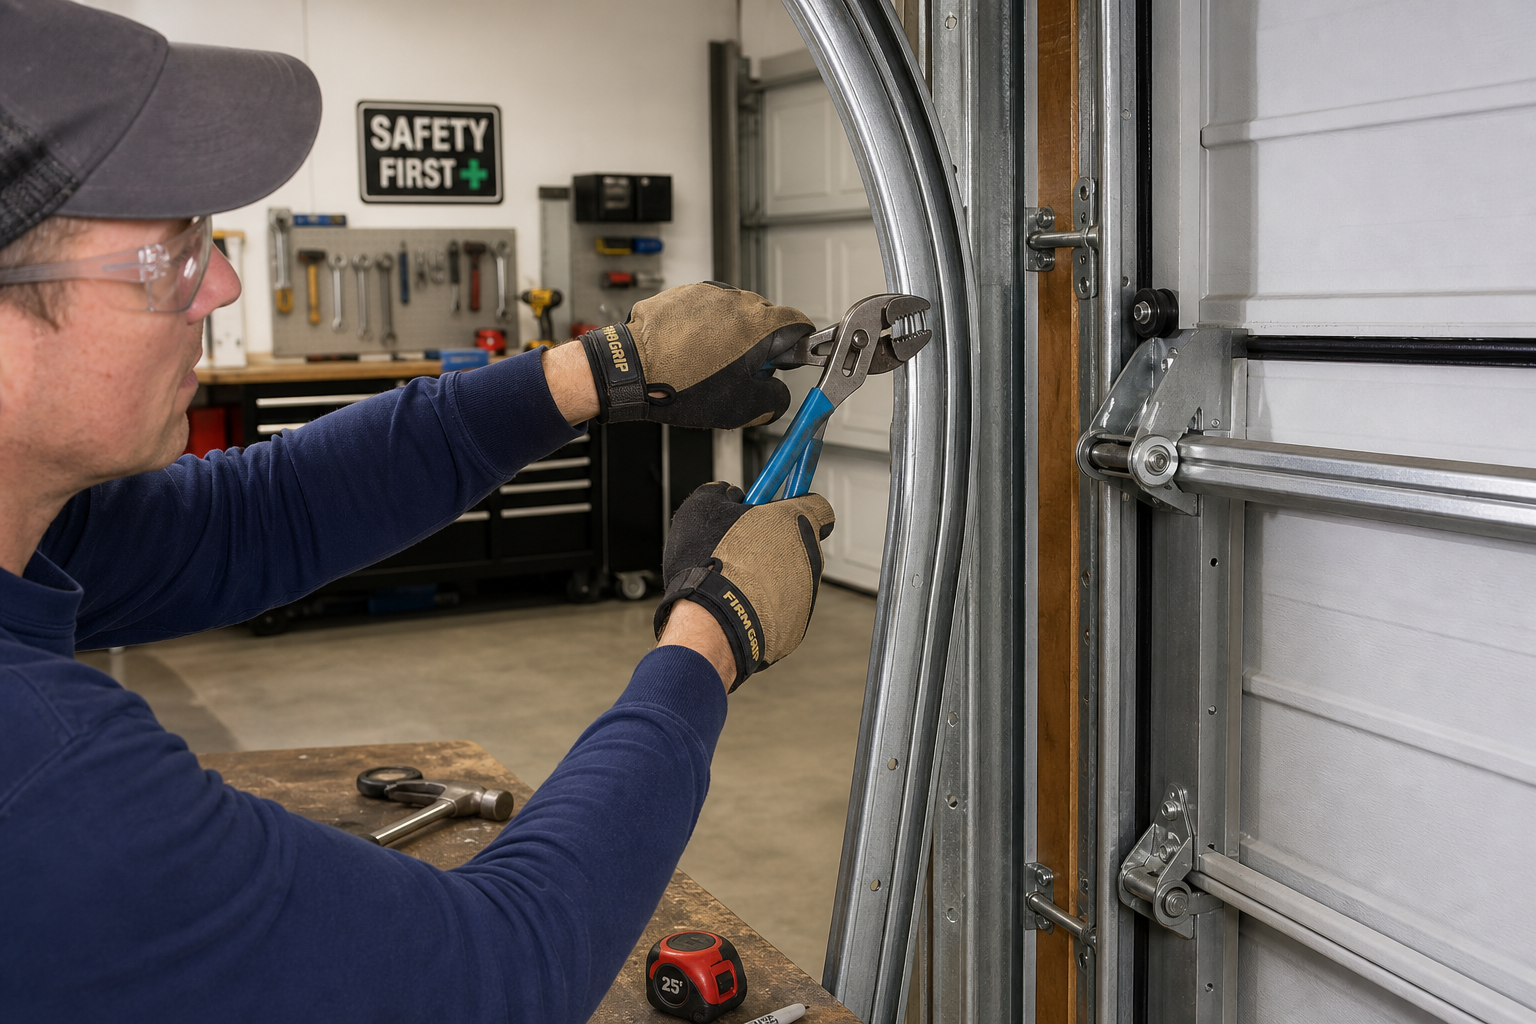
For a shallow dent in the vertical track (under a quarter-inch deep), you can often work it out with locking pliers and a rubber mallet. Clamp the pliers onto the raised edge of the dent from the outside of the track. Gently tap the pliers with the mallet to push the metal back into shape.
Work slowly. Overcorrecting creates a new bend in the opposite direction.
A small outward bend can be tapped back into place. Position a wood block against the bulge on the outside of the track. Tap the block with a hammer to push the metal inward. Check your progress every few taps. Stop when the track face is flush again.
If the track has twisted, loosen the mounting brackets slightly (don’t remove them). Twist the track back to plumb using a pipe wrench on the track rail. Once it’s aligned, re-tighten the brackets. This works only if the twist is minor and the brackets are still solidly anchored.
For bends near a bracket, sometimes the fix is just re-positioning the bracket. Loosen the bolts, shift the bracket up or down a few inches to a spot where the track is still straight, then secure it with new lag screws into fresh wood. This redistributes the load and removes stress from the damaged section.
After any repair, test the door by hand. It should move smoothly through the full range of travel with no binding. If you still feel resistance, either the repair didn’t go far enough or there’s a second problem elsewhere in the track.
When to Replace the Track Section
Deep creases (over half an inch) won’t straighten reliably. The metal has work-hardened at the bend point, making it brittle. You might get it visually straight, but it’ll fail under load. Replace the section.
Cracks or tears in the track metal mean immediate replacement. A crack will propagate with each door cycle until the track splits completely. Operating a door on a cracked track is a safety risk.
If the track is heavily rusted, especially at the bottom where moisture collects, replacement is the safer move. Surface rust is cosmetic, but if rust has pitted the metal or flaked away material, the track has lost structural integrity.
Tracks that have been bent and straightened multiple times are on borrowed time. The metal fatigues with each bend. If this is the second or third time you’re fixing the same section, invest in a new track.
Track sections are sold individually, so you don’t need to replace the entire system unless both sides are damaged. Measure the old track carefully (height, width, and gauge) before ordering. Garage door tracks aren’t universal. A 7-foot-high door uses different tracks than an 8-foot door, and residential tracks differ from commercial-grade.
Replacing a track section requires two people. You’ll need to support the door weight while removing the old track, which means propping the door or disconnecting the springs (a job best left to a pro unless you know what you’re doing with torsion springs). If you’re not comfortable with this, hire it out. Spring-related injuries are serious.
Fixing Loose or Shifted Brackets
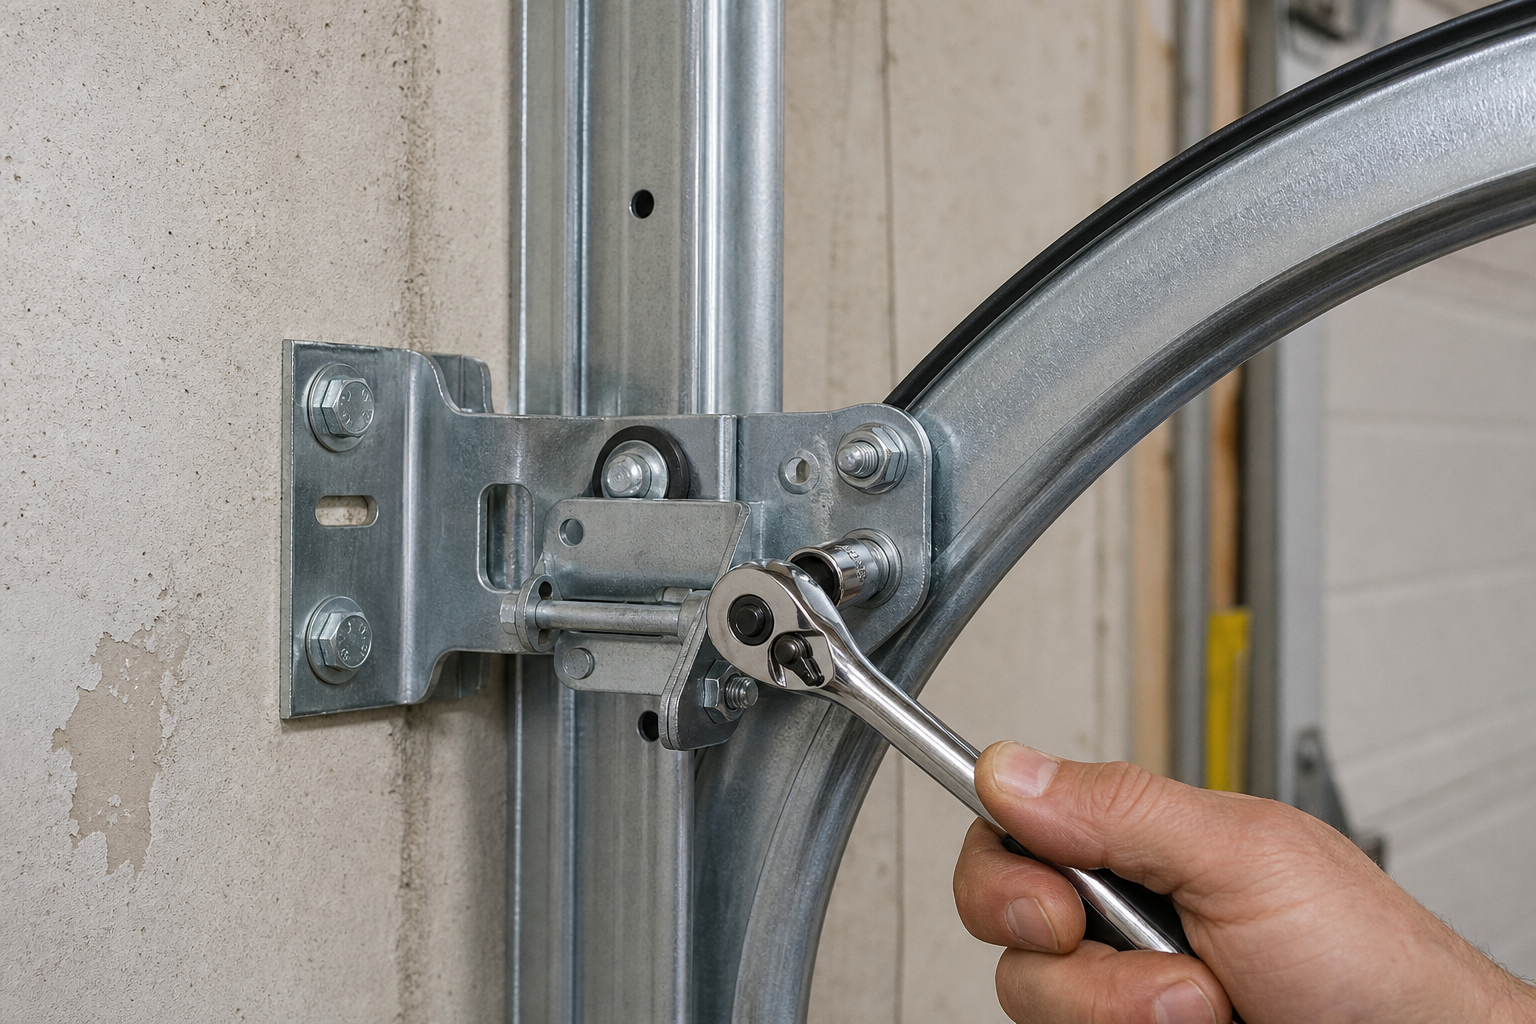
Tighten all bracket bolts with a socket wrench. Most track brackets use 3/8-inch or 7/16-inch bolts. Snug them firmly, but don’t overtighten to the point of deforming the bracket.
If a bolt spins without tightening, the anchor behind it has failed.
For brackets mounted to wood framing, replace any stripped holes with new lag screws in fresh wood. Drill a pilot hole slightly smaller than the lag screw diameter, then drive the screw with a ratchet. If the original hole is stripped, move the bracket an inch in any direction to access solid wood.
Brackets mounted to concrete block or poured walls need proper concrete anchors. Sleeve anchors or wedge anchors rated for the door’s weight are the right choice. Toggle bolts work in block voids but not in solid concrete.
If you’re unsure what’s behind the wall, drill a test hole. You’ll know immediately whether you hit block, concrete, or just drywall.
If the bracket itself is bent or cracked, replace it. Brackets are inexpensive and available at any hardware store or garage door supplier. Bring the old one along to match the hole pattern.
After tightening or replacing brackets, re-check the track alignment with a level. Bracket movement often throws the track out of plumb, so you may need to loosen, adjust, and re-tighten to get everything square again.
Addressing Roller Issues
Worn rollers create uneven drag that bends tracks over time. Replace rollers in sets (both sides of the door, all sections) so wear stays even. Nylon rollers with sealed bearings are the upgrade. They’re quieter, last longer, and reduce strain on the opener motor.
To replace a roller, you’ll remove the hinge (
