

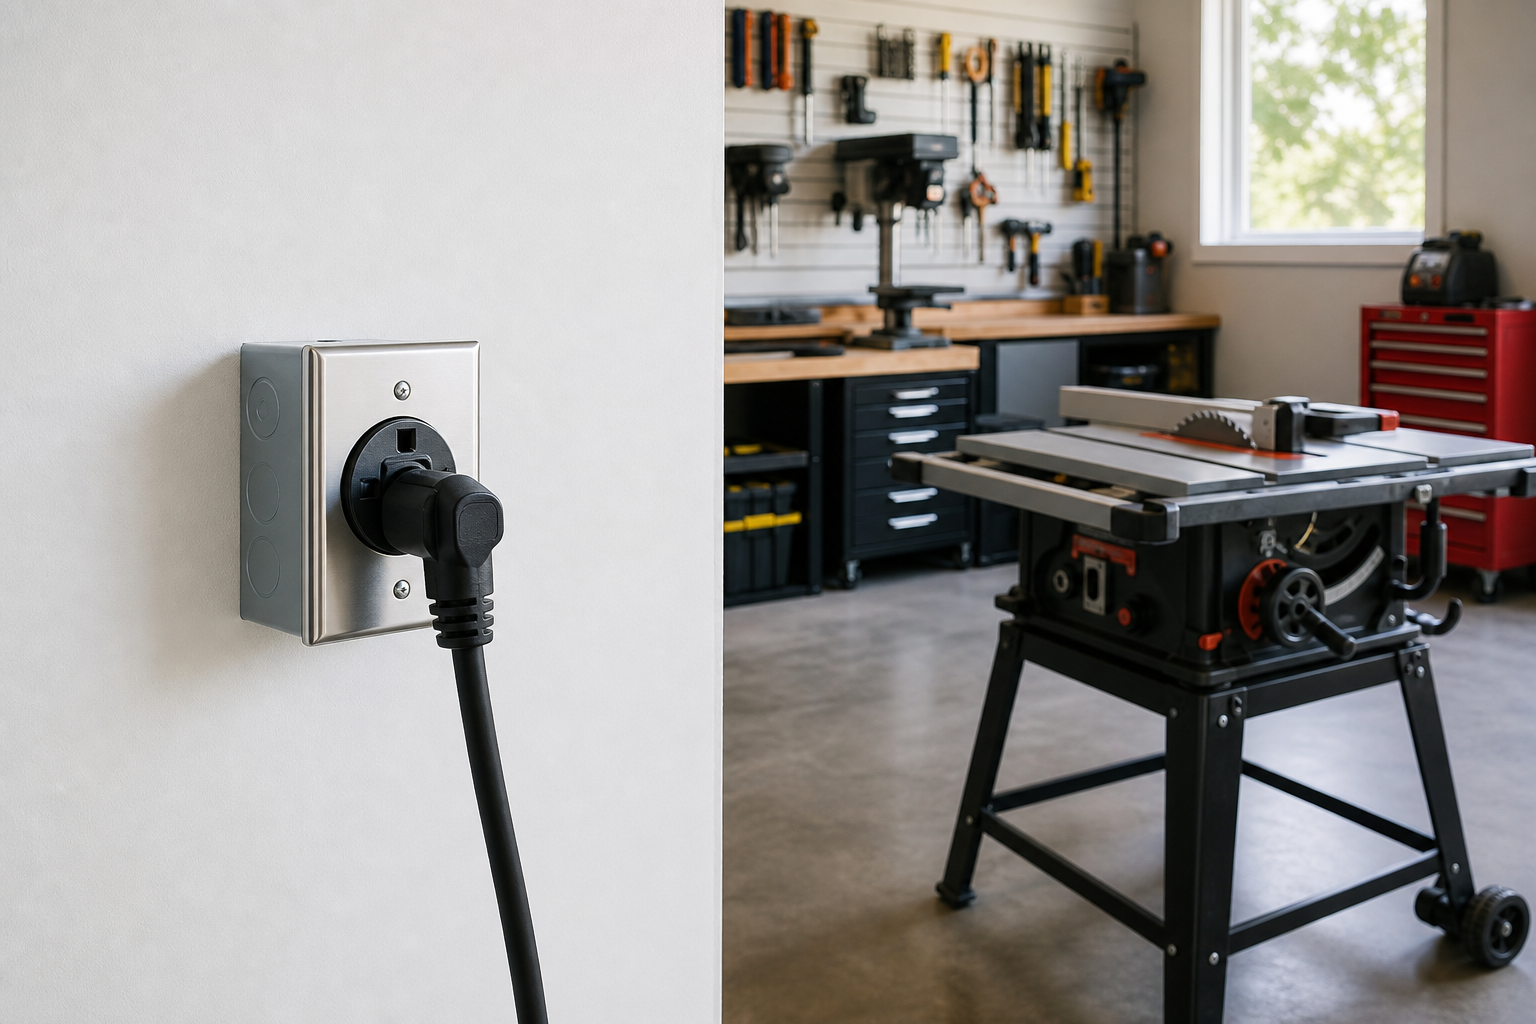
Whether you’ve been planning to add a 240V outlet in your garage for power tools for months or decided to tackle it this weekend, a clear roadmap makes all the difference. Preparation accounts for about 80% of the success in projects like this.
Everything you need is below: tools, materials, step-by-step instructions, and the common pitfalls to avoid.
Understanding the Basics
GFCI protection is code-required for all garage outlets. These devices trip at small current leaks, preventing electrocution in damp conditions. In garages, trips can be caused by moisture, cold temperatures, or brief startup surges from motor-driven tools.
240V circuits (for welders, compressors, EV chargers) use thicker wire (10 AWG for 30A, 6 AWG for 50A) and double-pole breakers. Installation typically requires a permit and licensed electrician unless you have substantial electrical experience.
A 20-amp, 120V circuit safely delivers about 1,920 watts continuously (80% of 2,400W max). If your table saw pulls 1,800 watts and the shop vac draws 1,200 watts, they can’t run on the same circuit simultaneously without tripping the breaker.
Why 240V Matters for Shop Equipment
Most residential garage circuits run at 120 volts. That’s fine for drills and sanders, but inadequate for larger stationary tools. A 240V circuit delivers twice the voltage at the same amperage, which means roughly double the power without requiring heavier wiring than a comparable 120V high-amp circuit.
Concrete example: a 240V, 30-amp circuit provides 7,200 watts of capacity. A 120V circuit would need 60 amps to match that, requiring much thicker wire and a substantially larger breaker. The 240V approach is cleaner, safer, and code-compliant.
Big compressors (5 HP and up), cabinet table saws, welders pulling 40+ amps at startup, and Level 2 EV chargers all benefit from or require 240V. If you’re running equipment that bogs down on startup or trips breakers frequently, voltage is likely the issue.
Wire Gauge and Amperage Matching
Wire thickness must match circuit amperage. Too thin and the wire overheats under load. Too thick wastes money but creates no safety issue.
For 30-amp circuits: 10 AWG copper wire. This handles most air compressors, smaller welders, and basic EV chargers.
For 50-amp circuits: 6 AWG copper wire. Required for larger welders, plasma cutters, and faster EV chargers (40-amp continuous draw).
Aluminum wire is allowed by code but requires one gauge size larger (8 AWG for 30A, 4 AWG for 50A) and special connectors. Most homeowners stick with copper for simplicity and better conductivity.
Run length matters. Wire longer than 100 feet may need upsizing to compensate for voltage drop. A 150-foot run at 30 amps benefits from 8 AWG instead of 10 AWG to keep voltage loss under 3%.

10 AWG Electrical Wire
Quality wire makes a noticeable difference in electrical installations
Permit Requirements
Most jurisdictions require permits for new 240V circuits. Permit fees typically run competitively priced to competitively priced. Inspection confirms proper wire sizing, breaker matching, GFCI protection, and grounding. Skipping the permit creates liability when selling your home and voids most homeowner’s insurance if a fire starts from unpermitted electrical work.
Check specific requirements before purchasing materials. Some areas allow homeowner installs if you pass the same exam electricians take. Others require licensed contractors for anything beyond replacing an outlet. Call your local building department or check their website for homeowner electrical permit rules.
Inspection timing varies. Some inspectors want to see the wire run before you close up walls. Others inspect only the finished panel and outlet. Clarify scheduling when you pull the permit.
If this is your first project of this type, budget 50% more time than guides suggest. The learning curve is real, and careful work produces better results than rushing to meet an estimated timeline.
What Inspectors Check
Inspectors verify wire gauge matches breaker size. A 30-amp breaker on 12 AWG wire (rated for 20 amps) fails immediately. They check stapling intervals (NM cable must be secured every 4.5 feet and within 12 inches of boxes), proper cable clamps at the panel, and correct torque on breaker connections.
GFCI protection gets close scrutiny in garages. Inspectors test the device to confirm it trips within spec. They verify the outlet is appropriately rated (GFCI breaker or GFCI receptacle, not both).
Grounding continuity is non-negotiable. Every box, receptacle, and appliance must tie back to the grounding bus in the panel. Missing or loose grounds are the most common inspection failure.
Running Wire from the Panel
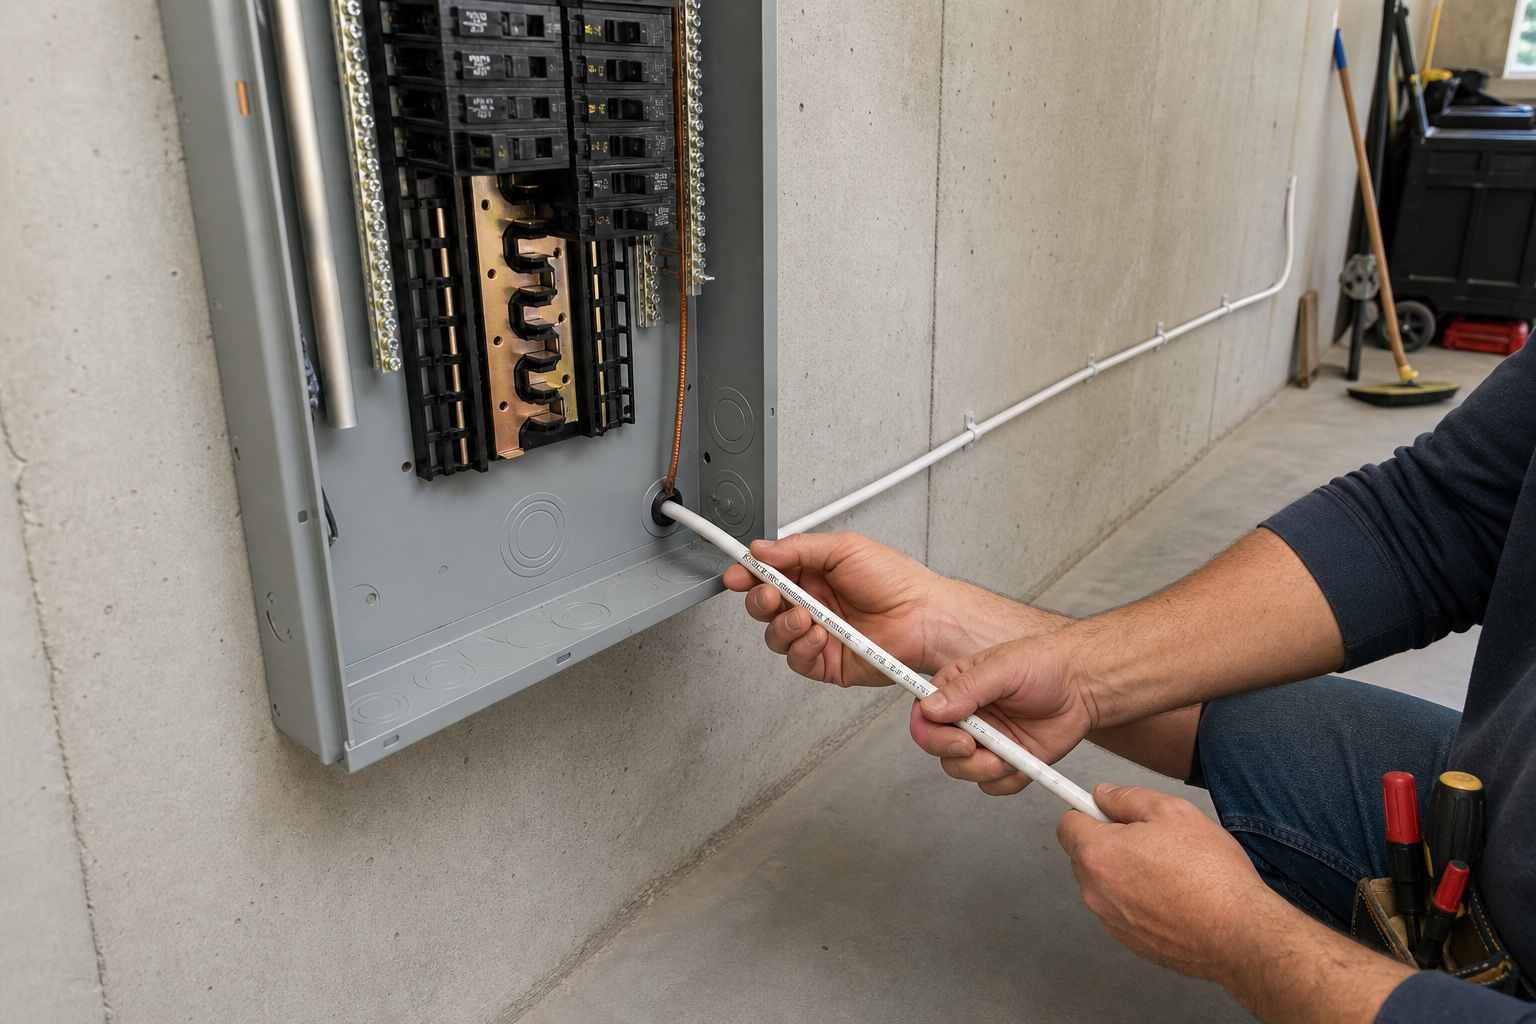
Start at the panel. Confirm you have open slots for a double-pole breaker. A 30-amp breaker occupies two adjacent spaces. If your panel is full, you’ll need tandem breakers (if allowed by the panel manufacturer) or a subpanel.
Turn off the main breaker before opening the panel cover. Verify power is off with a non-contact voltage tester. The main lugs at the top of the panel stay energized even with the main breaker off, so avoid that area.
Before planning your outlet installation, it’s essential to measure your garage space properly to determine optimal outlet placement that won’t interfere with future cabinet, rack, or door installations.
Routing the Cable
NM cable (Romex) is legal in most garages unless local code requires conduit. Romex is faster and cheaper. Conduit offers better physical protection and easier future upgrades (you can pull new wire without opening walls).
For exposed Romex runs: staple the cable to studs or joists every 4.5 feet and within 12 inches of any box. Avoid sharp bends. Radius should be at least five times the cable diameter. Don’t staple so tight you crush the sheathing.
Through-wall drilling: use a 3/4-inch spade bit for 10 AWG cable, 1-inch for 6 AWG. Drill through the center of studs to avoid weakening them. Install nail plates over holes in studs less than 1.25 inches from the edge to prevent drywall screws from piercing the cable later.
If running conduit: use 3/4-inch EMT (electrical metallic tubing) for 10 AWG, 1-inch for 6 AWG. Secure conduit every 6 feet and within 3 feet of boxes. Pull individual THHN wires (black, white, green or bare) through the conduit instead of sheathed cable.
Avoid running wire parallel to plumbing or HVAC ducts for long distances. Magnetic fields from AC current can cause interference. Cross them at 90-degree angles when necessary.
Connecting at the Panel
Strip 6 inches of outer sheathing from the cable. Leave individual wire insulation intact. Secure the cable to the panel with an approved clamp (usually a snap-in plastic clamp for panels with knockouts sized for NM cable).
Connect the bare or green ground wire to the grounding bus bar (the bar with all the bare copper wires and green screws). Connect the white neutral to the neutral bus (all white wires, silver screws). In main panels, ground and neutral buses are bonded together. In subpanels, they’re separate.
Connect the black and red hot wires to the double-pole breaker. Most breakers have set-screw terminals. Strip 5/8 inch of insulation, insert the wire fully, and tighten the screw until snug. Tug the wire to confirm it’s seated.
Snap the breaker into the panel. Double-pole breakers clip onto both bus bars simultaneously, providing 240 volts across the two hot legs.
Leave the new breaker off until the outlet end is wired and inspected.
Outlet Types and Receptacle Selection
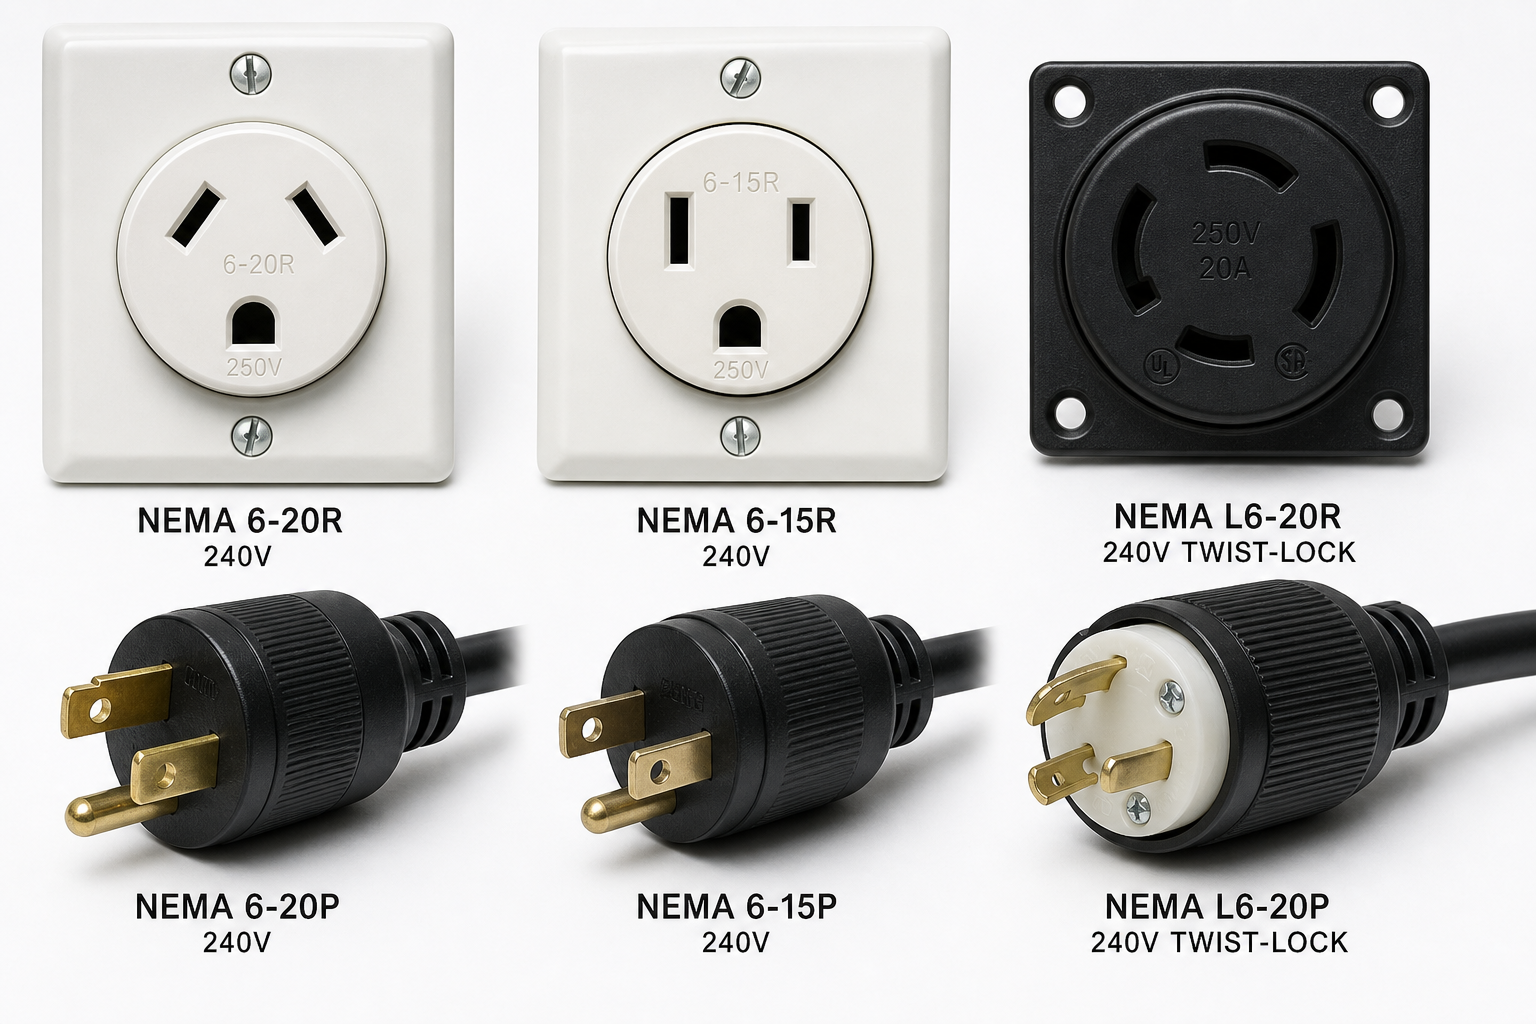
240V outlets come in several NEMA configurations. The plug shape prevents plugging a 30-amp device into a 50-amp circuit or vice versa.
NEMA 6-30R: 30-amp, 240V, no neutral. Two hot wires and one ground. Used for older welders and some air compressors. Rarely installed in new construction since most modern equipment expects a neutral wire for internal 120V controls.
NEMA 14-30R: 30-amp, 240V with neutral. Three-prong: two hots, one neutral, plus ground. Common for electric dryers.
NEMA 14-50R: 50-amp, 240V with neutral. The standard for RV hookups and EV chargers. Provides 240V for the main load and 120V (via neutral) for accessory circuits. Most versatile option for garage installs. If you’re planning to wire your garage for an EV charger, this is your best choice.
GFCI Protection for 240V Circuits
Code requires GFCI protection for all garage receptacles. You have two options: a GFCI circuit breaker in the panel, or a GFCI receptacle at the outlet box.
GFCI breakers for 240V circuits cost more but offer complete circuit protection. They’re easier to reset (just flip the breaker) and protect the entire circuit, including the wire run. Nuisance tripping is more common because they sense faults anywhere on the circuit.
GFCI receptacles for 240V protect only the outlet, not the wire run, but they trip less often because they’re sensing a smaller segment. Resetting requires walking to the outlet instead of the panel.
For garage tool circuits, GFCI receptacles usually make more sense. Motor startup surges and cold-weather conditions cause fewer trips at the receptacle level than at the breaker. If you’re planning multiple outlets, you might want to consider adding several electrical outlets to different wall locations for maximum convenience.

Installing the Receptacle
Mount the outlet box at a comfortable height. 48 inches above the floor works for most users and keeps the plug out of the way of floor-level storage. Use a 2-gang or 4-inch square box rated for the receptacle’s amperage. Surface-mount boxes are faster if you’re not opening walls.
Connect wires to the receptacle terminals. The two hot wires (black and red for 14-50R) go to the brass terminals. White neutral (if present) goes to the silver terminal. Ground (green or bare) goes to the green screw. Tighten terminals until snug, then tug each wire to confirm seating.
Fold wires neatly into the box. Avoid sharp kinks. Mount the receptacle and install the cover plate.
Turn on the breaker and test the receptacle with a plug-in tester or multimeter. You should read 240V between the two hot slots, 120V from each hot to neutral (if it’s a 14-50R).
When to Hire an Electrician
If any of these apply, hire a licensed electrician:
- Your main panel is full and needs a subpanel. Subpanel installs involve sizing the feeder wire, installing a secondary disconnect, and correctly separating ground and neutral buses. Errors here create shock hazards.
