Adding a utility sink to your garage can transform how you tackle messy projects, from cleaning paint brushes to washing muddy tools and gardening equipment. But if you’ve never run plumbing before, the prospect of cutting into walls and connecting water lines might feel intimidating.
This guide walks you through everything you need to know about installing a garage sink, from understanding local code requirements to protecting your pipes from freezing temperatures. Whether you’re planning a simple freestanding setup or a more permanent wall-mounted installation, you’ll learn the practical steps to get water where you need it.
Understanding Plumbing Code Requirements
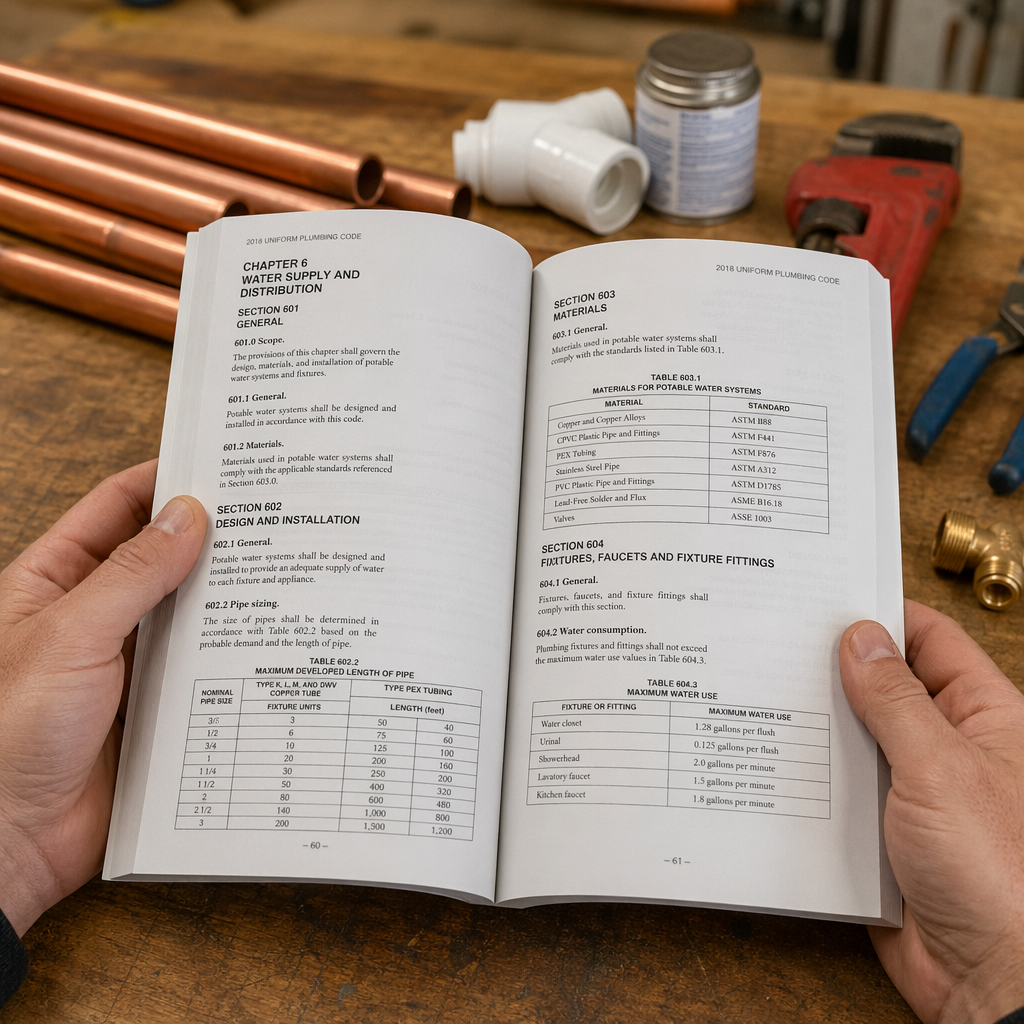
Before you buy materials or cut any pipes, check your local plumbing codes. Most municipalities require permits for new plumbing installations, and some areas have specific requirements about what types of fixtures you can install in a garage.
The drain line is where codes get particularly detailed. Your sink needs a P-trap to prevent sewer gases from entering the garage, and you’ll need proper venting to keep the drain flowing smoothly. Most codes require a vent pipe within a certain distance of the trap, typically 3.5 to 6 feet depending on drain pipe diameter.
Many garages sit on concrete slabs, which complicates drain installation. You can’t easily cut through the slab to connect to existing drain lines without significant work. In these cases, you might need to route your drain through an exterior wall to connect with outside plumbing, or consider a gray water system where allowed.
Choosing Between Wall-Mount and Freestanding Sinks
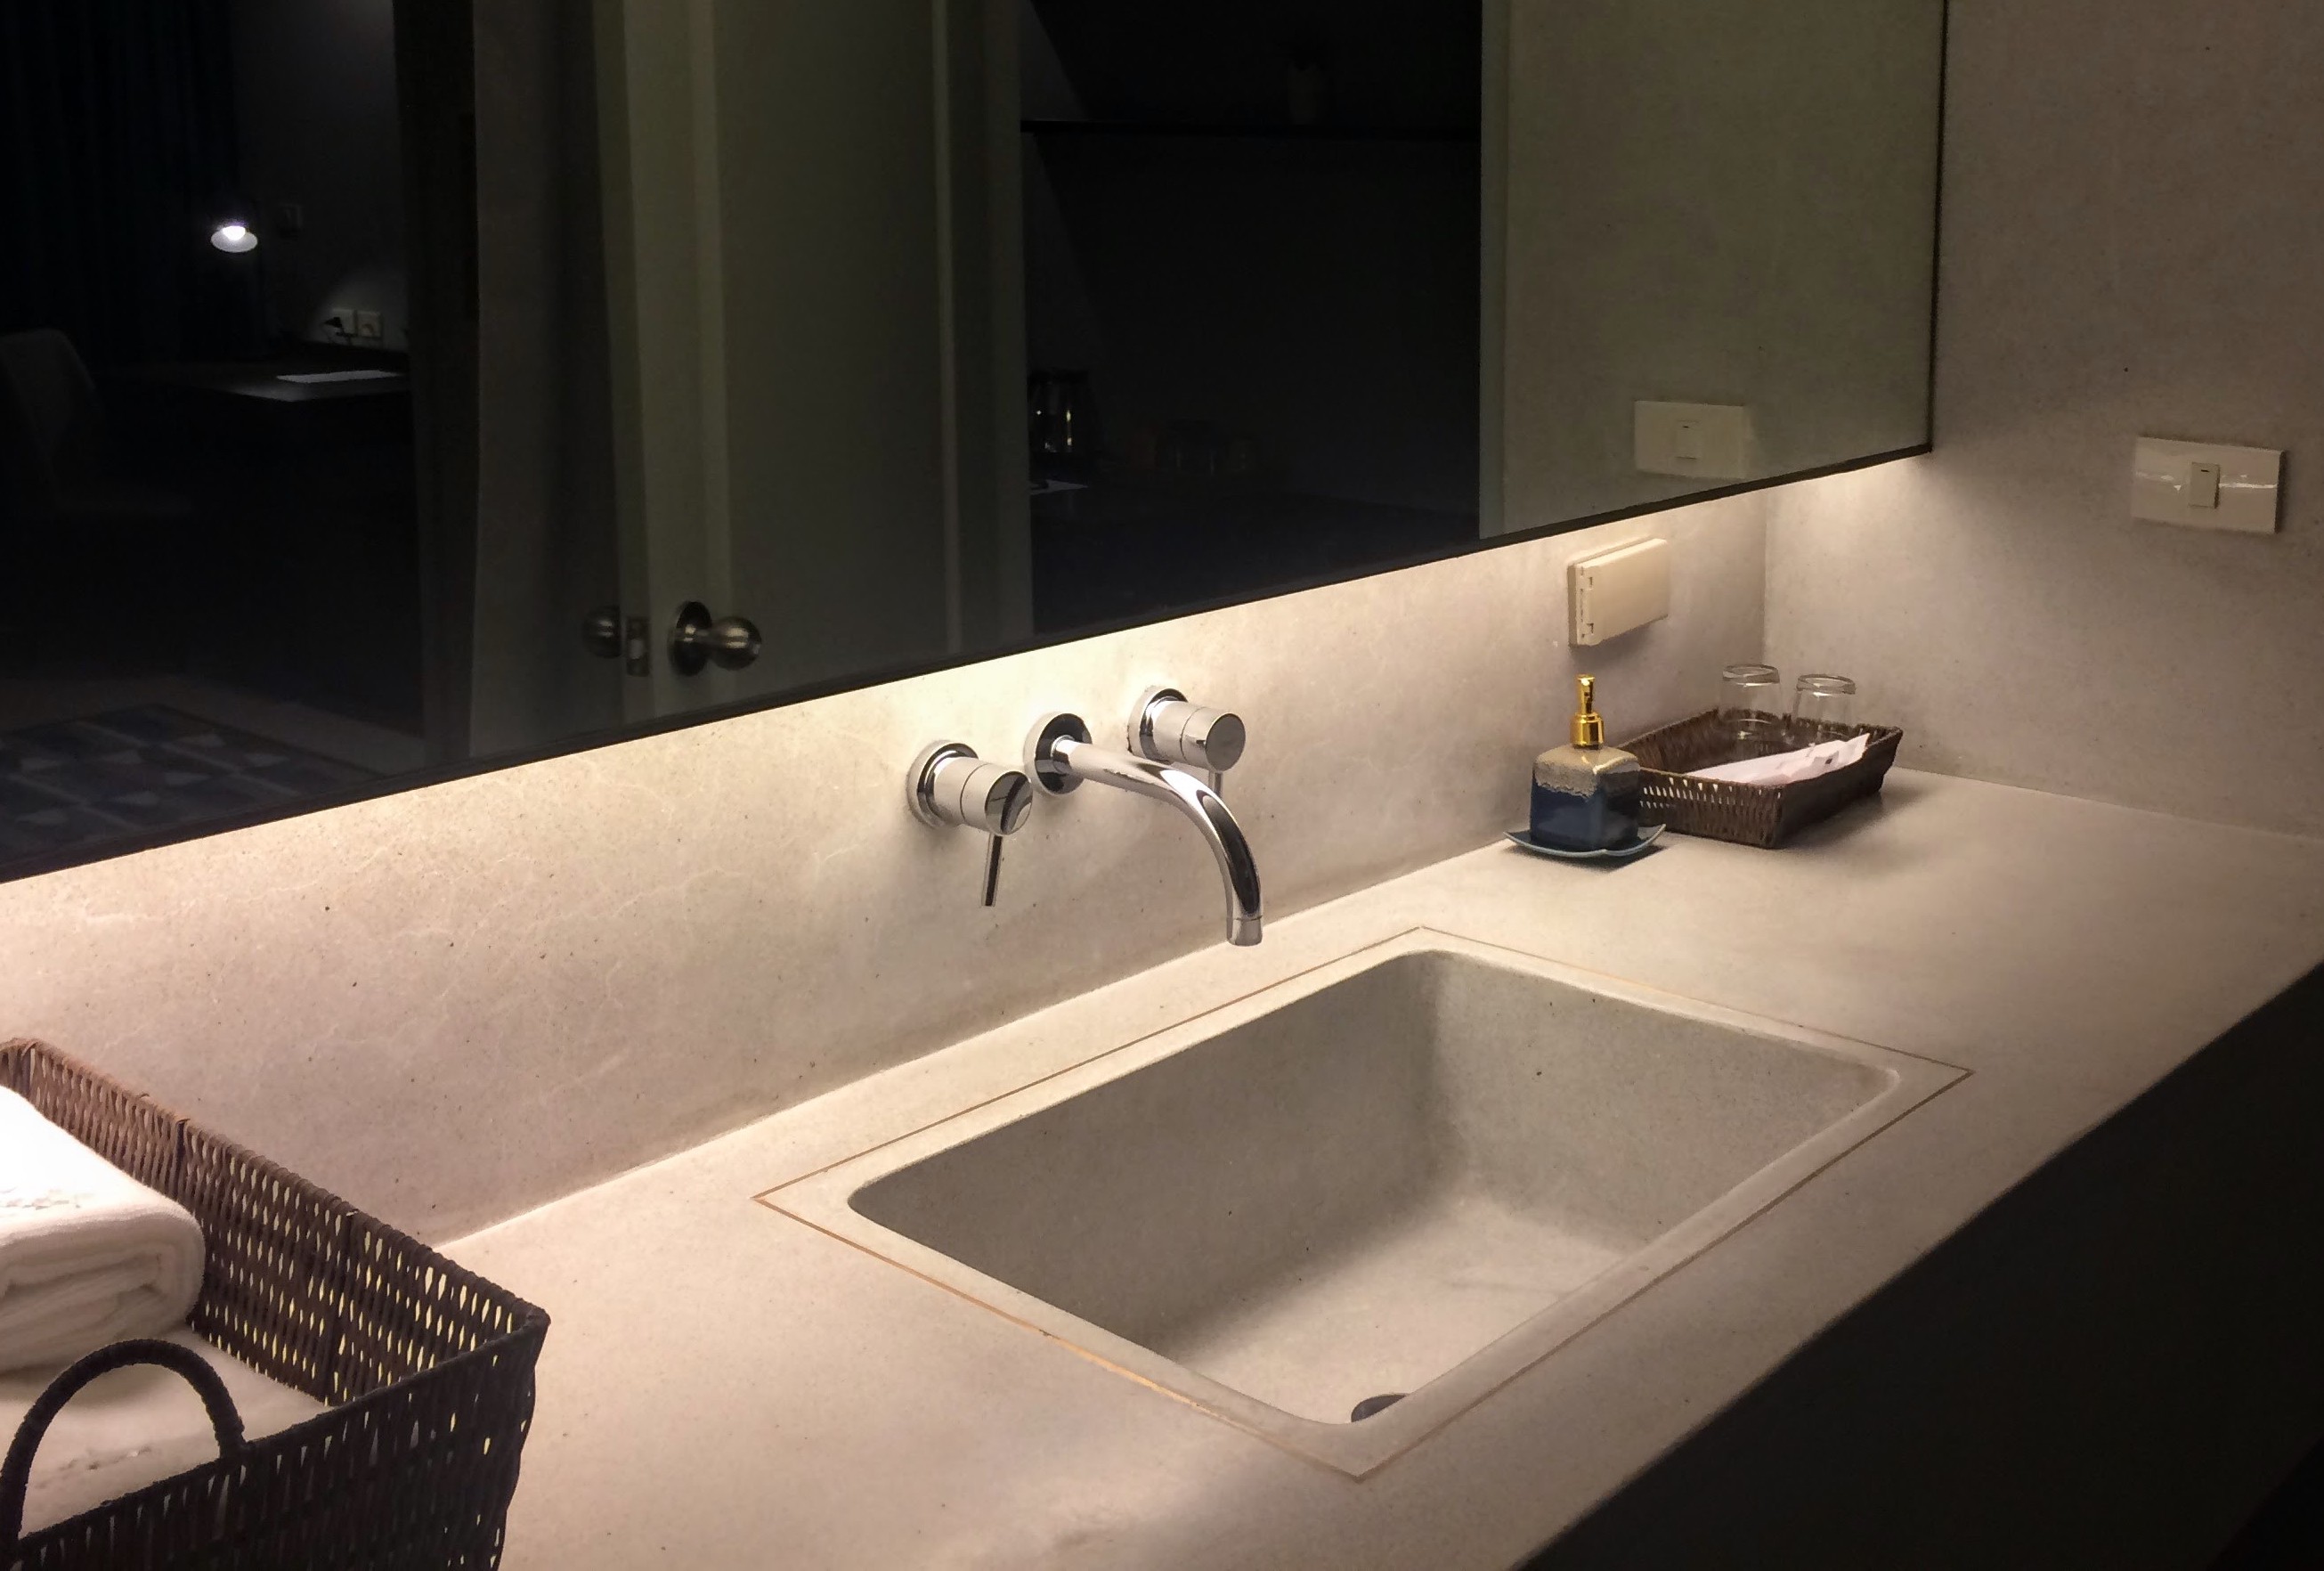
Wall-mounted sinks attach directly to the wall and save floor space, but they require solid backing in the wall to support the weight. You’ll need to locate studs or install blocking between studs before mounting. These sinks work well in tighter garages where every square foot matters. If you’re planning to install backing in unfinished walls, consider reading our guide on finishing garage walls on a budget for tips on drywall installation and finishing techniques.

Wall Mount Utility Sink
Space-saving option that keeps the floor clear for easy cleaning underneath
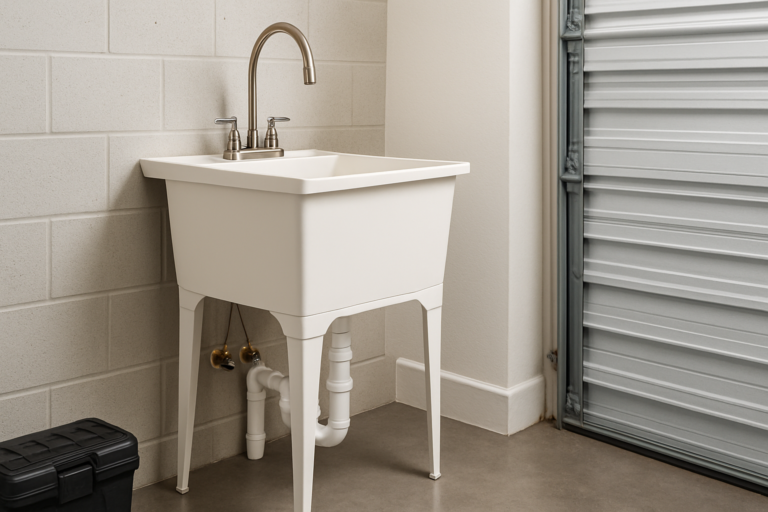
Freestanding utility sinks come with their own cabinet or legs, making installation simpler since you don’t need to worry about wall strength. Many include storage space below for cleaning supplies. The cabinet-style models are popular because they hide the plumbing and provide useful storage.
Stainless steel holds up better in garage environments than porcelain or plastic. It won’t crack from impact, resists staining, and handles temperature fluctuations without damage. Plastic sinks are lighter and easier to install, but they scratch easily and can look worn quickly. For a more finished look that complements your sink installation, you might also want to consider painting your garage walls with a moisture-resistant finish that can handle splashes and humidity.
Running Water Supply Lines
You’ll need to tap into your home’s existing water supply to feed your garage sink. The easiest approach is finding the nearest cold water line and branching off from there. Hot water is optional for garage sinks, but if you want it, you’ll need to run a line from your water heater.
PEX tubing has become the go-to choice for garage plumbing runs. It’s flexible enough to snake through tight spaces, resists freezing better than copper, and connects with simple crimp or push-fit fittings. You can run PEX through walls, under floors, or even through conduit if necessary.
Start by shutting off your home’s main water supply. Locate a suitable tap-in point on an existing cold water line. You’ll install a tee fitting here to create your branch. Use PEX crimping tools or push-fit connectors to make secure connections.
Run your supply line with a slight downward slope back toward the shutoff valve. This allows you to drain the line completely in winter if needed. Install a shutoff valve near the sink so you can isolate it for repairs without affecting the rest of your home.
Installing the Drain System
The drain installation is typically more involved than the water supply. You need to create a path from your sink to an existing drain line with proper slope and venting.
Your drain pipe needs to slope at least 1/4 inch per foot of horizontal run. Too flat and water won’t drain properly. Too steep and water can outrun the solid waste, leaving debris behind. Use a level with a slope indicator or measure carefully as you secure the pipes.
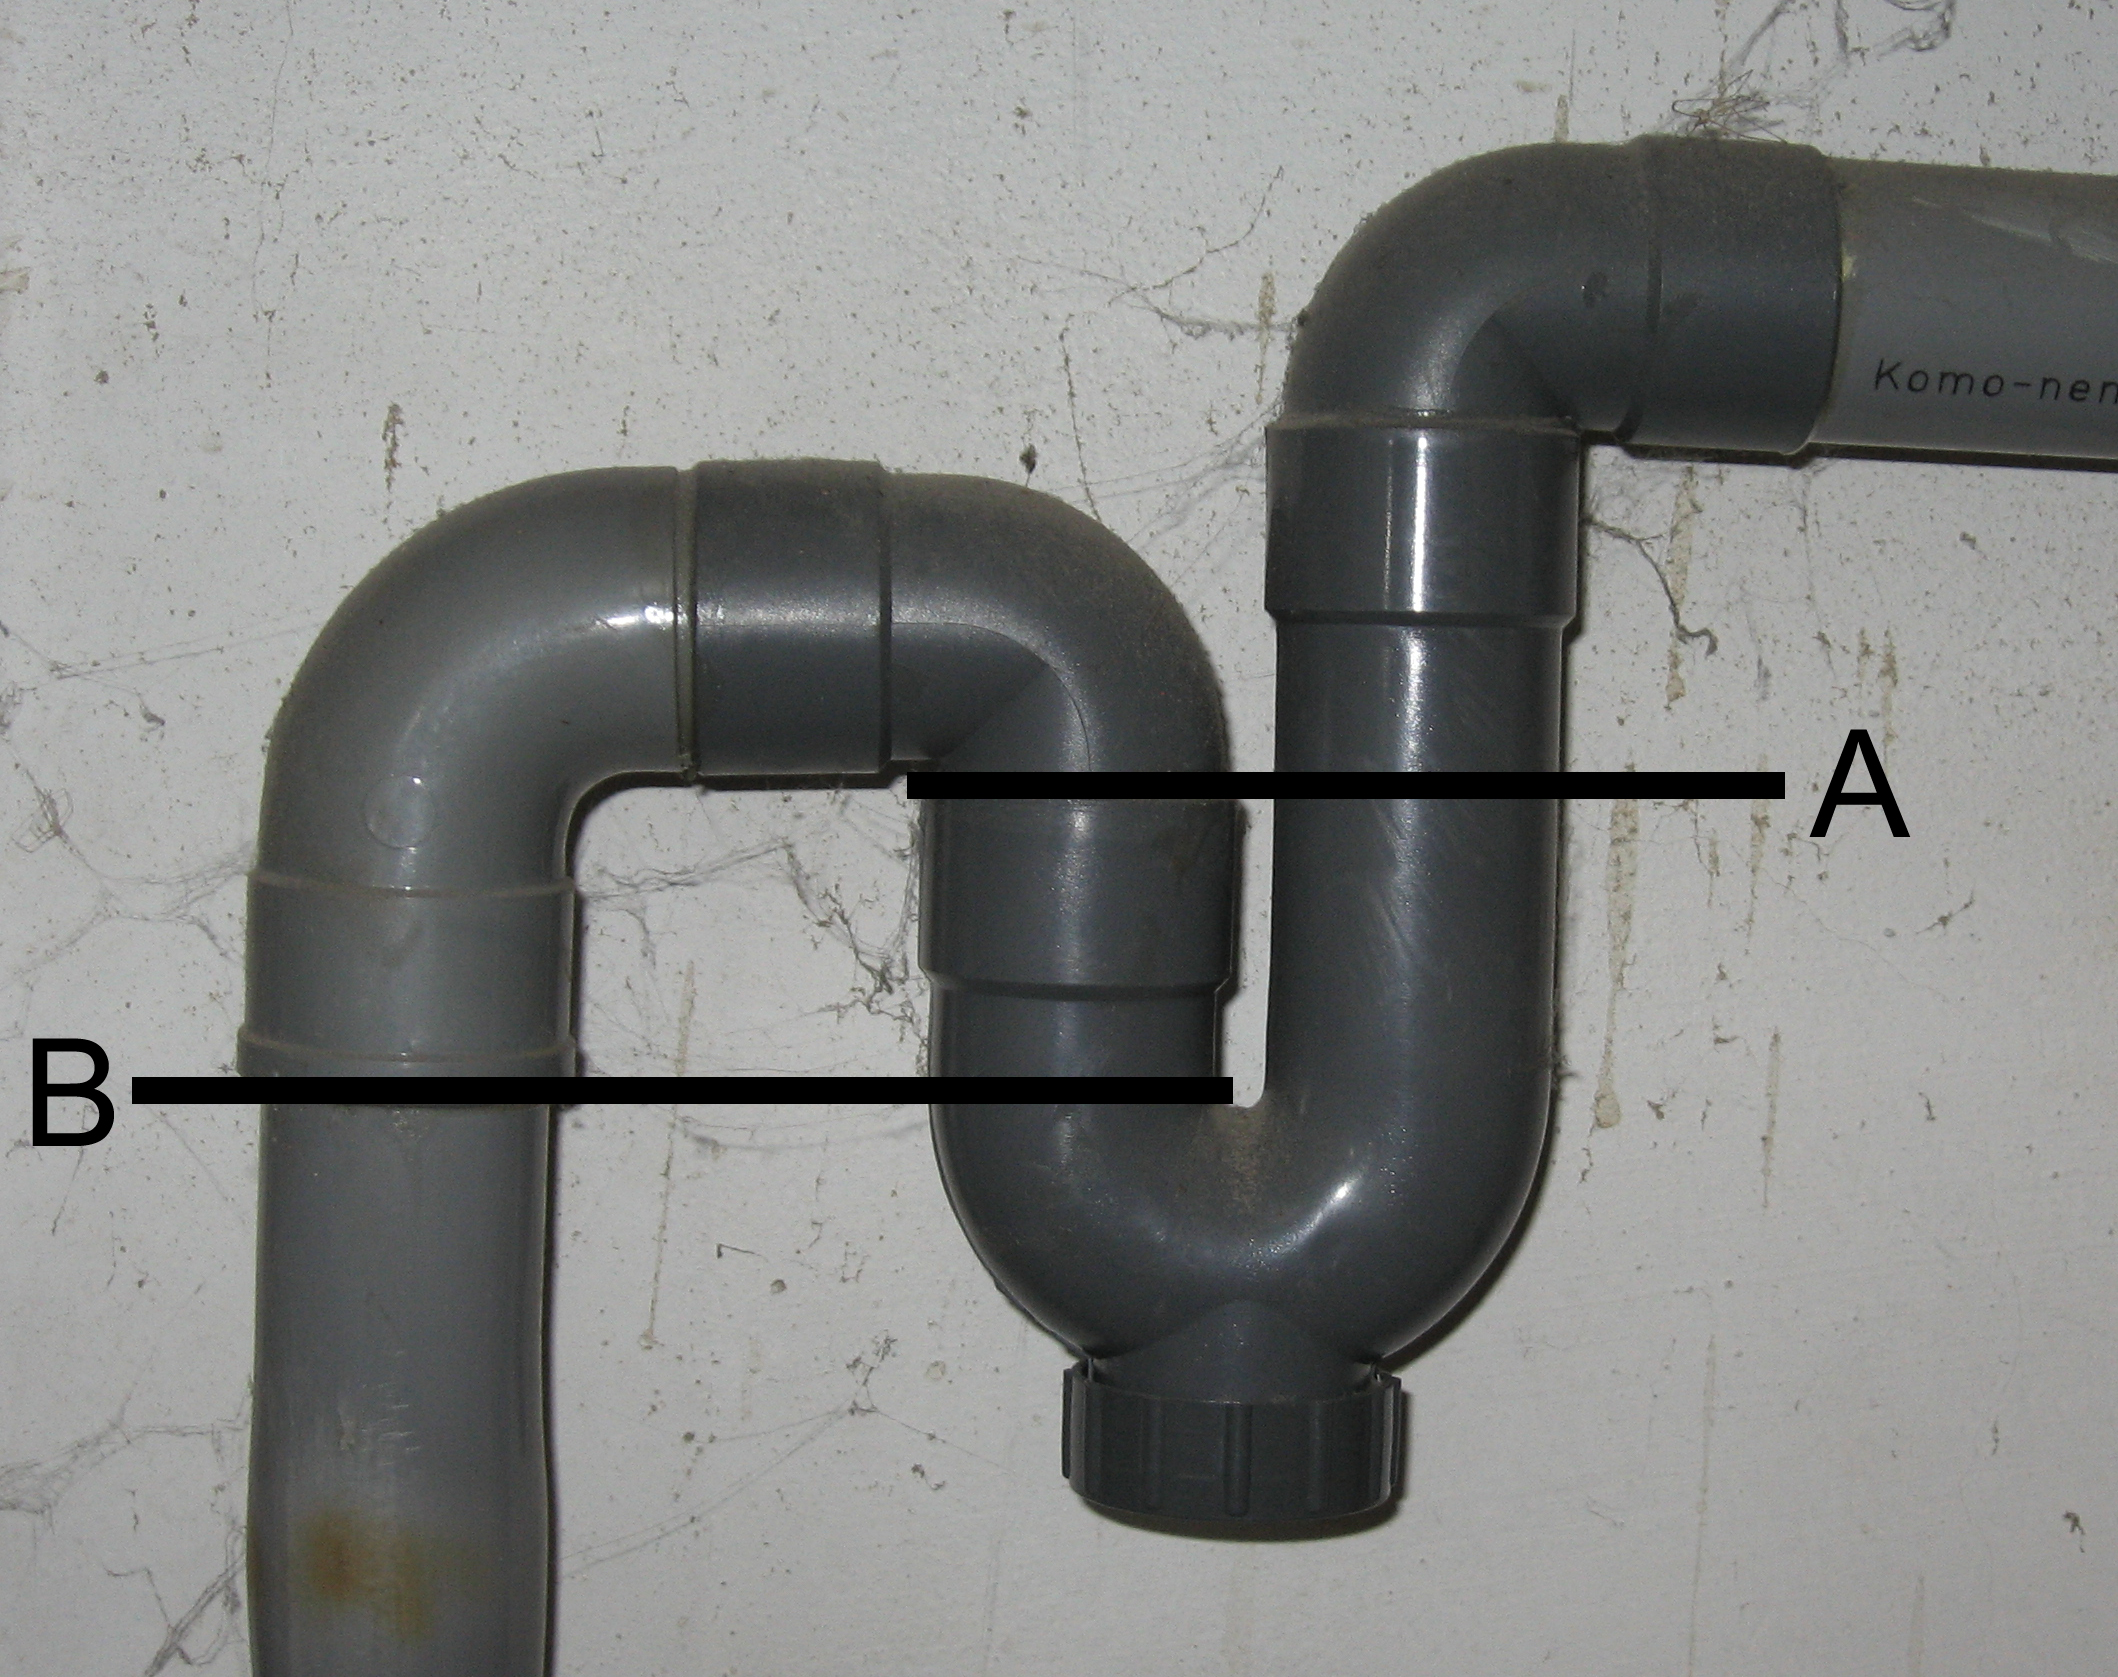
PVC is standard for drain lines. You’ll need a P-trap directly under the sink, typically 1.5 inches in diameter for a utility sink. The trap arm extends horizontally to connect with your main drain stack or runs to an exterior wall.

PVC P-Trap Kit
Essential component that prevents sewer gases while allowing proper drainage
Venting is critical but often overlooked. The vent allows air into the drain system so water can flow freely. For a single garage sink, you can often use an air admittance valve (AAV) if your local code allows it. These one-way valves let air in without requiring you to run a vent pipe through the roof. Check local codes first, as some jurisdictions don’t permit AAVs.
Protecting Against Freezing
Garages often lack insulation and heating, putting your plumbing at risk during winter. Frozen pipes can burst and cause expensive water damage.
The simplest protection is running your supply lines through interior walls when possible. Keeping pipes away from exterior walls reduces freeze risk dramatically. When you must run pipes along exterior walls, insulate them with foam pipe insulation rated for your climate.
Install your shutoff valve in an accessible location inside the garage. Before cold weather hits, shut off the water and drain the lines completely. Open the faucet and let gravity empty the pipes. You can also blow compressed air through the lines to remove remaining water. For comprehensive winter preparation, check our guide on winterizing garage plumbing for detailed steps on protecting your entire system.
For year-round use in cold climates, you’ll need heat tape or pipe heating cables. These electric heating elements wrap around pipes and activate when temperatures drop. Combine heating cables with thick foam insulation for maximum protection.
Another option is a frost-free hydrant system. These outdoor faucets have shutoff valves located deep underground below the frost line. When you turn off the faucet, water drains out automatically. You can adapt this concept for a garage sink by installing the shutoff valve inside the heated house.
Step-by-Step Installation Process
Once you’ve planned your layout and gathered materials, the actual installation follows a logical sequence.
Start with the drain since it’s less forgiving about placement than supply lines. Mark your drain path on the wall or floor, maintaining proper slope. Cut into your existing drain line at the connection point and install a sanitary tee fitting. Run your drain pipe from this tee to where your sink will sit.
Install the P-trap and any required venting before mounting your sink. Test-fit everything to make sure it lines up correctly. Make adjustments now while everything is still loose.
Mount your sink according to manufacturer instructions. Wall-mounted sinks need solid backing, so install blocking between studs if necessary. Freestanding sinks are simpler but still need to be level and stable.
Run your water supply lines next. Install the tee fitting on your source line, then run PEX to your sink location. Secure pipes every few feet with appropriate hangers. Leave some slack in the lines for thermal expansion and contraction.
Connect the faucet to your supply lines using flexible supply hoses. These braided stainless steel hoses make connections easier and handle movement better than rigid connections.
Turn on the water slowly and check every connection for leaks. Tighten any fittings that drip. Run water through the drain and watch for leaks in the P-trap and drain connections. Let everything run for 10 minutes while you inspect carefully. If you’re planning to update the space around your new sink, adding fresh paint can make a significant difference—consider brightening your garage walls and ceiling to complement your new utility area.
Common Questions About Garage Sink Installation
Can I install a garage sink without access to a main drain line?
You have a few options if connecting to your home’s drain system isn’t practical. A laundry sink pump can lift gray water up and over obstacles to reach a drain line. These pumps sit under the sink and activate automatically when water enters. Another approach is a gray water collection system where water drains into a bucket or barrel for disposal elsewhere. Check local codes, as gray water disposal rules vary widely.
How much does it typically cost to have a professional install a garage sink?
Professional installation varies widely based on your garage layout and existing plumbing proximity. Simple installations with nearby water and drain access might take a plumber 4-6 hours. Complex jobs requiring long pipe runs, slab penetration, or extensive venting can take multiple days. Get at least three quotes and ask specifically what’s included. Some plumbers charge extra for permits and material delivery.
Do I need both hot and cold water for a garage utility sink?
Cold water alone works fine for most garage tasks. You can clean tools, rinse muddy items, and wash hands with cold water. Hot water adds convenience for degreasing parts or washing up after particularly dirty work, but it doubles your supply line work and increases