Your garage door opener has two critical force settings that determine how hard the motor works to lift and lower your door. Get these wrong, and you’ll either have a door that won’t close properly or one that could crush something (or someone) in its path. Neither scenario is acceptable.
Most homeowners never touch these settings after installation, which is fine if they were set correctly from the start. But doors get heavier over time as weather stripping wears, springs weaken, or you add insulation. When your door starts reversing for no reason or refuses to close without you holding the wall button, it’s time to adjust the force settings.
Understanding Up Force and Down Force
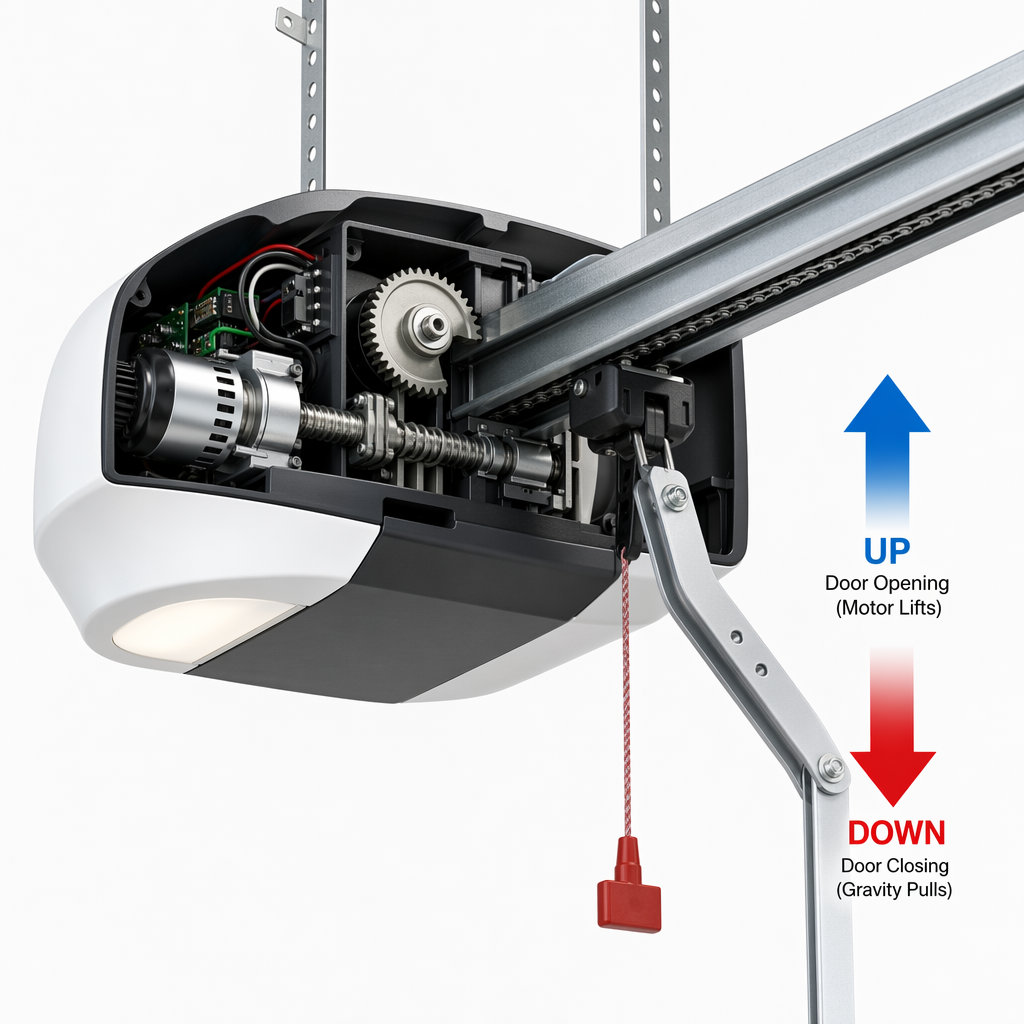
The up force setting controls how much power the opener uses to lift your door. The down force controls how much pressure it applies when closing. These settings exist separately because lifting requires more effort than lowering due to gravity doing half the work on the way down.
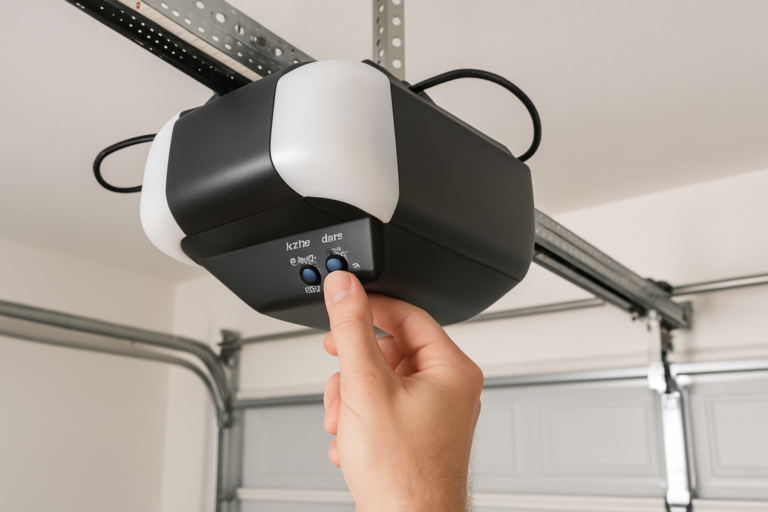
On most modern openers like the LiftMaster 8500W or Chamberlain B970, you’ll find two adjustment dials or screws on the back or side panel. They’re typically labeled “Up Force” and “Down Force” or marked with up and down arrows. Some newer models like the LiftMaster 84505 use digital controls through a smartphone app, but the principle remains the same.
Your opener’s safety sensors work in tandem with these force settings. When the door encounters resistance while closing, it should reverse immediately. But if your down force is set too high, the door might push through minor obstructions before reversing, which defeats the entire safety system.
Why Proper Force Adjustment Matters for Safety

The Consumer Product Safety Commission requires garage door openers sold after 1993 to reverse within two seconds of contacting a 1.5-inch obstruction. Your force settings directly impact whether your opener meets this standard.
Setting the down force too high creates a dangerous situation. I’ve seen doors with excessive force settings push through cardboard boxes, damage vehicles, and worse. A properly adjusted door should reverse when it contacts something as light as a paper towel roll laid flat on the ground.
But there’s a flip side. Set the force too low, and your door won’t close fully or will reverse randomly from minor resistance like wind pressure or slight track friction. You’ll end up disabling your safety sensors out of frustration, which creates an even more dangerous situation.
How to Adjust Your Force Settings Correctly
Start by checking your door’s balance before touching the force settings. Disconnect the opener by pulling the red emergency release handle, then manually lift the door halfway. A properly balanced door should stay in place. If it drops or shoots up, you have a spring issue that no amount of force adjustment will fix properly.
Once you’ve confirmed good balance, locate the force adjustment controls. On manual dial systems, you’ll typically find them labeled with “+” and “-” symbols. A quarter turn usually equals about a 10% change in force. Digital systems let you adjust in smaller increments through percentage settings.
For the up force, start with a middle setting and test. The door should open completely without straining or stopping short. You should hear the motor working but not laboring. If the door stops before fully opening, increase the up force by a quarter turn and test again.
The down force requires more careful adjustment. Begin with a conservative (lower) setting. Place a 2×4 board flat on the ground in the door’s path. Close the door using your wall button. The door should reverse within one second of contacting the board. If it pushes the board or takes longer than a second to reverse, decrease the down force.
Testing and Fine-Tuning Your Adjustments
After making adjustments, run multiple test cycles. Open and close the door completely at least five times. Watch and listen for any hesitation, grinding, or unusual sounds. The door should move smoothly through its entire range without the opener straining.
Perform the board test at least three times to ensure consistent results. Also test with a paper towel roll, which is softer and lighter. The door should still reverse. Some installers use a basketball, but that’s getting into overkill territory for residential applications.
Check the door’s behavior in different weather conditions if possible. Temperature affects metal components and can change how much force is needed. A setting that works perfectly in summer might need adjustment when winter cold stiffens the lubricant and contracts metal parts.
Write down your final settings in your home maintenance log. Most adjustment dials have numbered positions, or you can note the percentage setting for digital systems. This information becomes valuable when troubleshooting future issues or if you need to reset after a power outage.
Common Force Setting Problems and Solutions
Random reversals when closing usually mean your down force is set too low or you have a physical obstruction. Before adjusting force, inspect the tracks for debris, check that nothing is blocking the photo eye sensors, and verify the door isn’t binding anywhere along its travel path.
A door that closes but immediately reopens often indicates excessive down force. The opener detects the impact with the floor as an obstruction and reverses. This is more common with newer, more sensitive safety systems. Reduce the down force incrementally until the door stays closed after making contact with the floor.
If you’ve maxed out the up force and the door still won’t open completely, you have a mechanical problem. Check for broken springs, damaged rollers, or track misalignment. Forcing the issue by continuing to increase the force setting will burn out your opener motor.
Frequently Asked Questions
How often should I adjust my garage door opener force settings?
You shouldn’t need to adjust force settings more than once or twice a year unless you notice performance issues. Most people adjust them after seasonal weather changes, particularly going into winter or after replacing door components like springs or weather stripping. If you find yourself adjusting force settings monthly, you have an underlying mechanical problem that needs professional attention.
Can I adjust force settings if I have a smart garage door opener?
Yes, but the process differs. Smart openers like the LiftMaster myQ or Chamberlain B4505 often use app-based adjustment through percentage sliders rather than physical dials. The testing process remains identical. You still need to verify proper reversal using the board test. Some models auto-adjust force over time using learning algorithms, but you should still verify they’re meeting safety standards.
What should I do if adjusting the force settings doesn’t fix my door problems?
Stop adjusting and call a professional technician. Continuously tweaking force settings without resolving the underlying issue can damage your opener or create a dangerous situation. Common problems that force adjustments won’t fix include broken springs, worn cables, misaligned tracks, damaged rollers, or a door that’s structurally compromised. These require mechanical repairs, not electronics adjustments. If you’re considering replacing your opener entirely, understanding what size garage door opener you need and reviewing different garage door opener brands can help you make an informed decision.