

Shopping for garage lighting upgrades means sifting through dozens of options that all claim to be best. Marketing language is unreliable, and Amazon reviews can be misleading with incentivized ratings mixed in.
This guide focuses on specs and features that matter for real-world garage use. Every recommendation is based on performance, durability, and value, not advertising budgets.
Understanding the Basics
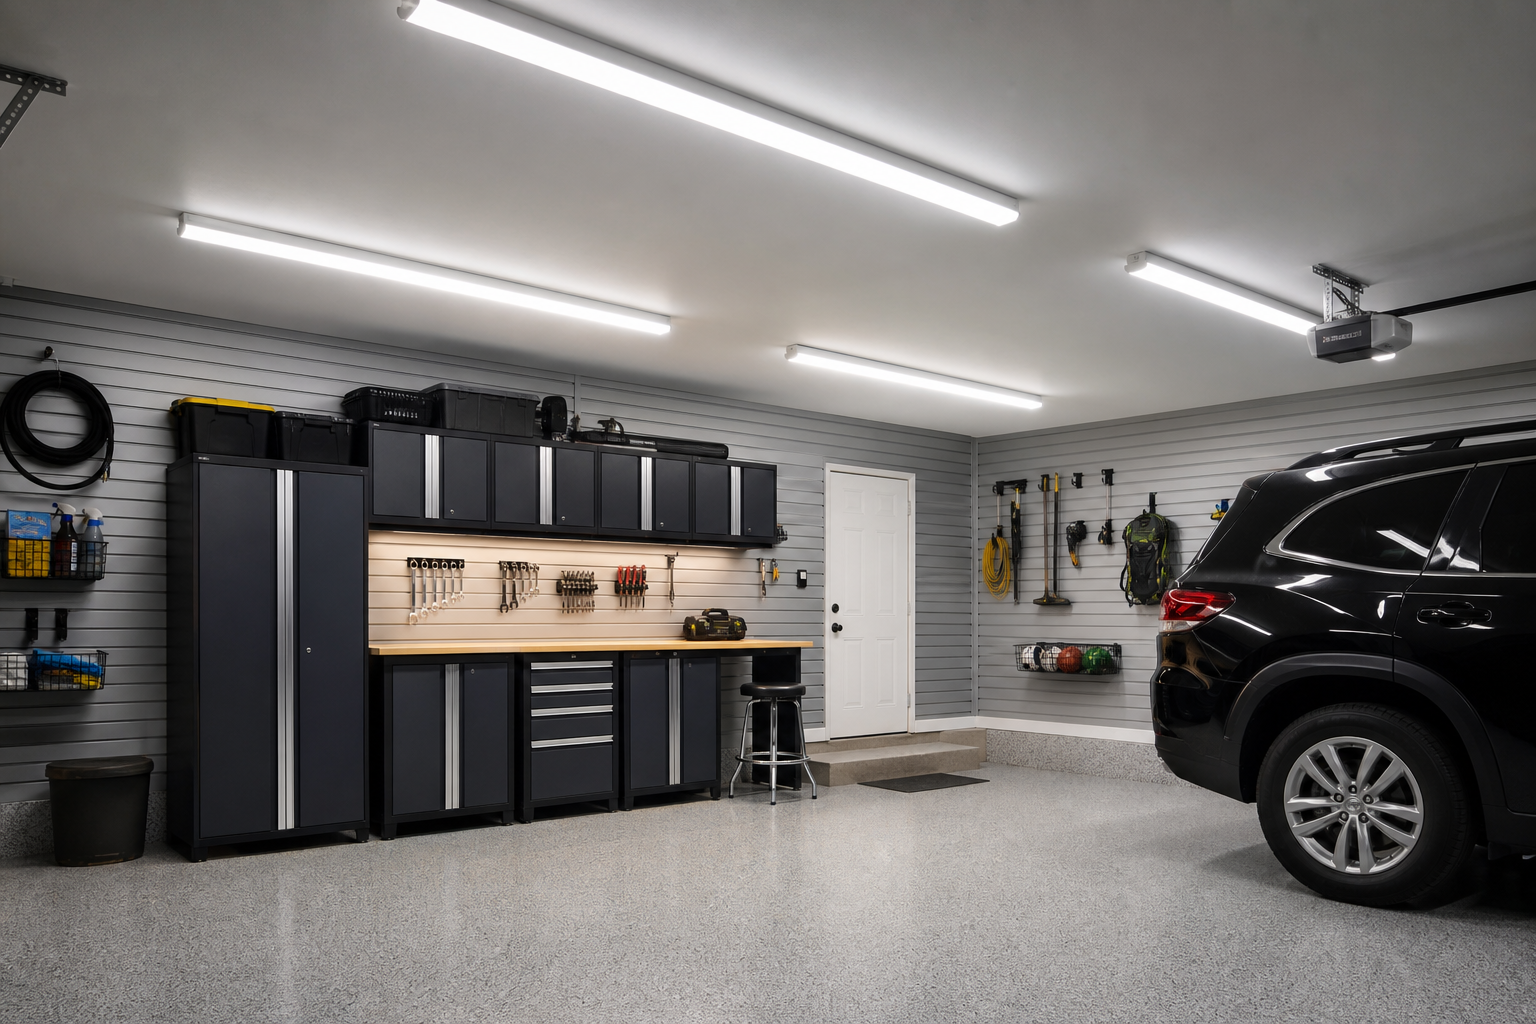
Placement matters as much as total output. Evenly spaced fixtures eliminate dark spots. Four to six 4-foot LED shop lights in rows cover most two-car garages well. Add a task light directly above the workbench, positioned so you don’t cast your own shadow on the work surface.
LED shop lights are the standard: 50,000+ hour lifespan, low electricity consumption, and instant full brightness. Linkable models daisy-chain from one outlet. Most manufacturers limit chains to 4 to 8 fixtures to prevent voltage drop that causes dimming or flickering on distant units.
Target 50 lumens per square foot for general garage use. A 400 square-foot two-car garage needs at least 20,000 lumens total. For workbench detail, boost to 300 lumens per square foot with dedicated task lighting positioned to minimize shadows.
Color temperature (Kelvin) determines light quality. 5000K (daylight) gives crisp, color-accurate illumination ideal for garages. This temperature makes it easy to match paint colors, see which bolt you’re grabbing from the bin, and spot fluid leaks on the floor. 4000K (neutral white) is slightly warmer if you find daylight too harsh. Avoid warm-white bulbs (2700-3000K) for workshop use since they make it harder to see fine detail and distort color accuracy.
LED Shop Lights
Standard LED shop lights mount to joists or ceiling surfaces with included hardware. Most four-foot models pull 40 watts and output 4,000 to 5,000 lumens. Eight-foot versions double those numbers. Look for fixtures rated for damp or wet locations if your garage isn’t climate-controlled, since condensation will eventually reach electronic components.
Linkable fixtures connect end-to-end with short jumper cables. You run one power cord to the first fixture and daisy-chain the rest. This setup reduces visible wiring and eliminates the need for multiple outlet runs. Most systems support four to eight linked fixtures before voltage drop becomes an issue. Check the manufacturer’s specs since exceeding the rated chain length voids warranties and creates fire risk.

LED Shop Light 4FT Linkable
Top choice for most two-car garages with excellent linkability
Mounting height affects coverage. Standard eight-foot garage ceilings work fine with shop lights hung flush or suspended 6 to 12 inches. Higher ceilings (10 feet or more) benefit from suspension kits that bring lights closer to work surfaces. Each foot of extra distance dilutes light intensity, so lowering fixtures compensates for lost brightness.
Consider CRI (Color Rendering Index) if you’re doing finish work or detailing vehicles. CRI measures how accurately a light source reveals true colors compared to sunlight. Standard shop lights run 70 to 80 CRI, adequate for general tasks. Upgrade to 90+ CRI if you’re painting, mixing custom colors, or restoring classic cars where color matching matters.
Linkable Light Bars
Linkable light bars mount flush to ceilings with clips or adhesive strips. These low-profile fixtures work well in garages with finished ceilings or limited joist access. Most bars measure 1 to 2 inches thick and span 2 to 8 feet in length.
Installation takes minutes per fixture. Snap mounting clips into pre-drilled holes, slide the bar into place, and connect the jumper cable to the next unit. Adhesive-backed models stick directly to clean, dry surfaces without tools. Adhesive works on drywall, painted wood, and metal but fails on dusty or textured surfaces. Clean the mounting area with isopropyl alcohol and let it dry completely before applying any adhesive-mount fixture.
Light bars work best as supplemental lighting rather than primary sources. They deliver 1,500 to 3,000 lumens per four-foot section, roughly half what a dedicated shop light produces. Use them to fill dark corners, illuminate shelving units, or add brightness to areas where traditional fixtures don’t fit.
Integrated motion sensors are common on linkable bars. The sensor triggers all connected fixtures when you enter the garage, then shuts them off after a set delay (usually 30 seconds to 5 minutes). This automation saves electricity and extends bulb life in garages you only visit briefly throughout the day. Adjust sensitivity settings if the sensor triggers from wind-blown branches outside windows or passing headlights.
Check the sensor’s detection range before mounting. Most units cover 15 to 20 feet at 120 degrees. Mount the sensor-equipped fixture near the entry door for reliable triggering. Placing it at the back of the garage or behind obstructions causes delayed activation or missed triggers.
Workbench Task Lighting
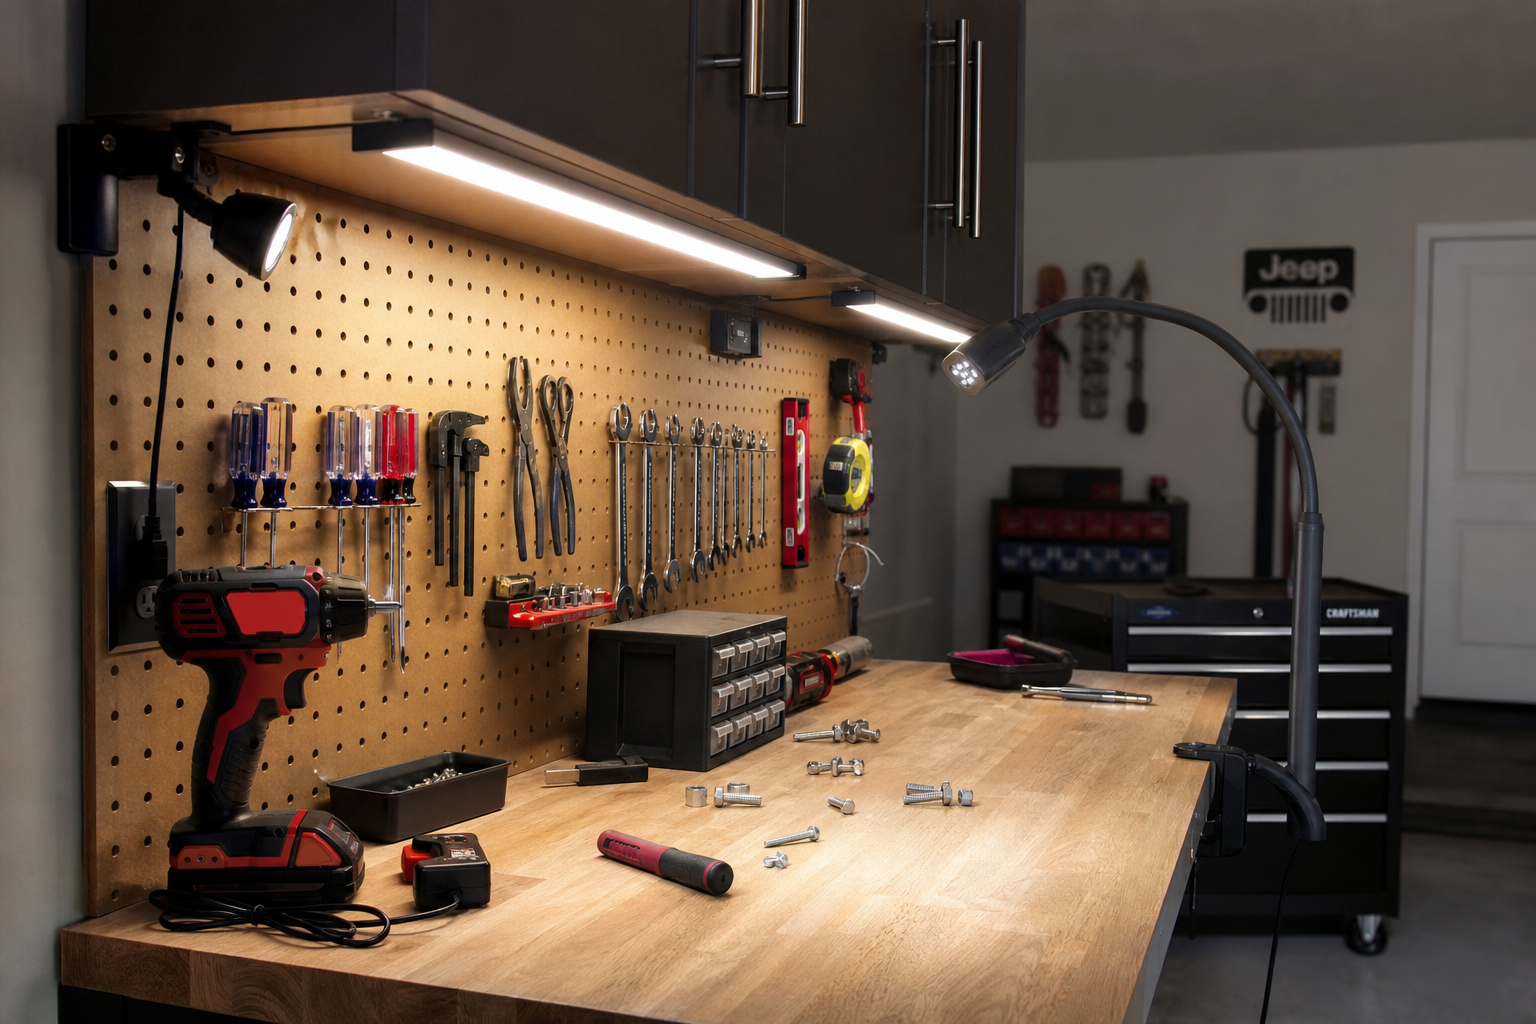
Dedicated workbench lighting prevents the shadow problem where your head and shoulders block overhead light from reaching your work. Mount a task light on the wall above the bench or clamp an adjustable arm light directly to the work surface. For detailed workbench setup ideas, check out our guide to garage workshop ideas.
Under-cabinet LED strips work well for wall-mounted benches. These thin strips adhesive-mount to the underside of overhead cabinets or shelves, throwing focused light straight down onto the bench. Most strips run 12 or 24 volts DC through a wall adapter, drawing 6 to 15 watts per foot. Expect 300 to 500 lumens per foot, enough to illuminate a standard bench width.
Articulating arm lamps with LED bulbs offer flexibility for changing tasks. Clamp-base models attach to bench edges or tool chests. Swing the arm into position for close-up work, then move it out of the way when you need the full bench surface. Look for lamps with metal construction and tight pivot joints. Plastic models sag under their own weight within months.

LED Workbench Task Light with Clamp
Perfect for eliminating shadows during detailed work
Magnifying lamps combine task lighting with optical magnification for soldering, electronics repair, or detail painting. The magnifying lens mounts in the center of a circular LED array. Diopter ratings range from 3x to 10x magnification. Higher magnification reduces the viewing area and working distance, so match the diopter to your actual tasks.
Dimmer switches let you dial brightness to the task. Full power for precision work, lower settings for general tasks. Not all LED fixtures support dimming, even with a dimmer switch installed. Check product specs for dimmer compatibility before buying. Incompatible fixtures flicker, buzz, or refuse to dim below 50% brightness.
Motion-Activated Solutions
Motion-activated fixtures turn garage lighting into a hands-free system. Walk in with arms full of groceries and the lights trigger automatically. Leave and they shut off after a preset delay.
PIR (Passive Infrared) sensors detect heat from moving bodies. These sensors work in complete darkness and aren’t fooled by shadows or light changes. Most garage fixtures use PIR rather than camera-based systems. Detection range spans 15 to 30 feet depending on sensor quality. Wide-angle sensors (120 to 180 degrees) cover more area but sometimes trigger from motion outside the garage.
Photocell integration prevents daytime triggering. The photocell reads ambient light levels and disables the motion sensor when natural light makes artificial lighting unnecessary. This feature saves electricity but requires proper photocell placement. Mount it where it reads actual garage light levels, not a bright window or a dark corner.
Adjustable timers control how long lights stay on after the last detected motion. Settings typically range from 30 seconds to 10 minutes. Short delays (1 to 2 minutes) suit quick in-and-out trips. Longer delays (5 to 10 minutes) work better if you’re actively working in the garage and moving around. Too-short delays cause lights to shut off while you’re standing still at the workbench, forcing you to wave your arms to retrigger them.
Some systems support manual override switches. Flip the switch to keep lights on continuously regardless of motion, useful during extended projects. A second flip returns the fixture to auto mode. This flexibility beats pure motion-only systems that leave you in the dark when you’re working in one spot. For a comprehensive comparison of motion sensor options and LED shop light recommendations, check out our detailed buyer’s guide.
High-Bay Fixtures for Tall Ceilings
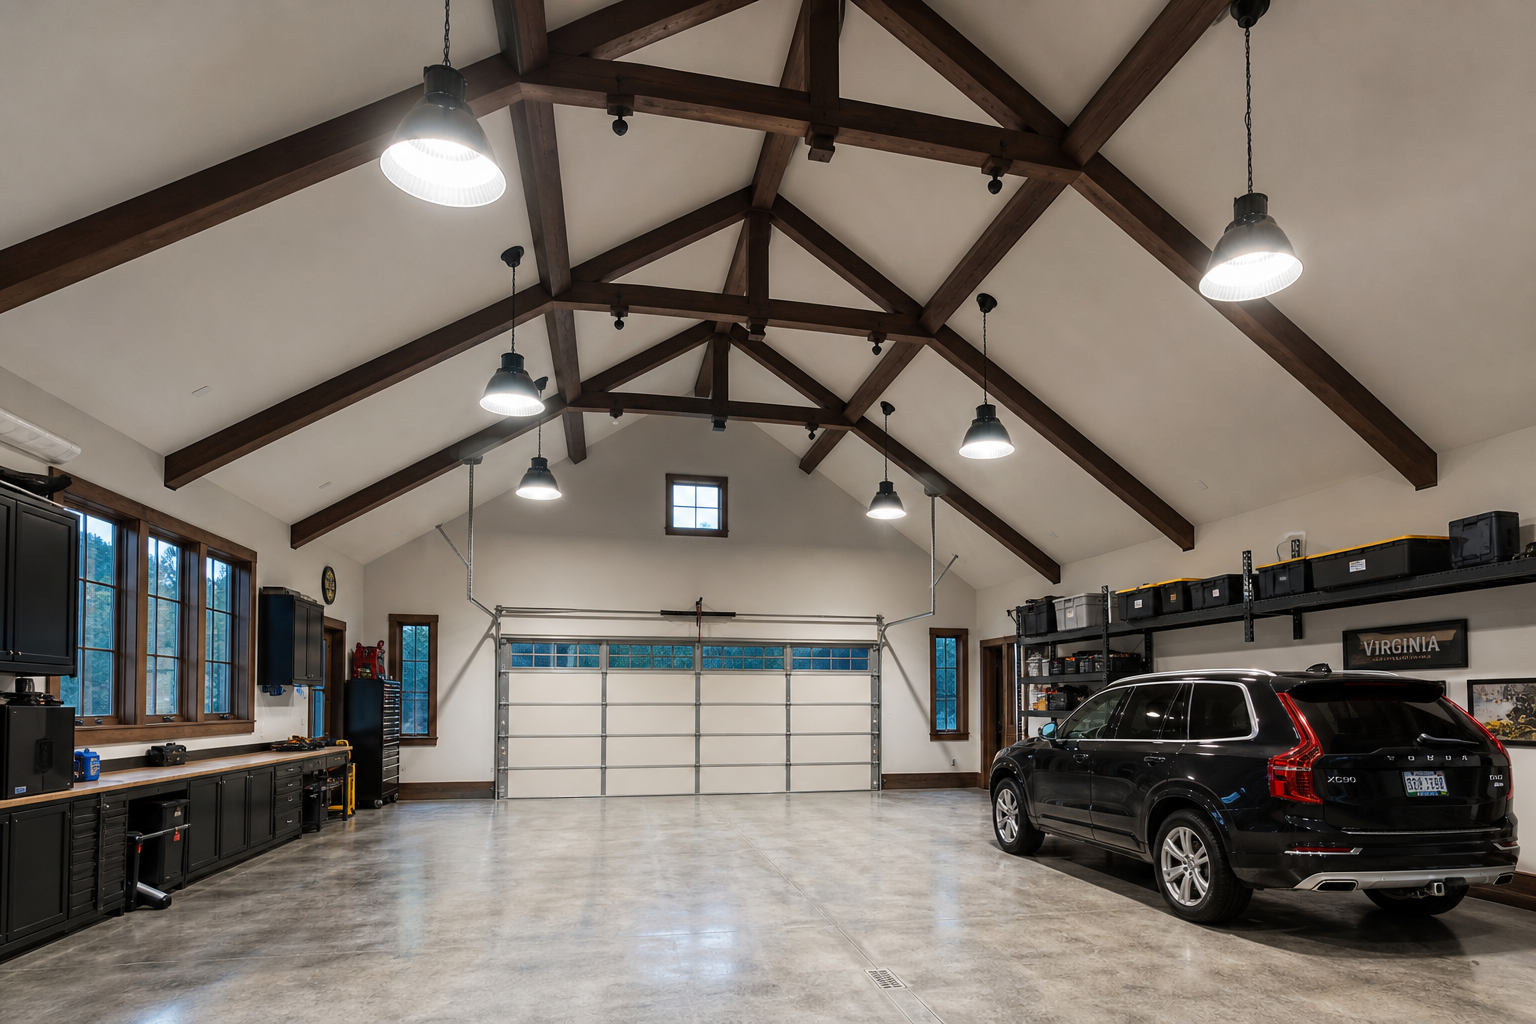
High-bay LED fixtures handle garages with ceilings above 12 feet. These industrial-grade lights mount to joists or suspend from chains, delivering 10,000 to 20,000 lumens per fixture. They’re overkill for standard residential garages but necessary when ceiling height puts standard shop lights too far from the work area.
UFO-style high bays pack LEDs into a compact disc-shaped housing 12 to 18 inches in diameter. Linear high bays stretch 4 to 8 feet long, similar to shop lights but with significantly higher output. Both styles work, but UFO fixtures concentrate light in a tighter beam while linear fixtures spread it across a wider area.
Beam angle matters with high bays. Narrow beams (60 to 90 degrees) create intense pools of light directly below the fixture with darker areas in between. Wide beams (120 degrees or more) spread light more evenly but reduce peak intensity. For general garage lighting, choose wide-beam fixtures. Use narrow-beam models only where you need concentrated light over a specific work zone.
Heat dissipation affects longevity. High-output LEDs generate substantial heat that must vent through aluminum heat sinks. Quality fixtures use thick-finned heat sinks and sometimes built-in fans. Cheap units skimp on cooling and burn out early. Feel the fixture after an hour of use; it should be warm but not too hot to touch.
Wiring Capacity and Circuit Planning
Before adding fixtures, calculate your garage’s electrical capacity. Most residential garages run on 15 or 20-amp circuits. A 15-amp circuit at 120 volts supports roughly 1,440 watts of continuous load (80% of the 1,800-watt maximum). A 20-amp circuit handles 1,920 watts continuously.
LED shop lights draw 20 to 40 watts each. Six 40-watt fixtures total 240 watts, well within a single circuit’s capacity even with other devices plugged in. Older fluorescent fixtures pull 60 to 100 watts each, eating capacity faster. Switching from fluorescent to LED often frees up enough wattage to add more lights without upgrading electrical service.
Adding EV charging stations or other high-power equipment requires careful circuit planning. Run a new 15 or 20-amp line from your panel to the garage just for lights. This prevents voltage sags when high-draw tools kick on and keeps lighting stable.
GFCI protection is required for garage outlets but not usually for hardwired lighting circuits. Check local code. Some jurisdictions require GFCI on all garage circuits regardless of use. Hardwiring lights directly to junction boxes avoids outlet concerns entirely.
