

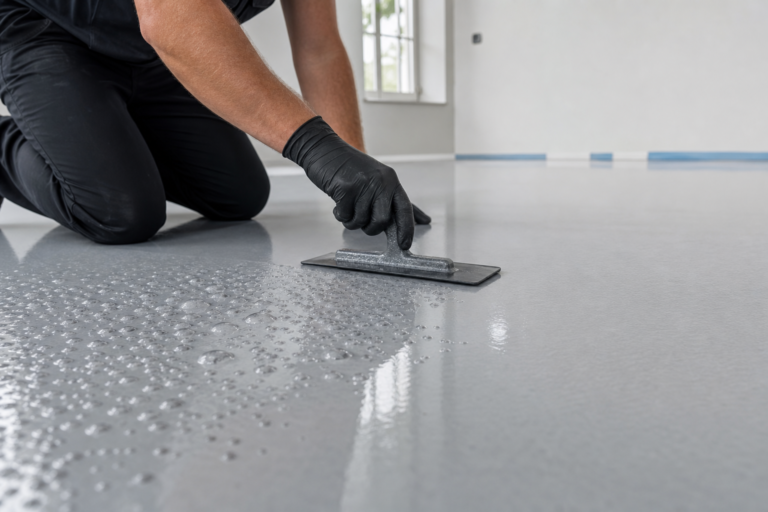
Dealing with a situation where epoxy floor bubbles is one of those garage frustrations that catches you off guard. Everything seemed fine until one day you notice something isn’t right. The reassuring truth is that these issues almost always trace back to identifiable causes with practical solutions.
This guide covers the most common culprits in diagnostic order, starting with the simplest checks. Most readers find their answer within the first few sections without needing a service call.
Understanding Why Bubbles Form
Bubbles happen for three main reasons: moisture vapor pushing up through the concrete, air trapped in the coating itself, or contamination preventing proper adhesion. Each leaves different visual clues.
Outgassing bubbles appear during or shortly after application. They’re usually small and scattered across the surface. Moisture-related bubbles show up later, often clustered or following crack patterns. They can lift large sections of coating. Adhesion failures create irregular voids that may or may not look like traditional bubbles.
Concrete is porous. Even cured slabs contain residual moisture and air. When you apply a coating, heat causes that trapped air and moisture to expand and push through the wet epoxy. This is outgassing, and it’s the most common bubble source in new applications.
Temperature swings make it worse. A slab that’s 55 degrees in the morning can hit 75 by afternoon. That 20-degree shift drives air movement through the pores. Apply coating when temps are rising and you’re fighting an uphill battle. The expanding air has nowhere to go but through your fresh epoxy.
Humidity matters too. A humid slab (even one that feels dry) releases moisture vapor as the coating cures. That vapor creates pressure under the film. If the epoxy skins over before the moisture escapes, you get blisters. This is why moisture testing matters before coating, not just surface dryness.
The Science Behind Outgassing Bubbles
Bubbles in fresh coatings form when trapped air in concrete pores expands through the wet film. Rising temperatures push air out; falling temperatures draw it in. Evening application (declining temps) produces fewer bubbles. Aggressive rolling also whips air into the mix, creating smaller but widespread bubbles throughout the surface.
Concrete breathes. The pores act like tiny chimneys. During the day, solar heat warms the slab and drives air upward. At night, cooling reverses the flow. Coating when temperatures are falling means air is being pulled down into the slab, not pushed out through your wet epoxy.
Application technique plays a role. Rapid back-and-forth rolling introduces air into the coating material itself. Slow, deliberate passes with moderate pressure minimize this. High-build coatings (thicker films) trap more air simply because there’s more material for bubbles to form in.
Surface prep affects porosity. Aggressive grinding opens pores and increases the surface area where air can escape. Acid etching creates a rougher profile but doesn’t open pores as deeply. Shot blasting falls between the two. Each method changes how much air the slab can push through during coating.
If you’re prepping for a coating project, proper sealing your garage floor before epoxy can help prevent many bubble issues from the start.
Thin coats dry faster and give trapped air less time to form large bubbles. Multiple thin passes beat one thick application every time. The trade-off is more labor and longer project timelines, but the finish quality difference is significant.
Start with a small test area if you’re uncertain. A 4 by 4-foot section in an inconspicuous spot lets you evaluate adhesion, appearance, and workability without committing to the full project. Troubleshooting a small test area is far easier than redoing everything.
Moisture-Related Bubbling
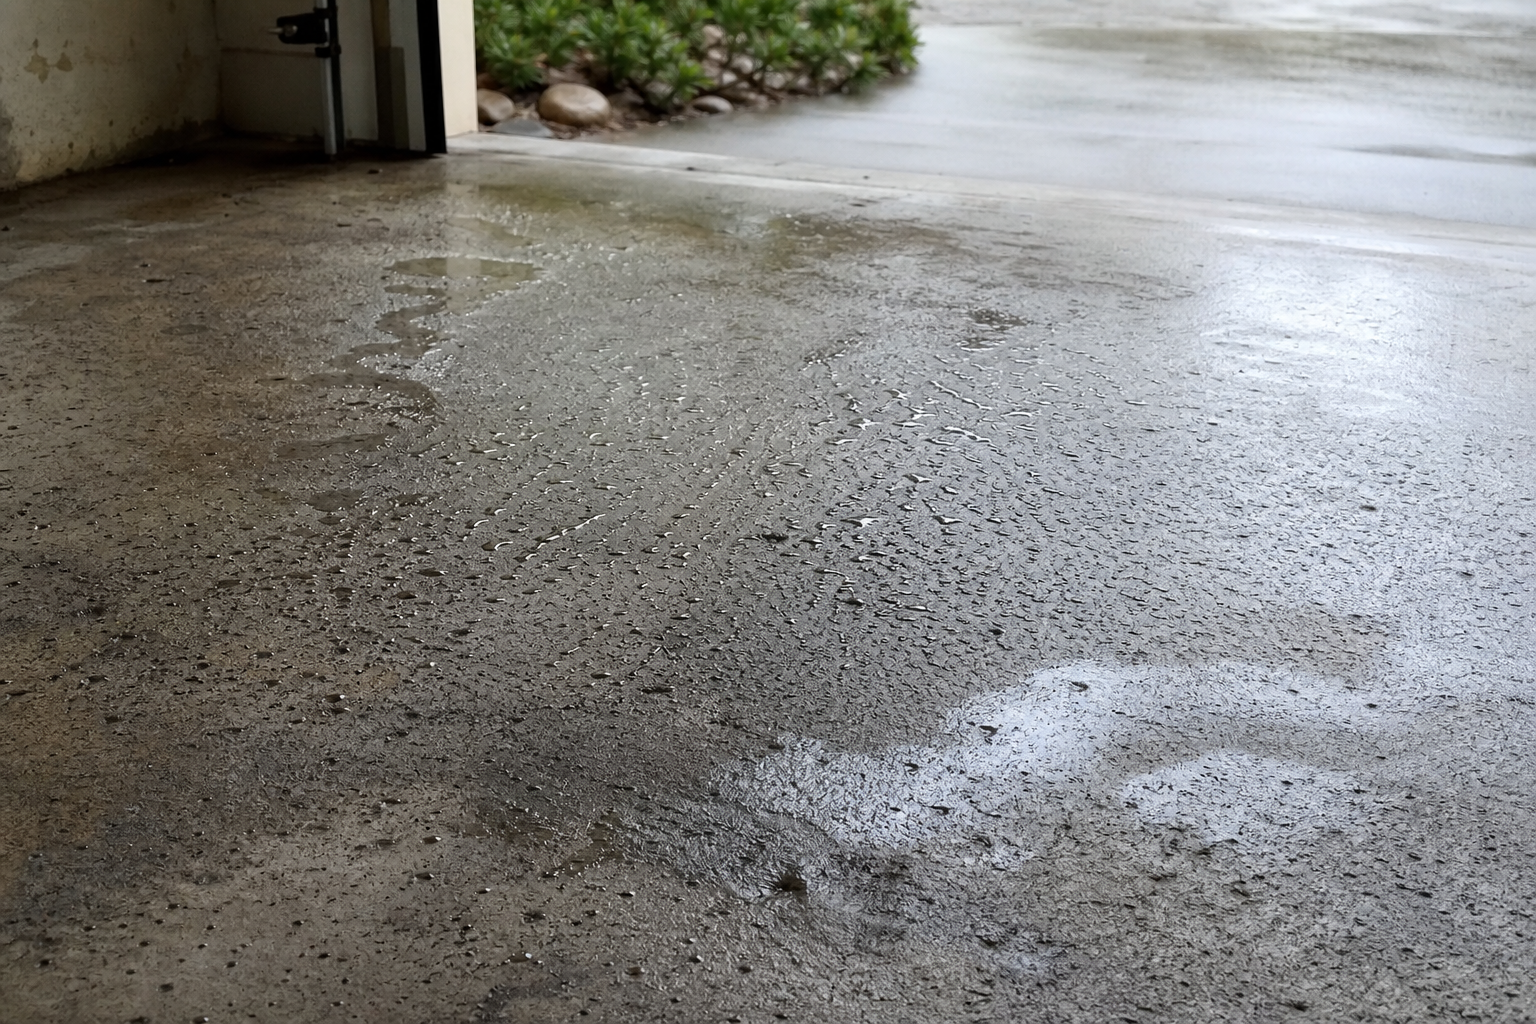
Moisture bubbles usually appear days or weeks after application, not during. The coating looks fine initially, then blisters develop. They’re often larger than outgassing bubbles and may contain liquid when popped.
Vapor transmission is the underground culprit. Water in the soil beneath your slab migrates upward as vapor. No slab is perfectly waterproof. Vapor pressure builds under the coating until it lifts. You’ll see this pattern more in older homes without vapor barriers under the slab, or in areas with high water tables.
Condensation creates a different pattern. Warm humid air hitting a cool slab deposits moisture on the surface. If you coat over that condensed layer, you’re trapping water between concrete and epoxy. The coating may adhere initially but fails as moisture accumulates.
Test for moisture transmission before coating. The plastic sheet test is simple: tape a 2-foot square of plastic sheeting to the bare concrete, seal all edges, and wait 24 hours. Moisture beads or dark spots under the plastic mean you have a vapor issue. Don’t coat until you address it.
Calcium chloride tests quantify moisture emission rates. You set a dish of calcium chloride on the slab, cover it, and weigh it after 60 to 72 hours. The weight gain tells you how much moisture vapor the slab is releasing. Most epoxy systems need rates below 3 pounds per 1,000 square feet per 24 hours.
Vapor transmission requires a penetrating concrete sealer (silane or siloxane based) that blocks moisture migration through the slab. Apply to clean, dry concrete and allow full cure. Severe cases may need a dedicated vapor barrier coating or membrane system before any decorative finish.
Moisture in a garage comes from two primary sources. Vapor transmission moves water through the concrete slab from soil below. Condensation forms when warm humid air contacts the cooler slab surface. Each requires a different solution, and treating the wrong one wastes time and money. If you notice water pooling on your garage floor, addressing drainage issues is critical before any coating application.
Contamination and Adhesion Failures
Oil, grease, tire dressing, silicone-based cleaners, and curing compounds all prevent epoxy from bonding. The coating may look fine for days or weeks, then delaminate in sheets. What appears as bubbling is actually the coating losing contact with the concrete.
Old garage floors accumulate years of automotive fluids. Even if you’ve cleaned recently, residues penetrate deep into the pores. Surface cleaning doesn’t pull them out. Grinding or shot blasting removes contaminated concrete and exposes fresh material for bonding.
Solvent-wiping before coating sounds helpful but often makes things worse. The solvent spreads contamination rather than removing it. If you must use solvents, follow with detergent scrubbing and thorough rinsing. Better yet, mechanically remove the contaminated layer.
Efflorescence (white crystalline deposits) indicates moisture moving through concrete and depositing salts on the surface. Coating over it creates an adhesion failure waiting to happen. The salts act as a bond breaker. Remove them with mechanical cleaning or specific efflorescence removers, then address the moisture source.
Poor surface profile also causes adhesion issues that can look like bubbling. Epoxy needs tooth to grab. A smooth troweled finish or old sealer creates a slick surface. Grinding to a CSP-2 or CSP-3 profile (a roughness standard) gives epoxy the mechanical grip it needs. If you discover cracks during your inspection, repairing concrete cracks before coating is essential for long-term adhesion.

Concrete Rust Stain Remover
Essential for removing stubborn stains before epoxy application
How to Repair Small Bubbled Areas
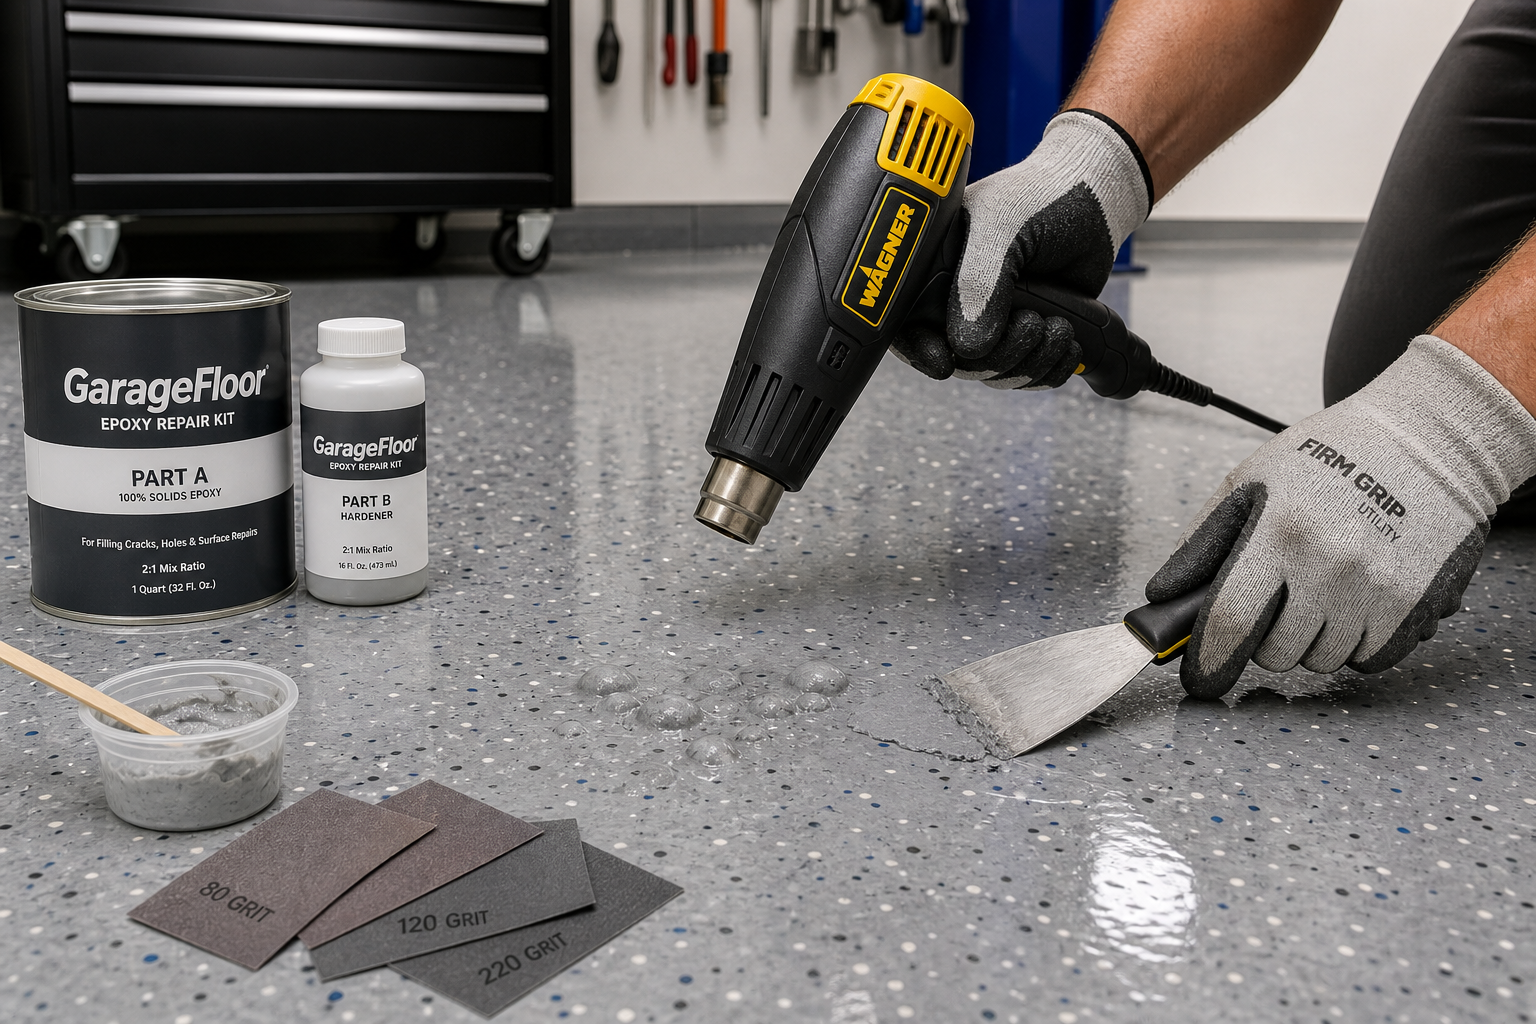
Small scattered bubbles (less than 10% of the floor) can often be fixed without stripping everything. This works when the surrounding coating is well-bonded and the bubbles are isolated.
Pop each bubble with a utility knife. Scrape out loose material inside. You want a clean, firm edge around each void. Feather the edges so there’s no hard lip. Vacuum thoroughly to remove dust.
Clean the exposed concrete with denatured alcohol. This removes any residue and evaporates completely. Let it dry, then apply a thin coat of the same epoxy to the bare spots. Overfill slightly so it stands proud of the surrounding surface.
After the patch coat gels but before it fully hardens, sand it flush with 80-grit paper on a sanding block. This blends the repair into the existing finish. Wipe clean and apply a final topcoat over the entire floor to even out the appearance.
Color matching is the challenge. Patched spots often show even after topcoating, especially in solid colors. Decorative flake finishes hide repairs better because the randomness masks slight variations.
For larger bubbled areas (more than 10% coverage) or sections where the coating is peeling, spot repairs don’t hold up. The surrounding coating is likely compromised even if it looks okay. Stripping and recoating that section, or the entire floor, becomes the better long-term solution.
When to Strip and Start Over
Complete coating failure means stripping to bare concrete. Signs include widespread blistering, large delaminated sections, or bubbles that return shortly after repair. This isn’t the outcome anyone wants, but fighting a failing coating costs more time and material than doing it right once.
Mechanical removal is most reliable. Grinders with diamond cup wheels take off epoxy and contaminated concrete in one pass. Scarifiers work faster on larger floors. Chemical strippers exist but often leave residues that interfere with the new coating. If you use them, follow with aggressive cleaning and neutralizing.
Shot blasting delivers the cleanest profile but requires renting specialized equipment. The cost makes sense on larger floors where you need both removal and profiling in one step. Smaller residential garages usually stay with grinding.
After stripping, assess why the first coating failed. Don’t repeat the same mistakes. Test for moisture, verify the slab is sound, check for contamination, and confirm environmental conditions before recoating. Understanding the causes of concrete cracking helps identify whether structural issues contributed to the coating failure.
Consider upgrading to a more forgiving system. 100% solids epoxies are less sensitive to moisture and outgassing than water-based or lower-solids products. Polyaspartic topcoats add flexibility and UV resistance that straight epoxy lacks. The material cost difference is modest compared to the labor of doing the job twice.
Prevention Strategies for Future Applications
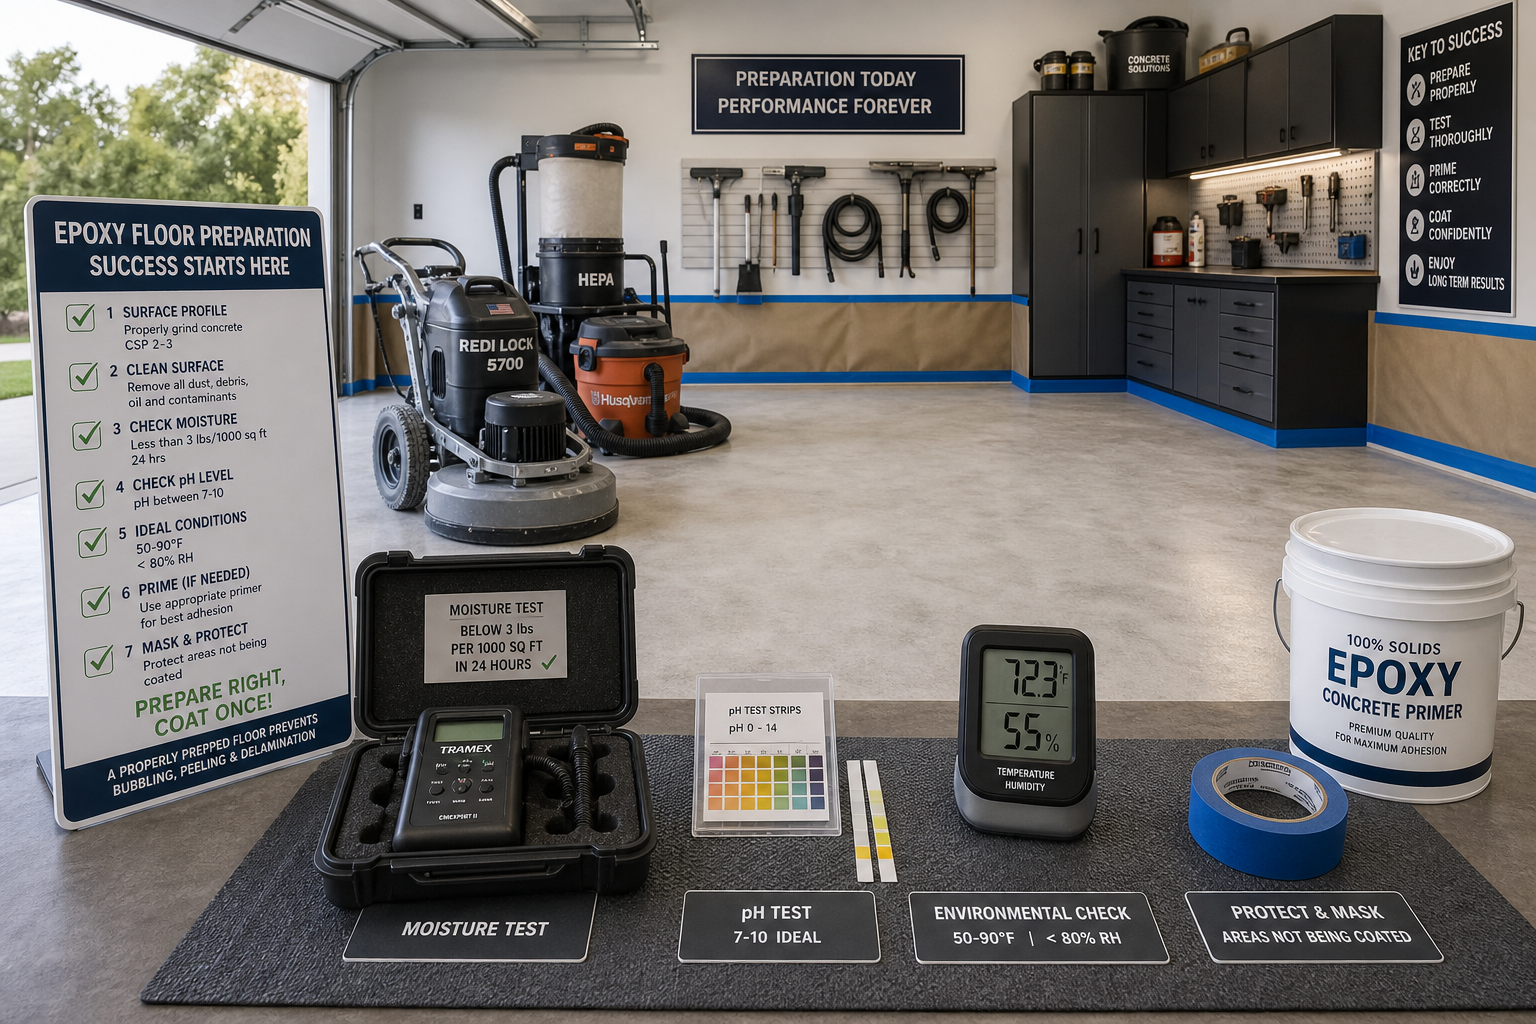
Temperature management prevents most outgassing bubbles. Coat in the evening when temperatures are falling, ideally between 60 and 75 degrees. Avoid mornings when the slab is warming up. Check the forecast for the entire cure period. A heat spike the day after application can still cause bubbles.
Prime porous concrete before the main coat. A thinned first coat (cut with 10 to 15% solvent) penetrates deep and seals the pores. It also reveals problem areas. If the primer bubbles or fails to penetrate evenly, you know there’s an issue before committing to the full system.
Understanding proper garage floor primer application can make the difference between a coating that lasts years or fails within months.
Back-rolling matters. After spreading epoxy with a roller, go over it again with light pressure to pop surface bubbles. Use a spiked roller for even better results. The spikes break bubbles as they form and help release trapped air.
Work in small, manageable sections for better quality control. For floor coatings, that means strips the width of your roller from back to front. For wall systems, complete one section fully before starting the next. Rushing large areas creates inconsistencies and errors.
Moisture testing is non-negotiable. Run the plastic sheet test at minimum. Better yet, use calcium chloride testing for quantified results. If you’re over the limit, wait for the slab to dry or apply a vapor barrier system.
Clean beyond what seems necessary. Degrease, rinse, degrease again, rinse again. Then grind or etch to remove any contaminated concrete and create proper profile. Cleaning takes half the project time when done right, but it determines whether the coating lasts years or months.
Environmental Factors to Control
Humidity during application affects cure and bubble formation. Epoxy systems have maximum humidity limits, usually around 85%. Above that, moisture can interfere with curing or cause blushing (a cloudy surface film). Use a hygrometer to check conditions before starting.
Ventilation helps but can hurt if overdone. Gentle air movement speeds solvent evaporation and helps bubbles escape. High airflow cools the surface, which can slow cure and make the coating too viscous to self-level. Crack a garage door and use a low-speed fan, but don’t create a wind tunnel.
Direct sunlight on fresh epoxy accelerates
