

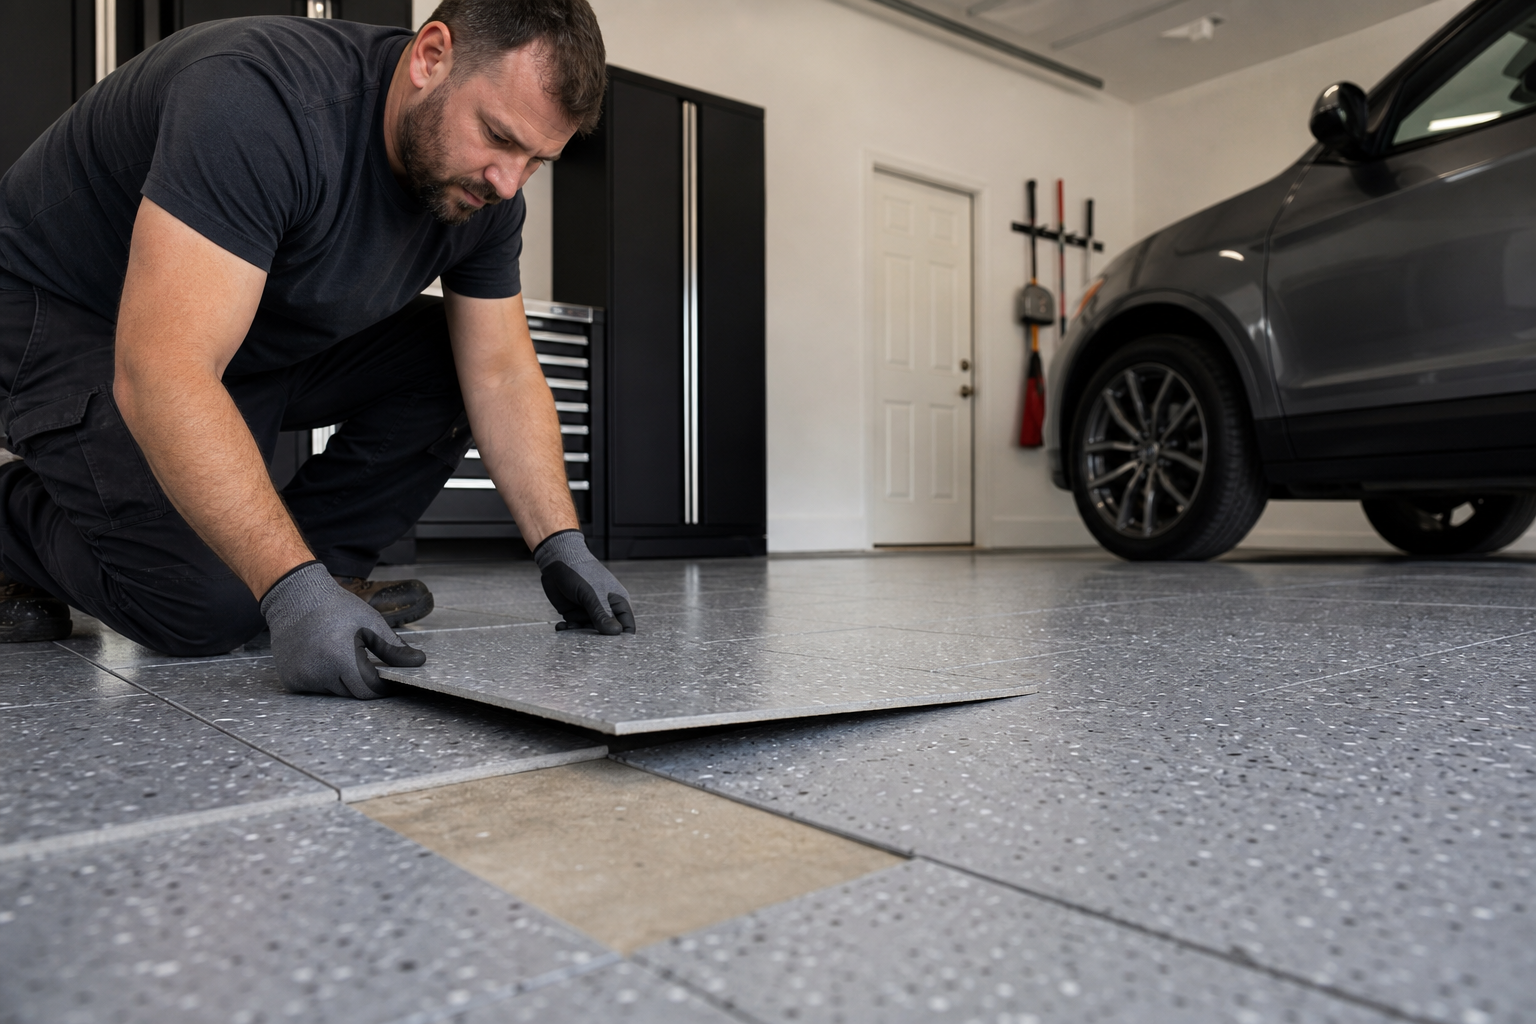
When your garage floor tiles start lifting, the temptation is to rip everything out and start over. In reality, the cause is usually simpler and cheaper than expected. Most lifting happens for a handful of specific reasons, and each one has a simple fix if you catch it early.
The key is working through possibilities systematically rather than guessing. A misdiagnosis wastes money on materials that don’t address the root problem. Below, you’ll find each common cause with specific diagnostic steps and fixes. Grab a flashlight and your basic toolkit, then work through these from easiest to most involved.
Understanding Why Tiles Lift
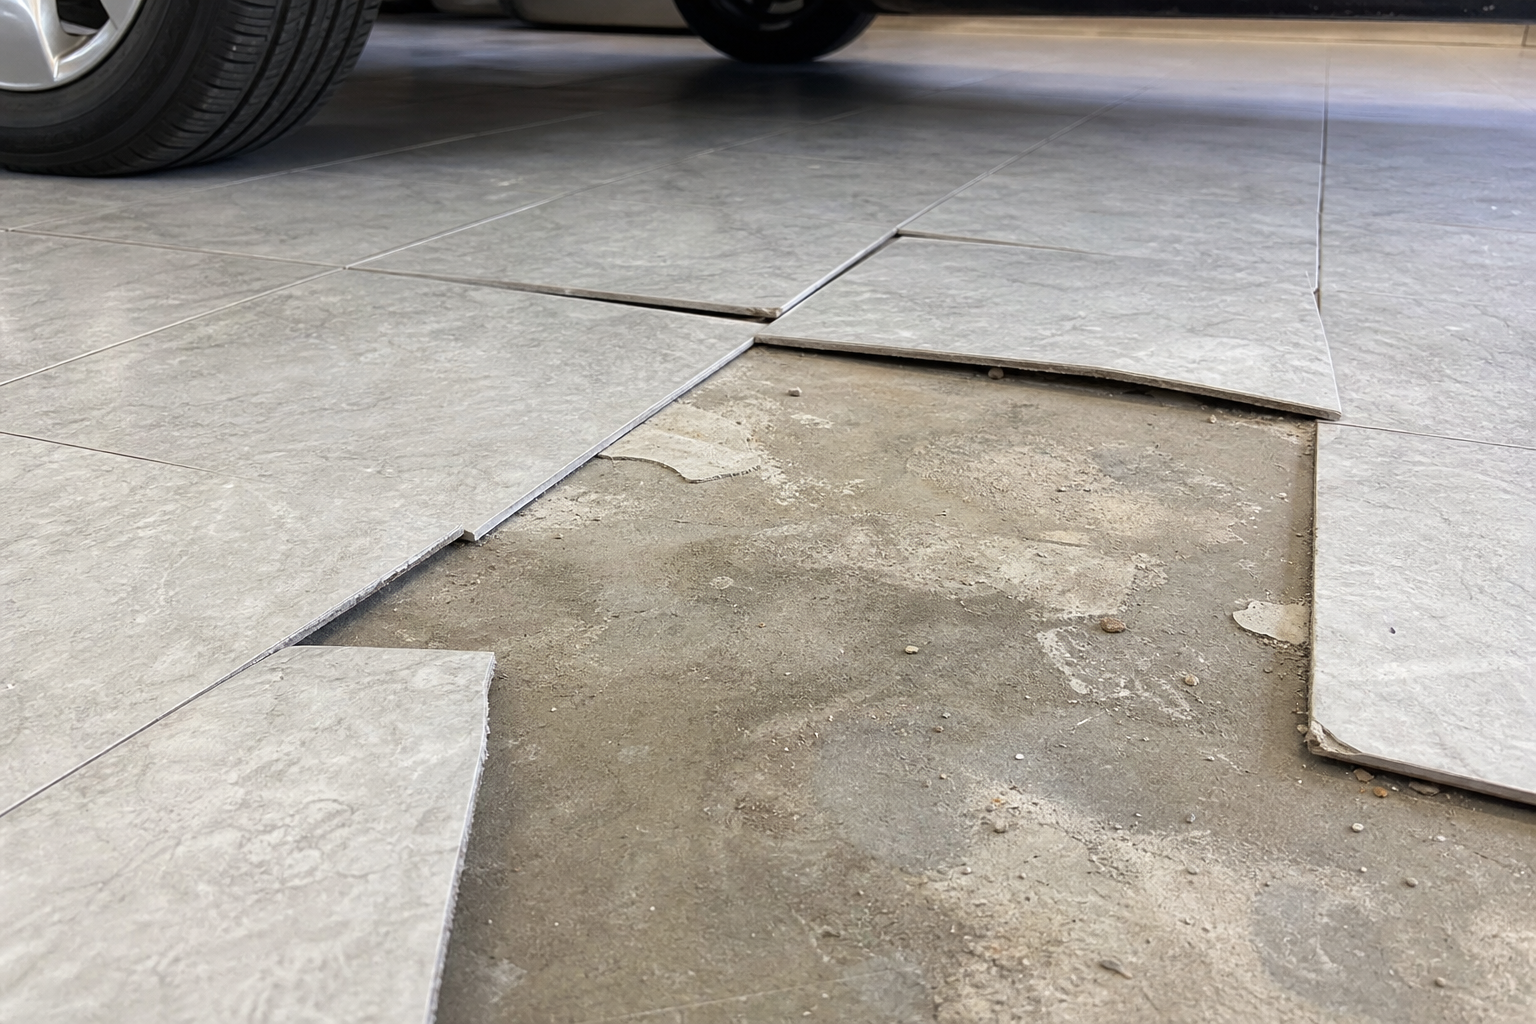
Interlocking garage floor tiles are designed to float over the slab without adhesive. They expand and contract with temperature changes, which is normal. But when individual tiles or entire sections start buckling upward or separating at the seams, something has disrupted that balance.
Three culprits cause most lifting: moisture coming through the slab, adhesive failure on glue-down tiles, and temperature swings that exceed the tile’s expansion tolerance. A fourth, less common cause is an uneven substrate that wasn’t properly prepped before installation.
Start by identifying which tiles are affected and whether the pattern is localized (a few tiles near one area) or widespread (entire sections across the garage). Localized lifting usually points to a moisture issue or a slab defect in that spot. Widespread lifting suggests temperature-related expansion or adhesive failure across the installation.
Check the seams. If tiles have separated but aren’t buckling upward, you’re likely dealing with normal expansion that’s gone a bit too far. If tiles are curling at the edges or humping in the middle, moisture or adhesive problems are more likely. For detailed guidance on repairing separated interlocking tiles, the diagnostic steps remain similar but the solutions differ slightly.
Diagnosing Moisture Issues
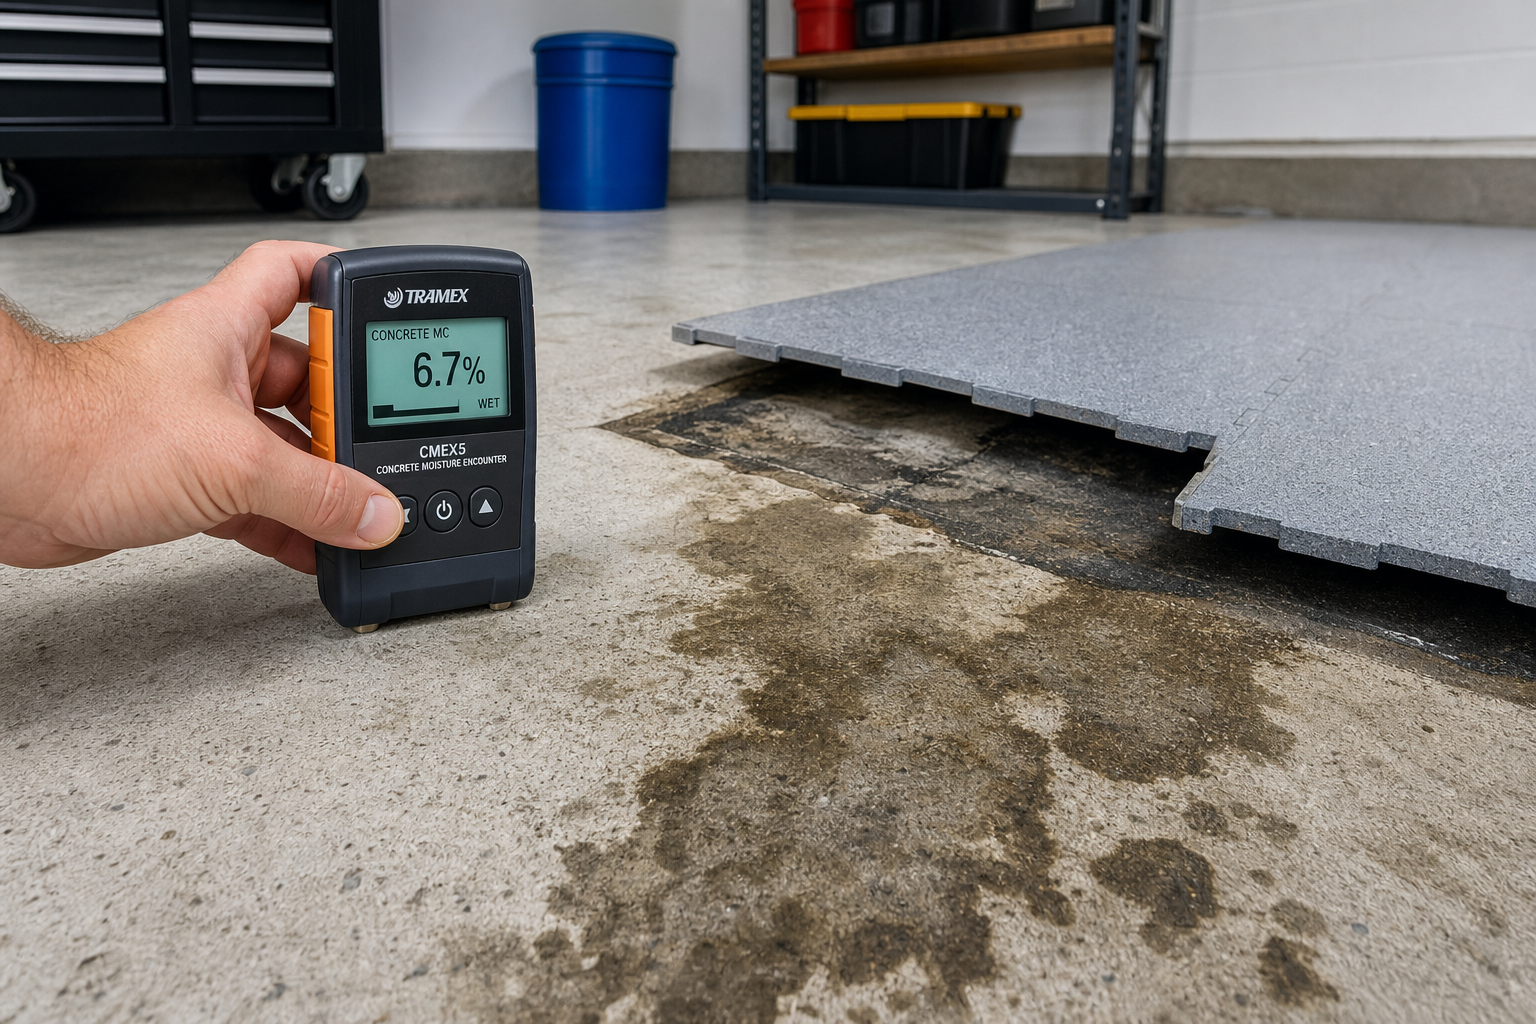
Moisture in a garage comes from two primary sources. Vapor transmission moves water through the concrete slab from soil below. Condensation forms when warm humid air contacts the cooler slab surface. Each requires a different solution, and treating the wrong one wastes time and money.
A simple plastic sheet test identifies which type you have. Tape a 2-foot square of plastic flat on the floor, seal all edges with duct tape, and leave it 48 hours. Moisture on top of the plastic means condensation (humidity issue). Moisture underneath means vapor transmission (slab issue).
If you see moisture underneath, the slab is transmitting vapor. This is common in garages without a proper vapor barrier beneath the concrete. Water from the soil below moves up through the slab and gets trapped under the tiles, causing them to lift. The fix is a vapor barrier coating applied directly to the concrete before reinstalling tiles. Epoxy-based sealers and specialized moisture mitigation primers both work.
If moisture shows on top of the plastic, you have a condensation problem. This happens when your garage is humid and the slab stays cool. The solution is controlling humidity with a dehumidifier (especially in summer) and improving ventilation. Adding insulation to the garage door and walls also helps by keeping the slab temperature closer to the air temperature, which reduces condensation. Understanding why garage floors feel cold can help you address the temperature differential that contributes to condensation issues.
Don’t skip the plastic sheet test. Applying a vapor barrier when the real issue is condensation won’t stop the lifting because moisture is forming on top of the slab, not coming through it.
Fixing Adhesive Failure on Glue-Down Tiles
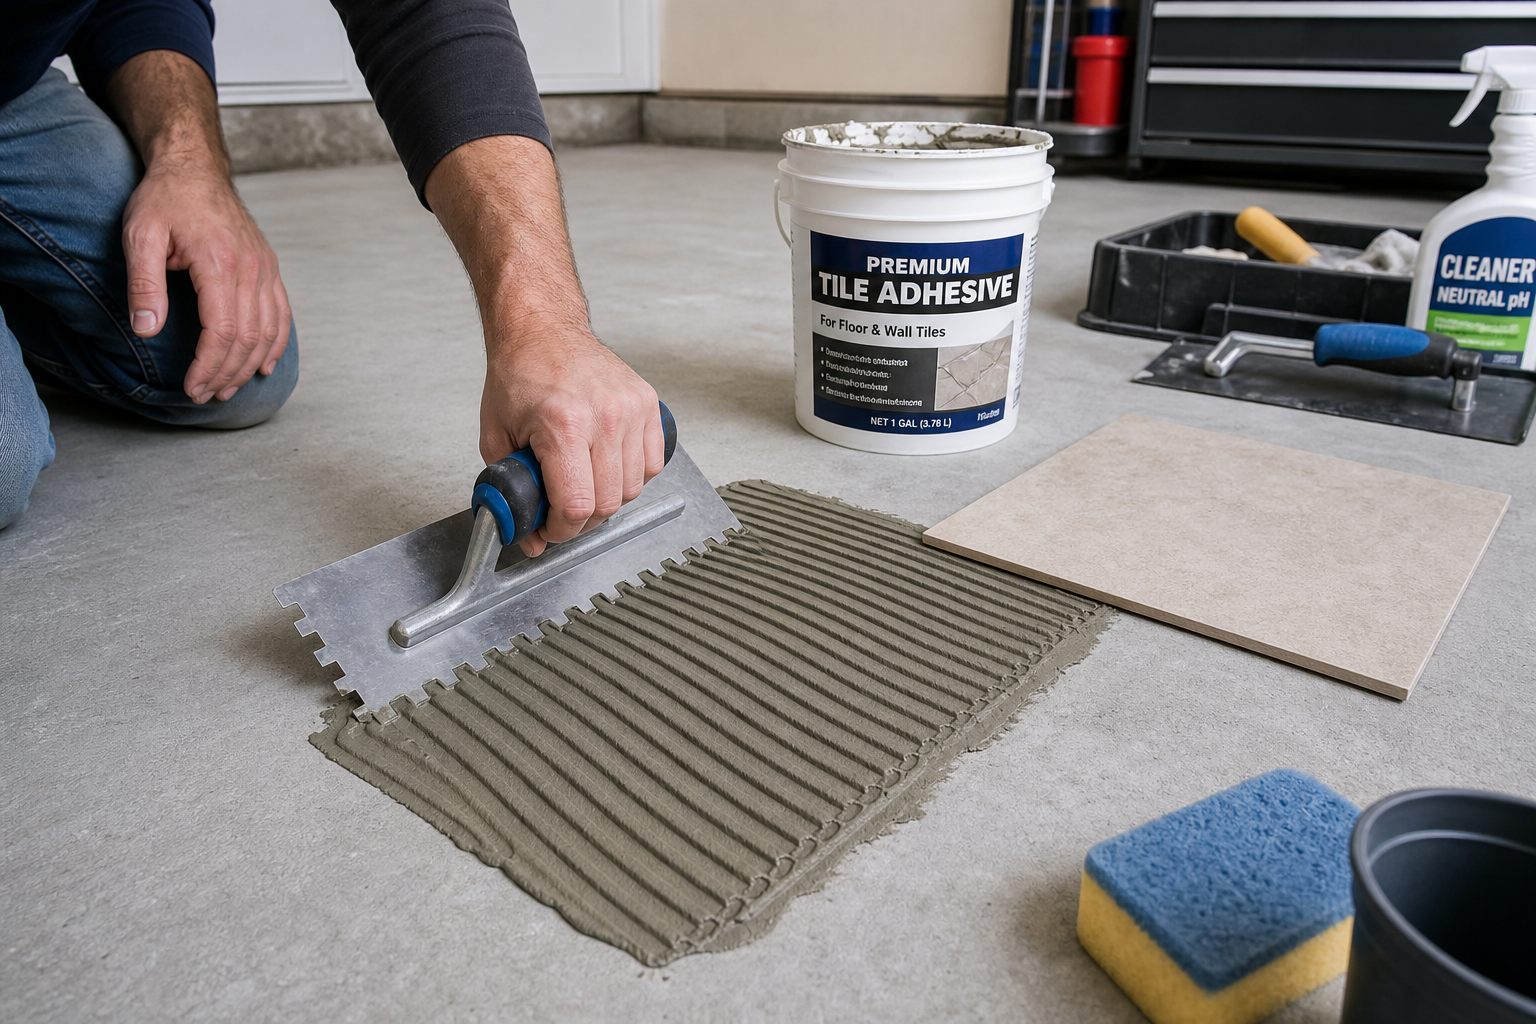
Some garage floor tiles are designed to be glued down rather than floating. If you have glue-down tiles and they’re lifting, the adhesive either wasn’t applied correctly or the slab wasn’t properly prepped before installation.
Pull up a lifted tile and check the back. If there’s little to no adhesive residue, the installer didn’t use enough. If the adhesive is there but dried out and crumbly, it’s failed due to moisture or poor bonding with the concrete.
Clean both the tile back and the slab surface thoroughly. Use a scraper to remove old adhesive, then wipe with denatured alcohol. The slab should be dust-free and dry. Any oil, grease, or moisture will prevent the new adhesive from bonding.

Urethane Flooring Adhesive
Essential for proper tile adhesion to concrete surfaces
Use a high-quality urethane-based flooring adhesive rated for concrete. Spread it with a notched trowel following the manufacturer’s coverage rate. Don’t skimp. Too little adhesive is the most common DIY mistake. Press the tile firmly into place and weight it down with sandbags or concrete blocks for 24 hours while the adhesive cures.
If multiple tiles have failed, you’re better off pulling the entire floor and starting fresh with proper slab prep. That means grinding or acid-etching the concrete to open the pores, then applying a primer before the adhesive. Skipping these steps sets you up for repeat failure.
For proper floor preparation techniques, check out our guide on how to seal garage floors before coating, which covers many of the same prep principles.
Addressing Temperature-Related Expansion
Interlocking tiles expand when heated and contract when cooled. A 20-degree temperature swing can cause a two-car garage floor to grow or shrink by a quarter-inch or more. If the tiles are installed too tightly with no expansion gap at the walls, they have nowhere to go but up.
Check the perimeter. There should be a 1/4-inch to 1/2-inch gap between the edge tiles and the wall. If the tiles are butted tight against the wall or baseboards, they’ll buckle when temperatures rise.
Pull up the perimeter tiles and trim them to create the proper gap. A utility knife works for most plastic and rubber tiles. For rigid PVC tiles, use a fine-tooth saw. Reinstall with the gap in place. The gap will be hidden by the baseboard or wall trim, so it won’t affect appearance.
If your garage sees extreme temperature swings (common in uninsulated garages in four-season climates), consider adding insulation to moderate the temperature range. Insulating the garage door alone can reduce interior temperature swings by 10 to 15 degrees, which makes a noticeable difference in floor stability.
Some tile materials handle temperature changes better than others. Rigid PVC tiles are more prone to expansion issues than flexible rubber or foam tiles. If you’re in a climate with harsh summers and winters and your PVC tiles keep lifting despite proper gaps, switching to a more flexible material might be the long-term solution.
Dealing with Uneven Slabs
If your slab has dips, cracks, or high spots, tiles won’t sit flat. Over time, the stress of being forced into an uneven plane causes them to lift or crack at the seams.
Run a straight edge across the floor in multiple directions. Gaps of more than 1/8 inch over a 10-foot span indicate unevenness that needs correction. Small dips can be filled with self-leveling concrete.
High spots need grinding. Rent a concrete grinder for the day. Wear a respirator rated for concrete dust and seal off the garage from the house. Grind high areas until they’re within tolerance, then vacuum thoroughly and wipe with a damp cloth.
For garages with extensive unevenness (old slabs with settlement cracks, poorly finished concrete), a full self-leveling pour might be the better option. This involves pouring a thin layer of self-leveling compound over the entire slab to create a flat surface. It’s more expensive but it solves the problem permanently.
Repair Kits and Quick Fixes
If you’ve got one or two tiles lifting and you’ve ruled out moisture, adhesive, and temperature issues, a repair kit can get you back in business without pulling the whole floor.
Most tile manufacturers sell repair kits that include replacement tiles, connectors, and installation tools. Make sure you’re buying from the same manufacturer and the same product line. Tiles from different manufacturers or even different product lines from the same manufacturer often won’t interlock properly.
To replace a damaged tile, remove it by lifting one edge and working around the perimeter to release the interlocking tabs. Clean the slab underneath, check for moisture or debris, then snap the new tile into place. If the tabs are damaged on adjacent tiles, you may need to replace those as well to get a solid connection.
For tiles that have lifted but aren’t damaged, you can often re-seat them by cleaning the underside and the slab, then pressing them back into place. Weight them down for 24 hours to help them settle. If they lift again, the issue is likely moisture or expansion, not just a loose tile.
Preventing Future Problems
Once you’ve fixed the immediate lifting issue, take steps to prevent it from happening again. If moisture was the culprit, run a dehumidifier in the garage during humid months and make sure gutters and downspouts direct water away from the foundation.
If temperature swings caused the problem, add insulation to moderate those swings. Start with the garage door, which is the largest surface area and the thinnest barrier. A basic insulation kit installs in a few hours. Adding wall insulation and weatherstripping around the perimeter takes more time but makes a bigger difference.
If adhesive failure was the issue, proper slab prep is non-negotiable for any future installations. Don’t skip the primer. Don’t skimp on adhesive. Follow the manufacturer’s instructions exactly, especially regarding temperature and humidity conditions during installation.
For expansion-related lifting, maintain proper perimeter gaps and avoid installing tiles on extremely hot or cold days when the material is at the extreme end of its expansion range. Install when the garage is at a moderate temperature so the tiles are in the middle of their expansion cycle. When selecting replacement materials, consider floor mats designed for heavy equipment if your garage houses substantial machinery that could stress standard tiles.
Sealing Entry Points
While fixing lifted tiles, take the opportunity to seal gaps and cracks in the slab itself. Cracks wider than 1/8 inch should be filled with a flexible concrete crack filler. This prevents moisture from wicking up through the crack and also stops the crack from widening under the tiles.
Steel wool packed into openings and secured with expanding foam stops rodents (foam alone gets chewed through). Copper mesh is even better. For larger gaps, 1/4-inch galvanized hardware cloth screwed in place creates a permanent, chew-proof barrier.
The garage door bottom seal is the most common pest entry point. A 1/4-inch gap admits mice, insects, and spiders. Inspect the entire seal length for cracks, compressed areas, or hardened rubber that no longer contacts the ground fully.

