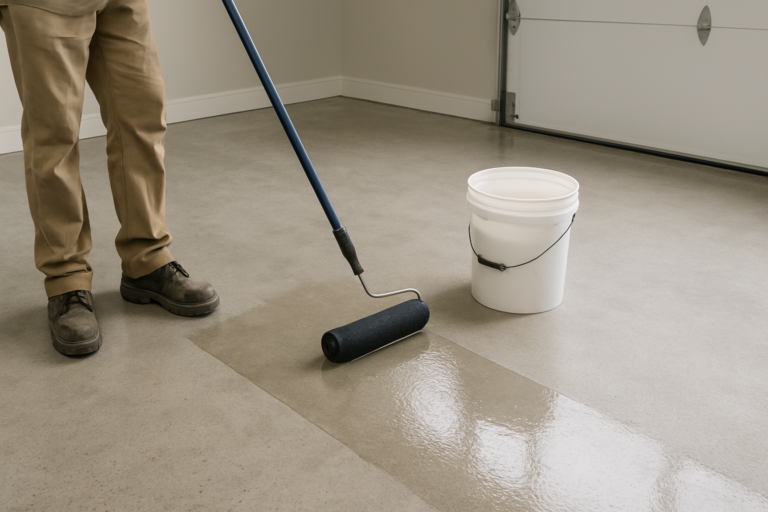
You’ve decided to coat your garage floor with epoxy, and you’re ready to transform that dull, stained concrete into a showroom-worthy surface. But before you crack open that epoxy kit, there’s a crucial step many DIYers skip: properly sealing and preparing the concrete substrate. Skip this prep work, and you’ll end up with bubbling, peeling epoxy within months. Get it right, and your floor will look fantastic for years.
Sealing concrete before epoxy isn’t always necessary, but understanding when and why to do it can save you from costly mistakes. The term “sealing” in this context actually refers to several different preparation steps, including moisture vapor barriers, crack repairs, and contamination removal. Let’s break down exactly what your concrete needs before that epoxy goes down.
Understanding Moisture Vapor Transmission
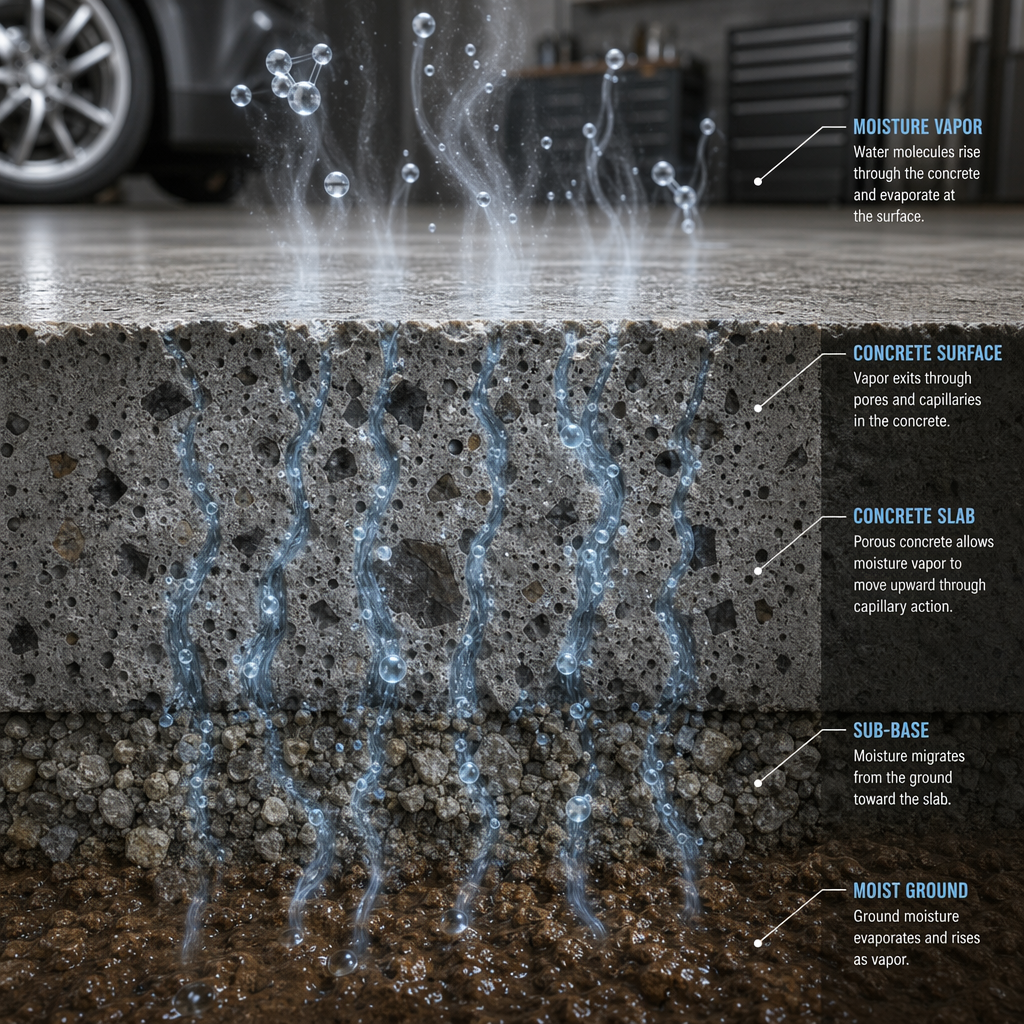
The biggest enemy of epoxy adhesion is moisture coming up through your concrete slab. Concrete is porous, and if you have moisture vapor transmission (MVT), your epoxy will fail. Period. This happens when water vapor from the ground beneath your slab pushes upward through the concrete, getting trapped under the epoxy coating and causing bubbles, blisters, or complete delamination.
Before applying epoxy, you need to test for moisture. The simplest method is the plastic sheet test: tape a 2×2 foot piece of clear plastic to your floor, seal all edges with tape, and wait 24 hours. If you see condensation on the underside of the plastic or darkened concrete underneath, you have a moisture problem.
For a more accurate assessment, use a calcium chloride moisture test kit. These measure the actual moisture vapor emission rate (MVER). Most epoxy manufacturers recommend an MVER below 3 pounds per 1,000 square feet per 24 hours. Anything higher, and you’ll need to address the moisture before proceeding.
When You Need a Moisture Vapor Barrier
If your moisture tests show problems, you’ll need a moisture vapor barrier primer before your epoxy topcoat. These specialized primers are designed to block moisture transmission while still allowing the epoxy to bond properly. Products like moisture vapor barrier primers create a protective layer that prevents water vapor from reaching your decorative epoxy coating.
Newer concrete (less than 60 days old) is particularly prone to moisture issues since it’s still curing and releasing moisture. Slabs without proper vapor barriers installed during construction or those in high water table areas also frequently need this extra protection. Basements and lower-level garages are especially susceptible.
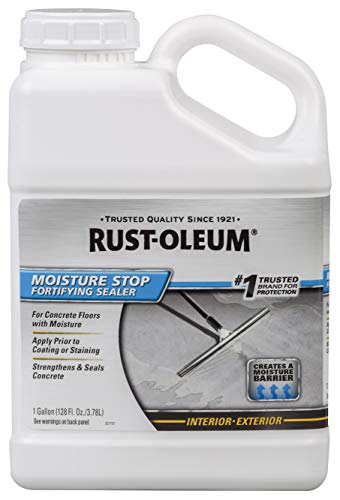
Rust-Oleum Moisture Stop Primer
One of the most effective moisture-blocking primers that works under epoxy coatings
Dealing With Existing Sealers
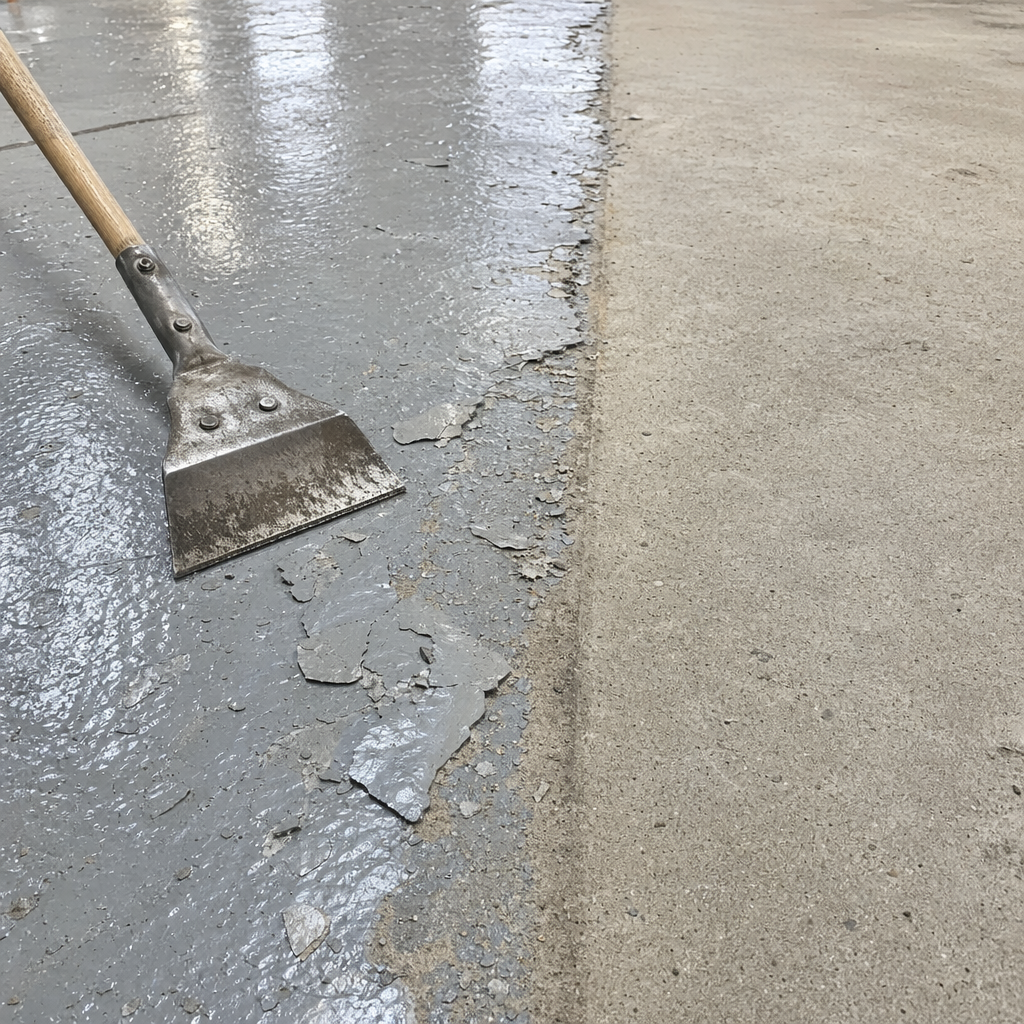
Here’s where terminology gets confusing. Many people use “sealing” to mean applying a topical concrete sealer, which is actually something you need to remove before epoxy application. If your concrete was previously treated with an acrylic sealer, cure-and-seal product, or any other topical coating, that layer must come off completely or your epoxy won’t bond.
You can test for existing sealers by splashing water on the concrete. If the water beads up instead of soaking in, you’ve got a sealer. Another test: scratch the surface with a key or screwdriver. If you see a clear or whitish coating coming off, there’s definitely something there.
Removing old sealers requires aggressive mechanical preparation. A floor grinder with diamond grinding wheels is the most effective method. You can rent these from equipment rental stores, but they’re heavy and require some skill to operate smoothly. Chemical strippers work on some sealers but often leave residue that interferes with epoxy bonding.
Repairing Cracks and Surface Damage
Epoxy isn’t thick enough to fill significant cracks or damage, and any existing cracks will telegraph through your coating. Worse, cracks allow moisture pathways that compromise adhesion. You need to repair all cracks, spalls, and damaged areas before epoxy application.
For hairline cracks (less than 1/8 inch wide), an epoxy crack filler works well. These low-viscosity products seep deep into narrow cracks and bond the concrete together. Wider cracks need to be routed out with a crack chaser or angle grinder to create a V-groove, then filled with a thicker epoxy concrete crack filler.
For spalled or damaged areas where chunks of concrete have broken away, you’ll need a concrete patching compound. Make sure to use a product specifically designed for bonding to existing concrete. Sand the repair flush with the surrounding surface once it cures. Any raised areas will show through your epoxy and look terrible.
Control Joints and Expansion Cracks
Control joints are those grooves cut into concrete to control where cracking occurs. You have two options: fill them or leave them exposed. Filling creates a smoother surface but requires flexible epoxy or polyurea joint fillers since these joints exist to allow movement. Leaving them exposed means accepting visible lines in your finished floor, but it’s more honest to the concrete’s actual behavior.
Oil Stain and Contamination Removal
Oil stains, grease, gasoline, antifreeze, and other automotive fluids prevent epoxy from bonding. Even if you can’t see stains, oil often penetrates deep into garage floor concrete over years of use. This contamination must be completely removed before coating.
Start with a degreaser specifically formulated for concrete. Apply it generously to all stained areas, scrub with a stiff brush, and let it dwell for the recommended time. Hot water pressure washing helps lift the dissolved contaminants. You’ll likely need multiple applications for heavy staining.
Oil Eater Cleaner Degreaser
Biodegradable formula that’s highly effective on garage floor oil stains without harsh acids
For particularly stubborn oil stains, you may need to use a concrete grinder to remove the top layer of contaminated concrete. This is more work but guarantees complete removal. Some professionals use chemical oil stain removers that draw oil out of the concrete through a poultice action, but results vary.
After degreasing, test the area by sprinkling water on it. The water should soak in evenly. If it still beads up or looks oily, you’re not done cleaning yet. A final test: tape plastic over the cleaned area overnight. Any oily residue or odor means you need to clean more aggressively.
Mechanical Surface Preparation
Even clean, crack-free concrete needs surface profiling before epoxy application. Epoxy bonds through mechanical adhesion, which requires a slightly rough surface texture. Smooth, troweled concrete or concrete with a hard surface layer won’t provide enough tooth for proper bonding.
Acid etching used to be the standard preparation method, and some epoxy kits still recommend it. You apply muriatic acid solution to the floor, let it fizz and react with the concrete, then rinse thoroughly. While this works on some floors, acid etching is inconsistent. Dense, hard concrete may barely react, while softer concrete can be over-etched. Plus, acid is hazardous to work with and creates disposal problems.
Diamond grinding is far superior. A concrete grinder equipped with diamond abrasives mechanically grinds away the top layer of concrete, exposing fresh aggregate and creating perfect surface profile. You can rent walk-behind grinders for larger garages or use handheld concrete grinders for smaller areas.
Proper Surface Profile
The International Concrete Repair Institute (ICRI) defines concrete surface profiles (CSP) on a scale from CSP 1 (nearly smooth) to CSP 10 (extremely rough). For epoxy coatings, you want a CSP 2 to CSP 4, which feels like 60 to 80 grit sandpaper. This provides enough texture for the epoxy to grab without creating voids that might trap air bubbles.
After grinding, vacuum the entire floor thoroughly using a HEPA shop vacuum. Concrete dust is incredibly fine and will contaminate your epoxy if not removed. Wipe the floor with a damp cloth as a final cleaning step, then let it dry completely before coating.
Final Prep Before Coating
Your concrete is now repaired, clean, and profiled, but don’t rush to apply epoxy yet. The surface must be completely dry. Depending on humidity and temperature, this can take 24 to 48 hours after your final cleaning. Use a moisture meter to verify the concrete is below 4% moisture content, or tape down plastic sheets again to ensure no moisture appears.
Temperature matters too. Most epoxy products require substrate temperatures between 50°F and 90°F for proper curing. Measure the actual concrete temperature, not just the air temperature. Cold concrete in winter or early spring can be below the minimum even when the air feels comfortable. Use an infrared thermometer for accurate readings.
Check your garage for humidity levels. Extremely high humidity (above 85%) can interfere with epoxy curing and cause surface blush or other defects. A digital hygrometer lets you monitor conditions and choose the best application window.

Klein Tools ET130 Digital Thermometer
Accurate infrared thermometer perfect for checking concrete surface temperature before coating
Finally, mask off any areas you don’t want coated, including walls, door thresholds, and any equipment or cabinets you can’t move. Have all your epoxy materials ready, mixed according to the manufacturer’s instructions, and apply within the specified pot life. Proper preparation means the actual epoxy application will be the easy part.
When Sealing Isn’t Necessary
Not every concrete floor needs extensive prep beyond basic cleaning and profiling. New concrete with proper vapor barriers installed during construction, well-drained slabs in dry climates, and concrete that passes all moisture tests can often be coated directly after mechanical preparation and cleaning.
Some modern epoxy systems include built-in primers that provide moisture tolerance and enhanced adhesion in a single product. These 100% solids epoxy primers can often replace separate moisture barrier primers and reduce the number of coats needed. Check with your epoxy manufacturer’s technical data sheets to see what’s required for your specific product.
Frequently Asked Questions
Do I need to seal new concrete before applying epoxy?
New concrete doesn’t need a topical sealer before epoxy, but it must cure for at least 28 days (preferably 60 days) before coating. New concrete releases moisture as it cures, which can cause epoxy failure. Test for moisture vapor transmission even with new concrete, especially if a vapor barrier wasn’t installed under the slab during construction. You may need a moisture vapor barrier primer rather than a traditional sealer.
Can I apply epoxy over old concrete sealer?
No, epoxy won’t bond properly over most concrete sealers. Acrylic sealers, cure-and-seal products, and other topical treatments create a barrier that prevents epoxy adhesion. You must remove existing sealers completely through grinding, shot blasting, or chemical stripping. Test by scratching the surface and watching how water reacts. If water beads up, there’s still sealer present that needs removal.
How do I know if my concrete has moisture problems?
Perform a plastic sheet test by taping a 2×2 foot piece of clear plastic to the floor with all edges sealed. Wait 24 hours and check for condensation or darkened concrete. For accurate measurements, use calcium chloride moisture test kits that quantify moisture vapor emission rates. Most epoxies require rates below 3 pounds per 1,000 square feet per 24 hours. Moisture problems are more common in basements, slabs without vapor barriers, and areas with high water tables.
What’s the difference between concrete sealer and epoxy primer?
Concrete sealers are topical protective coatings designed to penetrate or sit on top of concrete, protecting it from water and stains. They’re usually not compatible with epoxy topcoats. Epoxy primers are specially formulated base coats that bond to concrete and provide an ideal surface for epoxy topcoats. Moisture vapor barrier primers are a specific type of epoxy primer designed to block moisture transmission while still allowing mechanical bonding of subsequent epoxy layers.
This article contains affiliate links. We may earn a small commission at no extra cost to you.