

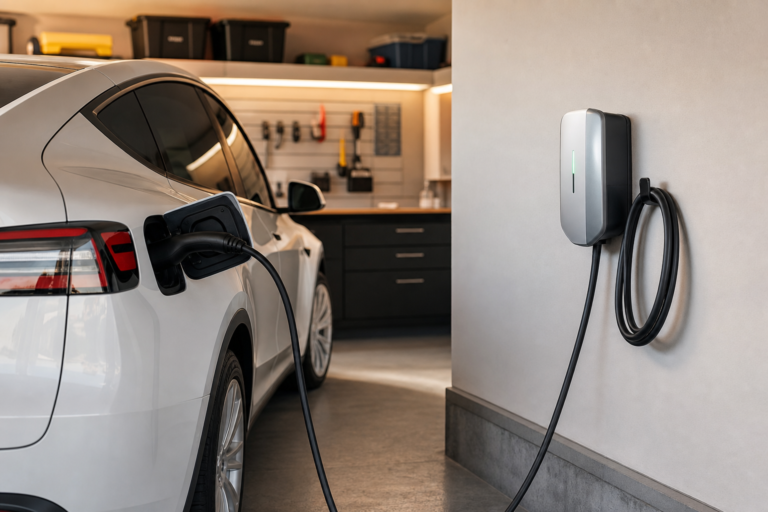
Deciding to add EV charging to your garage is a smart upgrade that boosts home value and makes daily vehicle charging convenient. Most installations happen over one to three days depending on your existing electrical setup and whether you need a panel upgrade.
The details matter: wire gauge, breaker sizing, charger placement, and permit requirements all determine whether you end up with a safe, code-compliant installation or an expensive mistake that needs redoing.
Here’s the complete process organized into manageable steps. Read through it entirely first, then work section by section. This guide is designed for homeowners who want to understand what’s involved before hiring an electrician or tackling the simpler parts themselves.
Understanding the Basics
Level 2 EV chargers operate on 240 volts, delivering 16 to 48 amps. A 32-amp charger adds about 25 miles of range per hour; a 48-amp unit reaches around 37 miles per hour.
For most commuters driving 30 to 50 daily miles, a 32-amp charger handles overnight charging with hours to spare. If you’re driving 80-plus miles daily or own a large EV with a 100-kWh battery, a 48-amp charger makes sense. Otherwise, 32 amps is the sweet spot for cost versus charging speed.
Plug-in chargers (using a NEMA 14-50 outlet) are easy to move or replace. Hardwired models mount cleaner and are more permanent but need an electrician for changes. Choose based on whether you value portability or a streamlined look.
Plug-in models make sense if you might relocate, upgrade to a different charger model, or want the flexibility to move the unit between properties. Hardwired installations look tidier with no outlet box visible and slightly reduce failure points.

Level 2 EV Charger 240V
Best options for home garage installations with good balance of features and reliability
Smart charger features (WiFi, app scheduling, energy tracking) save money through off-peak charging. If your utility has time-of-use pricing, overnight rates can cut charging costs 30 to 50% versus daytime power. Check your utility’s rate structure before buying.
If you pay a flat rate regardless of time, smart features still help you track usage but won’t save money on the power bill. In states with aggressive time-of-use pricing (California, Hawaii, parts of the Northeast), smart scheduling pays back the feature cost within a year.
Load Calculations and Panel Capacity
Load calculations determine whether your existing electrical panel can handle the additional draw. This is an area where cutting corners comes back to haunt you. Invest the effort upfront and you’ll save significant time and money over the next several years of use.
Start by checking your panel’s total amperage. Most homes have 100-amp, 150-amp, or 200-amp service. Look at the main breaker at the top of the panel; it’s labeled with the amperage.
A 200-amp panel gives you the most flexibility. A 100-amp panel often requires an upgrade if you’re adding a 40- or 50-amp circuit for an EV charger, especially in homes that already run electric heat, central air, and a handful of 240V appliances.
Add up your existing continuous loads. Include your HVAC system, water heater, range, dryer, and any other 240V circuits. Add 25% of the total to account for starting surges.
If that number plus your planned EV charger exceeds 80% of your panel’s rated capacity, you need an upgrade. For a 100-amp panel, that threshold is 80 amps. For a 200-amp panel, it’s 160 amps.
Panel upgrades run competitively priced to competitively priced depending on your area and whether the utility needs to replace the meter or service drop. The electrician pulls a permit, installs a larger panel, and coordinates with the utility to upgrade the service if needed. This adds a week or two to the project timeline but solves the capacity problem permanently.
If you’re close to the limit but not over, consider load management devices. These boxes monitor total household draw and temporarily reduce the EV charger’s amperage when other high-draw appliances kick on. They competitively priced to competitively priced installed and let you avoid a panel upgrade in borderline cases.
Selecting Amperage and Charger Type
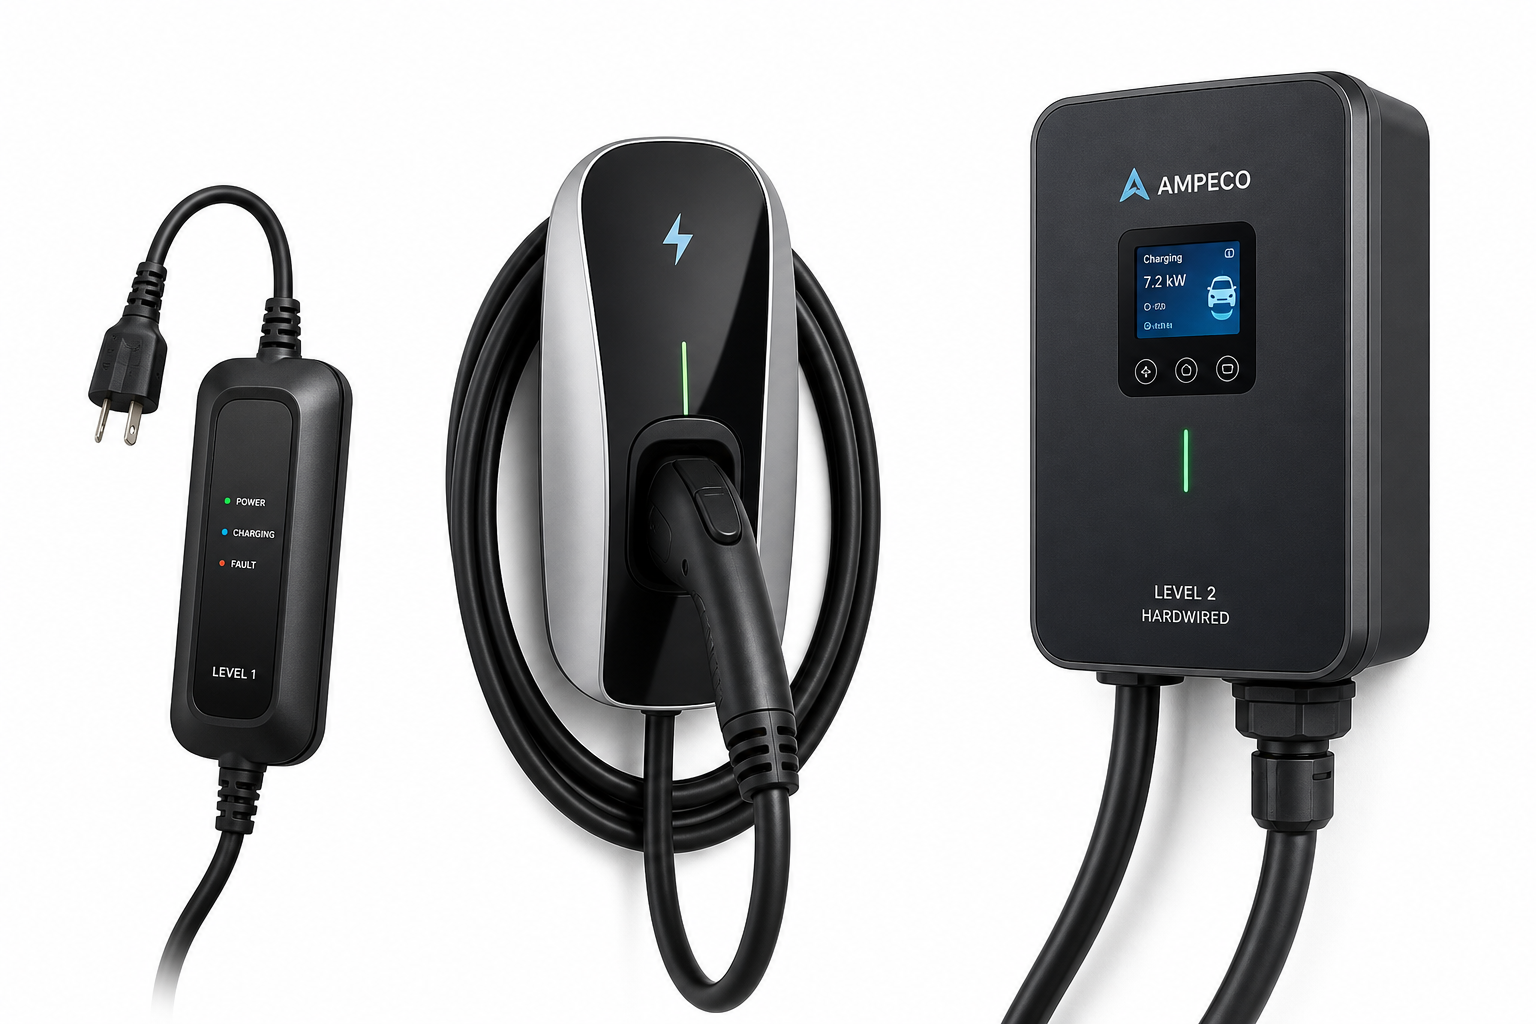
Selecting amperage involves matching the charger to your vehicle’s onboard charger capacity and your daily driving needs. The vehicle’s onboard charger is the limiting factor.
A Nissan Leaf (6.6 kW onboard charger) maxes out at about 28 amps even if you install a 48-amp circuit. A Tesla Model 3 Long Range (11.5 kW onboard charger) can use a full 48-amp circuit. Check your vehicle’s specs before choosing a charger.
Most installations use either a 40-amp or 50-amp circuit. A 40-amp circuit supports a 32-amp charger (continuous load must be 80% of breaker rating). A 50-amp circuit supports a 40-amp charger. Both handle overnight charging for typical commutes.
The difference shows up when you need a faster top-up or you’re charging a near-empty battery.
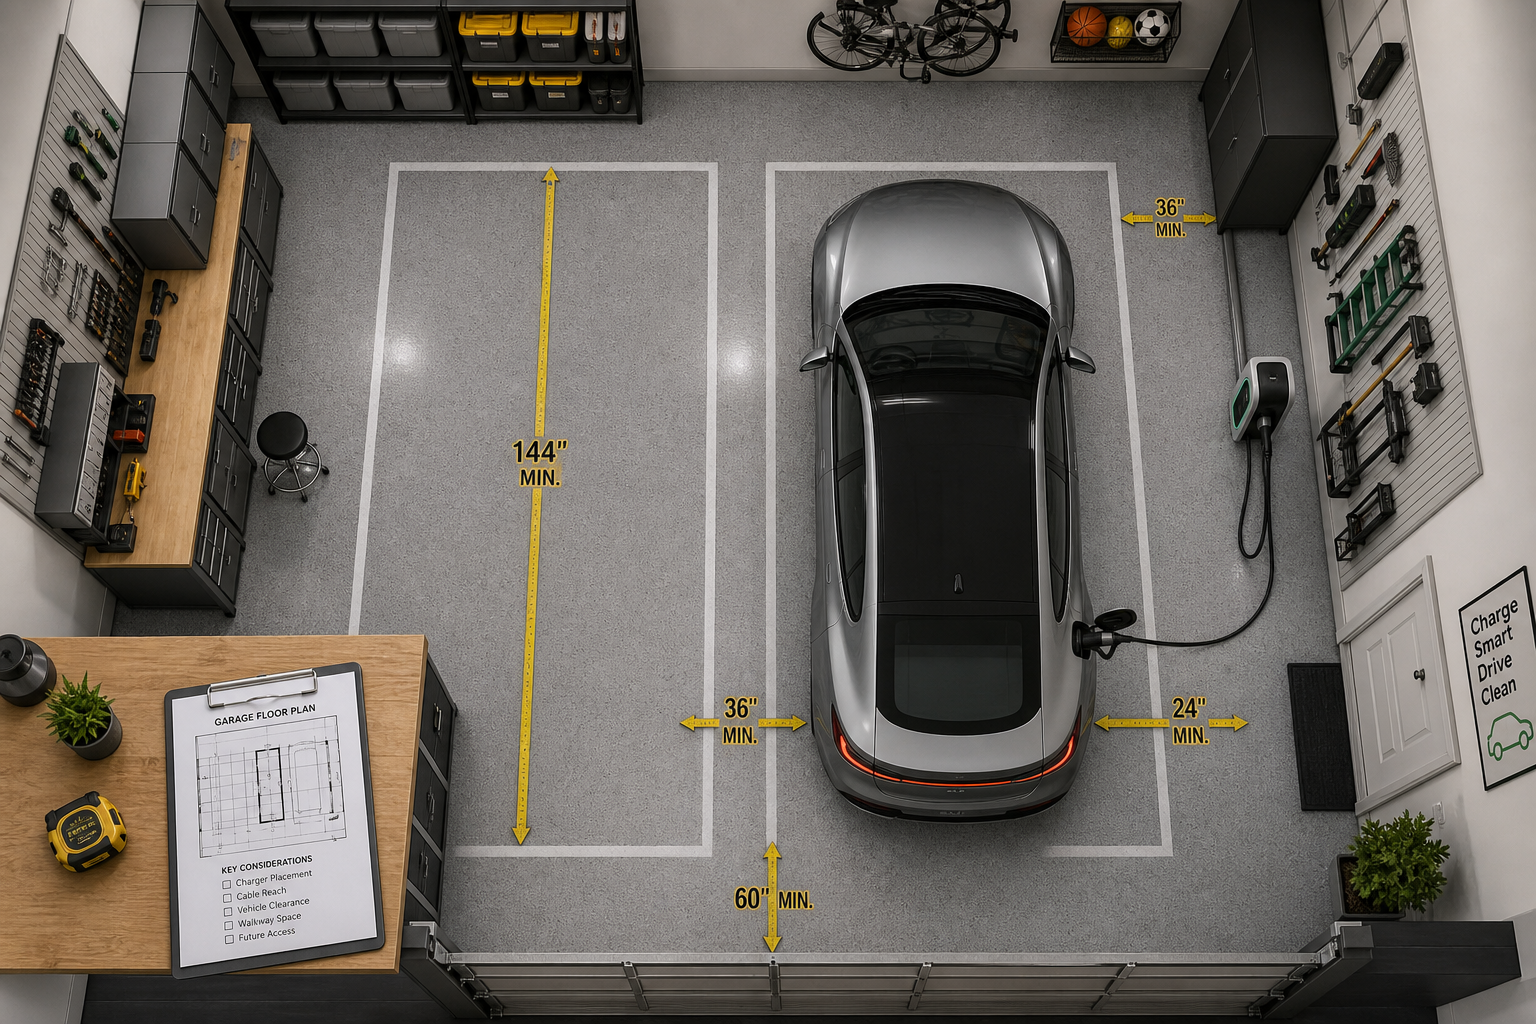
Cable length matters. Most chargers include 18 to 25 feet. Measure from your planned mount point to the vehicle’s charge port in its normal parking position, then add a few feet for comfortable reach without floor draping.
If your garage forces you to park with the charge port far from the most logical mount point, budget for a longer cable or plan to mount the charger closer to the port side of the vehicle.
A quality EV charger cable holder makes a noticeable difference in keeping the cable off the floor and organized between charges.
Weather resistance matters if your charger mounts in an unheated garage that sees freezing temps or high humidity. Look for NEMA 4 or NEMA 3R ratings for outdoor or unheated-garage installations. Indoor-only models (NEMA 1) cost less but aren’t built for temperature swings or moisture.
Working with an Electrician and Permits
Most jurisdictions require a permit for adding a new 240V circuit. The permit process ensures the work meets code and gets inspected. Costs range from competitively priced to competitively priced depending on location.
The electrician typically pulls the permit as part of the job. Skipping the permit saves money upfront but creates problems when you sell the house or file an insurance claim after an electrical fire.
Hire a licensed electrician unless you have substantial electrical experience and your local code allows homeowner electrical work. The job involves running 6 AWG or 8 AWG wire (depending on amperage), installing a double-pole breaker, mounting an outlet box or hardwiring the charger, and arranging the inspection.
Wire and materials run competitively priced to competitively priced. Labor adds competitively priced to competitively priced depending on run length and whether the electrician needs to fish wire through finished walls.
Discuss the charger location with the electrician before they start. Mounting the charger on the wall closest to your panel shortens the wire run and cuts costs. If that puts the charger in an awkward spot, budget for the longer run. Typical runs are 20 to 50 feet.
Longer runs require upsizing the wire to avoid voltage drop.
Ask about conduit requirements. Some jurisdictions require all garage wiring to run in conduit for physical protection. Others allow Romex in unfinished spaces. Conduit adds labor time and material cost but protects the wiring from accidental damage.
The inspection happens after the electrician completes the install. The inspector checks wire gauge, breaker sizing, grounding, and workmanship. Most inspections take 15 minutes.
If something doesn’t pass, the electrician fixes it and schedules a re-inspection. Keep the permit and inspection paperwork; you’ll need it when you sell the house.
Installation Process
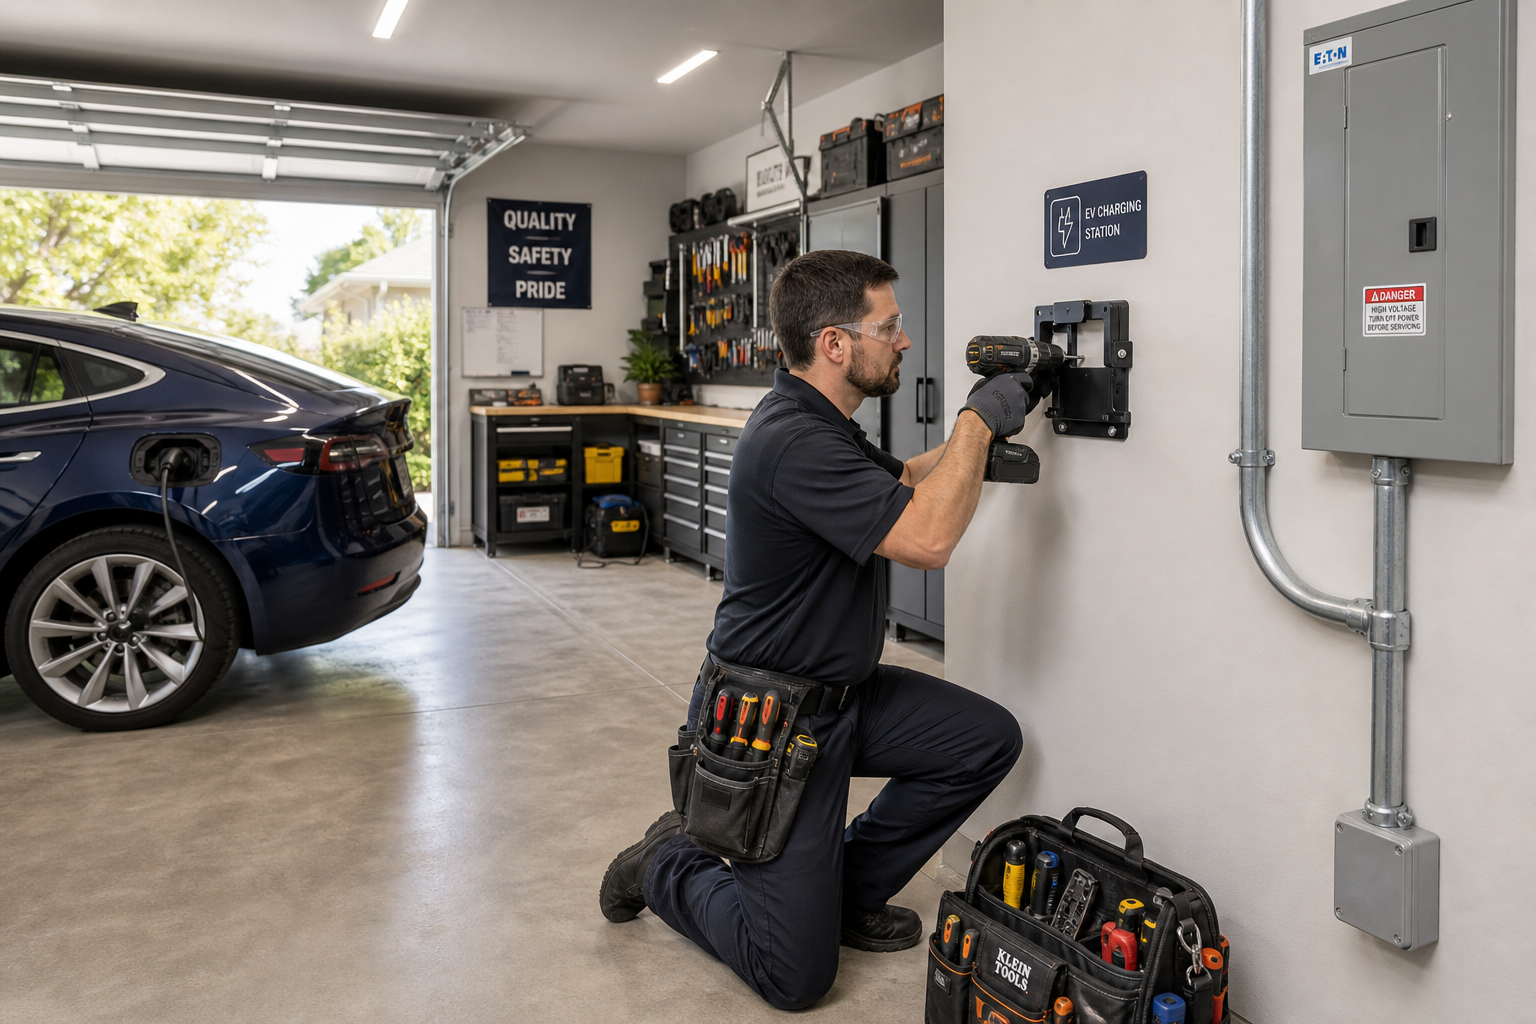
The electrician starts by shutting off power at the main panel. They install the double-pole breaker in an open slot. If your panel is full, they may need to replace two single-pole breakers with a tandem breaker to free up space, or recommend a panel upgrade if code doesn’t allow tandems in your panel type.
They run the wire from the panel to the charger location. In an unfinished garage, this means surface-mounting the wire in conduit or stapling Romex to the studs. In a finished garage, they fish the wire through the walls or run conduit along the surface.
Surface conduit is faster and cheaper but more visible.
Wire gauge depends on amperage and run length. For a 40-amp circuit under 100 feet, 8 AWG copper works. For a 50-amp circuit or a longer run, 6 AWG is required. This is where understanding proper wiring techniques for garage installations becomes critical for safety and code compliance.
Aluminum wire is cheaper but requires larger gauges and special connectors; most electricians stick with copper for garage circuits.
They install the outlet box (for plug-in chargers) or make the hardwired connections (for permanent installs). The charger mounts to the wall with lag bolts into studs or a plywood backer board.
Mount height is typically 48 to 60 inches off the floor, high enough to keep the cable off the ground but low enough to reach comfortably.
Grounding is critical. The circuit needs a ground wire back to the panel, and the charger’s metal enclosure must be grounded. The electrician bonds the ground wire to the outlet box or charger chassis. Skipping or half-doing the ground creates a shock hazard.
After wiring, they restore power and test the circuit with a multimeter to verify voltage and check for faults. Then they mount the charger, plug it in or complete the hardwired connections, and run a test charge cycle to confirm everything works.
The final step is the inspection.
Practical Planning Tips
Consider the seasonal timing of your project. Electrical work can happen year-round, but if you’re also insulating or finishing garage walls, complete the wiring first. Running conduit or fishing wire through finished drywall costs more than stapling Romex to open studs.
Before starting, take stock of what you have and what you need. Walk the space with a tape measure and a notepad. Record dimensions, note existing electrical outlets and their amperage, check the panel for open breaker slots, and photograph the areas where wire will run. For a systematic approach to space planning, learn how to properly measure your garage for electrical installations.
This baseline assessment prevents surprises mid-project and helps you budget materials accurately.
Parking position affects charger placement. If you park nose-in with the charge port on the driver’s side rear, mounting the charger on the left wall (as you face the garage door) keeps the cable short. If you back in, the math changes.
Test your parking position before finalizing the mount point. For help with consistent parking placement, check out our guide to the best garage laser parking guides.
Think about future vehicles. If your next EV might have a different charge port location or a larger battery that benefits from higher amperage, plan the circuit to handle 48 amps even if your current charger only draws 32.
The cost difference is minor when the electrician is already running wire, but retrofitting later means duplicating labor.
Factor in maintenance when choosing your approach. Plug-in chargers let you swap units without calling an electrician. Hardwired models last longer because there’s no plug to wear out, but any replacement or upgrade requires another service call.
For most homeowners, plug-in wins unless aesthetics strongly favor the hardwired look.

