

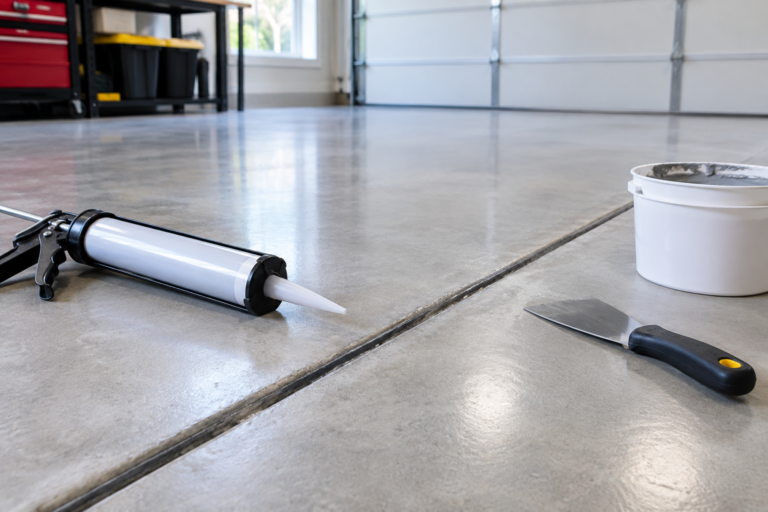
You’re about to spend a weekend prepping and coating your garage floor, and then you notice it. That long straight groove cut into the concrete near the garage door, or maybe running down the middle of the slab. Do you fill it? Bridge it? Leave it alone? Get this wrong and you could end up with a cracked, lifted epoxy coating within a year, even if the rest of your prep work was perfect.
This is one of the most overlooked steps in DIY epoxy projects. Most guides focus on grinding, degreasing, and rolling out epoxy, but almost nobody explains what to do with the joints and cracks already in your slab. Here’s how to tell them apart and treat each one correctly.
Expansion Joints, Control Joints, and Cracks Are Not the Same Thing
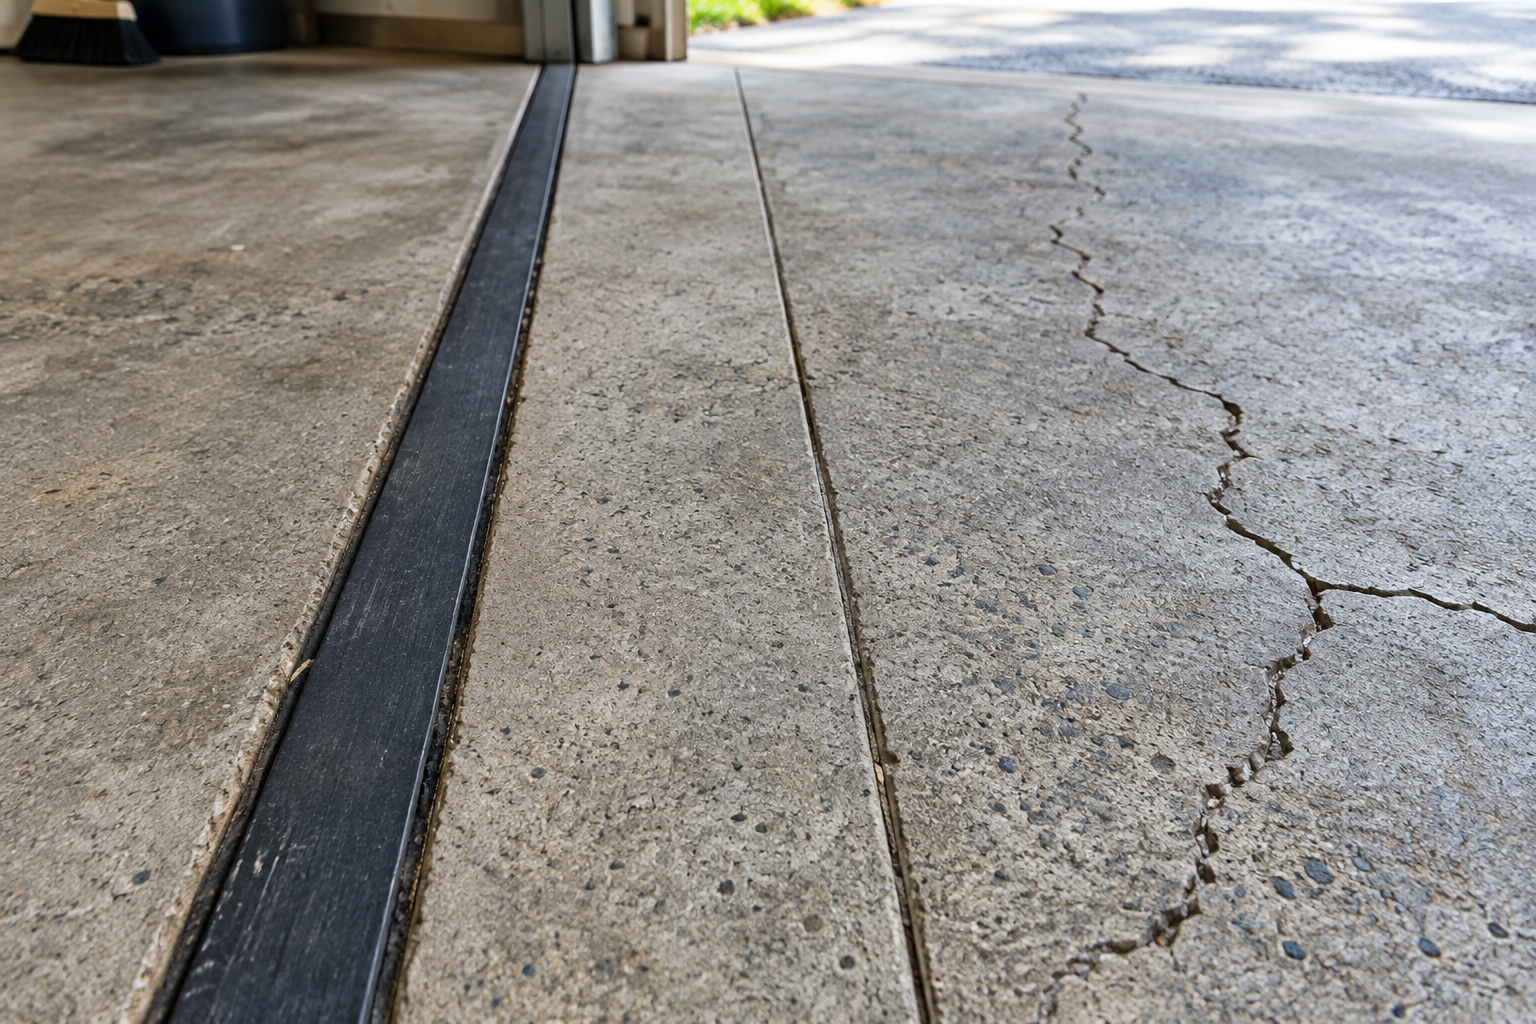
Treating every gap in your slab the same way is the root cause of most coating failures around joints. Each type moves differently, and your filler choice has to match that movement.
Expansion Joints
Expansion joints are the gaps filled with a soft, compressible material, usually found where your slab meets the garage door threshold, a wall, or an adjoining driveway section. They exist specifically to let concrete expand and contract with temperature changes without cracking. These joints need to keep moving, permanently.
Control Joints
Control joints are the straight, shallow grooves cut into the concrete itself, usually in a grid pattern. Contractors cut these on purpose so that if the slab cracks from shrinkage during curing, it cracks along that intentional line instead of randomly across your floor. Control joints see some movement, but far less than expansion joints.
Cracks
Cracks are unplanned failures in the concrete. They might be dormant (not moving anymore, usually from old shrinkage) or active (still shifting from settling, freeze-thaw cycles, or a slab that was never properly supported). This article won’t turn into a full crack-repair guide, but the key point is that you must figure out whether a crack is moving before you coat over it. If you’re seeing new or worsening cracks alongside other slab issues, it’s worth a broader look at what’s happening under your floor.
Should You Fill Them, Bridge Them, or Leave Them Alone?
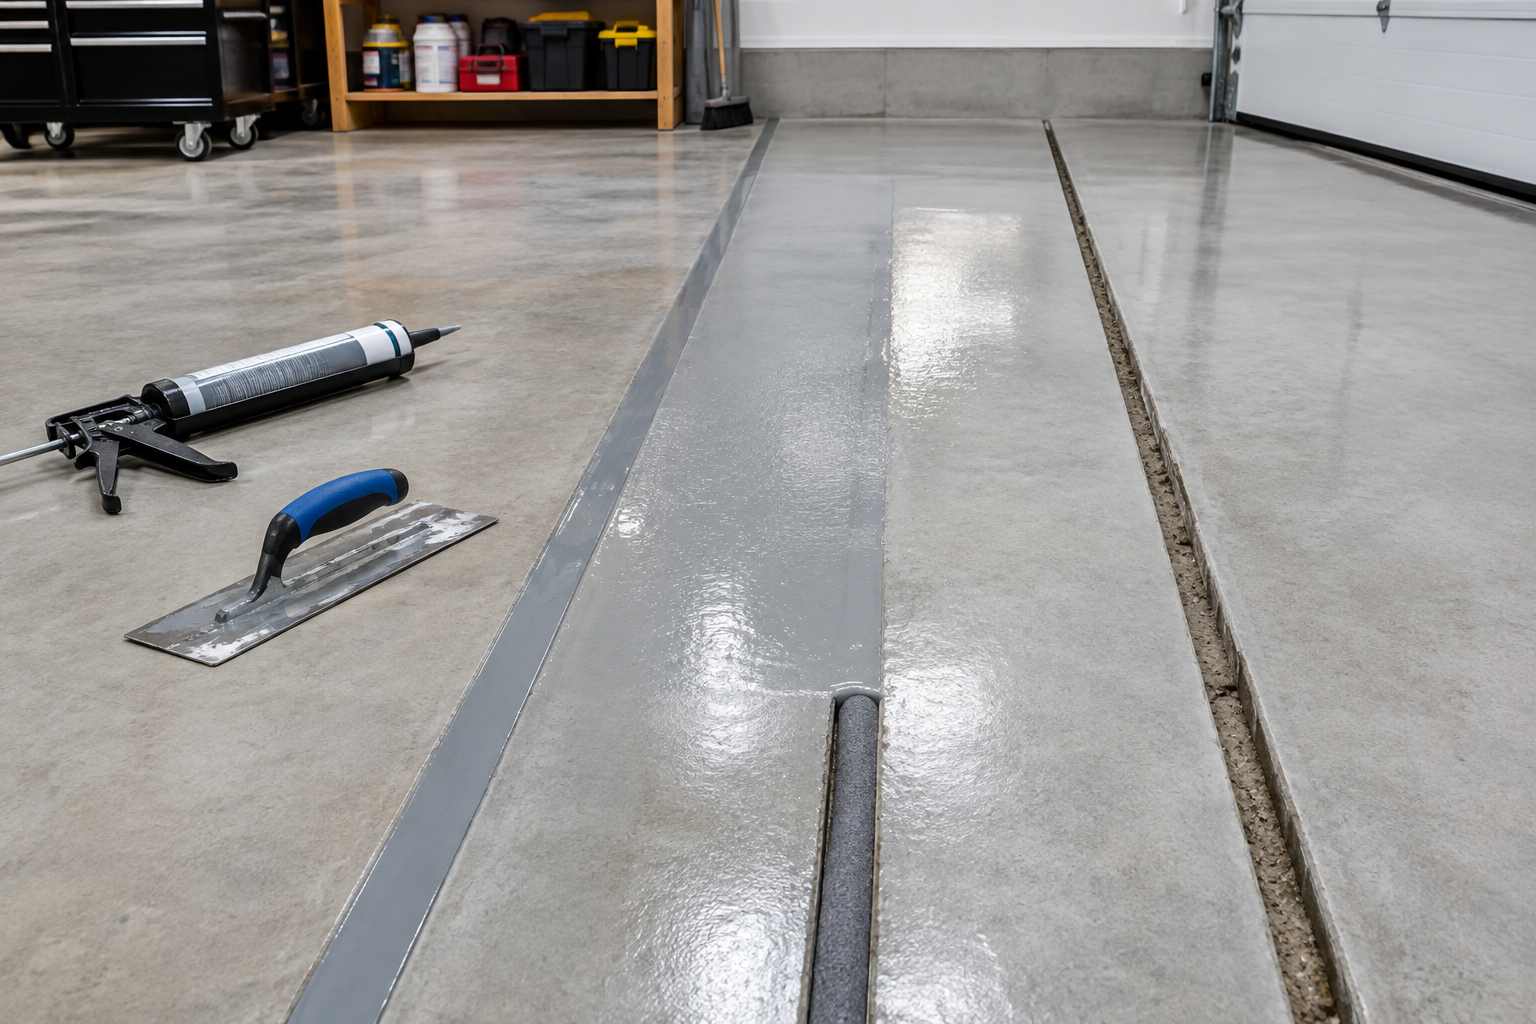
This is where a lot of DIYers go wrong, usually by grabbing a rigid epoxy filler and running it through everything they see, including joints that are supposed to move.
- Expansion joints: Never fill these with rigid epoxy or hard filler. Use a flexible, self-leveling polyurethane sealant that stays pliable and moves with the joint. Rigid material here will crack and pop out almost immediately.
- Control joints: These can be filled with a semi-rigid or flexible polyurea/polyurethane joint filler. Some installers leave narrow control joints unfilled and simply coat around them, letting the epoxy form a natural reveal line. Either approach works as long as you don’t use a fully rigid epoxy paste that can’t flex at all.
- Dormant cracks: Small, stable cracks can typically be filled with a rigid epoxy crack filler before coating. Active cracks need a flexible filler, and in some cases they need to be addressed structurally before any coating goes down at all.
A good rule of thumb: if the gap was built into the slab on purpose (expansion or control joint), assume it needs to move and use a flexible product. If it’s an actual crack, figure out if it’s still active before deciding.
For expansion joints and active cracks, a self-leveling polyurethane joint sealant is the standard choice among flooring contractors. It cures with enough flexibility to handle seasonal movement without bonding rigidly to the epoxy above it.
Sikaflex Self-Leveling Sealant
A contractor-grade flexible sealant that holds up well under expansion and contraction in garage slabs.
For dormant cracks that aren’t moving, a rigid two-part epoxy crack filler bonds tightly and can be ground flush before you apply your base coat.
Why Getting This Wrong Wrecks Your Epoxy Coating
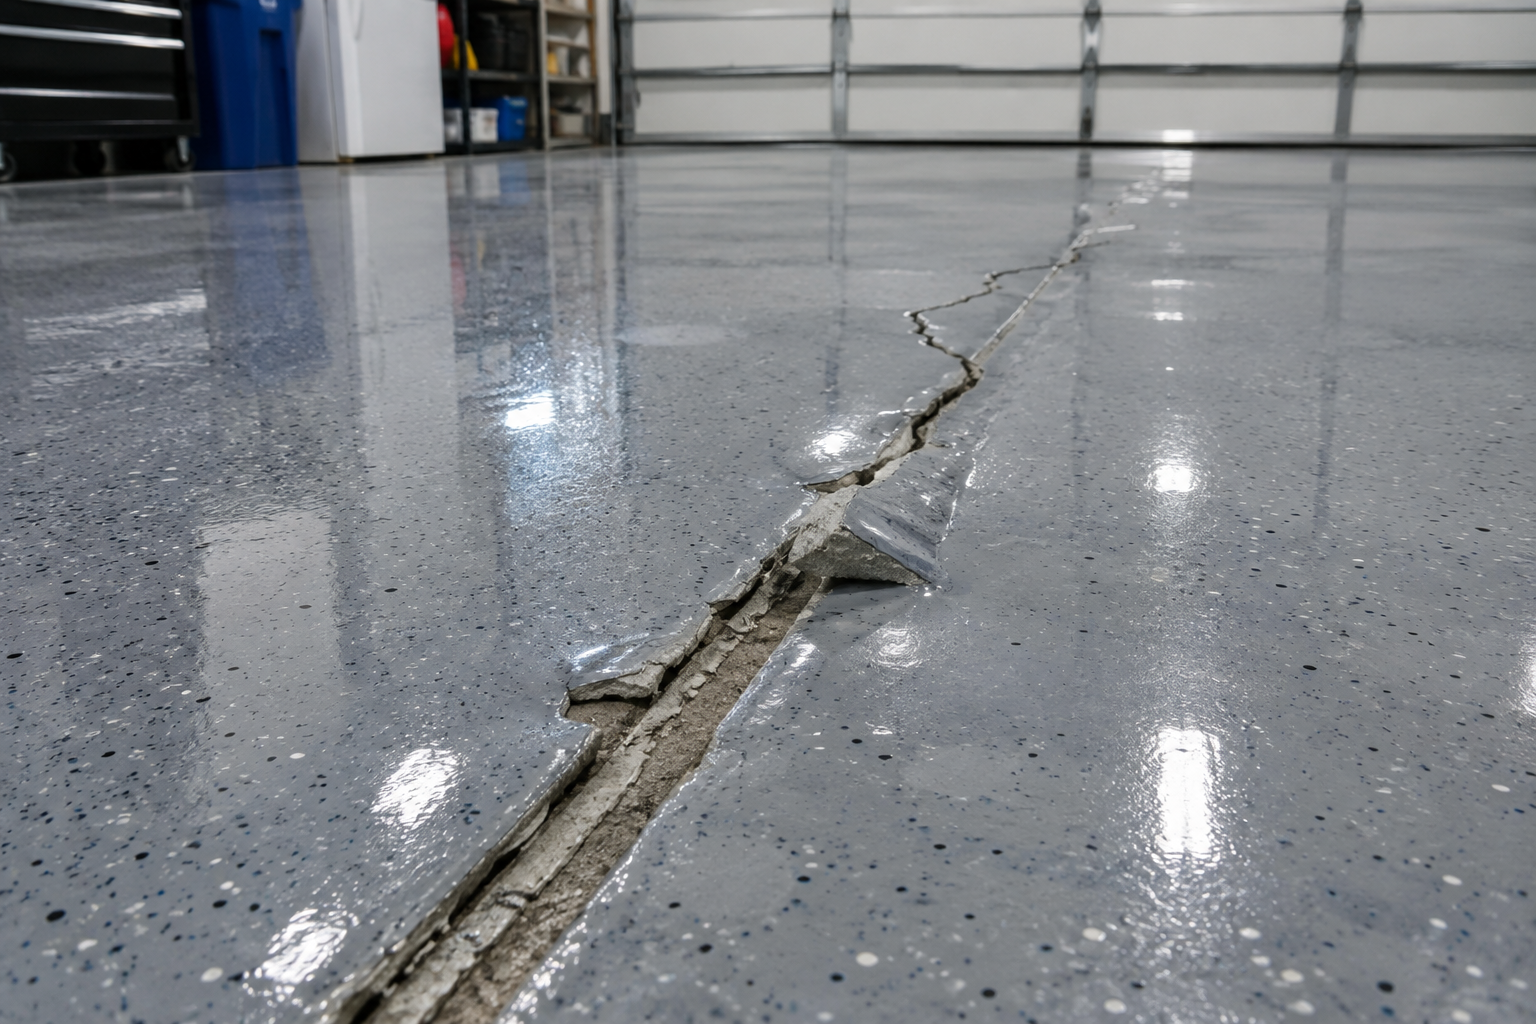
Epoxy is rigid once it cures. It has almost no ability to stretch or flex. When you coat directly over an expansion joint without any flexible buffer, the epoxy bonds to both sides of that joint as one continuous rigid sheet.
Temperature swings then force the slab to expand and contract underneath, but the epoxy can’t move with it. The result is a crack that telegraphs straight up through your coating, usually within the first year, and often right along the joint line you ignored. This is one of the more common reasons a finished epoxy job starts showing wear and separation even when the rest of the application was done correctly.
If you’re also dealing with bubbling or delamination issues elsewhere on the slab, that’s usually a separate problem related to moisture or surface prep, and it’s worth checking our guide on fixing epoxy floor bubbles to rule that out before you assume it’s a joint issue.
Once your joints are properly treated and the slab is ready, you can move on to picking a finish. If you haven’t settled on a look yet, browsing garage epoxy floor ideas is a good next step before you buy your kit.
Frequently Asked Questions
Can I just coat straight over a control joint without filling it?
Yes, this is common practice among professional installers. Many simply tape off the joint, coat around it, and leave a visible reveal line. It looks intentional and avoids any risk of a rigid filler cracking later. If you want a fully smooth floor, use a flexible filler instead of a rigid one.
What happens if I use regular epoxy paste in an expansion joint by mistake?
It will almost certainly crack and separate within a season or two as the slab expands and contracts. You’ll likely see a visible crack line reappear right along the joint, and you’ll need to grind it out and redo it with a flexible sealant. It’s much easier to do it right the first time than to repair a failed rigid filler later.
This article contains affiliate links. We may earn a small commission at no extra cost to you.
