

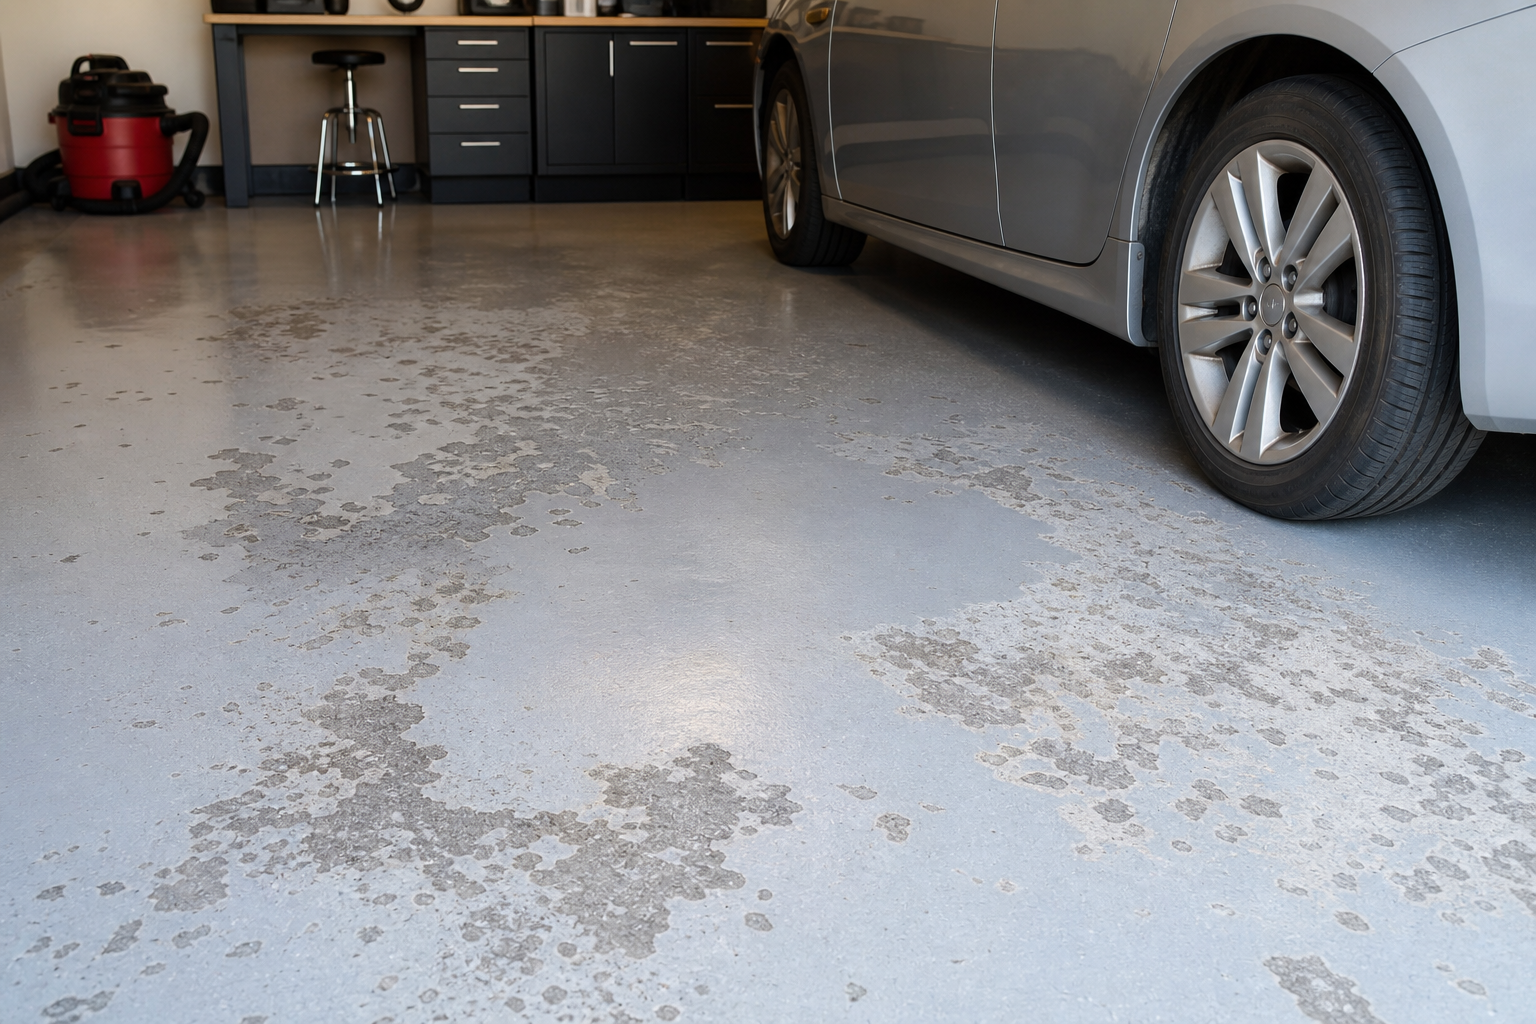
When your garage floor paint is wearing off, the temptation is to assume the worst. In reality, the cause is usually simpler and cheaper than expected. The key is working through possibilities systematically rather than guessing.
Below, you’ll find each common cause with specific diagnostic steps and fixes. Grab a flashlight and your basic toolkit, then work through these from easiest to most involved.
Understanding the Basics
Latex garage paint and one-part “epoxy” paint are fundamentally different from true two-part systems. One-part products are acrylic paint with a small amount of epoxy resin added for marketing. They go on easily but wear through in high-traffic spots within 6 to 12 months.
True two-part systems create a cross-linked film that’s dramatically harder and more chemical-resistant. Application demands more prep and timing attention, but the durability gap is enormous and visible within the first year of use.
Surface preparation drives roughly 80% of a coating’s long-term performance. Concrete needs a CSP 2 to 3 surface profile for proper adhesion. CSP stands for Concrete Surface Profile, a standard measurement of surface roughness. A CSP 1 is smooth, almost polished. A CSP 2 or 3 has a texture like 60 to 80-grit sandpaper, with visible peaks and valleys that give coatings something to grip.
Diamond grinding achieves this reliably. A commercial grinder with diamond tooling cuts into the concrete surface, removing laitance (the weak, dusty top layer), opening pores, and creating consistent texture across the entire floor. Rental grinders cost competitively priced to competitively priced per day. Plan on grinding 200 to 400 square feet per hour depending on concrete hardness and machine size.
Acid etching is a budget alternative on clean, unsealed concrete but creates a lighter profile that’s less durable in high-traffic areas. Muriatic acid mixed 4:1 with water opens surface pores through a chemical reaction. It works on floors that have never been sealed, but it doesn’t remove oil stains, old coatings, or curing compounds. If your concrete has any of those, acid etching won’t cut through them.
If you’re planning a complete garage renovation that includes installing floor drains, this is the perfect time to address your floor coating needs as part of the larger project.
Why One-Part Products Fail Fast
The difference between latex garage paint and true epoxy or polyurea coatings comes down to chemistry, not marketing spin. One-part products dry through evaporation. The film they leave behind is softer and thinner than what you get from a two-part system. Tire traffic, dropped tools, dragged storage bins, and salt tracked in from winter roads all wear through that thin film faster than most homeowners expect.
EpoxyShield and similar products are popular because they’re easy to apply and budget-friendly. A two-car garage requires much less in materials with a one-part system compared to quality two-part epoxy. That price gap pushes a lot of people toward the easier option. The problem shows up 8 to 14 months later when wear patterns start appearing where you park, where you walk from the door to the car, and anywhere you set heavy items down repeatedly.
Two-part epoxies and polyaspartic coatings cure through a chemical reaction between resin and hardener. The molecules link together into a dense, cross-linked network that’s fundamentally harder and more resistant to abrasion, chemicals, and impact. A properly applied two-part system builds a film 10 to 20 mils thick (one mil equals one-thousandth of an inch). One-part products typically lay down 2 to 4 mils. That thickness difference matters when something hard scrapes across the surface.
Check specific requirements before purchasing materials. Measure the area, note unusual conditions (extreme temps, high humidity, uneven surfaces), and read product specs carefully. A mismatch between your conditions and the product’s rated range is the most common cause of unexpected failures.
If this is your first project of this type, budget 50% more time than guides suggest. The learning curve is real, and careful work produces better results than rushing to meet an estimated timeline.
Common Failure Modes and What They Mean
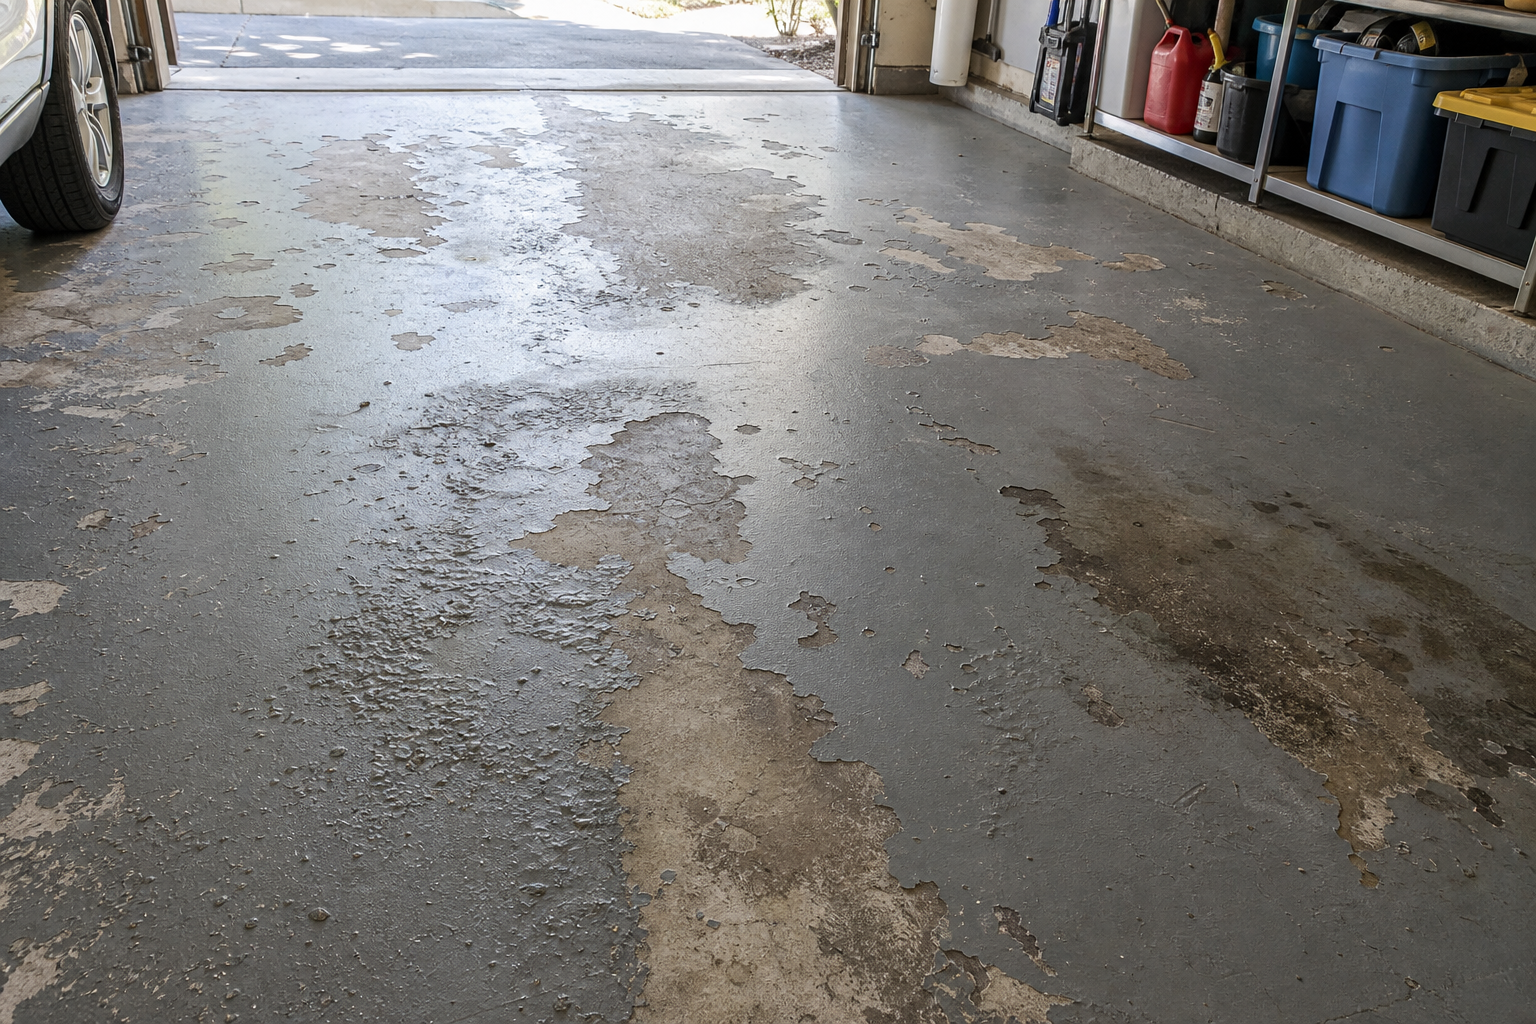
Peeling at the edges usually means moisture intrusion or incomplete surface prep. Concrete is porous. Water vapor pushes up from below through hydrostatic pressure, especially in basements or garages built on poorly drained soil. If you apply a coating when moisture is present or rising through the slab, the coating can’t bond properly. It lifts at weak points, typically starting at cracks, joints, or the perimeter where the slab meets the foundation wall.
Test for moisture by taping a 2-foot square of plastic sheeting to the floor with duct tape. Seal all four edges. Wait 24 hours. If you see condensation under the plastic or the concrete looks darker, you have a moisture problem. Don’t coat until you address it. Solutions range from better grading and gutters outside to applying a moisture-vapor barrier primer before the topcoat.
Our guide on sealing garage floors before epoxy covers these moisture preparation steps in detail.
Bubbling or blistering means outgassing. Concrete releases trapped air, water vapor, or volatile compounds as it warms up. If you apply a coating in the morning when the slab is cool and the temperature climbs 15 to 20 degrees during cure, those gases push up through the wet coating and create bubbles. The fix is timing: apply late in the day when temps are falling, not rising. Most manufacturers recommend application when air and slab temps are between 50 and 85 degrees and dropping.
Wear patterns in tire tracks mean the coating wasn’t thick enough or wasn’t fully cured before vehicle use. Hot tires are the harshest test a garage floor faces. Rubber heated to 120 to 140 degrees from highway driving will mar, dent, or pull up a coating that hasn’t fully hardened. Even two-part epoxies need 5 to 7 days before they reach full hardness. Park on the new floor too soon and you’ll see tire marks or soft impressions that don’t go away.
Delamination (where the coating pulls away in sheets) points to contamination during prep. Oil, grease, curing compounds, old sealers, or even residue from cleaning products can block adhesion. If the concrete surface isn’t clean down to raw, open pores, nothing will stick long-term. Grind or strip the floor until water absorbs into the concrete immediately when you pour it out. If water beads up or sits on the surface, contamination is still present.
What Real Two-Part Systems Deliver
Why big-box one-part epoxy paint wears thin in high-traffic areas within a year comes down to film thickness and chemical composition. Those products work fine for a workshop floor that sees light use or a laundry room. They fail in garages where vehicles park daily.
A quality two-part epoxy spreads at 200 to 250 square feet per gallon for a single coat. This translates to 6 to 8 mils wet, 3 to 5 mils dry after cure. Apply two coats and you’re at 6 to 10 mils of cured film. Polyaspartic coatings go down thicker, often 10 to 15 mils in a single coat, because the chemistry allows higher solids content without becoming unworkable.

Two-Part Epoxy Garage Floor Coating
Professional-grade durability with proper film thickness for high-traffic garage use
Follow manufacturer instructions exactly, even when online tutorials suggest shortcuts. Formulations differ between brands; what works for one product can cause failure with another. If the data sheet says 4 hours between coats at 60 degrees minimum, those numbers aren’t suggestions. Temperature affects cure speed, open time, and how well subsequent coats bond to previous layers. Mix ratios are equally critical. A 2:1 epoxy that you eyeball as “close enough” won’t cure properly. Use graduated mixing containers and measure precisely.
Readers who want a floor that holds up need to understand what to look for in a real two-part system. Solids content matters. A 100% solids epoxy contains zero solvents. Everything in the can stays on the floor. A 50% solids product means half the volume evaporates, leaving behind a thinner film. Higher solids generally means better performance and coverage, but also thicker consistency and shorter pot life.
Abrasion resistance gets measured in Taber cycles or mg loss per 1,000 cycles. Good garage epoxies test above 25 mg loss. Polyaspartics often hit 10 to 15 mg, meaning they’re twice as abrasion-resistant. Those numbers show up in product data sheets, not on the label. Download the technical data sheet (TDS) before buying.
Understanding the specifics of your situation helps you choose the right approach. Your garage’s age, construction type, and local climate all influence what works best and what to avoid. A 60-year-old slab in a freeze-thaw climate has different needs than a 5-year-old slab in Arizona. Older concrete tends to be harder and denser. Newer concrete often has more moisture and needs longer cure time before coating.
Start with a small test area if you’re uncertain. A 4 by 4-foot section in an inconspicuous spot lets you evaluate adhesion, appearance, and workability without committing to the full project. Troubleshooting a small test area is far easier than redoing everything. Apply your chosen system exactly as you would for the full floor: same prep, same mix, same application technique. Wait a week, then test it. Try to scrape it with a putty knife. Park a hot tire on it. Spill some gas or brake fluid and let it sit overnight. If the test patch holds up, the full floor will too.
BEHR offers reliable options in this category. Look past overall star ratings and focus on detailed reviews discussing long-term durability rather than just first impressions.
Factor in maintenance when choosing your approach. The lowest-maintenance option isn’t always cheapest initially, but it usually wins over a 5 to 10-year window when you include touch-ups, repairs, and replacements. A quality polyaspartic floor that lasts 15 years with zero touch-ups costs less per year than a budget paint job you redo every 18 months.
Timing and Application Variables
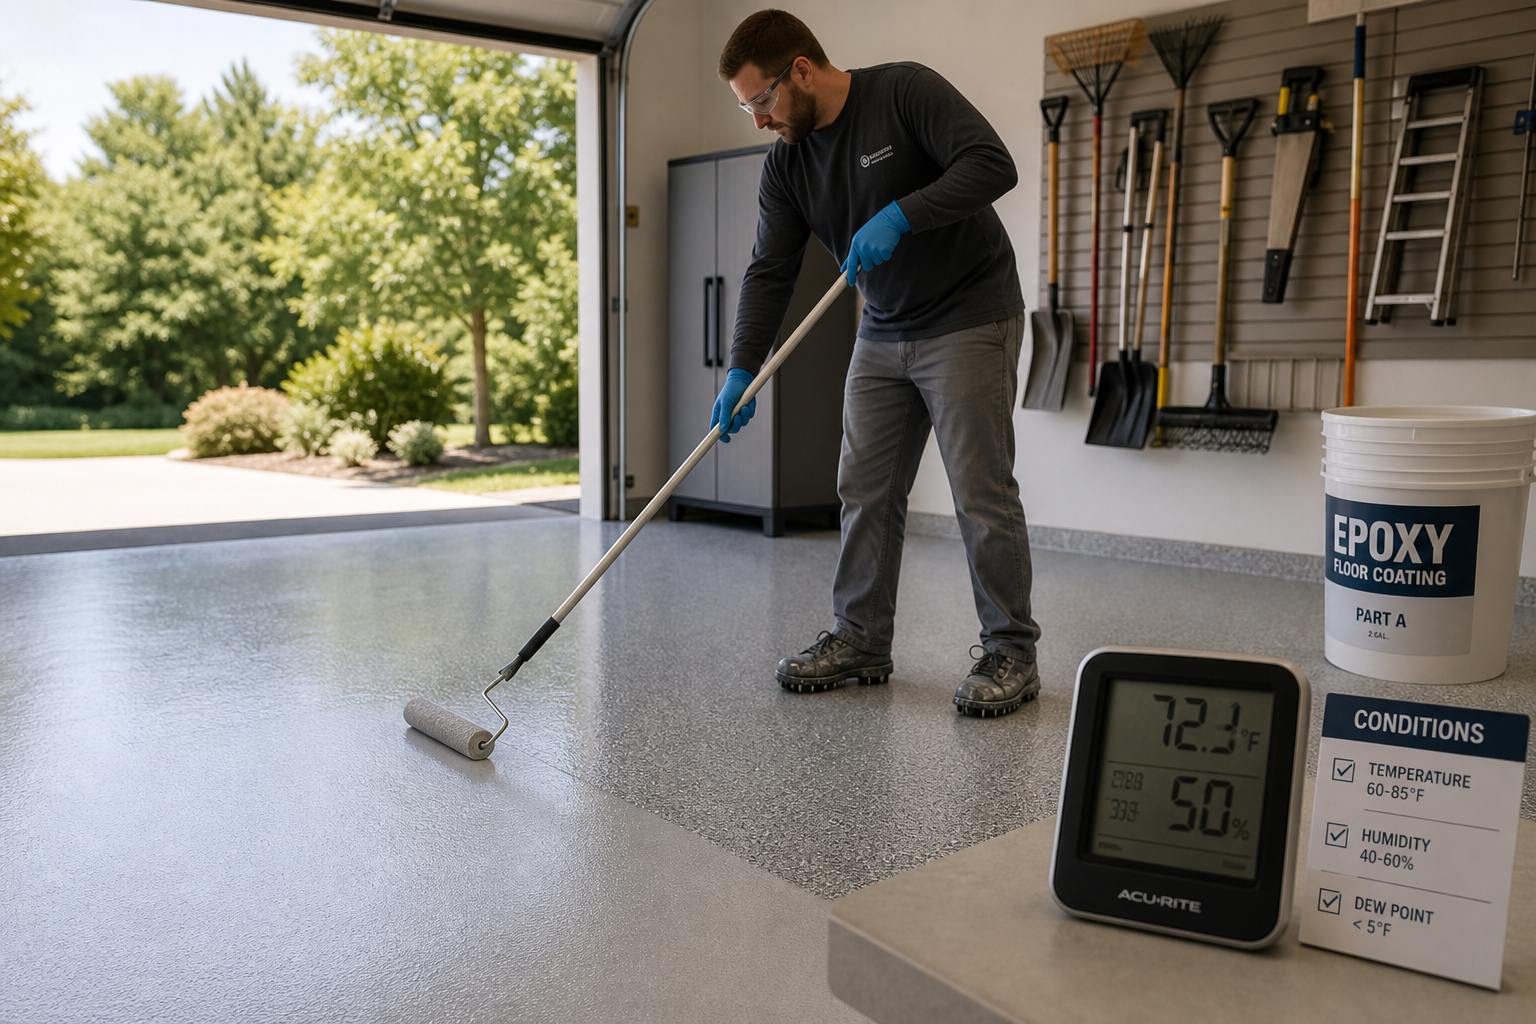
Never shortcut cure time. Most two-part epoxies need 24 hours for foot traffic, 72 hours for heavy use, and 7 days before vehicle parking. Polyaspartic systems cure faster, often allowing vehicles within 24 hours. Parking too early causes tire marks, soft spots, or full sheet delamination. The coating may look dry and feel hard to the touch, but full chemical cure takes days. Hardness develops gradually as the cross-linking reaction completes.
Our garage floor primer guide explains the relationship between primers and cure times in different temperature conditions.
Pot life varies by product: 30 to 60 minutes for standard epoxies, as little as 10 to 15 minutes for polyaspartic coatings. Plan your approach before mixing and work in manageable sections so you never feel rushed near the end of a batch. Temperature speeds up or slows the reaction. An epoxy with a 45-minute pot life at 70 degrees might only give you 20 minutes at 85 degrees. Cold slows everything down. At 55 degrees, that same product might stay workable for 90 minutes but take twice as long to cure hard enough for recoat.
Humidity affects cure too. High humidity (above 85%) can cause blushing, a white haze that forms on the surface as moisture interferes with the cure. Low humidity (below 30%) isn’t a problem for most products, but check the TDS. Desert climates sometimes create issues with fast evaporation on water-based products.
Recoat windows are strict. Most epoxies have a window of 4 to 24 hours when you can apply a second coat without sanding. Miss that window and the first coat cures too hard for a chemical bond. You’ll need to scuff-sand the entire floor with 80-grit on a pole sander or floor buffer to create a mechanical bond. This adds an extra 3 to 5 hours of work on a typical two-car garage.
Practical Planning Tips
Set a realistic timeline and budget before buying anything. Most garage projects take 50% longer and cost 20% more than initial estimates, especially for first-timers. Build that buffer into your plan so unexpected discoveries don’t derail the entire project or blow the budget.
A typical two-car garage (400 to 500 square feet) takes 2 to 3 days for a quality coating job: one day for cleaning and grinding prep, one day for patching cracks and priming if needed, one day for coating application. Add cure time before you can use the space. Budget appropriate materials cost for a mid-grade two-part epoxy system including primer, base coat, decorative flakes if desired, and topcoat. Professional installation runs competitively priced to competitively priced per square foot depending on your region and the system used.
Research local building codes and permit requirements for your specific project. Electrical work, structural modifications, and HVAC installations often require permits and inspections. Working without required permits can create liability issues, insurance complications, and problems when selling the home. Floor coatings rarely require permits, but if you’re doing electrical upgrades or adding a sub-panel as part of a larger garage renovation, check with your building department.
Before starting any garage project, take stock of what you have and what you need. Walk the space with a tape measure and a notepad. Record dimensions, note existing electrical outlets and their amperage, check for moisture issues, and photograph anything you want to change. This baseline assessment prevents surprises mid-project and helps you budget materials accurately.
Inspect the concrete carefully. Look for cracks wider than 1/8 inch, spalling (surface flaking), or areas that sound hollow when you tap them with a hammer. All of these need repair before coating. Hairline cracks under 1/8 inch can be filled with the coating itself, but larger cracks need flexible epoxy crack filler or polyurea caulk. Spalled areas need patching with concrete resurfacer. Hollow-sounding sections might indicate delamination in the slab itself, which is a bigger problem that might require professional evaluation.
Tools and Materials You’ll Actually Need
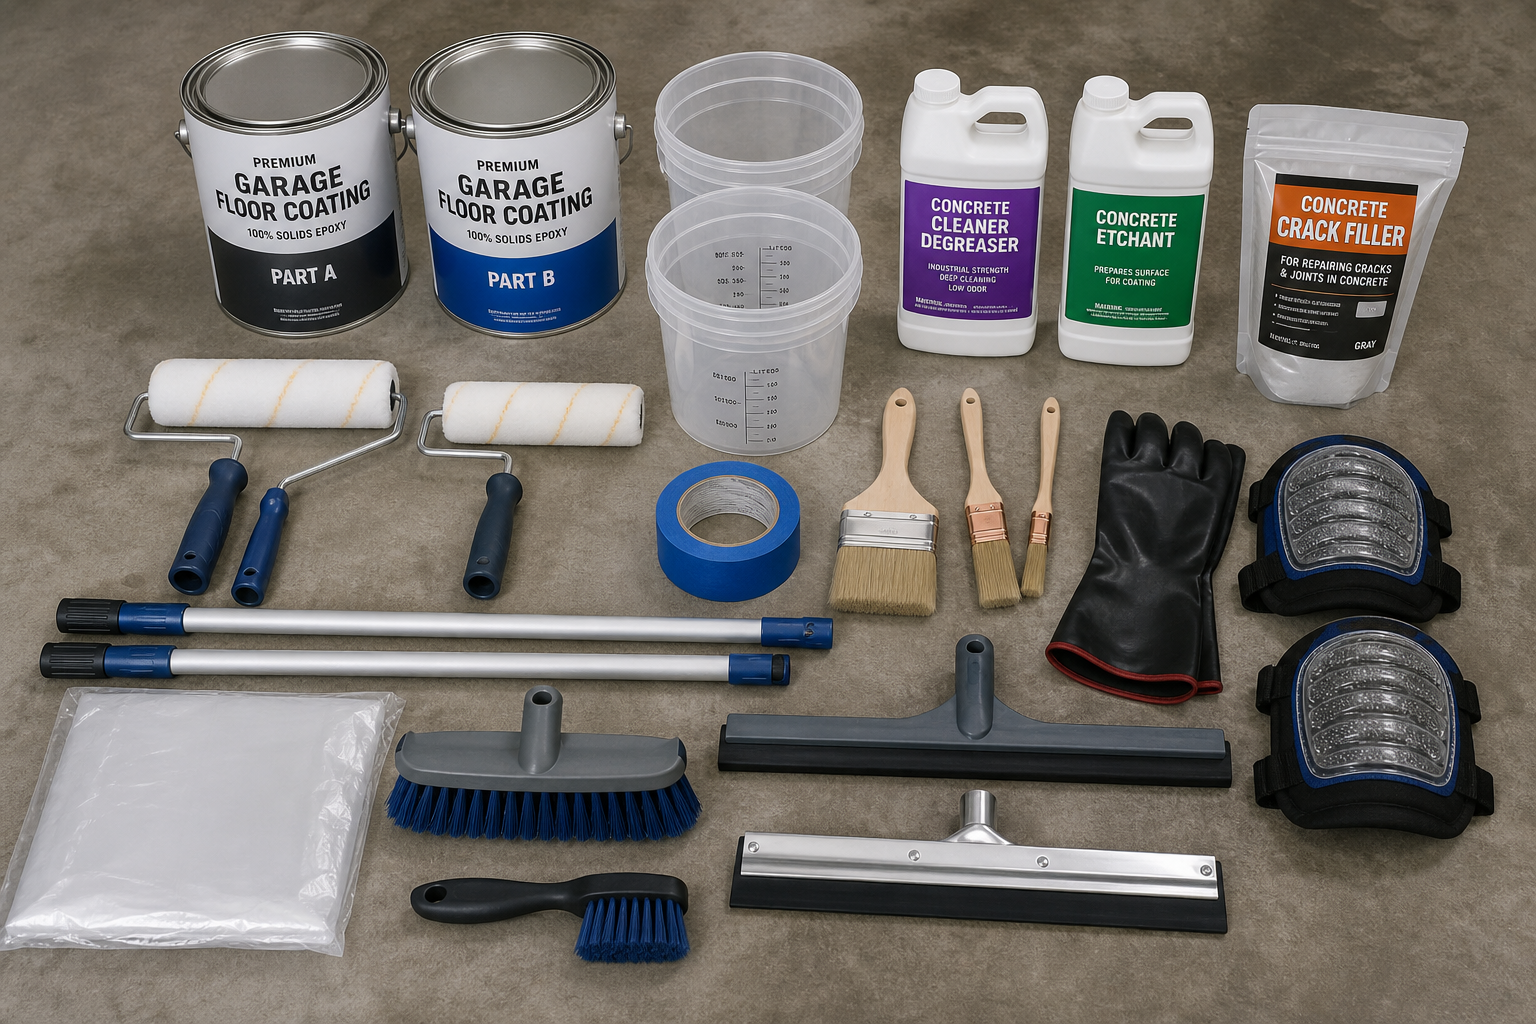
Renting a diamond grinder is worth it for any floor over 200 square feet. Small walk-behind grinders rent for competitively priced to competitively priced per day. Larger models with dust collection run more but cut prep time in half. Wear a respirator even with dust collection. Concrete dust contains silica, which is a serious lung hazard.
You’ll need mixing paddles that attach to a half-inch drill, graduated mixing buckets, 3/8-inch or half-inch nap rollers, extension poles, and a spiked roller for releasing air bubbles. Spiked rollers look like a paint roller covered in metal spikes. Roll it over wet epoxy immediately after spreading to pop surface bubbles before they cure in place.
Cleaner and degreaser come before grinding. TSP (trisodium phosphate) works, but concrete-specific degreasers are stronger. Scrub oil stains with degreaser and a stiff brush, rinse thoroughly, and let the floor dry completely before grinding. Grinding removes the top layer of
