

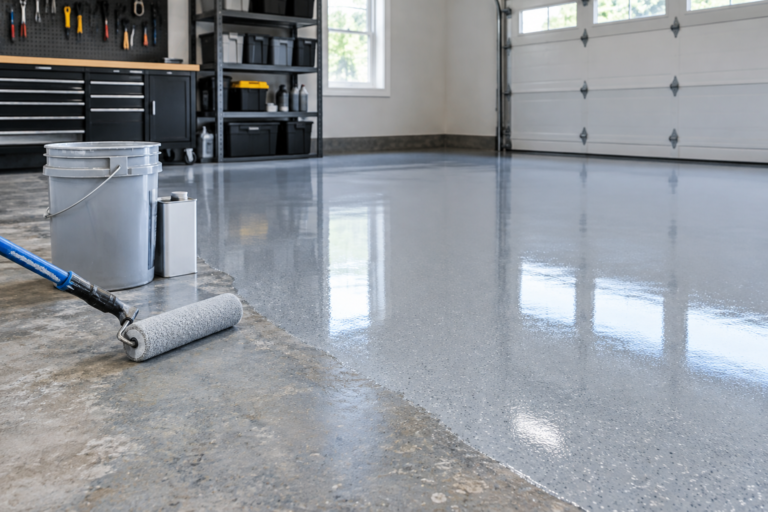
That old epoxy floor in your garage is looking rough. Maybe it’s got some scuff marks, a little yellowing, or a few spots where the shine has worn off. Before you spend a weekend grinding it all off, it’s fair to ask whether you actually need to. In a lot of cases, you don’t. A sound epoxy floor can often be cleaned, prepped, and recoated in a fraction of the time it takes to strip it down to bare concrete.
The tricky part is figuring out which category your floor falls into. Recoating over a floor with hidden adhesion problems just wastes materials and buys you a few months before the new coat fails too. Here’s how to tell the difference.
The Tape Test: Your First Diagnostic Step
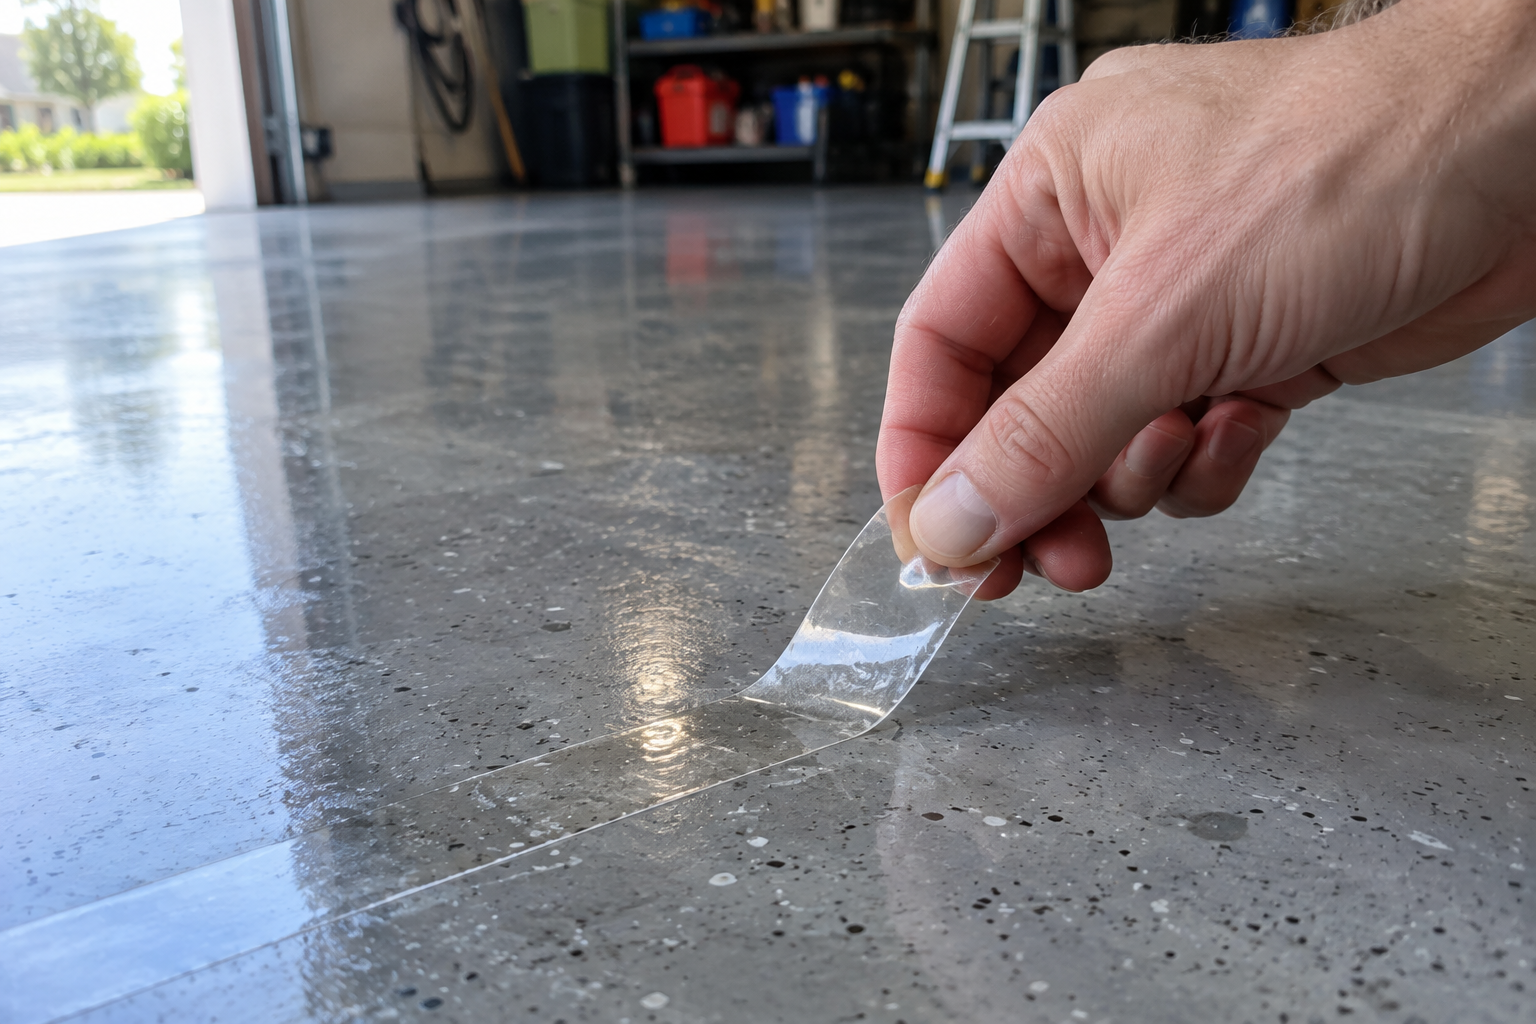
Before you buy a single can of product, run a simple adhesion check. Grab a strip of strong tape (duct tape or packing tape works fine), press it firmly onto several spots around the garage, and rip it off quickly. If the epoxy stays put, that’s a good sign. If chips or flakes come up with the tape, you’ve got adhesion failure happening somewhere below the surface.
Do this test in at least five or six spots, including high-traffic areas near the door, under where your tires normally sit, and any corners that stayed damp longer after a wash. One bad spot doesn’t necessarily condemn the whole floor, but multiple failures in different areas usually mean the original prep work was skipped or the concrete had moisture issues from the start.
If you’re not sure what’s causing the wear in the first place, it helps to understand why garage floor paint wears off before you decide on a fix. Sometimes the coating itself is fine and it’s just foot traffic and hot tires breaking down the top layer.
When You Can Recoat Over Old Epoxy
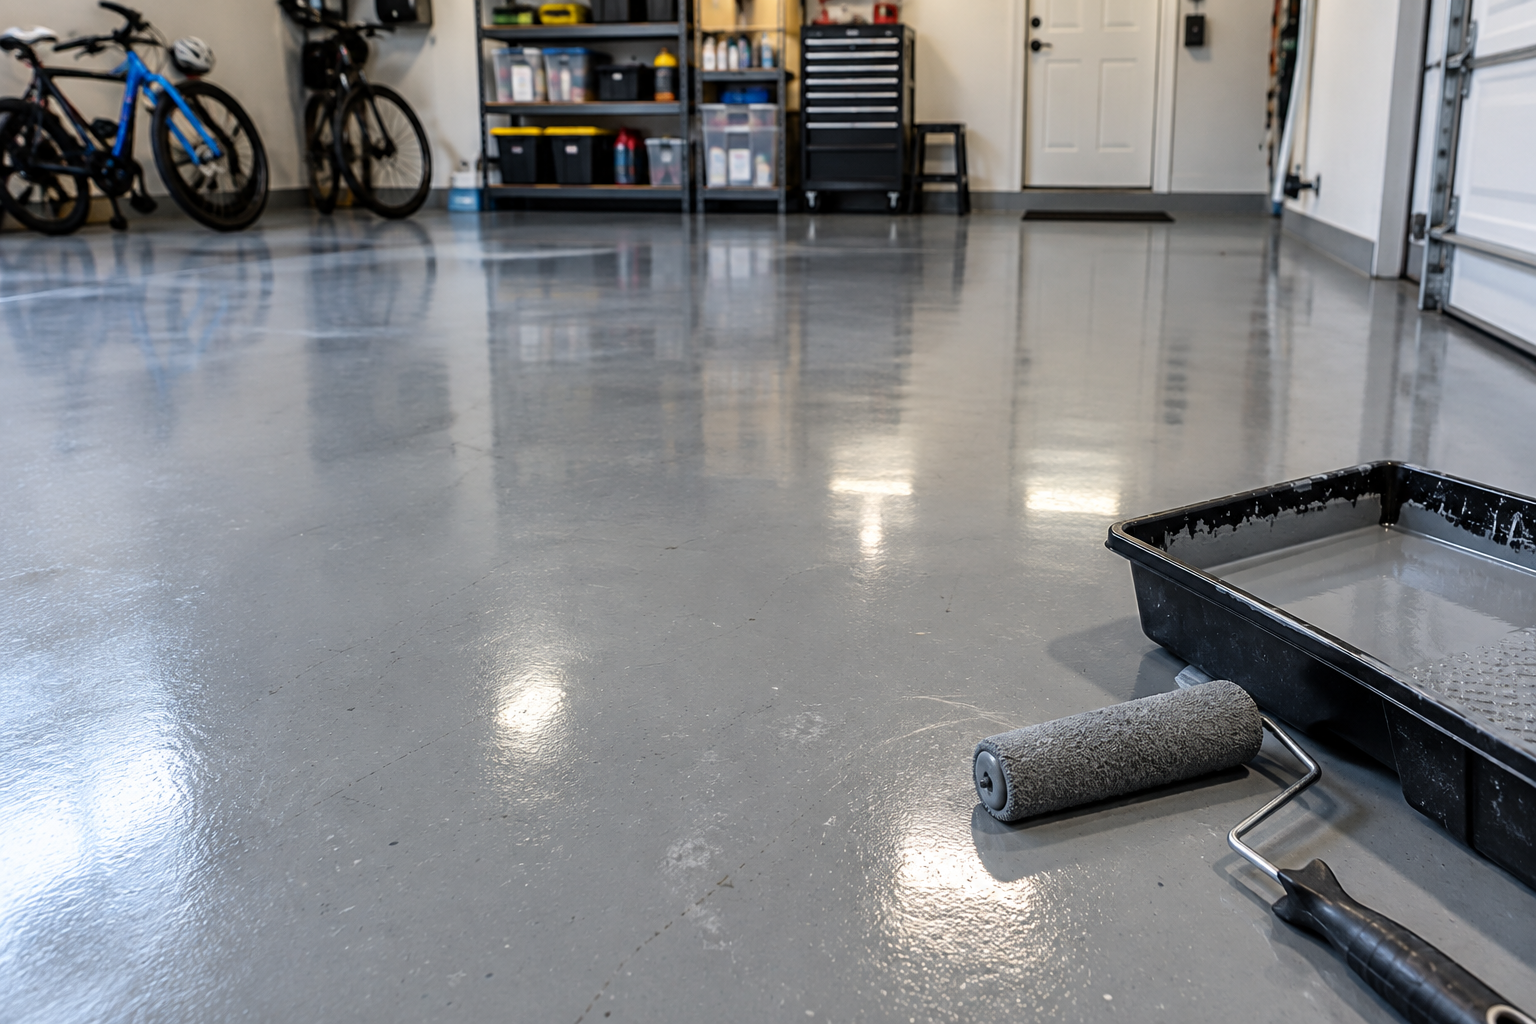
If your floor passes the tape test and doesn’t show any of the red flags below, recoating is usually the smarter move. It’s faster, cheaper, and doesn’t involve renting a grinder or dealing with silica dust all weekend.
You’re a good candidate for recoating if your floor has:
- Surface scratches, scuffs, or dullness but no cracking or lifting
- Consistent color and gloss loss from UV exposure or foot traffic, not spotty failure
- No history of hot tire pickup, peeling, or bubbling
- Good adhesion across the tape test in multiple locations
- No signs of moisture coming up through the slab
For a floor in this shape, the process is pretty simple. Clean the surface thoroughly with a degreaser to strip out oil, tire residue, and any wax buildup. Then you need to deglos the existing coating, either with a chemical deglosser or a light sanding pass using 100 to 120 grit sandpaper on a floor buffer or orbital sander. This gives the new coat something to physically grip instead of sitting on a slick, cured surface with nothing to bond to.
Once you’ve sanded, vacuum and tack-cloth the dust, then apply your new epoxy coat according to the product’s recoat window. Most two-part epoxy kits need to go on within a specific timeframe after the sanding step, or you’ll need to scuff it again. Check the label instructions closely here, because this is where a lot of DIYers get impatient and skip a step.
Rust-Oleum EpoxyShield Garage Floor Coating Kit
A reliable, widely available kit that works well for recoating a sound existing epoxy floor.
For sanding, a random orbital sander with a dust collection bag saves you a lot of cleanup time compared to hand sanding an entire garage floor. A random orbital floor sander with 100 grit discs is enough to knock down the gloss without gouging the existing coating. Pair it with a good chemical deglosser if you want to skip mechanical sanding in tight corners and edges the sander can’t reach.
When You Need to Remove the Epoxy Instead
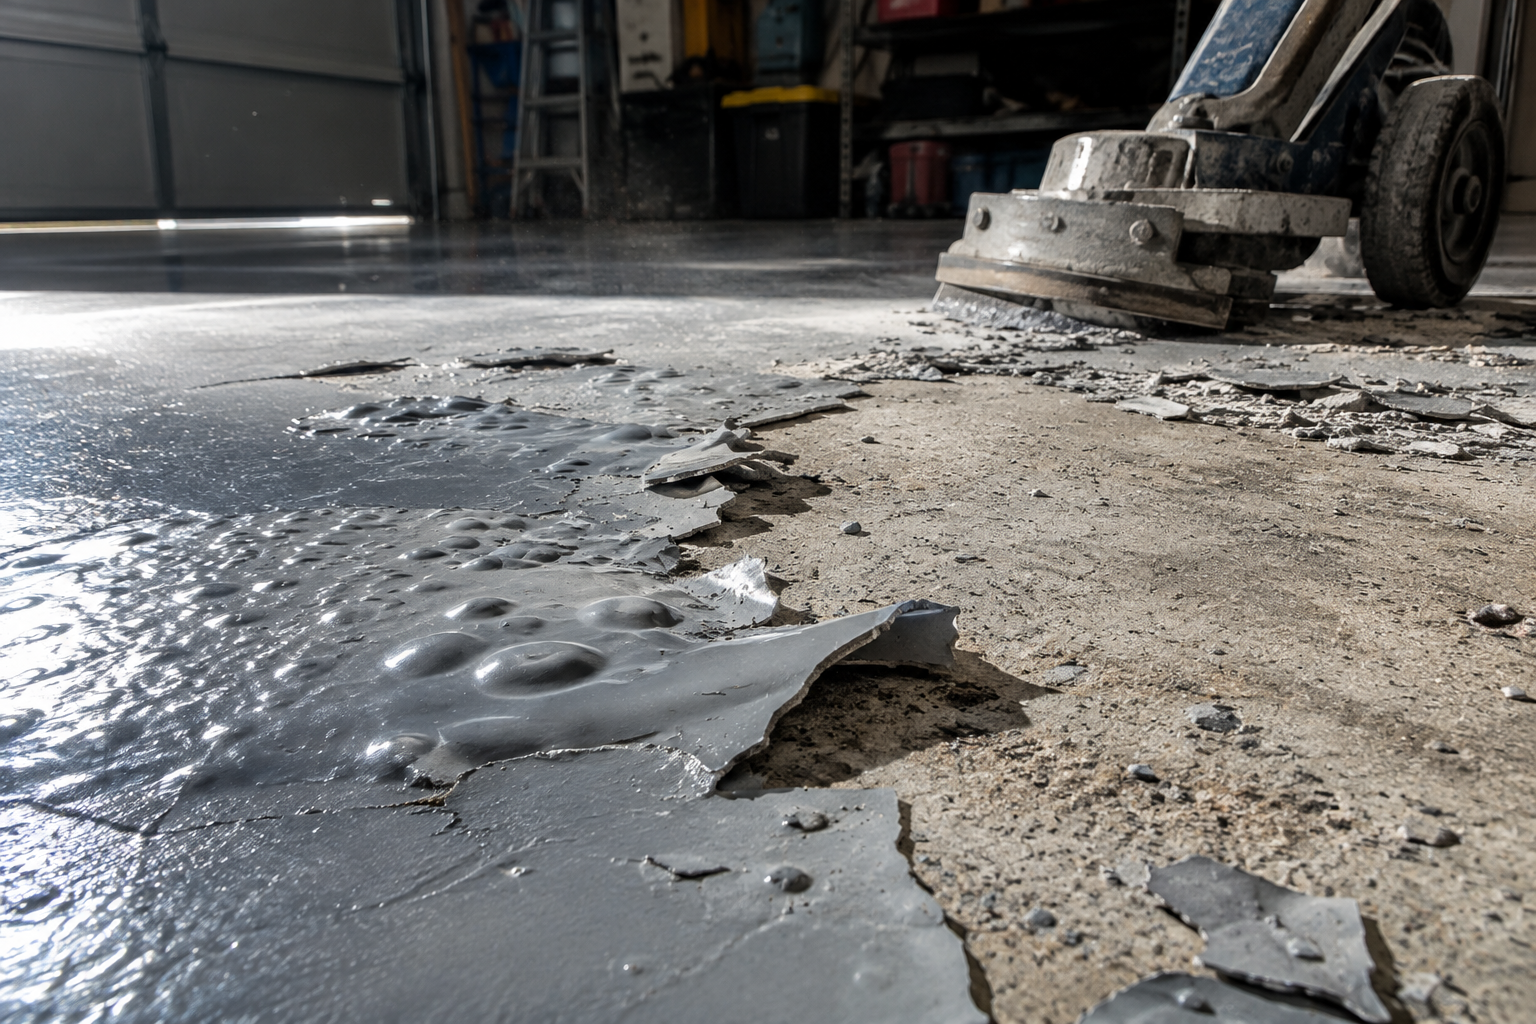
Some floors just aren’t good candidates for a simple recoat, no matter how much you’d like to avoid the extra work. If you see any of these signs, plan on stripping the floor down to bare concrete before applying anything new.
- Peeling or flaking in sheets. This almost always means the original coating never bonded properly, usually because the concrete wasn’t profiled or degreased well before the first application.
- Bubbling or blistering. This points to trapped moisture or vapor pushing up from the slab. Recoating over it just traps the problem under a new layer. If you suspect this, read through this guide on fixing epoxy floor bubbles before doing anything else.
- Widespread hot tire pickup. If your tires have been lifting the coating in multiple spots, the bond strength across the whole floor is likely compromised.
- Efflorescence or white powdery residue. This is a classic sign of moisture moving through the concrete, and it will keep causing failures until the moisture issue itself is addressed. It’s worth running a full moisture check using the steps in this garage floor moisture guide.
- Contamination from oil, sealers, or old wax that won’t fully clean off. If degreaser and scrubbing don’t restore a consistent surface, that contamination will keep any new coat from bonding.
In any of these cases, recoating is a short-term patch at best. The new epoxy will follow the same failure pattern as the old one within a season or two, and you’ll have wasted the time and materials. It’s better to grind the floor back to bare, sound concrete and start fresh with proper prep.
Quick Decision Checklist
If you want a fast gut check before committing either way, run through this list:
- Tape test passes in at least five spots: recoat is likely fine.
- No peeling, bubbling, or hot tire lifting anywhere: recoat is likely fine.
- No white powder or damp patches after a humid day: recoat is likely fine.
- Any single major failure sign above: plan for removal.
- Floor is more than 10 years old with unknown prep history: lean toward removal for a clean start.
Garage humidity and slab moisture play a bigger role in epoxy failure than most people realize. If your garage tends to feel damp or musty, it’s worth addressing that separately. This guide on fixing high garage humidity covers ventilation and dehumidifying steps that protect any new coating you put down.
Frequently Asked Questions
Can I just paint over epoxy without sanding it first?
No, and this is one of the most common mistakes people make. Cured epoxy has a hard, glossy surface that new coating can’t grip onto without some mechanical texture. Skipping the sanding or degloss step almost guarantees the new layer will peel off within weeks or months, even if the old floor was in good shape.
How long does a recoated epoxy floor typically last?
A properly prepped recoat over a sound existing floor can last five to ten years, similar to a fresh application on bare concrete. The lifespan depends more on prep quality and product choice than whether it’s a first coat or a recoat. If you skip proper cleaning and sanding, expect failure much sooner, often within a year.
This article contains affiliate links. We may earn a small commission at no extra cost to you.
