You finally turned your garage into something useful…maybe a workshop, gym, or just solid storage. But then, pests show up…ants in the corner, a spider dangling from the ceiling, maybe even a mouse skittering by. It’s frustrating, but it’s also common. Garages are easy targets: they’re full of hiding spots, small water sources, and plenty of cracks to slip through.
The good news? You don’t need a pest control company to fix it. This guide walks you through clear, simple DIY steps to seal, clean, organize, and protect your garage so it stays as pest-free as the day you fixed it up.
Common Garage Intruders
Before you can kick them out, it helps to know who’s sneaking in. Garages attract a wide mix of bugs and critters, each with their own habits and hiding spots.
Insects
These are the usual suspects crawling or buzzing around your space:
- Spiders: From cobweb builders to fast-moving hunters, they thrive in cluttered corners.
- Ants: Drawn to even the tiniest food crumbs or water drips.
- Crickets: Noisy and jumpy, they love dark, damp areas.
- Silverfish: Moisture-seekers that munch on paper, glue, and fabrics.
- Roaches: Attracted to mess and moisture, tough to eliminate once settled.
- Earwigs: Slip through cracks and gather where it’s cool and wet.
- Flies & Mosquitoes: Often come in through open doors or windows, especially if there’s standing water nearby.
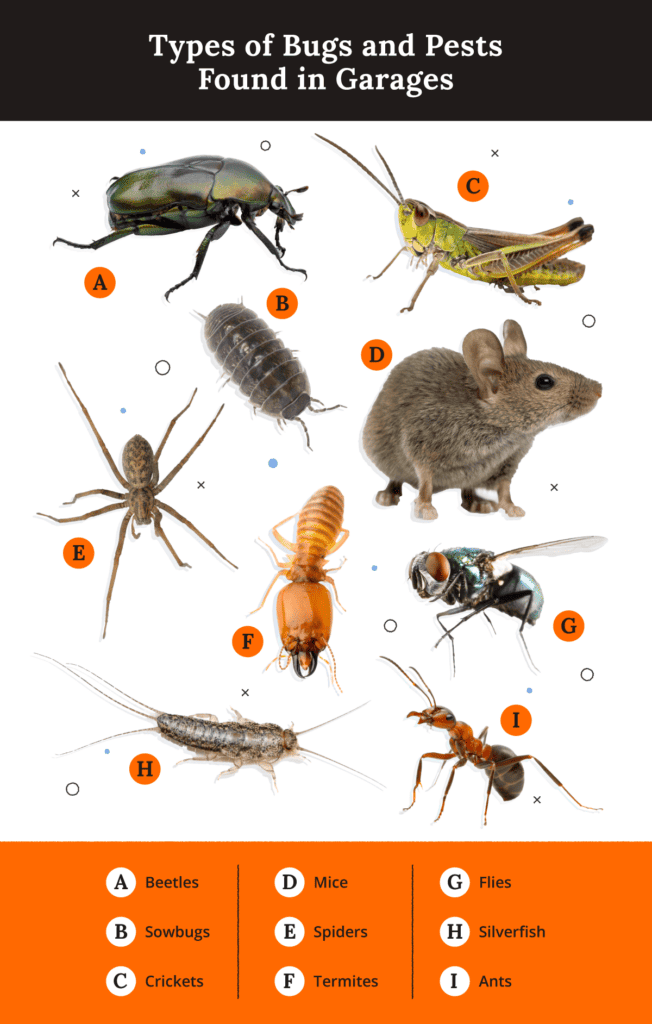
Rodents
When it gets quiet and dark, rodents move in:
- Mice: Small and sneaky, they’ll nest in walls and chew through anything.
- Rats: Bigger and bolder, often showing up when there’s shelter, food, or even bugs to eat.
How to Get Rid of Bugs in Your Garage: Step-by-Step
This isn’t a spray-and-pray situation. The real trick? Make your garage an unwelcoming space for pests from the ground up.
Step 1: Seal Every Entry Point
Keeping pests out starts with sealing up the garage. If they can’t get in, they can’t settle in, and most garages have more entry points than you think.
Start by walking around and inspecting every surface. Focus on the base of walls, corners, and around doors and windows. Look for cracks, gaps, or holes, especially near pipes, vents, and wiring.
Seal small cracks with silicone caulk. It’s perfect for tight areas around the foundation, windows, and doorframes. Next, check your weatherstripping. If it’s loose, cracked, or missing along the garage door or side doors, replace it. This helps keep out bugs, drafts, and moisture.
For bigger holes, especially those that rodents could use, stuff them with steel wool and cover with metal mesh. Mice hate chewing through steel, and the mesh keeps it in place. Cover vents and other larger openings the same way.

Lastly, inspect your window screens. Patch small tears or replace damaged screens completely. Even a small rip is an open door for flies and mosquitoes.
Step 2: Remove the Welcome Mat: Keeping it Clean
Garages with food, moisture, or grime are prime spots for pests. Even small crumbs or damp corners can turn into a buffet or shelter for bugs and rodents. The key is to take away what they’re coming for.
Start by keeping things clean. Sweep the floor regularly, especially around edges and under shelves. Vacuum up cobwebs, dead bugs, and dust. A tidy garage gives pests fewer places to hide.
Clean up spills right away, whether it’s food, drinks, oil, or fertilizer. Pests don’t care what it is, just that it’s there.
Use trash cans with tight lids and empty them often. Rinse them out occasionally to get rid of lingering smells. Avoid storing food in the garage, but if you have to, use airtight plastic or metal bins. That includes pet food, birdseed, and grass seed. Never leave out half-full bowls.
Fix any leaks immediately and check that water drains away from the garage. If the space stays damp, a dehumidifier can help. The drier it is, the less attractive it’ll be to pests.
Step 3: Eliminate Hiding Spots
A cluttered garage gives pests the perfect place to hide, nest, and breed. It also makes it harder for you to notice problems early. Keeping things organized is one of the easiest ways to keep bugs and rodents out.
Start by lifting items off the floor. Use shelves, wall hooks, or cabinets to limit access and reduce moisture exposure. Open floor space makes it easier to spot any pest activity.
Swap out cardboard boxes for clear plastic bins with tight lids. Cardboard holds moisture, attracts bugs, and makes great nesting material. Plastic is tougher and lets you see what’s inside. Label bins so you can find what you need fast.
Group similar items and do a quick clean-out every few months. Toss anything you no longer use or move it elsewhere.
Firewood? Stack it off the ground and away from the garage wall. It’s a common hiding spot for insects and even mice, so give it space and keep it dry.
Step 4: Control the Surrounding Area
What’s happening outside your garage matters just as much as what’s inside. Managing the space around it helps cut down on the number of pests trying to get in.
Start by getting rid of any standing water. Buckets, tires, clogged gutters, or low spots in the yard can collect water and attract mosquitoes fast. Do regular checks after rain and drain anything that’s holding water.
Next, look at your landscaping. Trim back shrubs, vines, and tree branches so they don’t touch the walls or roof. Overgrown plants act like bridges, giving bugs and rodents easy access. Try to keep a clear buffer zone of about 12 to 18 inches between plants and the garage.
Keep an eye out for ant hills, wasp nests, or other signs of insect activity around the exterior. You can treat small problems yourself, but call a pro if you’re dealing with aggressive pests or large nests.
Lighting matters, too. Bright white or blue-toned bulbs attract night-flying bugs. Swap those out for yellow “bug lights” or warmer-tone LEDs. If possible, position outdoor lights away from garage doors so the bugs gather farther from your entry points.
Step 5: DIY Deterrents & Traps
Even with a clean and sealed garage, a few pests might still sneak in. Here are simple, effective ways to deal with them on your own.
Natural Repellents
Peppermint oil works well…just soak cotton balls and place them near doors or dark corners. Refresh them regularly.

Vinegar and water sprays help clean and repel bugs. Always test on a small area first.
Food-grade Diatomaceous Earth (DE) can be applied in thin lines along cracks and walls. It dries out bugs on contact. Wear a mask during application and keep it away from kids and pets.
Traps
Sticky traps catch spiders, crickets, and roaches. Set them near walls, behind bins, and close to entry points.
Use bait traps for ants or roaches, following label instructions. Place them safely away from pets and kids.
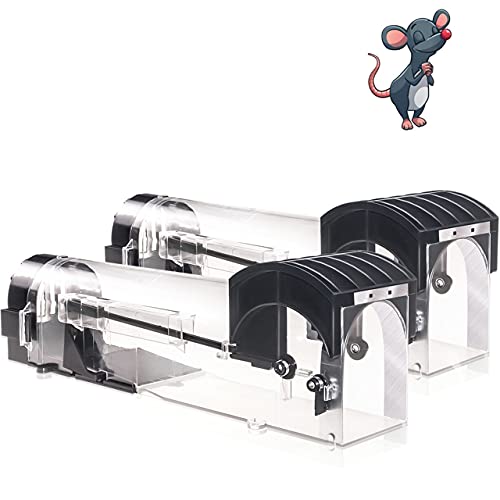
Rodent traps (snap or bait stations) work best along the walls where mice and rats travel.
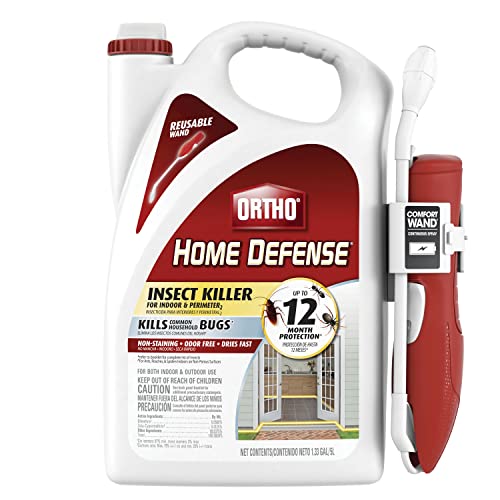
Barrier Sprays
Indoor/perimeter sprays can add another layer of protection. Spray baseboards and around doors or windows. Follow label directions, ventilate well, and keep the area clear until dry. Reapply as needed.
Electronic Repellers
Ultrasonic devices claim to repel pests, but the results are hit or miss. If you use them, treat them as a backup, not as the main method. Stick to proven tactics for lasting results.
Step 6: Consistency is Key
Keeping your garage pest-free isn’t a one-time job. Once you’ve done the hard work, staying on top of things is what makes it last.
Make a habit of quick checks every week or two. Look around doors, corners, and storage areas for droppings, webs, or new cracks. Do a more detailed inspection every month or so…check seals, stored items, and any spots where pests could hide.
Stick with the cleaning and decluttering routines you started. How often depends on how you use the space, but regular tidying goes a long way in keeping pests out.
Don’t forget to stay on top of traps and repellents. Swap out sticky traps if they’re full or dusty. Refresh natural deterrents like peppermint oil and reapply barrier sprays as the label recommends. A little upkeep goes a long way.
When to Call the Professionals
Sometimes, no matter how thorough you are, pests still find a way in, and that’s when it’s time to bring in the pros.
If you’re still seeing bugs or rodents after staying consistent with DIY fixes, there’s likely a bigger issue at play. Large infestations, like widespread ants or a serious roach problem, often need stronger treatment than what’s available over the counter.
Other signs include property damage such as chewed wires from rodents or wood damage caused by termites or carpenter ants.
If you’re dealing with aggressive pests like wasps, termites, or a full-blown rodent population, it’s safer and smarter to let a professional handle it.
Conclusion
A clean, organized, and sealed garage does more than look nice. It protects your tools, your storage, and your sanity.
The six steps: Seal Up, Clean Up, Organize, Treat the Outside, Use Smart Deterrents, and Keep It Going, can turn your garage into a space you actually enjoy being in again.
Whether it’s your personal gym, project space, or the world’s most efficient junk drawer, your garage should work for you…not for the pests. Now, you’ve got the steps to take back control. Keep it simple, stay consistent, and don’t let the bugs win.