

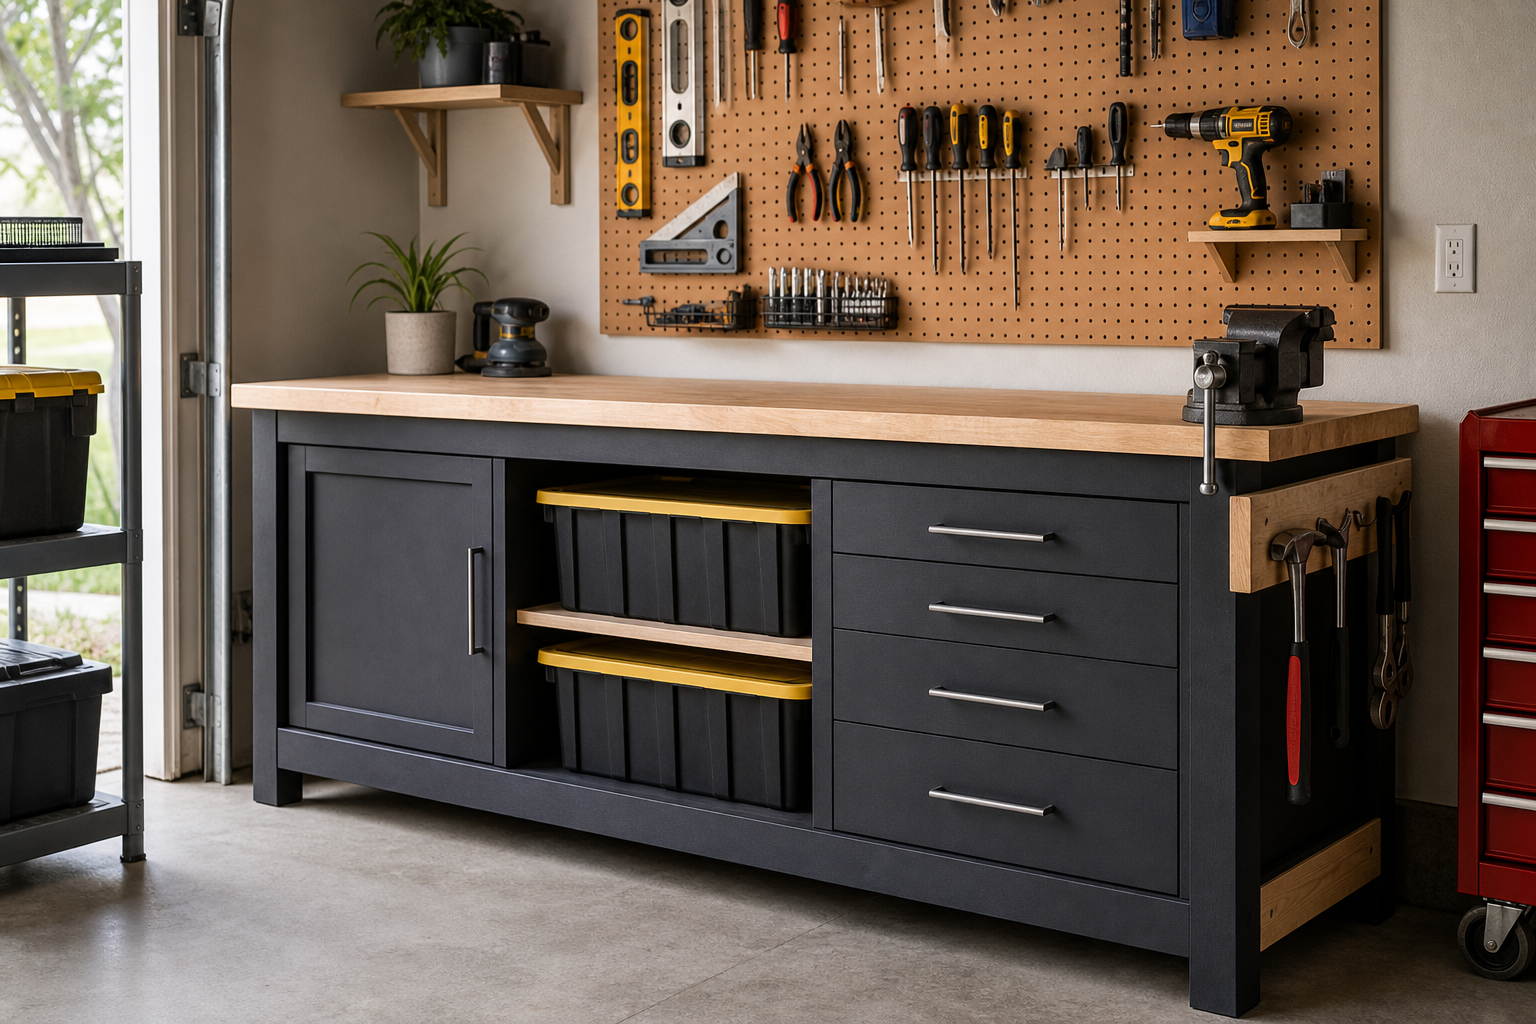
Whether you’ve been planning to build a sturdy DIY garage workbench with storage for months or decided to tackle it this weekend, a clear roadmap makes all the difference. Preparation accounts for about 80% of the success in projects like this.
Everything you need is below: tools, materials, step-by-step instructions, and the common pitfalls to avoid.
Understanding the Basics
A garage workbench is three things at once: work surface, storage system, and structural anchor for your shop. The design you choose depends on how you’ll use it. Light assembly and electronics repair need a smooth top and organized small-parts storage. Automotive work and heavy fabrication require massive weight capacity, a vise mount, and floor-to-ceiling clearance for long stock.
Start by deciding where the bench goes. Against-the-wall builds maximize floor space and simplify construction because the wall carries part of the load. Freestanding or mobile benches offer flexibility but need beefier leg systems and cross-bracing. Most home garage builders choose a wall-mounted design because it’s cheaper, faster, and more stable.
Standard workbench height is 36 inches, which suits most tasks and users. If you’re taller than 6 feet or shorter than 5’4″, adjust by 2 to 3 inches in the direction that keeps your elbows at a comfortable 90-degree bend when standing at the bench. Measure before you cut. A too-high bench fatigues your shoulders. A too-low bench wrecks your lower back.
Depth matters more than most builders realize. A 24-inch-deep bench provides enough work surface for most tasks without eating excessive floor space. Go to 30 inches if you regularly work on large assemblies or need room behind a mounted vise. Anything shallower than 20 inches feels cramped once you add a tool or two.
Length is negotiable based on available wall space and budget. Six feet is a practical minimum for serious work. Eight feet is better. If your wall allows it and you have the budget, a 10- or 12-foot bench transforms how you work because you can spread out projects, stage parts, and dedicate sections to specific tasks.
Material Lists and Dimensions
Pressure-treated 2x4s form the frame. They resist moisture and last decades in a garage environment. For an 8-foot bench at standard height, you’ll need:
- Four 8-foot 2x4s for the top frame (front rail, back rail, and two cross supports)
- Eight 33-inch 2x4s for legs (cut from six 8-footers)
- Four 21-inch 2x4s for leg cross-bracing (cut from two 8-footers)
- Two 8-foot 2x4s for the lower shelf frame
That’s 12 total 8-foot 2x4s for the frame. Check current pricing for pressure-treated 2×4 lumber as costs vary by region.

Pressure-Treated 2×4 Lumber
Essential for moisture resistance in garage environments
The work surface takes the most abuse, so don’t cheap out. Three options work well:
A single sheet of 3/4-inch plywood (preferably hardwood ply or AC-grade) provides a solid surface that handles moderate loads. Screw it down every 8 inches along the frame for a flat, stable top.
Two layers of 3/4-inch plywood laminated together create a 1.5-inch-thick top that handles heavy pounding, vise mounting, and tool clamping without flexing. The result rivals commercial benches. Glue and screw the layers together, offsetting seams if you’re using multiple pieces.
A 2×6 or 2×4 butcher-block style top built from construction lumber gives you a 3- to 4-inch-thick surface that’s nearly indestructible. It’s the most labor-intensive option (ripping, gluing, clamping, sanding), but if you have a table saw and clamps, this is the best long-term choice.
For the lower shelf, a single layer of 3/4-inch plywood or OSB works fine. You’re storing paint cans and parts bins, not pounding on it.
Fasteners matter. Use 3-inch structural screws (not drywall screws) for all frame joints. This ensures joints don’t loosen over time. For mounting the top, 2.5-inch screws work. If you’re lag-bolting the back rail into wall studs for a wall-mounted design, use 3/8-inch by 4-inch lag screws with washers. Six to eight lags spaced 16 inches apart handle the load.
Step-by-Step Construction
Preparation and Cutting
Cut all lumber before assembly. Lay out every piece and double-check dimensions. Construction-grade 2x4s aren’t always perfectly straight, so sight down each one and set aside any with severe bows or twists for shorter cross-bracing cuts.
Building the Frame
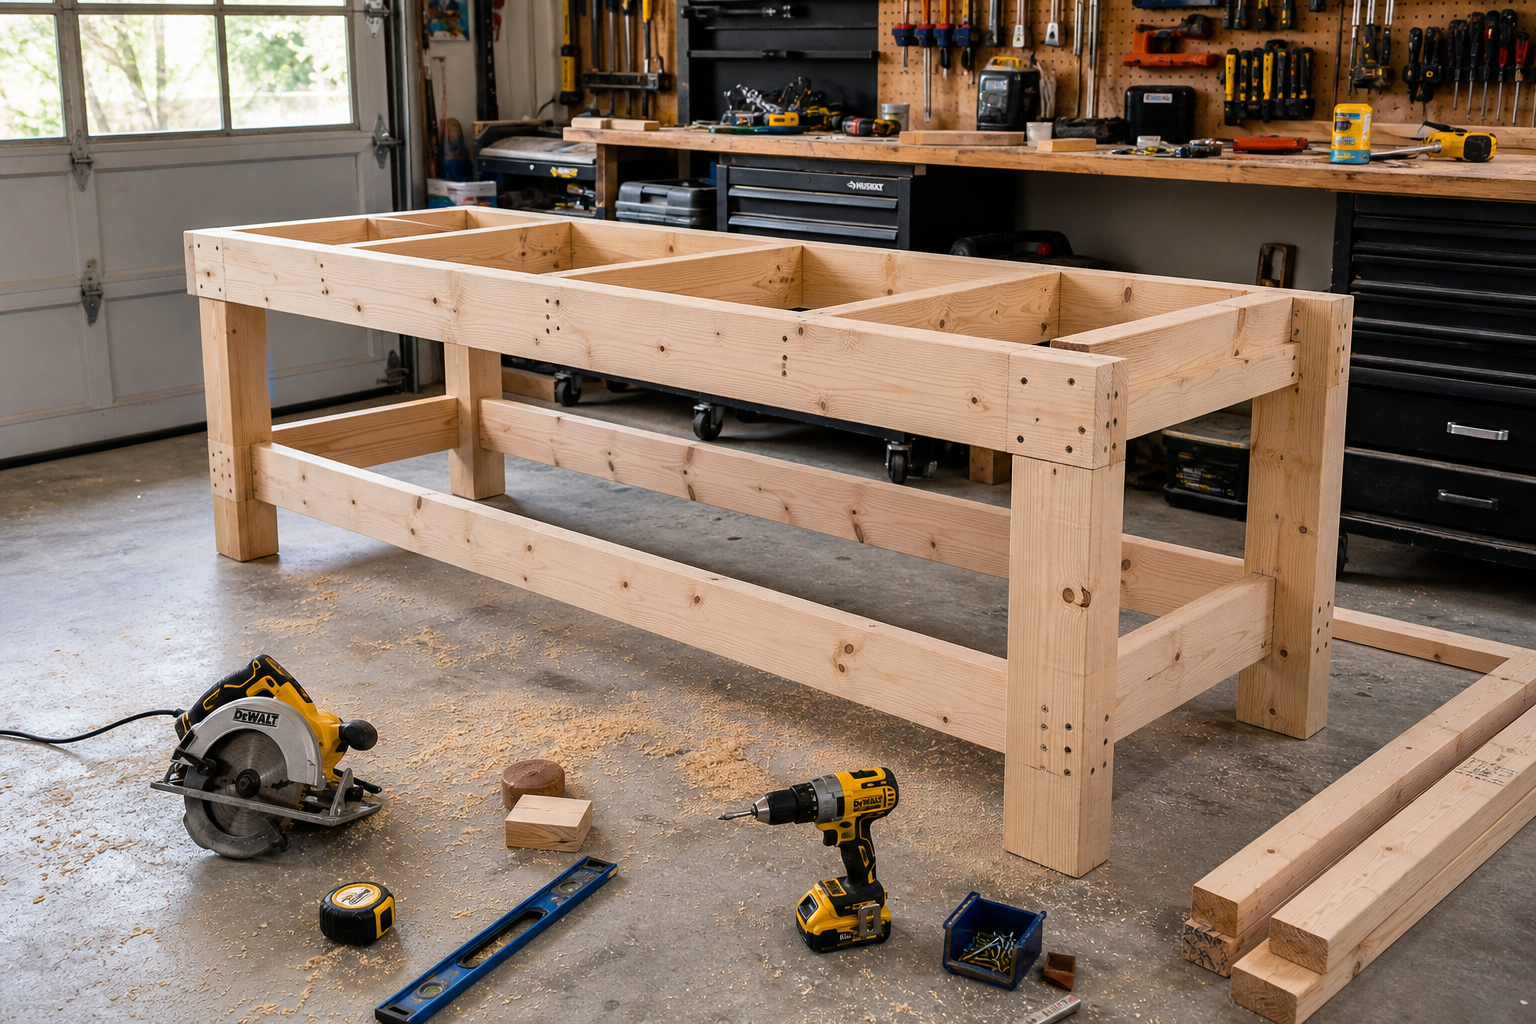
Start with the leg assemblies. Each leg is two 33-inch 2x4s screwed together in an L-shape. This doubles the thickness and creates a stable corner post. Pre-drill screw holes to prevent splitting. Three screws per joint is plenty. Build all four leg assemblies first.
Attach the front and back top rails to the legs. The back rail sits flush with the back edge of the legs. The front rail sits flush with the front edge. Use two screws per connection, driven at slight angles for better hold. At this point, you’ll have two ladder-like frames (front and back).
Connect the front and back frames with cross supports at the ends. You’ll have a rectangular top frame supported by four corner leg assemblies. Check for square by measuring diagonals. They should match within 1/4 inch. If they don’t, rack the frame gently until they do, then lock it in place with temporary bracing.
Adding Support Elements
Add the lower shelf frame 6 to 12 inches above the floor. This involves four more 2x4s (front, back, and two ends) attached to the inside of the legs. Height is flexible based on what you’ll store underneath. Most builders choose 8 to 10 inches, which accommodates 5-gallon buckets and standard storage bins.
Install diagonal cross-bracing on the legs. A single 2×4 running diagonally from the top of one leg to the bottom of the adjacent leg eliminates wobble. Do this on both end panels. Some builders add a cross-brace on the back as well for extra rigidity.
Final Assembly
Screw down the lower shelf. OSB or plywood works. This isn’t a precision step. Just make sure it sits flat.
Attach the work surface. If you’re doing a laminated double-layer top, glue and clamp the layers together off the bench, let them cure overnight, then screw the finished top onto the frame. Countersink screws slightly so they’re flush with the surface. Work from the center outward to prevent warping.
For wall-mounted designs, lag-bolt the back rail into studs before attaching the top. Find studs with a stud finder or by tapping and measuring 16-inch intervals from a corner. Drill pilot holes through the back rail, hold the frame level, and drive 3/8-inch lag screws with a ratchet or impact driver. Six lags minimum for an 8-foot bench.
Finish the surface. Raw plywood splinters. A few coats of polyurethane or a couple coats of paint seal the wood and make cleanup easier. Some builders leave it raw and plan to replace the top in five years, which is fine if you’re doing heavy grinding or welding that would trash a finish anyway.
Integrating Drawers, Pegboard, and Power
Drawer Options
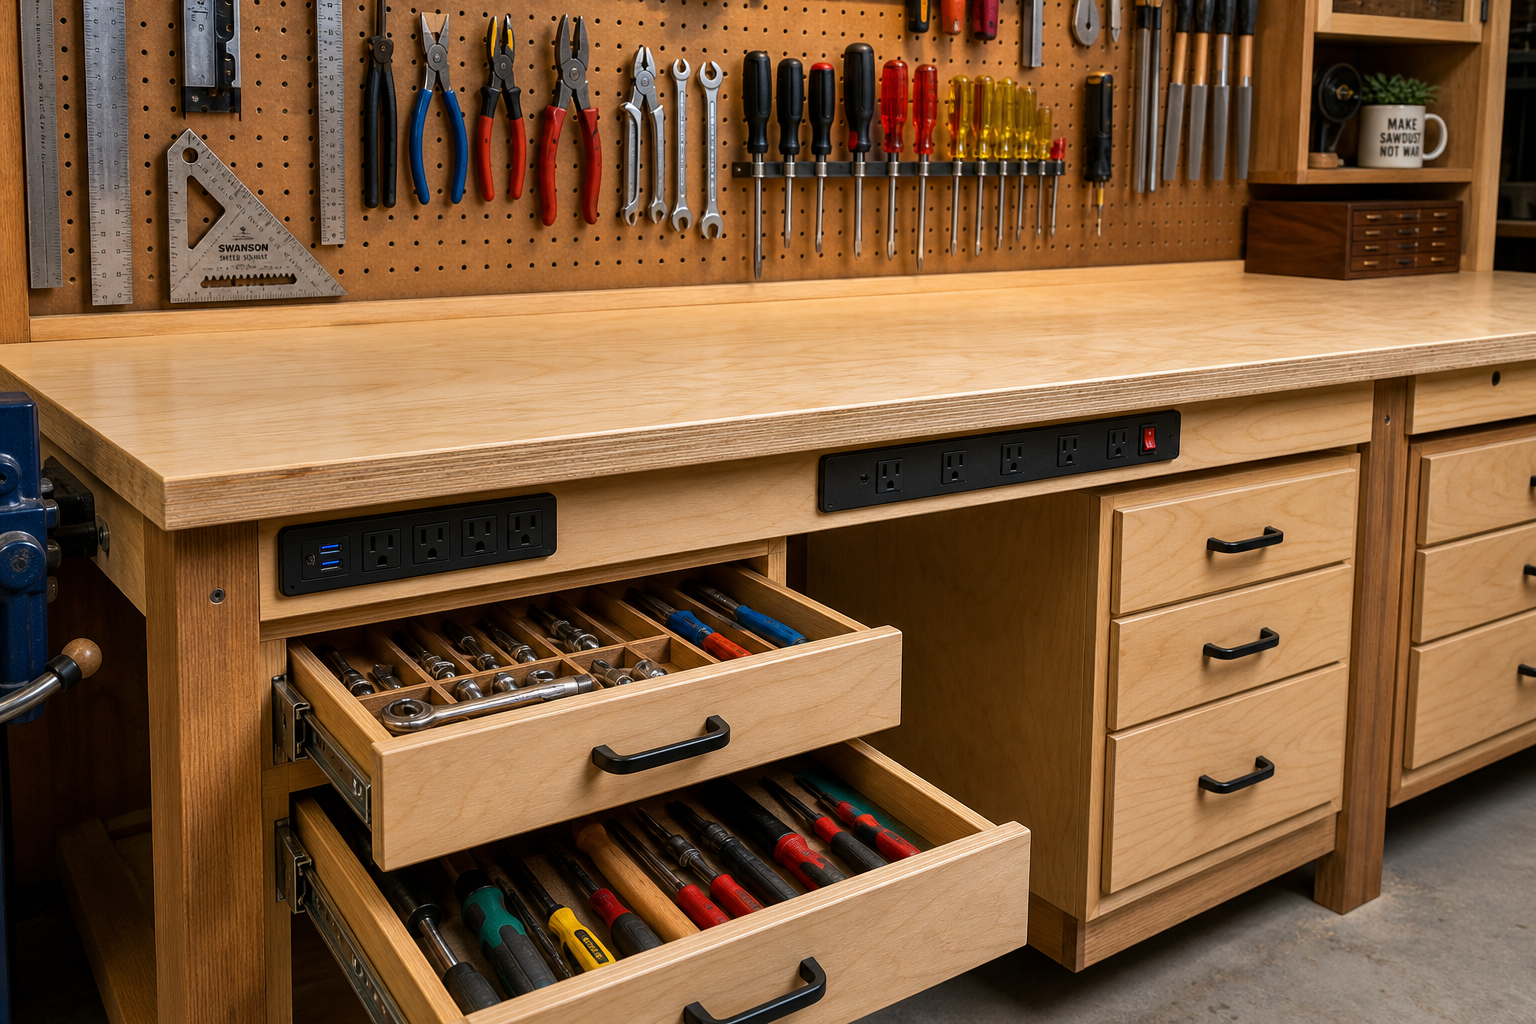
Drawers add cost and complexity, but they’re worth it for small parts, fasteners, and hand tools. The simplest approach is buying pre-made drawer units (often sold as tool chests or rolling cabinets) and sliding them under the bench. A 26-inch-wide rolling tool chest fits perfectly under a 24-inch-deep bench.

Building drawers from scratch requires plywood, drawer slides, and patience. Full-extension ball-bearing slides rated for 100 pounds provide smooth operation. Each drawer needs a plywood box (1/2-inch sides and back, 3/4-inch bottom), a face frame, and slides mounted to both the drawer and the bench frame. Budget 2 to 3 hours per drawer if you’ve never built them before.
If you’re already considering storage solutions, check out our guide on best garage power tool organizers for additional ideas that complement your workbench design.
Pegboard and Slatwall Backing
For pegboard backing, mount a sheet of 1/4-inch pegboard or slatwall to the wall behind the bench. Leave a 1-inch gap between the pegboard and the wall using furring strips or spacer blocks so hooks have room to fit. Standard pegboard flexes under load, letting hooks fall out. Upgrading to metal pegboard or slatwall solves this. Metal pegboard holds more weight and looks cleaner.
Several fixes work for existing thin pegboard: lock-in clips that snap behind the board, hot glue on the hook dowel for friction, or zip ties through the hook and an adjacent hole. All are cheap and effective.
For detailed installation tips, our guide on installing garage slat wall accessories covers the specific techniques that ensure long-lasting installations.
Electrical Considerations
A power strip mounted to the back edge of the bench or the wall just above the surface keeps cords off the workspace. Use a metal-housed commercial strip rated for 15 amps minimum. Plastic residential strips melt if you plug in a heat gun or soldering station for extended periods. Screw it down securely. A loose power strip gets yanked off the bench the first time you forget a tool is still plugged in.
Run a dedicated 20-amp circuit to the bench if you’re using power tools regularly. Most garages share circuits between the overhead door opener, lights, and outlets, which means tripped breakers when you fire up a table saw and shop vac simultaneously.
Mobile vs. Fixed Designs
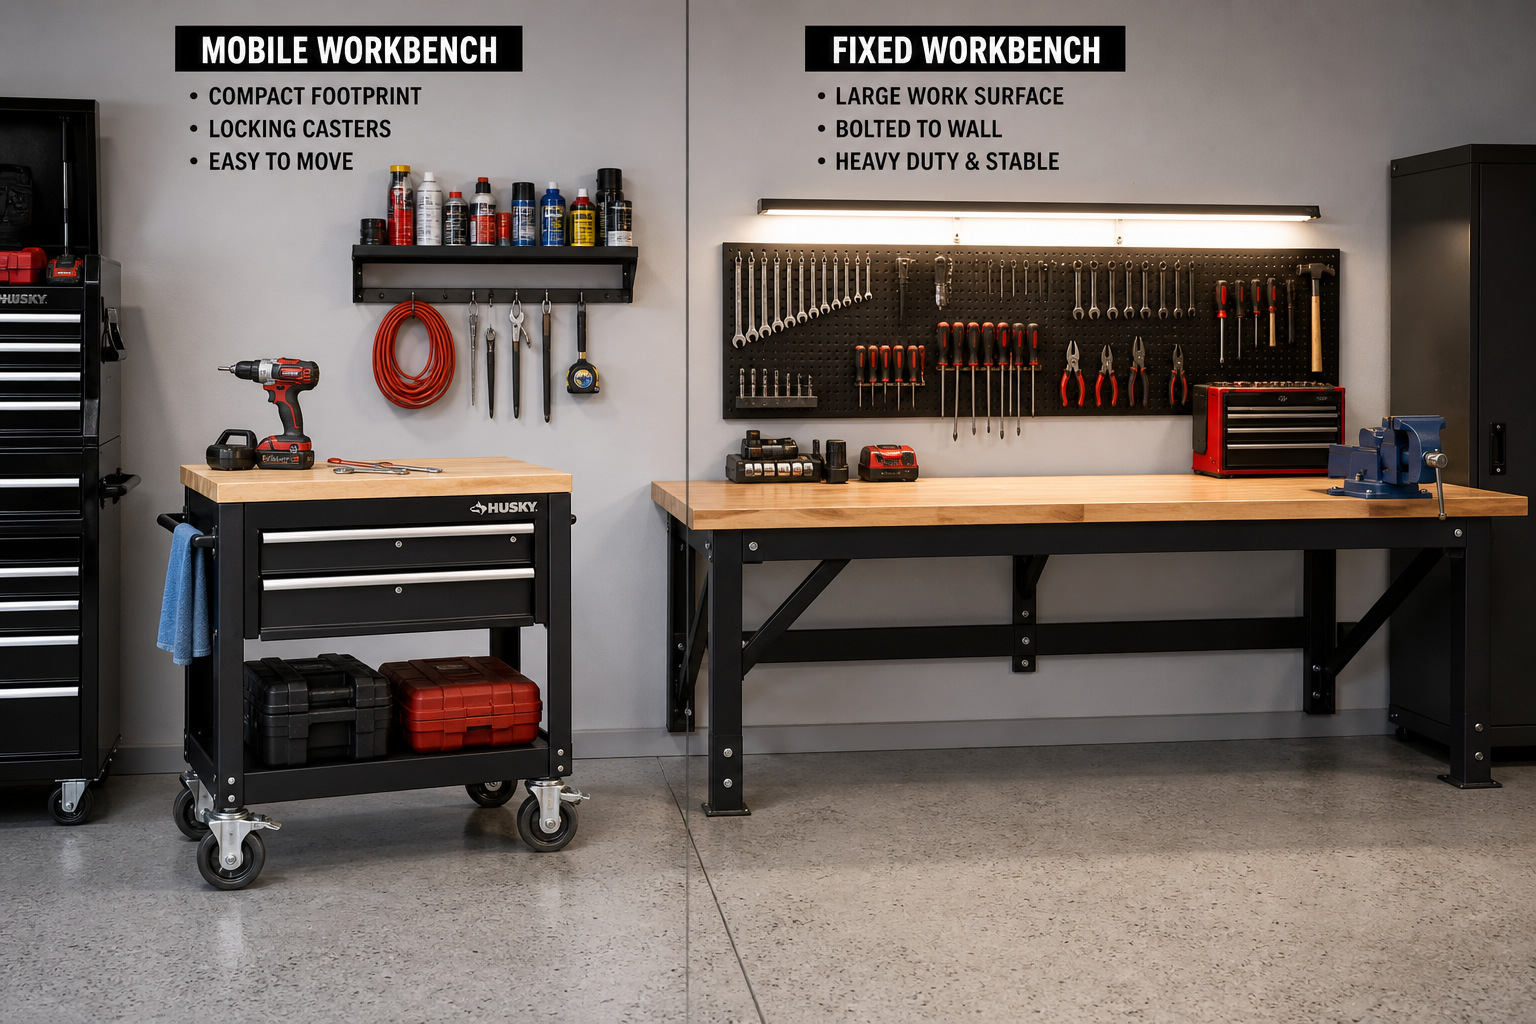
A mobile bench trades stability for flexibility. Locking casters rated for 300 pounds each (total of 1,200 pounds for four casters) mount to the bottom of the legs using lag screws and large washers. The bench becomes 4 inches taller once you add casters, so trim the legs accordingly or accept a 40-inch work height.
Locking casters only lock the wheels, not the swivel. A mobile bench still shifts slightly under heavy planing, sawing, or hammering. That’s fine for assembly work and general-purpose use, but dedicated joinery or precision metalwork needs a fixed bench.
The compromise is building a fixed bench and adding a separate mobile cart for finishing, assembly, or as an outfeed table. A 2×4-frame cart on casters with a single plywood top takes half a day to build. You get the stability of a fixed bench and the convenience of a mobile work surface.
For comparison, our review of best garage folding workbenches covers portable options if space constraints make a permanent installation challenging.
Common Mistakes to Avoid
Undersized framing. 2x4s handle garage workbench loads fine when properly braced. 4×4 legs are overkill unless you’re building a timber-frame bench for blacksmithing or heavy anvil work. The mistake is using 2x4s without adequate cross-bracing, which leaves the bench wobbly. Diagonal bracing is non-negotiable.
Skipping the lower shelf. It’s not just storage. The lower shelf ties the leg bottoms together and prevents racking. A bench without a lower shelf frame wobbles no matter how well you brace the top.
Mounting to drywall instead of studs. Drywall anchors fail above 15 to 25 pounds. A workbench loaded with tools and a vise exerts hundreds of pounds of lateral force when you’re planing or sawing. Lag into studs or don’t mount to the wall at all.
Using particle board or MDF for the top. Both swell and disintegrate when they get wet, which happens in garages. Plywood or solid wood only.
Over-complicating the design. The benches that get finished are the simple ones. Elaborate joinery, custom drawer systems, and built-in tool racks are great if you have the skills and time. Most people are better off building a basic sturdy frame, adding a thick top, and upgrading storage later as needs become clear.
Not sealing the wood. Raw lumber absorbs oil, solvents, and moisture, which leads to staining and eventual rot in high-humidity climates. Two coats of polyurethane or exterior latex paint take an hour and extend the bench’s life by years.
Weight Capacity Realities
A well-built 2×4 frame bench with double-layer plywood top handles 1,000 to 1,500 pounds of distributed load. That’s more than enough for any home garage use. Concentrated point loads (like a heavy vise or an anvil) need to land directly over a leg or a cross support to avoid sagging.
Wall-mounted benches rely on the wall for rear support. Six lag screws into studs hold several hundred pounds of vertical load, but lateral forces (planing, sawing, pounding) stress the wall connection. A front leg at each end or a continuous leg along the front edge reduces lateral stress and keeps the bench from tearing away from the wall.
For reference, a 6-inch bench vise weighs 40 to 60 pounds and exerts significant clamping force. Mount it over a leg or double up the framing under that section of the top. The same applies to grinders, drill presses, or any other tool bolted to the bench.
Finishing Touches
Edge-band the plywood top with 1×2 or 1×3 hardwood strips. This protects the plywood edges from damage and gives the bench a finished look. Glue and nail the strips flush with the top surface, miter the corners, and sand smooth. It’s a small detail that makes the bench look intentional rather than scrapped together.
Add a tool tray or parts bin along the back edge. A length of 1×4 screwed to the top creates a shallow tray that keeps fasteners, pencils, and small tools from rolling off. Some builders route a dado into the top for the same purpose, but surface-mounted is easier and just as functional.
Consider a replaceable hardboard or MDF surface layer. Screw a 1/4-inch sheet of hardboard over the plywood top. When it gets chewed up from cutting, drilling, or spills, unscrew it and replace it. The plywood underneath stays pristine.
Integrated lighting makes a huge difference. An LED shop light mounted to the underside of a shelf or pegboard panel above the bench eliminates shadows. Our guide to
