

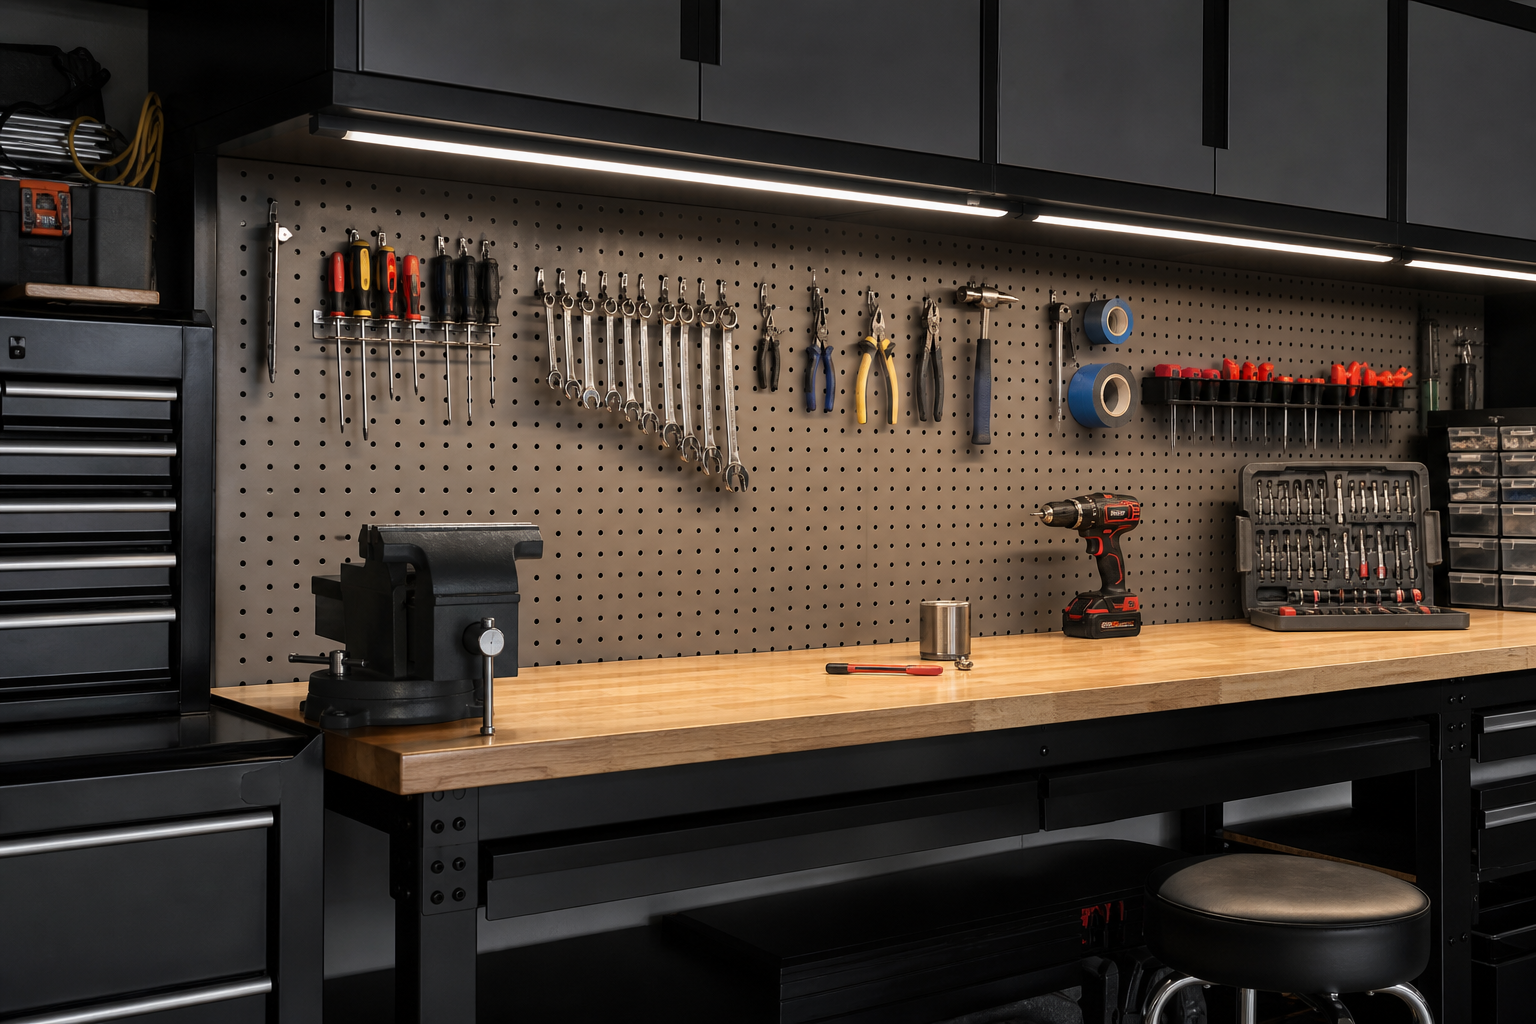
Understanding garage task lighting for detailed work gives you a real advantage, whether you’re planning a project, troubleshooting, or making smarter decisions about your space. The specifics matter more than most people expect.
Poor lighting turns simple tasks into frustrating struggles. You squint at measurements, miss imperfections in finishes, and fight your own shadow across the workpiece. Good task lighting fixes all of that and makes your garage workspace actually usable for precision work.
This guide covers everything you need to know in practical terms, with actionable takeaways you can use right away.
Understanding the Basics
Color temperature (Kelvin) determines light quality. 5000K (daylight) gives crisp, color-accurate illumination ideal for garages. This matters when matching paint, identifying wire colors, or inspecting wood grain. 4000K (neutral white) is slightly warmer if you find daylight too harsh. Avoid warm-white bulbs (2700-3000K) for workshop use since they make it harder to see fine detail and shift color perception.
LED shop lights are the standard: 50,000+ hour lifespan, low electricity consumption, and instant full brightness. No warm-up period, no buzzing ballasts, no flicker when cold. Linkable models daisy-chain from one outlet. Most manufacturers limit chains to 4 to 8 fixtures to prevent voltage drop that causes dimming or flickering on distant units. Check the spec sheet before buying if you plan to link more than four fixtures.
Placement matters as much as total output. Evenly spaced fixtures eliminate dark spots. Four to six 4-foot LED shop lights in rows cover most two-car garages well. Add a task light directly above the workbench, positioned so you don’t cast your own shadow on the work surface. Mount it 18 to 24 inches above the bench height, angled slightly forward if possible.
Wattage doesn’t tell the full story with LEDs. Look at lumens instead. A 40-watt LED shop light typically produces 4000 to 5000 lumens. Compare that to an old T12 fluorescent that needed 64 watts for the same output. You get the same light for less than half the electricity cost.
CRI (Color Rendering Index) is the measure of how accurately a light source shows colors compared to natural daylight. CRI 80 is the minimum acceptable for workshop use. CRI 90+ is better for detail work where color matters: finishing, painting, electrical work, or automotive restoration. Most budget LED shop lights hit CRI 80. You pay a premium for CRI 90+, but it’s worth it if you do precision work regularly.

LED Shop Light 5000K Daylight
Perfect color temperature for accurate detail work with linkable design for easy installation
Installing Shadow-Free LED Task Lights Above Workbenches
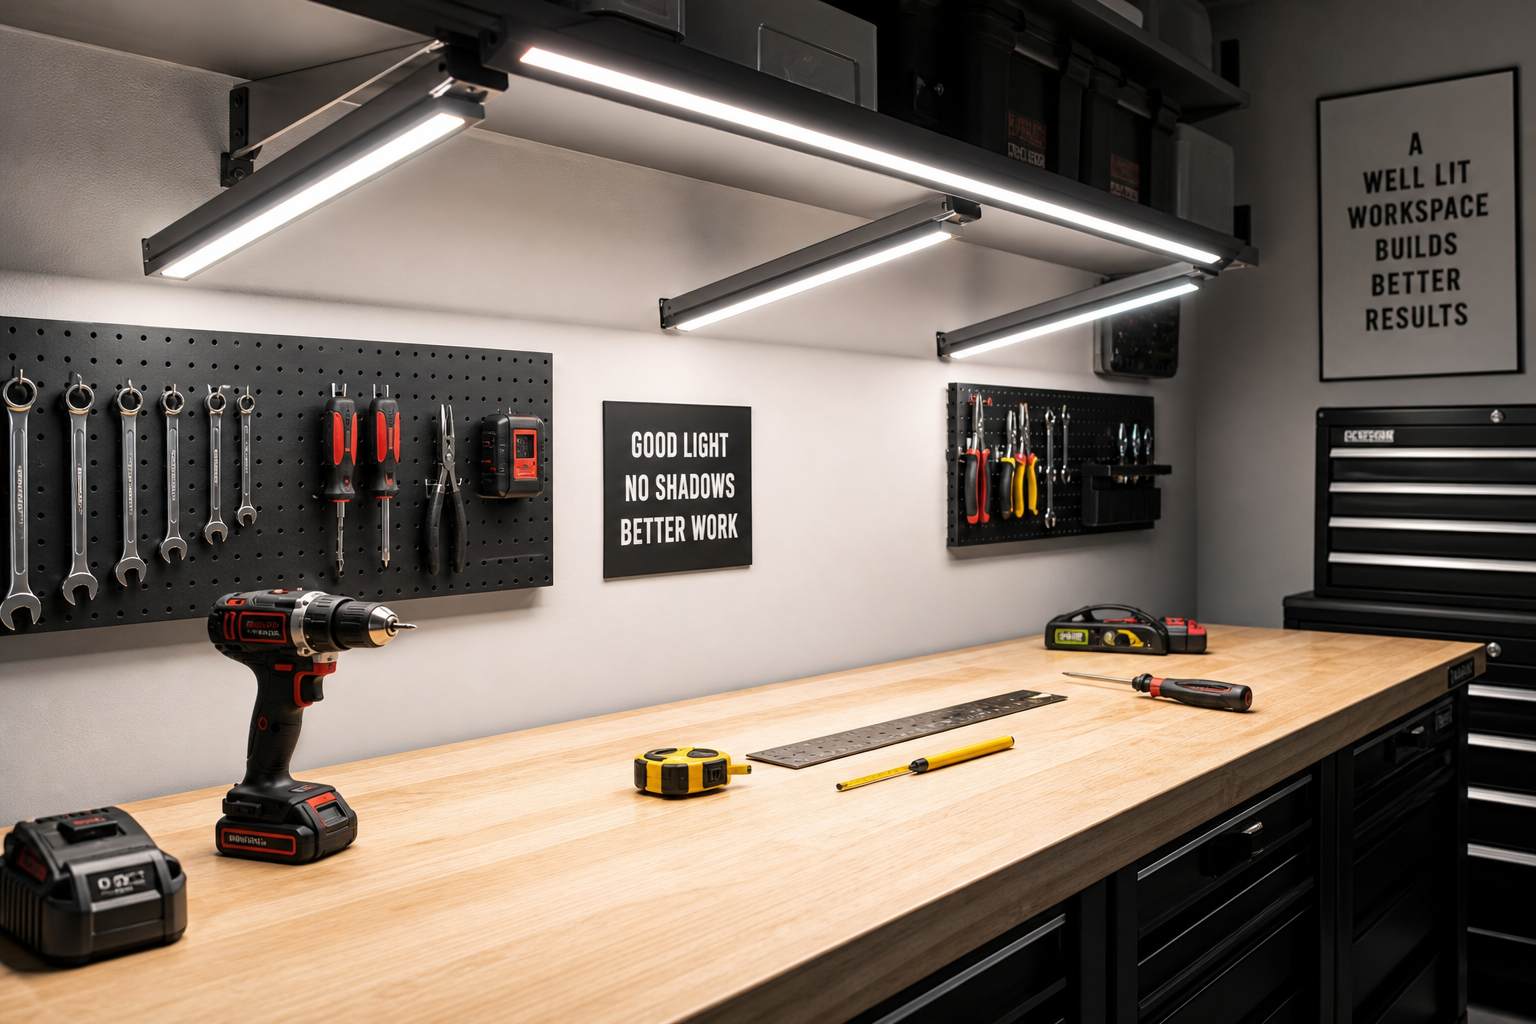
Shadow-free installation requires planning the light position relative to where you stand. The goal is to eliminate the shadow your body and hands cast onto the work surface.
Mount the task light directly above the back third of your workbench, not the center. When you stand at the bench, the light shines past you onto the work area. This setup works whether you’re right-handed or left-handed.
For wider benches (36 inches deep or more), consider two parallel fixtures mounted front-to-back instead of one centered unit. This cross-lighting eliminates shadows from both directions. Overkill for basic tasks but essential for detailed work like electronics repair or intricate woodworking.
If you’re setting up a complete garage workshop, proper lighting placement becomes even more critical for safety and productivity.
Adjustable arm lights give you flexibility. Swing-arm LED fixtures let you reposition the light source based on the task. They work well on smaller benches or in spaces where you do varied work. Mount the arm to the wall or bench frame, not to a shelf that might shift over time.
Run dedicated circuits for high-draw setups. If you’re adding six or more shop lights plus a task light, put them on a 20-amp circuit. Don’t daisy-chain them off an existing circuit that already powers outlets and tools. Overloaded circuits trip breakers mid-project.
Use proper mounting hardware. Lightweight fixtures can hang from lag screws into joists. Heavier units need toggle bolts if mounting to drywall between joists. Check the fixture weight and compare it to your fastener’s load rating. Don’t trust drywall anchors for anything over 10 pounds.
Consider adding a motion sensor or separate switch for task lights. You don’t need the high-intensity task lighting every time you walk into the garage. A separate switch lets you run just the overhead shop lights for general use and flip on the task light only when needed.
Wire routing matters for clean installations. Run conduit or cable raceways along the wall or ceiling to hide wiring. Exposed romex stapled to studs works but looks unfinished. Cable raceways are cheap, paintable, and give you flexibility to add more fixtures later without tearing into walls.

LED Workbench Task Light Under Cabinet
Mounts cleanly under cabinets or shelves for direct shadow-free illumination
Calculating Your Lighting Needs
Target 50 lumens per square foot for general garage use. A 400 square-foot two-car garage needs at least 20,000 lumens total. For workbench detail, boost to 300 lumens per square foot with dedicated task lighting positioned to minimize shadows.
This means a 6-foot workbench (roughly 12 square feet of work surface) needs 3,600 lumens of task lighting directly overhead. One high-output LED fixture typically covers that. Two lower-output fixtures give you redundancy and better shadow control.
Don’t forget vertical surfaces. Tool walls, pegboards, and slatwalls need light too. A strip light mounted above the tool wall adds 100 to 200 lumens per linear foot. For those using garage power tool organizers, proper lighting helps you quickly identify and access the right tool.
Ceiling height affects how light spreads. Standard 8-foot ceilings concentrate light in a smaller area. Higher ceilings (10 feet or more) spread light over a wider area but reduce intensity at bench level. In tall garages, drop fixtures on chains or use adjustable-height options to bring light closer to the work surface.
Reflective surfaces multiply your effective light output. White or light-colored walls bounce light back into the space. Dark walls absorb it. Painting garage walls in light colors can boost perceived brightness by 20% without adding fixtures.
Choosing the Right Fixtures for Your Work Type
Precision electronics and model-building need high CRI and focused light. Magnifying lamps with built-in LEDs combine magnification and lighting in one fixture. They mount to bench edges with clamps and swing out of the way when not needed.
Automotive work and metalworking benefit from diffused overhead lighting plus focused task lights. Underhood work lights on magnetic bases let you position bright light exactly where you need it. Rechargeable models eliminate extension cords draped over fenders.
Woodworking requires color-accurate lighting to see grain and finishes clearly. CRI 90+ LEDs show wood tones accurately. Avoid cool blue-white LEDs (6000K or higher) that make wood look washed out and hide subtle grain patterns.
Painting and finishing demand the highest CRI you can afford. CRI 95+ lets you match colors precisely. Flicker-free operation matters here too since strobing can hide defects in wet finishes. Look for fixtures rated flicker-free or check reviews from users doing finish work.
General tasks and heavy-duty work prioritize raw output over color accuracy. Standard CRI 80 LED shop lights work fine. Focus your budget on getting enough lumens to eliminate shadows across the entire workspace.
Workbench Height and Lighting Relationship
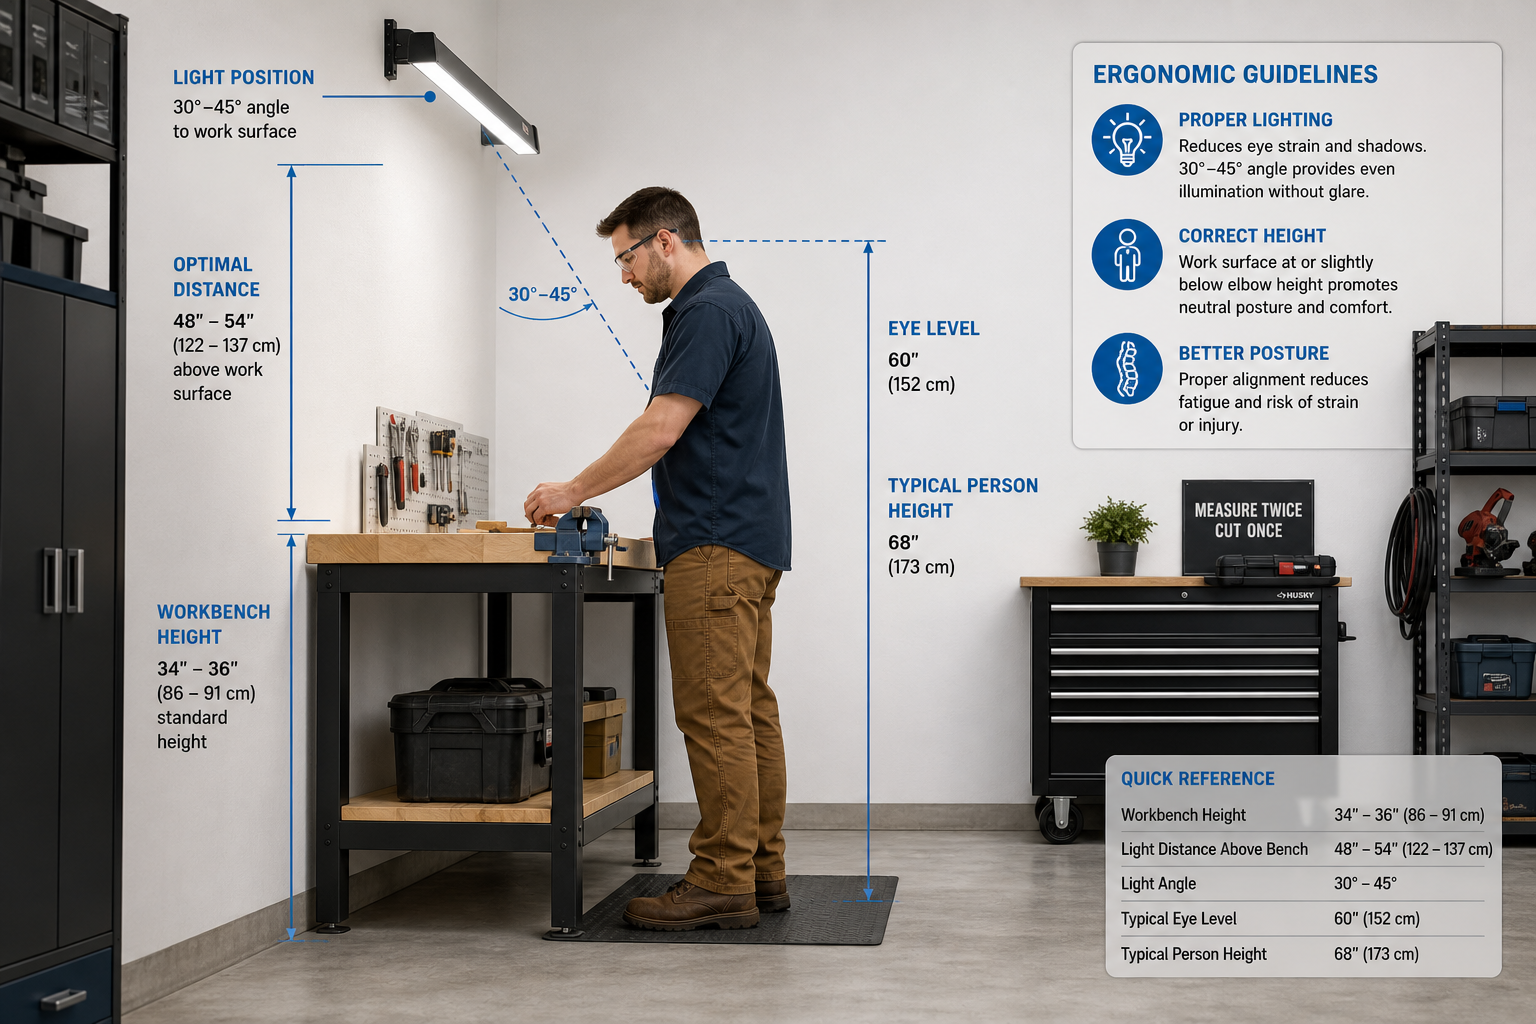
Standard height: 34 to 36 inches for general tasks. Over 6 feet tall? Try 38 inches. Detail work: add 4 inches. Heavy tasks like planing: subtract 2 to 4 inches. An adjustable bench eliminates the compromise if you do varied work.
For those considering folding workbenches, remember that adjustable height options give you the flexibility to optimize both bench position and lighting angles for different tasks.
Bench height directly affects where you position task lighting. A taller bench puts your work surface closer to overhead lights, increasing effective brightness. A lower bench for heavy work needs lights mounted slightly lower or angled to compensate.
Standing versus sitting changes everything. If you sit on a stool for precision work, your eye level drops 12 to 18 inches. Task lights need to account for that shift. Adjustable fixtures let you reposition light when switching between standing and sitting tasks.
The distance from your eyes to the work surface determines what you can see clearly. Most people hold detail work 12 to 18 inches from their face. Task lighting should create 300+ lumens at that working distance, measured at the surface, not at the fixture.
Common Mistakes to Avoid
Installing too few fixtures is the most common error. People underestimate how much light they need until they try working in the space. Starting with one or two shop lights leaves dark corners that frustrate every project. Better to install six fixtures upfront than add more later when you realize four wasn’t enough.
Mixing color temperatures creates visual confusion. Your eyes struggle to adjust when half the garage is lit with 5000K daylight and the other half glows with 3000K warm white. Pick one color temperature and stick with it throughout the space.
Ignoring fixture quality leads to early failures. Bargain-bin LED shop lights promise 50,000 hours but die in two years. Reputable manufacturers back their products with real warranties. Spending extra per fixture buys you lights that actually last a decade.
Skipping dimmers assumes you always need full brightness. You don’t. Dimmable LEDs let you dial light down for general use and crank it up for detail work. Not all LED fixtures dim smoothly, so check compatibility with your dimmer switches before buying.
Neglecting heat buildup in enclosed fixtures shortens LED life. LEDs generate heat at the junction. Enclosed fixtures trap that heat. If you install LEDs in old fluorescent fixtures with closed lenses, verify the LED is rated for enclosed use or the lifespan drops by half.
Practical Planning Tips
Consider the seasonal timing of your lighting project. Running new circuits is easier before you insulate walls or install finished surfaces. If you’re planning a full garage renovation, rough in electrical for task lighting during the framing stage, not after drywall goes up.
Set a realistic timeline and budget before buying anything. Most garage projects take 50% longer and cost 20% more than initial estimates, especially for first-timers. Build that buffer into your plan so unexpected discoveries don’t derail the entire project or blow the budget.
Prioritize your projects based on impact and urgency. Safety issues (faulty wiring, CO risk, structural problems) come first. Comfort improvements (insulation, lighting, climate control) come second. Cosmetic upgrades (floor coatings, paint, organization systems) come last. Following this order ensures you’re building each improvement on a solid foundation.
Before starting any garage project, take stock of what you have and what you need. Walk the space with a tape measure and a notepad. Record dimensions, note existing electrical outlets and their amperage, check for moisture issues, and photograph anything you want to change. This baseline assessment prevents surprises mid-project and helps you budget materials accurately.
Upgrading From Fluorescent to LED
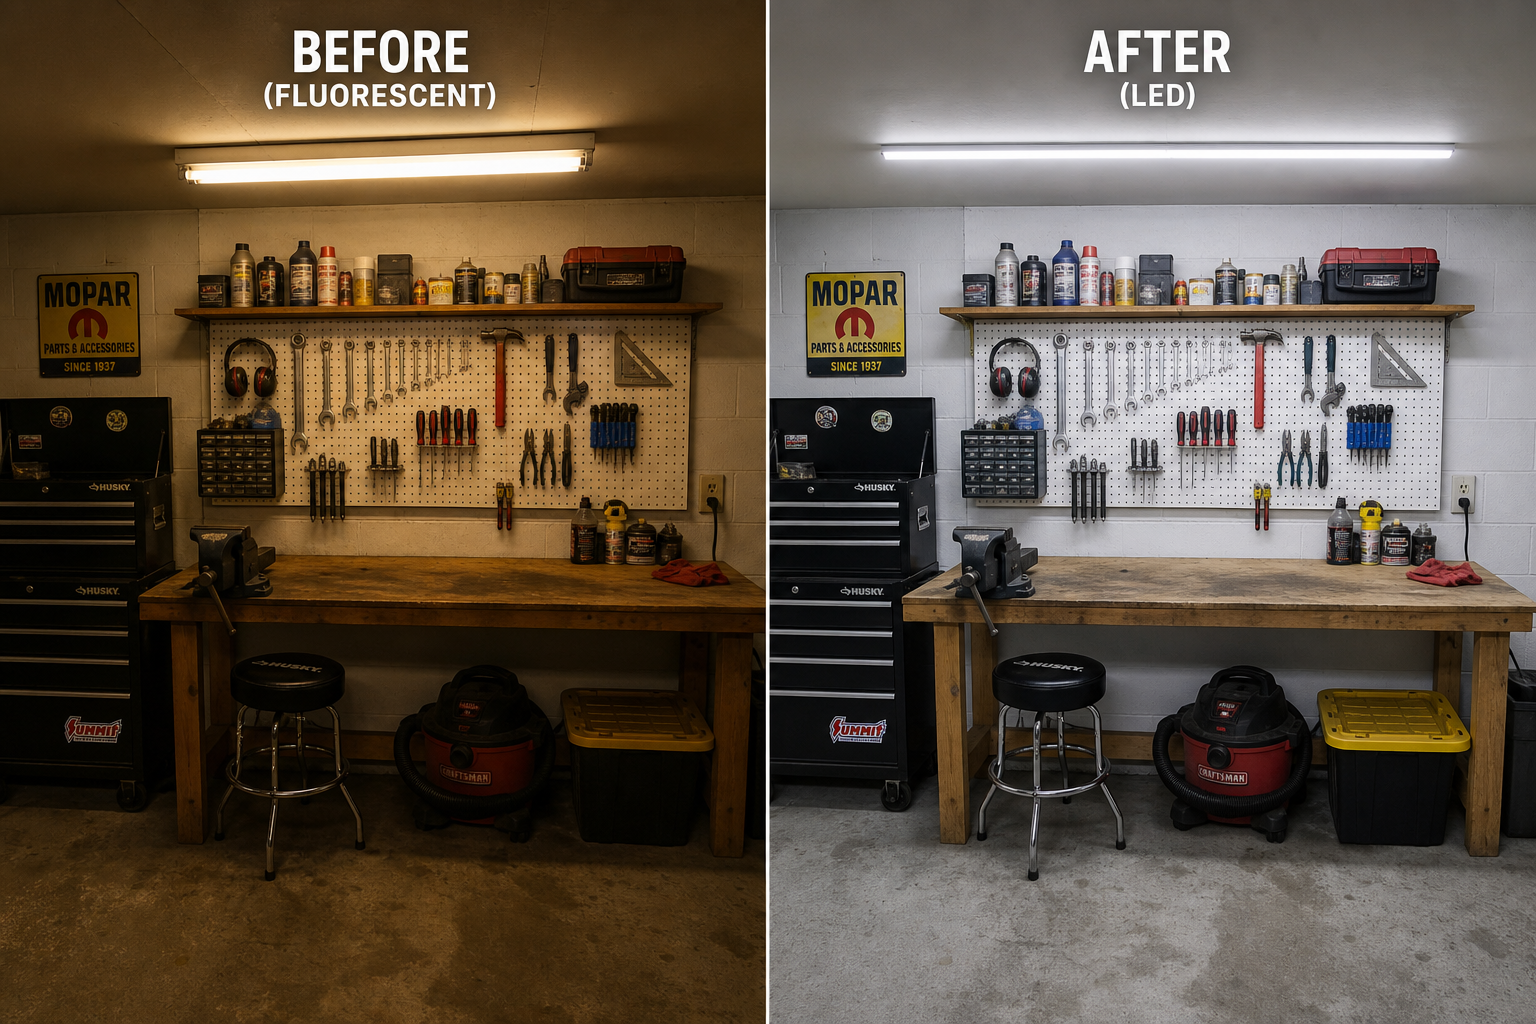
Old T12 fluorescent fixtures are inefficient and slow to start in cold weather. Swapping to LED shop lights cuts electricity use by 40 to 60%. You get better light quality, instant-on operation, and no more burnt-out ballasts.
Retrofit kits let you reuse existing fluorescent fixtures. Remove the old tubes and ballast, install the LED retrofit module, and you’re done. This works if your fixtures are in good shape. If they’re rusty or damaged, replacing the entire fixture makes more sense.
Ballast-bypass LED tubes are another option. They wire directly to line voltage, eliminating the ballast entirely. This removes a failure point and improves efficiency. The downside is you must rewire the fixture, which takes more time than just swapping tubes.
Direct LED replacements that work with existing ballasts sound convenient but create problems. The ballast still consumes power and generates heat. When it fails, your “new” LED tubes stop working. Bypassing the ballast or replacing the whole fixture is the better long-term choice.
Disposing of old fluorescent tubes properly matters. They contain mercury. Don’t toss them in regular trash. Most hardware stores and municipal recycling centers accept fluorescent tubes for free or a small fee.
Power Requirements and Electrical Considerations
Standard 15-amp circuits handle up to 1800 watts safely. Six LED shop lights at 40 watts each draw 240 watts total. That leaves 1560 watts of capacity for outlets and other loads on the circuit. This works fine if the circuit powers just lighting.
Dedicated 20-amp lighting circuits make sense for garages with eight or more fixtures. You get 2400 watts of capacity and eliminate the risk of tripping breakers when you plug in power tools. Run separate circuits for outlets so lighting and tools don’t compete for power.
Voltage drop becomes a problem on long circuit runs. If your electrical panel sits 100 feet from the garage, use 12-gauge wire instead of 14-gauge even on 15-amp circuits. The thicker wire reduces voltage drop and prevents dimming at the end of the run.
GFCI protection is required for garage outlets in most jurisdictions but not for lighting circuits. GFCI breakers add safety if you ever work on fixtures while power is on (which you shouldn’t, but people do). The choice is yours unless local code mandates it.
Surge protection preserves your investment. A whole-house surge protector guards against lightning strikes and grid surges. LED drivers are sensitive to voltage spikes. One good surge can fry multiple fixtures. Spending on surge protection beats replacing hundreds of dollars worth of lights.
Maintaining Your Task Lighting System
Dust buildup cuts light output by 10 to 20% over a year. Wipe fixtures down every few months with a dry microfiber cloth. For shop lights in dusty environments (woodworking, metalworking), clean them monthly. Don’t use wet cloths on energized fixtures.
Check connections annually. Screws loosen over time from vibration and thermal cycling. A loose wire creates resistance, which generates heat, which degrades the connection further. Tighten mounting hardware and wire nuts once a year to prevent failures.
Replace failed units promptly. One dead fixture in a six-light setup drops total output by 17%. You adapt to the lower light level without realizing it, then struggle with tasks that were easy before. Swap out dead fixtures as soon as they fail.
Keep spare fixtures on hand if you rely on task lighting for income-producing work. Waiting for a replacement to ship costs you productive time. Buying two fixtures when you need one gives you a backup that pays for itself the first time a light fails
