

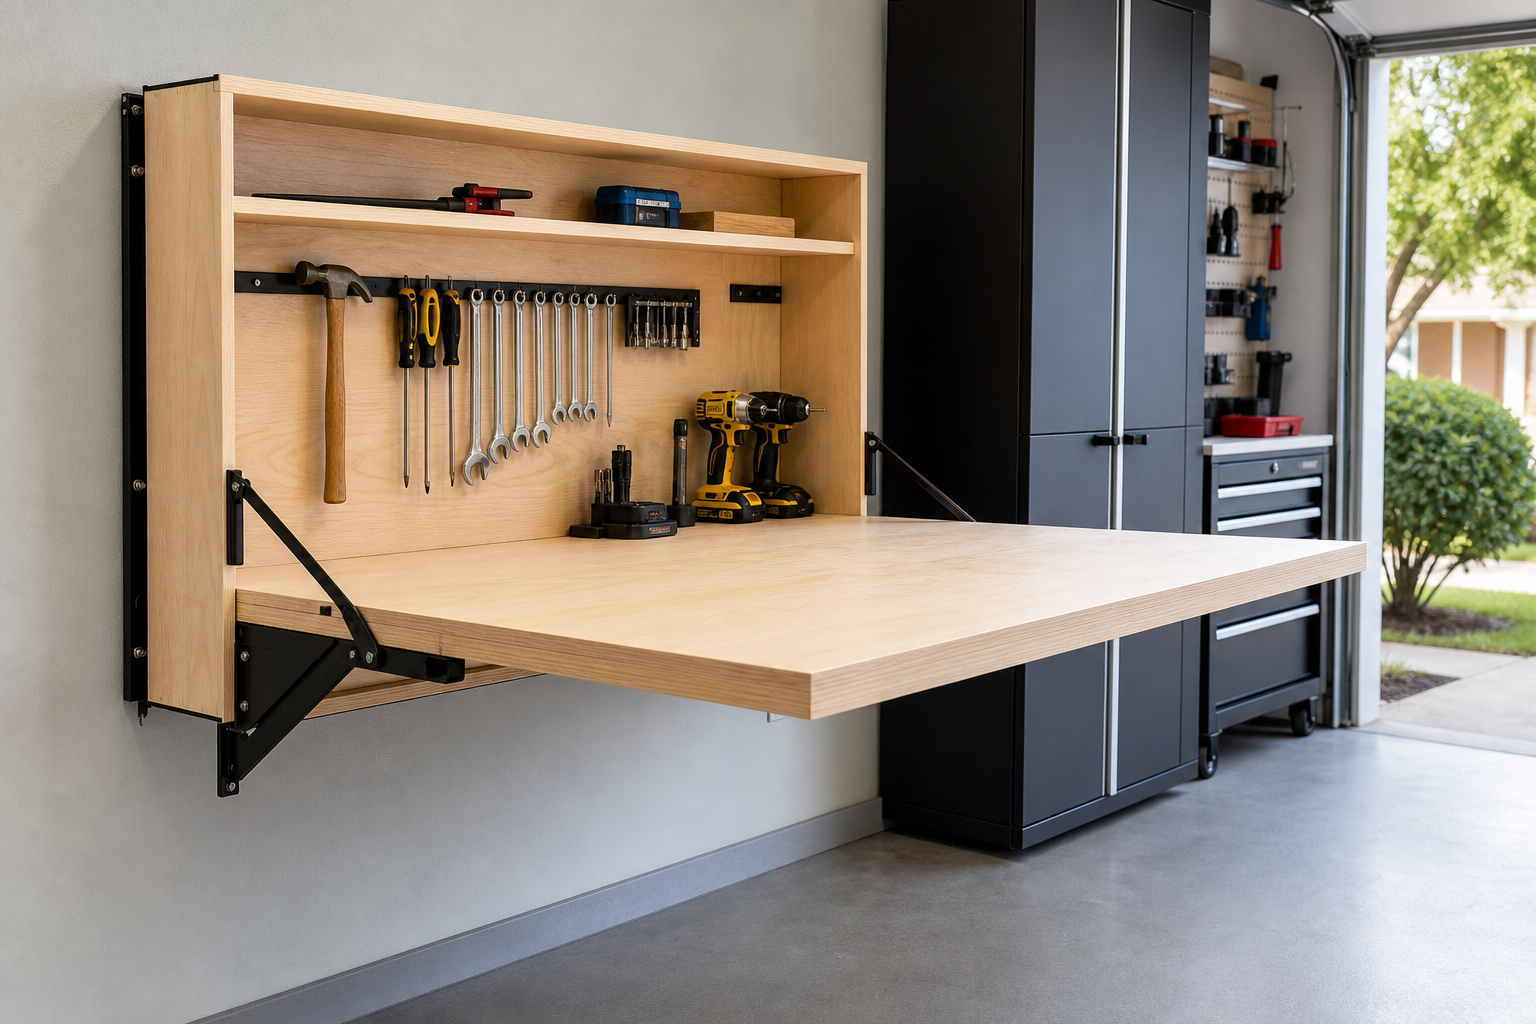
Whether you’ve been planning to build a folding workbench to save space for months or decided to tackle it this weekend, a clear roadmap makes all the difference. Preparation accounts for about 80% of the success in projects like this.
Everything you need is below: tools, materials, step-by-step instructions, and the common pitfalls to avoid.
Understanding the Basics
Standard height: 34 to 36 inches for general tasks. Over 6 feet tall? Try 38 inches. Detail work: add 4 inches. Heavy tasks like planing: subtract 2 to 4 inches. An adjustable bench eliminates the compromise if you do varied work.
Depth: 24 inches minimum, 30 inches is the sweet spot. Beyond 36 inches the back becomes hard to reach. Mount a shelf or pegboard on the wall behind the bench to keep tools close without using work surface area.
Budget build: 2×4 frame, 3/4-inch plywood top, 1/4-inch hardboard surface layer. The hardboard is smooth, replaceable, and cheap to swap every few years. A lower shelf between the legs doubles as storage and a frame brace.
Width depends on what you actually build in your garage. A 4-foot span handles most projects while folding compact against the wall. Six feet gives room for longer materials but check your garage width first. Measure from the wall out into the space where the bench will swing down. Leave 3 feet of clearance for walking when it’s deployed.
Material costs run competitively priced to competitively priced for a basic 4-foot bench. That includes framing lumber, plywood, hinges, hardware, and a leg brace. Add another competitively priced to competitively priced if you want better plywood, beefier hinges, or a finished surface. Shop the construction lumber racks carefully. Warped 2x4s create headaches down the line. Sight down each board before buying. For a more permanent solution, you might also consider building a traditional garage workbench that doesn’t fold but offers maximum stability.
Planning Your Wall-Mounted Design
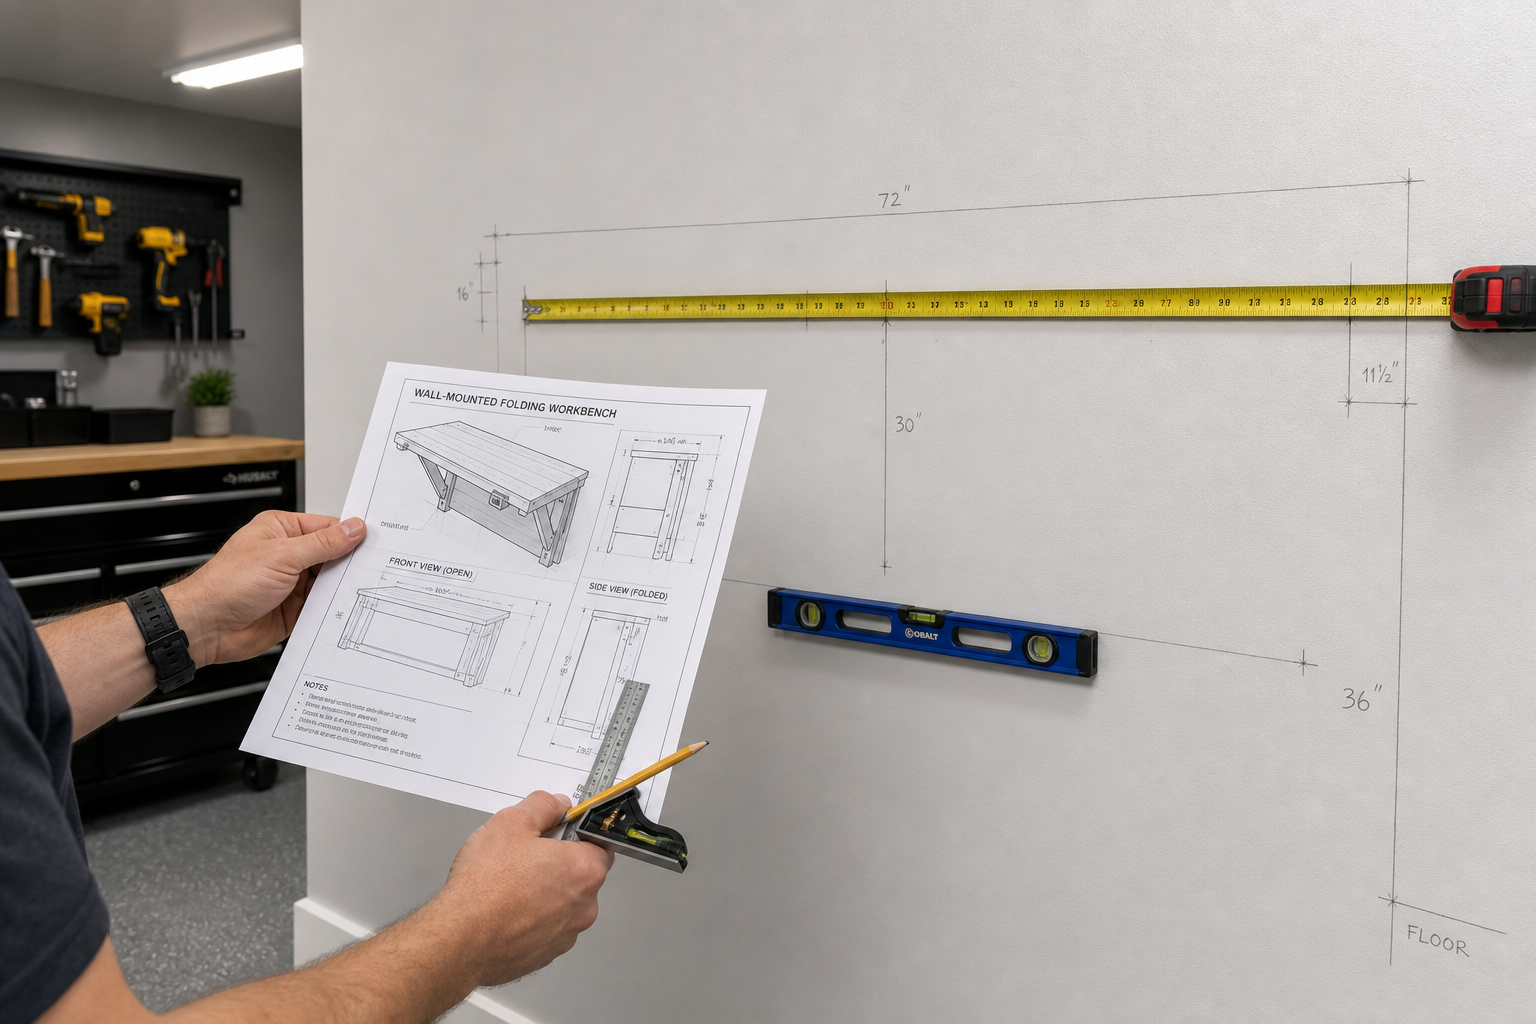
A wall-mounted folding workbench uses heavy-duty hinges and a drop-leg or chain support system. The bench surface mounts to the wall along one edge and swings down into position when needed. When you’re done, it folds back up flat against the wall.
Two support options: drop legs or cables. Drop legs are simple. Two vertical supports with hinges at top and bottom fold out to hold the front edge of the bench. They’re stable and handle more weight. Cables or chains run from the front corners of the bench to the wall above the hinge line. They’re lighter and faster to deploy but bounce more under heavy work.
For a 4-foot bench, plan on 400 to 500 pounds of total capacity with drop legs and solid wall mounting into studs. Cable supports cut that to around 200 pounds. If you’re just clamping small projects and hand-sanding, cables work fine. Pounding, planing, or clamping heavy assemblies? Use legs.
Find your studs before designing anything else. Standard stud spacing is 16 inches on center, but not every garage follows that. Some older garages run 24 inches on center. Use a quality stud finder and mark each stud location across the wall section where your bench will mount. Your bench width should span at least three studs for proper support. A 4-foot bench covers four studs at 16-inch spacing, which is ideal.
Wall construction matters. Drywall over studs is standard and works well with the right fasteners. Lag screws into studs hold hundreds of pounds. Concrete or block walls need concrete anchors or masonry screws. Don’t mount a folding workbench to pegboard, slatwall, or any non-structural surface. If you’re planning broader garage improvements, consider how your workbench fits into finishing your garage walls for a more polished workspace.
Step-by-Step Build Process
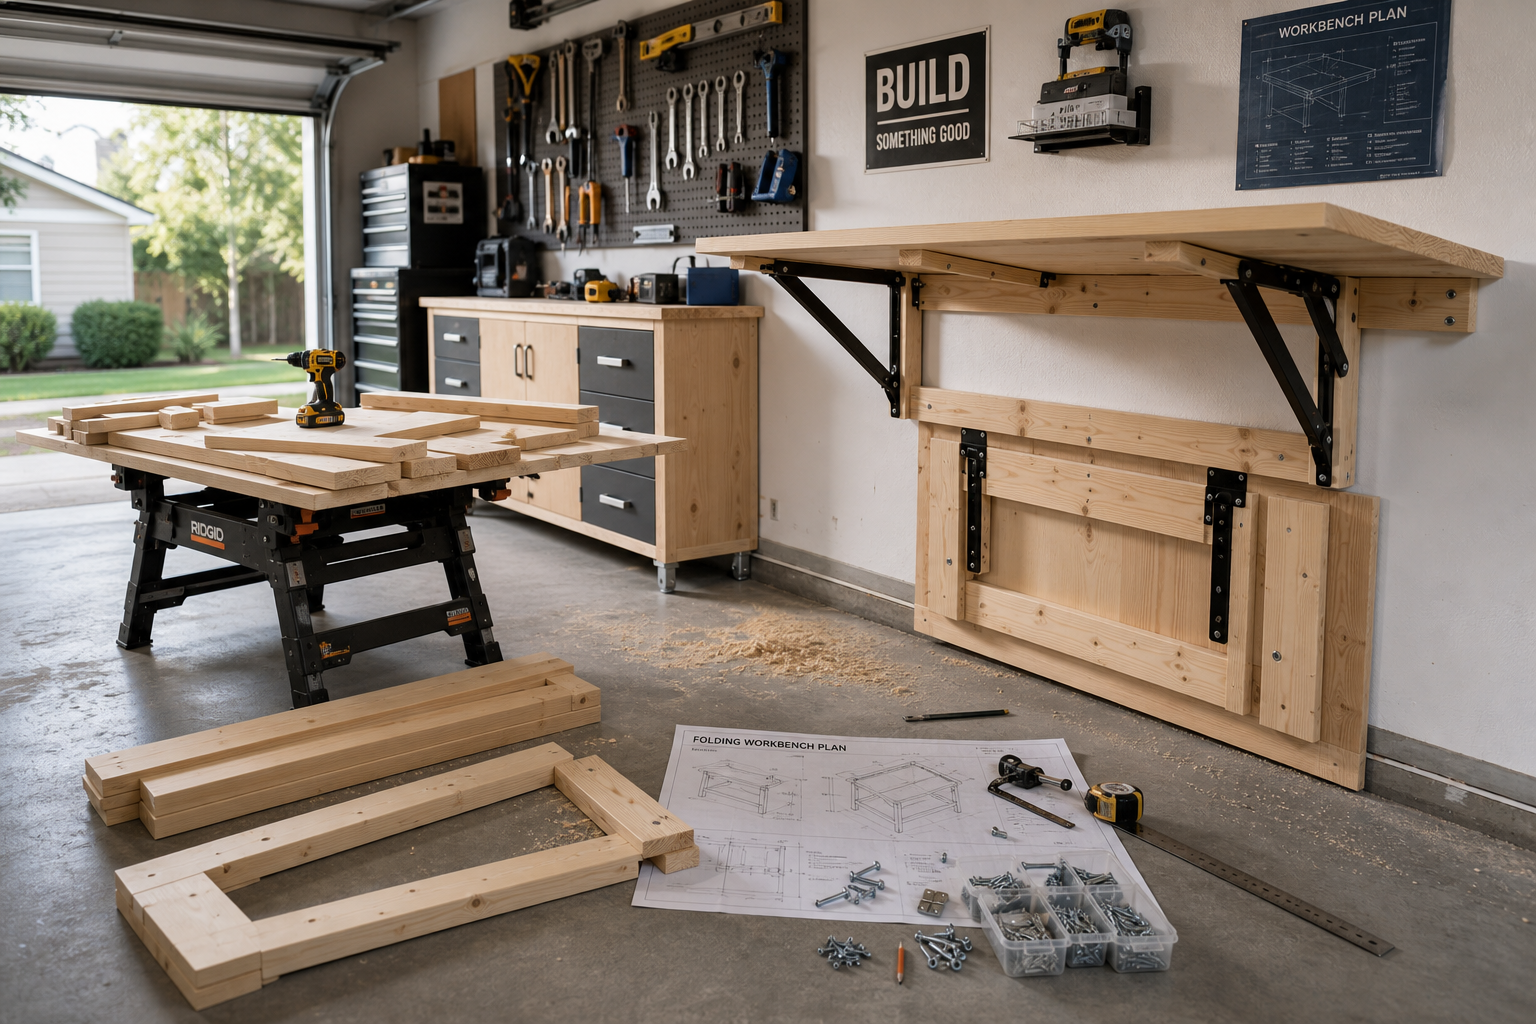
Start by building the bench top as a separate assembly. Cut 3/4-inch plywood to your final dimensions. For a 4-foot by 2-foot bench, you’ll use half a sheet of plywood. Build a frame underneath from 2x4s running the perimeter and one or two cross-supports depending on depth. A 24-inch-deep top needs one cross-support. A 30-inch top should have two.
Screw the frame to the underside of the plywood with 2-inch deck screws every 8 inches. Pre-drill to avoid splitting. Flip it over and add the hardboard surface layer if you’re using one. Glue and brad-nail it down, starting from the center and working out to avoid bubbles.
Mount the hinge side next. Use heavy-duty strap hinges or piano hinge rated for the bench’s weight plus your working load. Three 6-inch strap hinges will support a 4-foot bench. Piano hinge runs the full length and distributes load more evenly but costs more. Position the hinges so the bench sits flat against the wall when folded up. That usually means setting the hinge barrel slightly forward of the wall surface.
Mark your stud locations on the wall at the height you want the bench. Drill pilot holes through the hinge plates and into the studs. Use 3-inch lag screws or structural screws, at least two per stud. Don’t skip the pilot holes. Driving lags without them can split the stud.
Build your leg supports if that’s your method. Each leg is a simple vertical 2×4 cut to length. When the bench is horizontal, the legs should stand straight up and down from the front edge. Attach heavy-duty hinges at the top where the leg meets the bench frame and at the bottom where it folds up against the underside. Positioning matters here. The bottom hinge needs to align so the leg swings up tight against the underside when the bench is folded. Test the geometry with scrap wood before cutting your final legs.
For cable supports, mount heavy-duty eye bolts into studs above the hinge line. The cables run from the front corners of the bench up to these mounting points. Use coated steel cable rated for at least twice your expected load. Attach with cable clamps, not just crimps. Add a quick-release hook at one end so you can drop the bench without fighting knots.
Test the bench carefully before loading it. Swing it down into position with no weight on it. Check that it sits level. Adjust leg length or cable length as needed. Then load it gradually: 50 pounds, 100 pounds, your full working weight. Watch for flex, listen for creaks, and confirm the wall fasteners aren’t pulling out.
Surface Material Choices and Mounting Details
The work surface sees the abuse. Plywood is the base layer. CDX sheathing plywood is the budget choice. Birch or maple plywood costs more but machines cleaner and handles moisture better. Avoid OSB. It swells when wet and doesn’t hold fasteners as well.
Hardboard over the plywood gives a smooth, replaceable surface. Standard 1/4-inch hardboard is budget-friendly for a 4×8 sheet. When it gets chewed up from years of cutting, clamping, and glue spills, pry it off and replace it. Some builders use tempered hardboard, which is harder and more water-resistant.
Butcher block or solid wood makes a premium surface. It’s beautiful and tough but adds weight and cost. Factor that weight into your hinge and support calculations. Solid wood also moves with humidity unless it’s been kiln-dried and sealed.
Mounting into studs is non-negotiable for wall-mounted benches. Each stud contact point should have at least two fasteners. Use 3-inch lag screws with washers, GRK structural screws, or equivalent. Drywall anchors and toggle bolts won’t hold a loaded workbench. They’re rated for picture frames and light shelves, not 300 pounds of dynamic load.
If your studs don’t line up well with your bench width, add a cleat. A cleat is a horizontal 2×6 or 2×8 that you lag-screw into every stud across the span. Then you mount the bench hinges to the cleat. This spreads the load across all available studs and gives you unlimited mounting points along the cleat’s length. It also sticks out from the wall an inch and a half, which can help with hinge geometry.
Concrete walls require a different approach. Use Tapcon concrete screws or lag shields. Drill holes with a hammer drill and masonry bit. Each fastener should penetrate at least 2 inches into solid concrete. Test a few fasteners first to confirm they’re not hitting hollow block cores.
Common Mistakes and How to Avoid Them
Undersizing the hinges is the most frequent error. People buy light-duty gate hinges or cabinet hinges and wonder why the bench sags or the screws pull out. Heavy-duty strap hinges rated for gate or barn-door use are the right category. Check the load rating. If it doesn’t list one, it’s not heavy-duty.
Skipping the bottom cross-support on the bench top leads to sag in the middle. Plywood flexes. A 2×4 frame around the perimeter isn’t enough for a 30-inch-deep bench. Add cross-supports every 18 to 24 inches.
Mounting the bench too high sounds minor but it’s annoying every time you use it. Measure from the floor to your elbow with your arm bent at 90 degrees. Subtract 4 inches. That’s your comfortable work height. Build to that number, not to some generic standard.
Forgetting to account for the bench thickness when planning fold-up clearance creates problems. When the bench folds against the wall, the thickness (plywood plus frame plus surface layer) sticks out. If you have slatwall or shelving on that wall section, the bench might not fold flat. Measure the total thickness and confirm clearance before mounting hinges.
Using the bench as a step stool. Don’t. A folding workbench isn’t structurally designed for someone standing on it, especially near the unsupported front edge. The hinges and wall fasteners handle downward pressure, not the leverage created by body weight at the outer edge.
Ignoring seasonal wood movement in humid climates. Plywood expands and contracts with humidity changes. In a garage that swings from 30% winter humidity to 70% summer humidity, a 4-foot plywood top can grow or shrink by 1/8 inch across the width. Don’t trap the edges in a rigid frame. Let the top float a bit.
Tools and Materials List
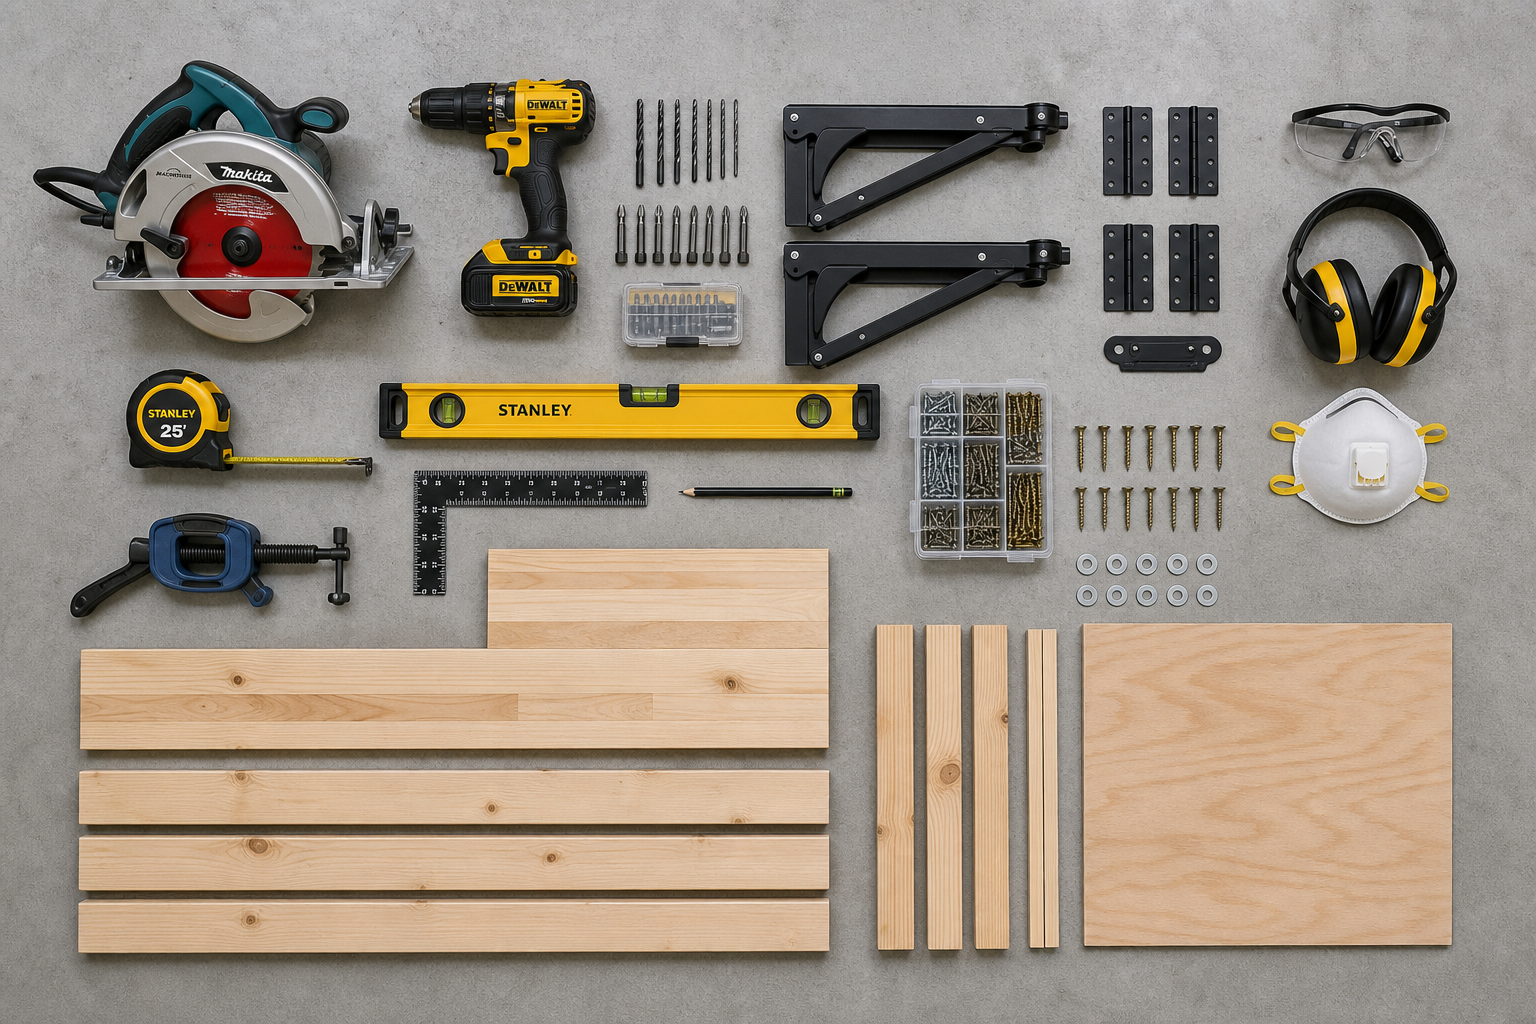
For a basic 4-foot by 24-inch folding workbench with drop legs:
- One sheet 3/4-inch plywood (you’ll use half)
- One sheet 1/4-inch hardboard
- Six 8-foot 2x4s (frame, legs, bracing)
- Three heavy-duty strap hinges, 6-inch minimum
- Four heavy-duty hinges for leg pivots
- Box of 2-inch deck screws
- Box of 3-inch structural screws or lag screws with washers
- Wood glue
- Brad nails for hardboard
- Stud finder
- Drill and bits
- Circular saw or miter saw
- Level
- Tape measure
- Square
- Clamps
Budget competitively priced for materials if you shop carefully. Double that if you want premium plywood and better hardware.
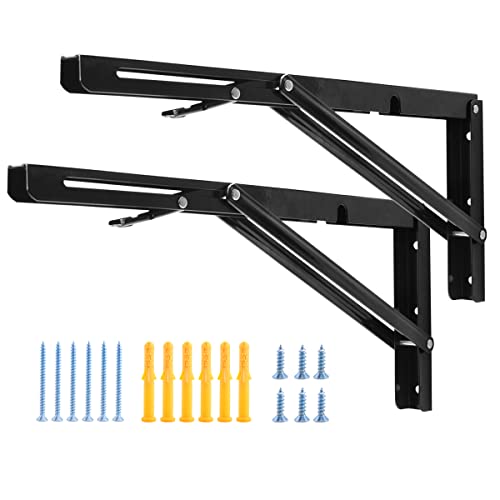
Heavy-Duty Workbench Hinges
Essential for supporting the weight and daily use of a folding workbench
Customization Options
Add a power strip along the back edge of the bench for easy access to outlets. Mount it to the wall just above the hinge line so it doesn’t interfere with folding. Run the cord along the wall to an existing outlet. A switched power strip lets you kill power to all your tools at once when you fold the bench up.

