

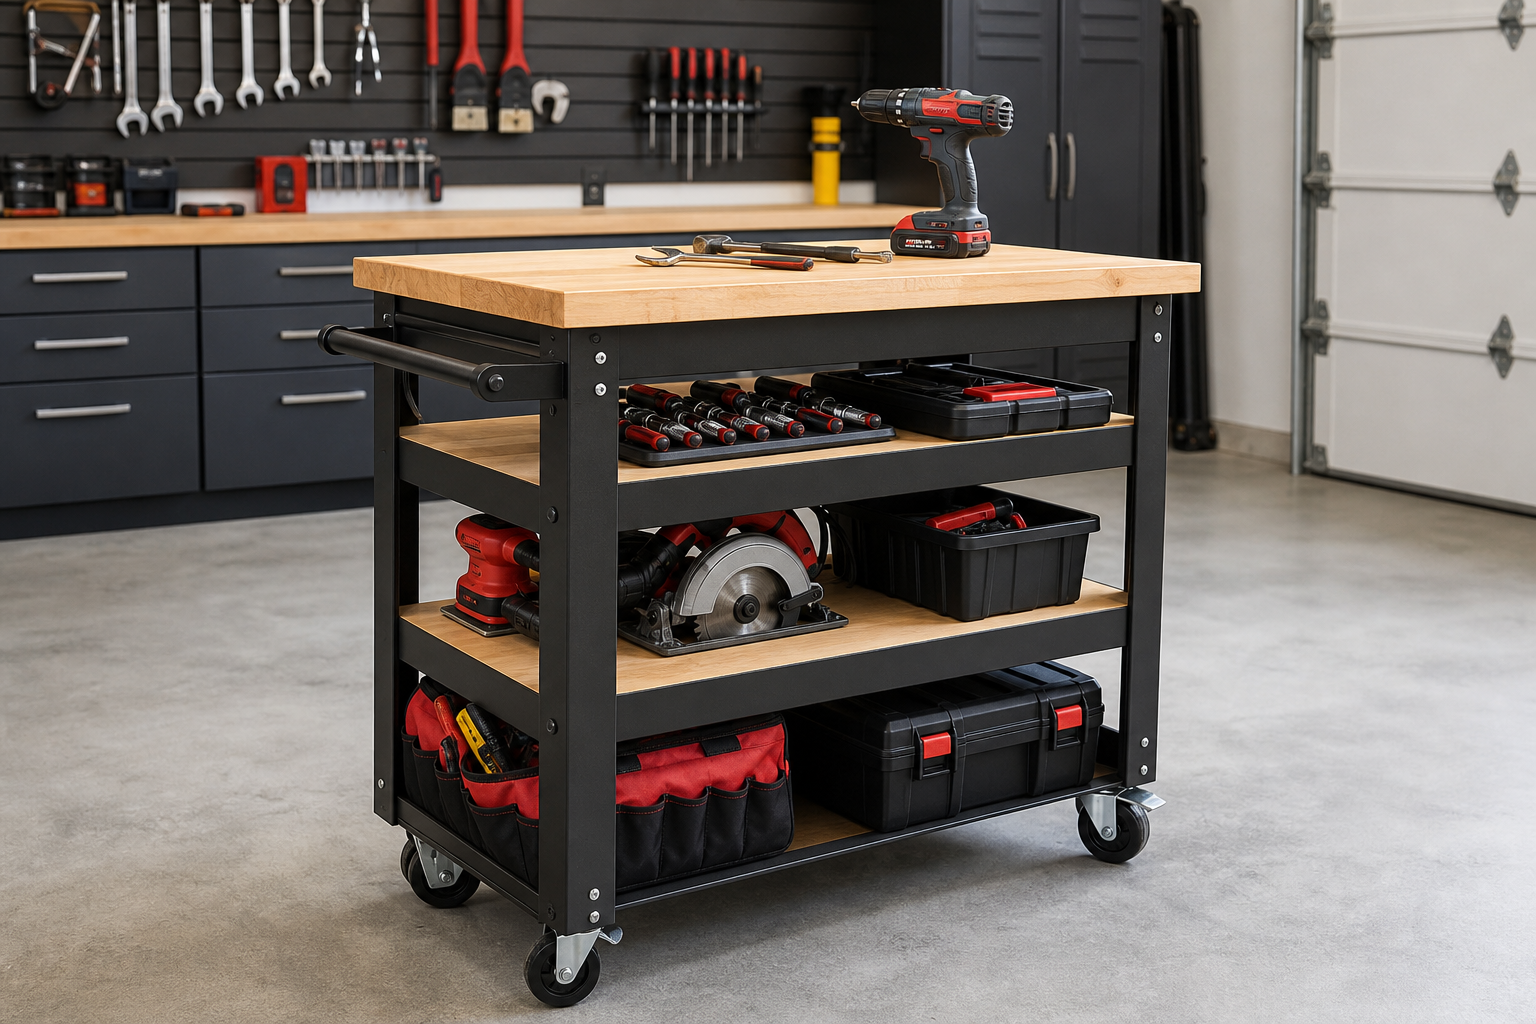
Whether you’ve been planning to build a rolling tool cart for garage for months or decided to tackle it this weekend, a clear roadmap makes all the difference. Preparation accounts for about 80% of the success in projects like this.
Everything you need is below: tools, materials, step-by-step instructions, and the common pitfalls to avoid.
Understanding the Basics
A rolling tool cart gives you workspace flexibility that fixed benches can’t match. You position tools exactly where you need them for each job, then roll the cart out of the way when finished. This is especially useful in smaller garages where every square foot counts.
The core components are simple: a sturdy frame, a flat work surface, drawer boxes or open shelving, and heavy-duty casters. The frame carries the load, the surface provides workspace, the storage holds tools and parts within reach, and the casters make it mobile.
Material choice affects both durability and cost. Plywood builds faster and lighter than solid lumber. MDF is smooth and flat but heavy and vulnerable to moisture. Metal cart frames last decades but require welding skills or pre-fabricated kits. For most DIY builds, 3/4-inch plywood strikes the best balance between strength, workability, and price.
Cart size depends on what you’ll store and where you’ll use it. A compact 24×18-inch cart fits tight spaces and holds hand tools, drill bits, and fasteners. A 36×24-inch cart accommodates power tools, a vise, and larger projects. Go bigger only if you have the floor space and actually need the capacity. Oversized carts become obstacles rather than helpers. When planning your cart dimensions, consider measuring your garage space properly to ensure optimal placement and movement.
Height matters as much as footprint. A 36-inch tall cart provides comfortable standing workspace for most people. Drop that to 30 inches if you plan to sit on a stool while working. Measure your own comfortable working height before cutting lumber.
Choosing the Right Casters
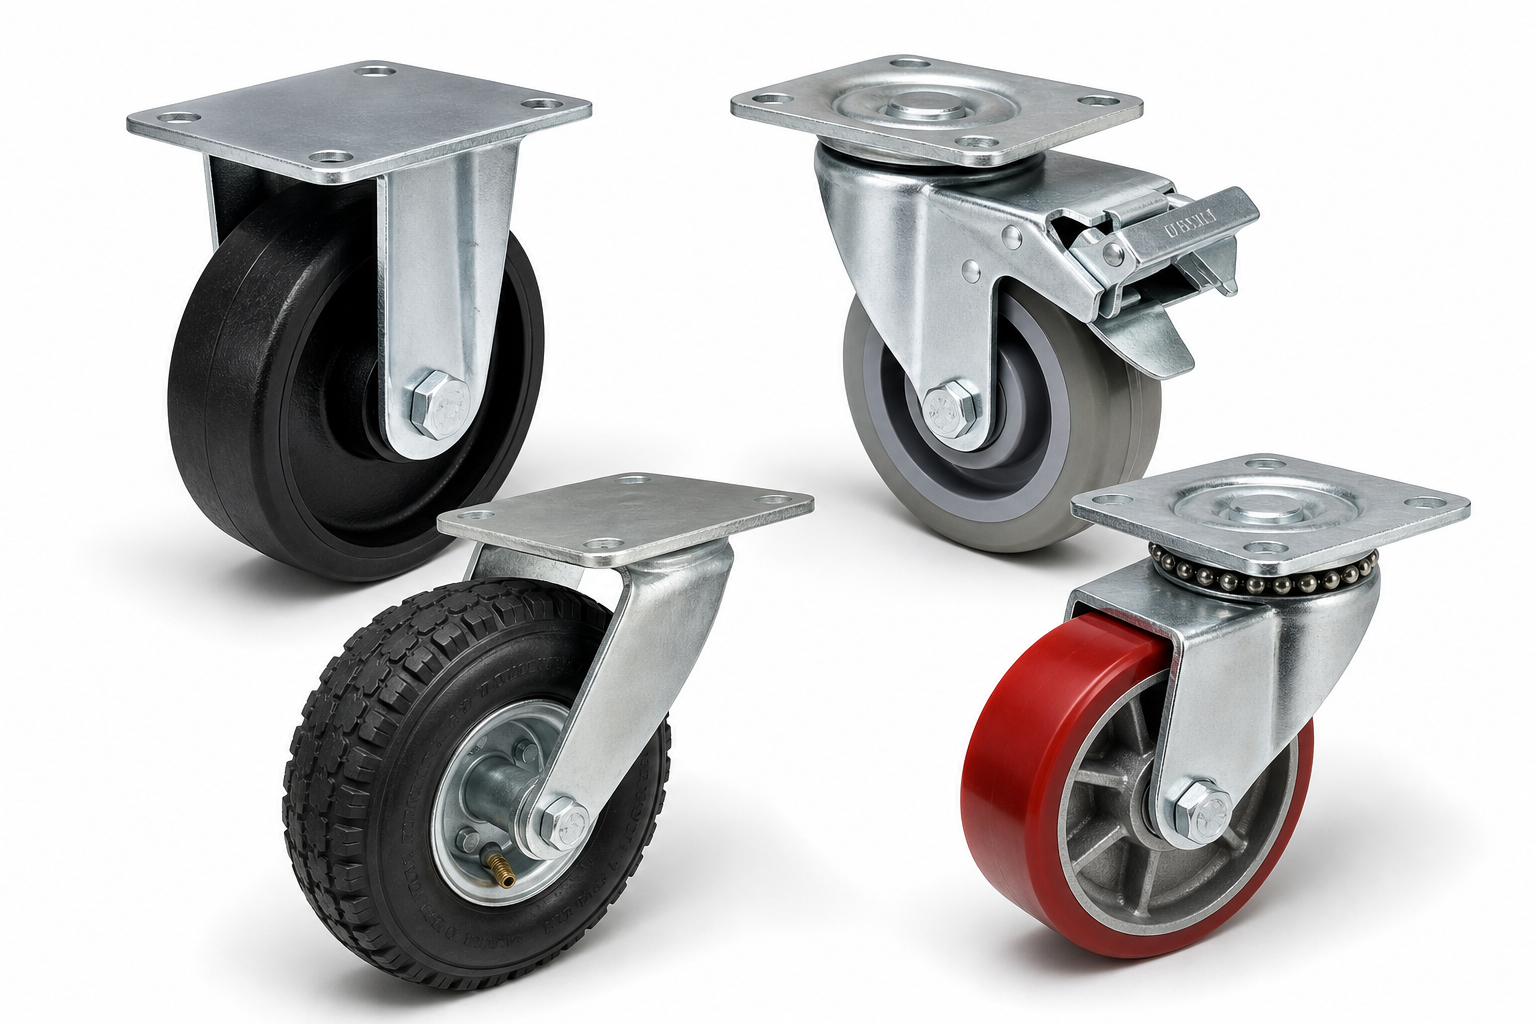
Casters determine how well your cart moves and how stable it stays when parked. All four casters need to match in size and type, or the cart will wobble and track poorly.
Wheel diameter affects rolling effort and obstacle clearance. 3-inch casters work on smooth concrete but struggle over power cords and small debris. 4-inch or 5-inch wheels roll easier under load and clear obstacles better. Larger wheels also distribute weight more evenly, reducing floor wear.
Load rating is non-negotiable. Add up the cart’s empty weight, the maximum tool load you anticipate, and your own body weight if you’ll lean on it. Multiply that total by 1.5 for a safety margin, then divide by four. Each caster must meet or exceed that per-wheel rating. Undersized casters fail suddenly, not gradually.
Swivel versus fixed placement controls maneuverability. Two swivel casters at one end and two fixed at the other gives decent turning while maintaining straight-line stability. All four swivel casters turn tighter but wander more easily. For garage use, the two-swivel-two-fixed setup works best.
Locking mechanisms keep the cart stationary during use. Foot-operated locks beat hand levers because your hands stay free. Locks that stop both swivel and roll (dual-lock casters) provide the most stability. Single-action locks that only stop roll still let the cart pivot, which can shift your workspace mid-task.
Polyurethane wheels protect floor coatings. Hard rubber or metal wheels work fine on bare concrete but can mark or scratch epoxy and polyaspartic finishes. Softer polyurethane rolls quietly and won’t damage finished floors.
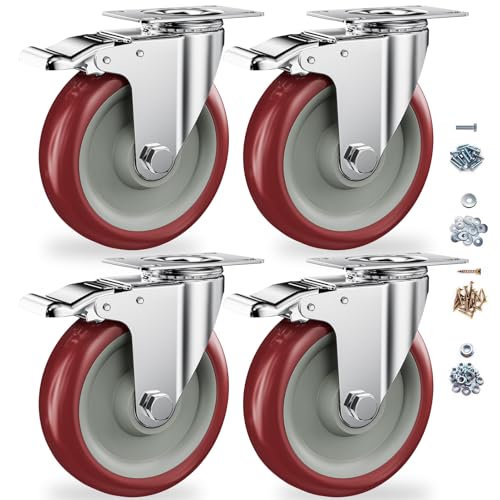
Heavy Duty Swivel Casters
Industrial-grade casters with proper load ratings and smooth rolling action
Materials and Cut List
For a 36x24x36-inch cart with two drawers and an open bottom shelf:
Plywood
- One 4×8 sheet of 3/4-inch plywood covers the top, sides, bottom shelf, and drawer fronts
- One 4×4 sheet of 1/2-inch plywood for drawer bottoms (or use leftover 3/4-inch)
Framing Lumber
- Four 36-inch lengths of 2×4 for corner posts
- Four 21-inch lengths of 2×2 or 1×3 for top frame rails (front, back, two sides)
- Four 21-inch lengths of 2×2 for bottom shelf supports
Hardware
- Two pairs of 18-inch full-extension ball-bearing slides rated for 100 pounds each
- Four 4-inch or 5-inch swivel casters, two with locks, rated 150+ pounds each
- 1-1/4-inch pocket screws or 2-inch wood screws for frame assembly
- 1-inch screws for attaching plywood panels
- 1/2-inch screws for drawer slides
- Wood glue
- Drawer pulls (two)
- Sandpaper (80-grit and 120-grit)
- Finish of choice (polyurethane, paint, or stain)
Adjust quantities and dimensions based on your specific cart design. Measure twice, buy once.
Step-by-Step Build Process
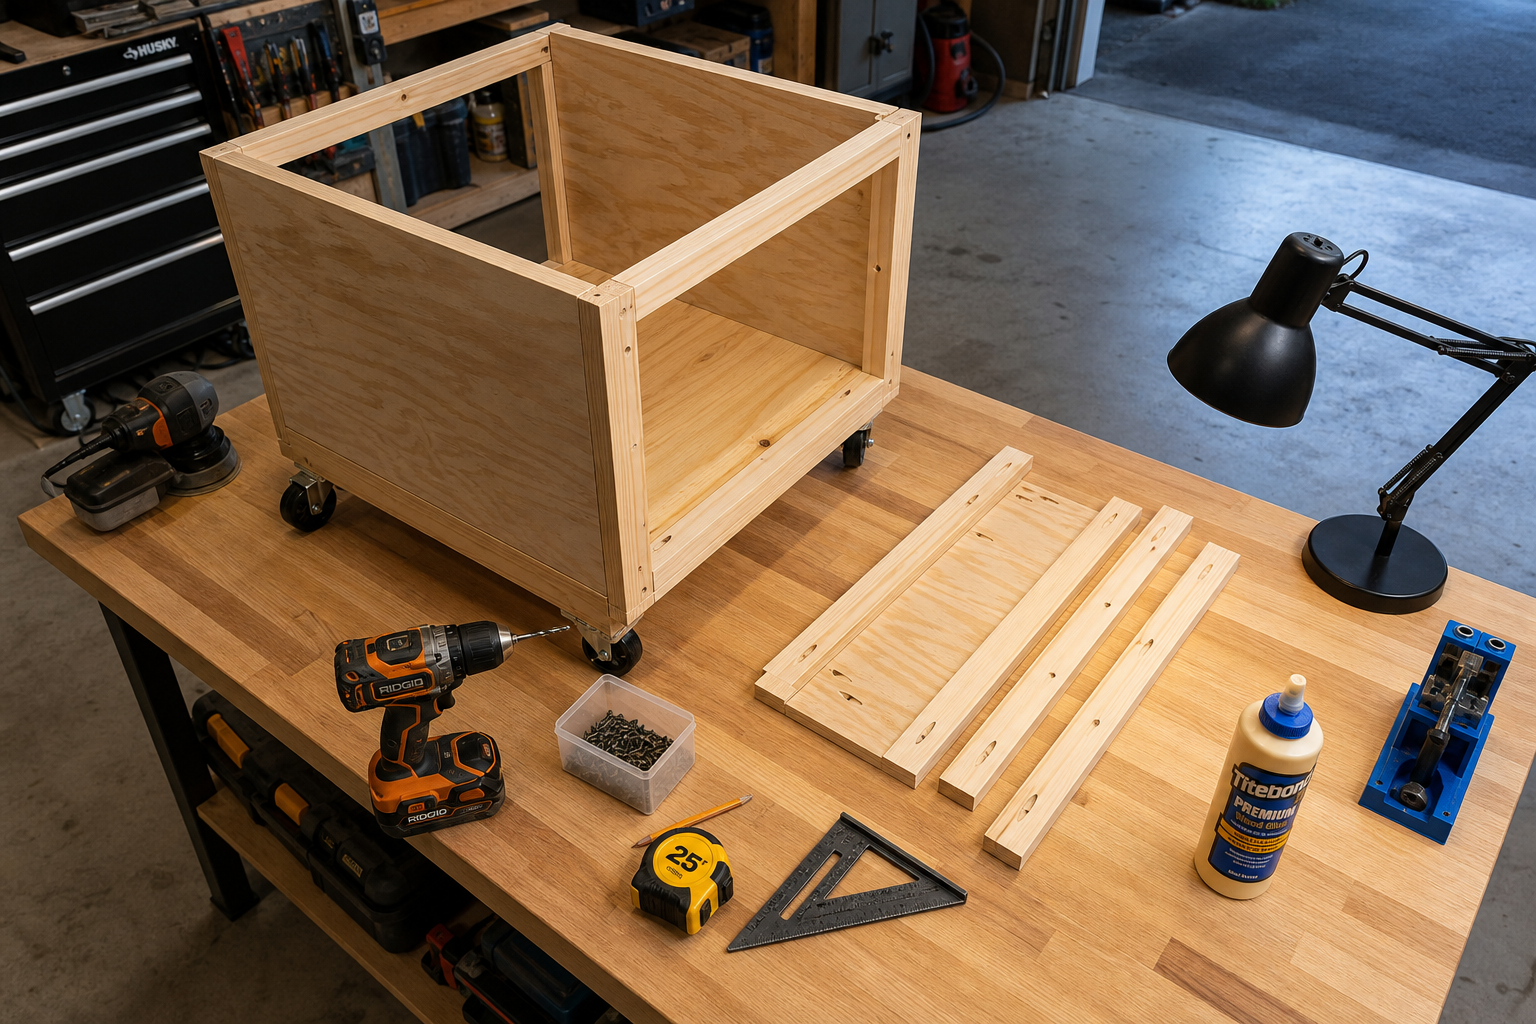
Build the Frame First
Cut the four corner posts to 36 inches. These carry the entire load, so use straight, knot-free lumber. Attach the top frame rails between the posts using pocket screws or screws driven at an angle. The rails sit flush with the post tops. This creates a 24×21-inch rectangle (inside dimensions) that supports the work surface.
Install the bottom shelf supports 6 inches up from the post bottoms. This gives clearance for the casters underneath while keeping the shelf low for stability. The shelf holds heavy items like bulk fasteners, paint cans, or a shop vac.
Attach the Plywood Panels
Cut the top to 36×24 inches so it overhangs the frame by 3/4 inch on all sides. This overhang protects the frame joints and gives you something to grip when moving the cart. Screw the top down through the frame rails with 1-inch screws every 6 inches.
Cut the bottom shelf to fit inside the frame, resting on the support rails. It doesn’t need to be removable, so screw it down securely.
Build the Drawer Boxes
Each drawer box uses 1/2-inch plywood for the bottom and 3/4-inch plywood for the sides, front, and back. For an 18-inch-deep drawer in this cart, the box dimensions are roughly 20 inches wide, 16 inches deep, and 6 inches tall. Exact dimensions depend on your drawer slide specs.
Measure the space between your cart’s corner posts and subtract the slide width on each side, then add 1 inch for clearance. Check the slide manufacturer’s installation guide for precise requirements.
Assemble drawer boxes with glue and screws. Pre-drill to prevent splitting. The drawer front attaches to the box front after the slides are installed, so it can overlap the frame and hide the slide hardware.
Install Drawer Slides
Mark slide positions on the inside of the corner posts. Space drawers evenly or size them for specific tool storage. The top drawer might be shallow (4 inches) for hand tools and bits. The bottom drawer can go deeper (8 inches) for power tools or larger items.
Mount the cabinet half of each slide to the corner posts, perfectly level and parallel. Even a small tilt binds the drawer. Attach the drawer half of the slide to the drawer box sides, following the manufacturer’s offset measurements. Slide the drawer into place and test the action before proceeding. Adjust now rather than after the drawer front is attached.
Add Drawer Fronts and Pulls
Cut drawer fronts to overlap the frame opening by 1/2 inch on all sides. This hides gaps and gives a finished look. Attach fronts to the drawer boxes with screws from inside the box. Drill holes for pulls and install them at a comfortable height, typically centered vertically and horizontally on each front.
Mount the Casters
Flip the cart upside down. Position casters 1 inch in from each corner for maximum stability. Put the locking casters at the heavy end so the cart doesn’t roll when you lean into work. Drill pilot holes and attach casters with the lag bolts or screws provided. Don’t skip pilot holes. Driving screws into plywood end-grain without them can split the post.
Sand and Finish
Sand all exposed edges and surfaces with 80-grit, then 120-grit. Round over sharp corners so they don’t catch hands or tear gloves. Apply your finish of choice. Polyurethane protects against spills and is easy to wipe clean. Paint gives a custom look and hides plywood grain. Raw plywood works fine if you don’t mind the workshop aesthetic and aren’t worried about moisture.
If you’re looking to organize the entire garage workspace, check out our guide to the best garage power tool organizers to complement your new rolling cart.
Adding Pegboard or Tool Panel Sides
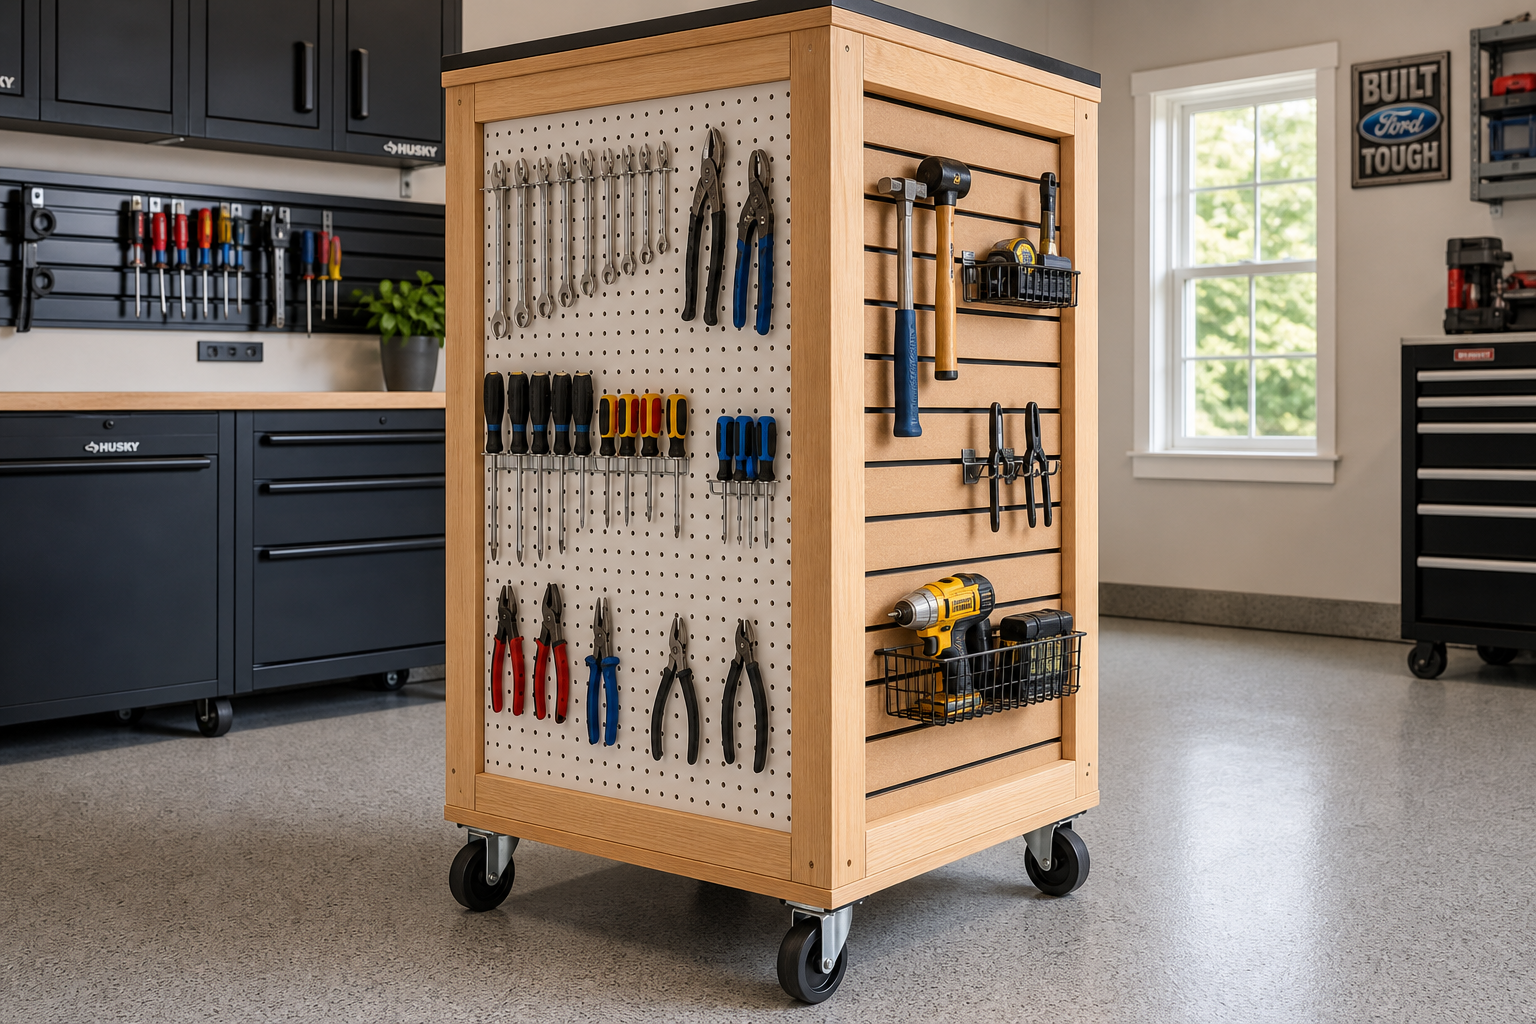
Pegboard sides turn the cart into a mobile tool station. Tools stay organized and visible, and you’re not digging through drawers for the wrench you need.
Use 1/4-inch pegboard for light hand tools. 1/8-inch flexes too much and lets hooks fall out. Metal pegboard is even better but costs more and requires metal-cutting tools.
Mount pegboard to the outside of the cart frame with 1/4-inch spacers behind it. The spacer gap lets you insert and remove hooks. Without the gap, hooks won’t seat. Cut spacers from scrap 1/4-inch plywood or buy pegboard spacers. Attach the pegboard with screws through the spacers into the frame every 8 inches.
Standard pegboard hooks work, but locking hooks or metal hooks stay in place better under vibration. The cart will move and jostle. Cheap plastic hooks migrate or fall off.
For a more modern approach to tool organization, consider reading our guide on how to install garage slat wall accessories for additional storage ideas.

Pegboard Tool Organizer
Durable pegboard systems with included hooks and spacers for complete tool organization
Common Mistakes to Avoid
Skipping the caster load rating. Budget casters rated for 50 pounds each seem fine until you load the cart and they buckle. Do the math. Overrate, don’t underrate.
Building too wide. A 48-inch-wide cart doesn’t fit through a standard 32-inch doorway. Measure doorways first if you plan to roll the cart outside or into another room.
Weak drawer box construction. Drawers carry substantial weight. Use dados, rabbets, or at minimum glue every joint and use enough screws if you use
