

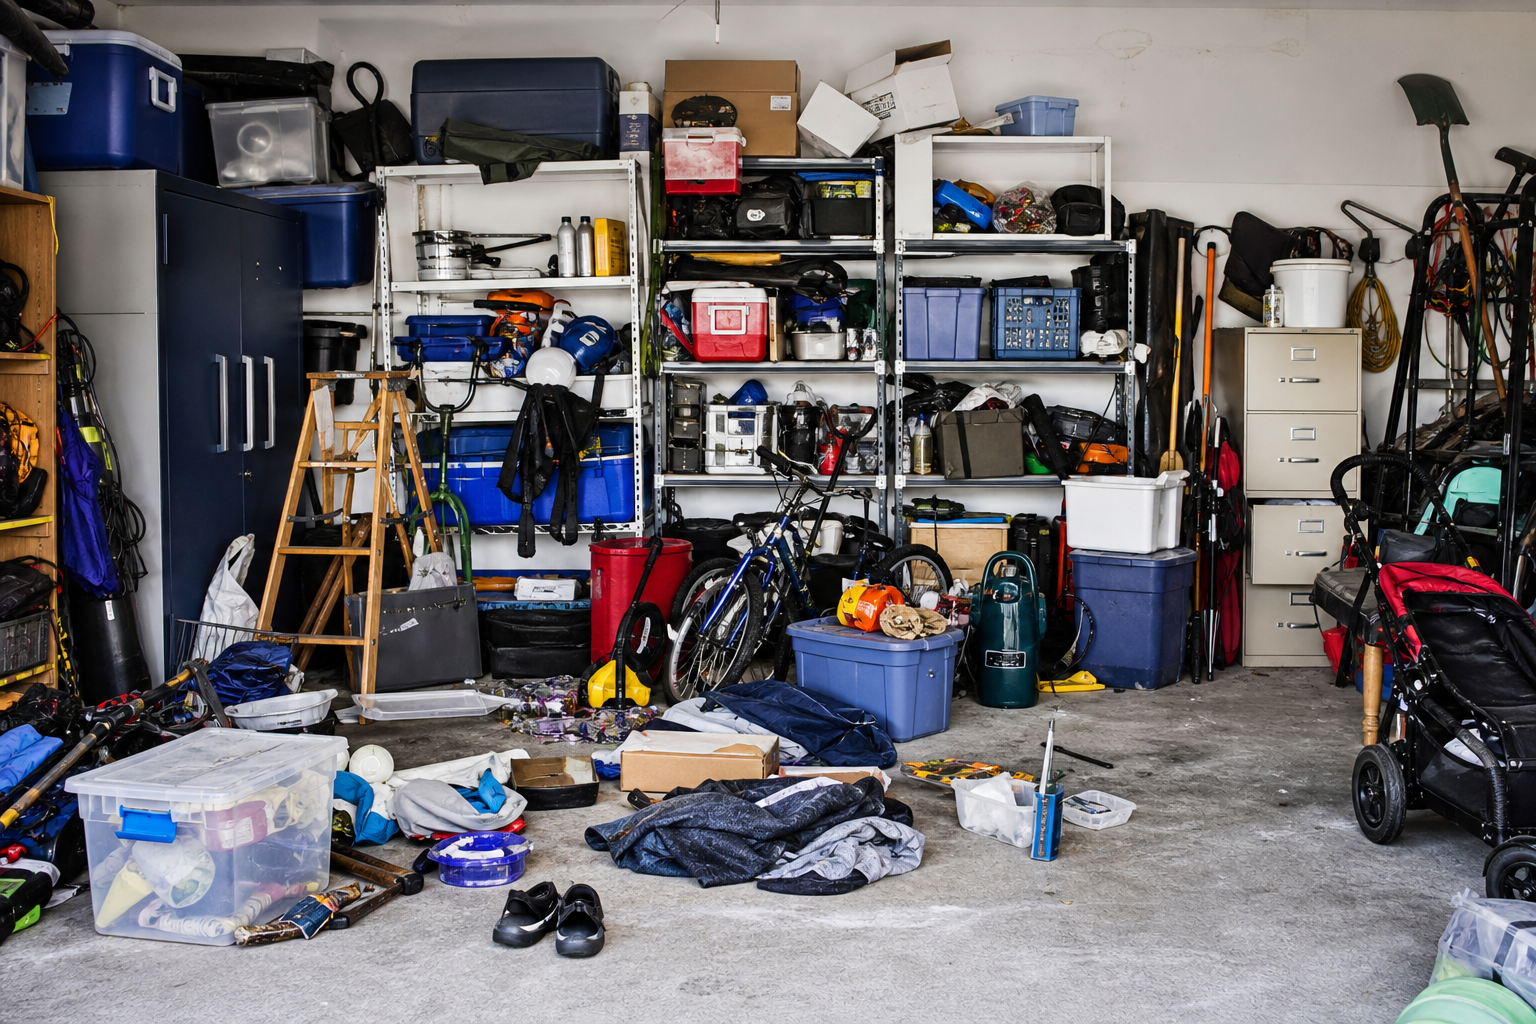
Dealing with a garage organization system that’s fallen apart is one of those frustrations that catches you off guard. Everything seemed fine until one day you notice something isn’t right. The good news is that these issues almost always trace back to identifiable causes with practical solutions.
This guide covers the most common culprits in diagnostic order, starting with the simplest checks. Most readers find their answer within the first few sections without needing professional help.
Understanding the Basics
Clear plastic bins beat cardboard for garage storage in every way: moisture resistance, pest resistance, visibility, and stackability. Label each bin on the front for easy identification. A label maker and 20 minutes of work saves hours of searching over the coming years.
Effective garage storage uses walls and ceiling as primary surfaces, keeping the floor clear for vehicles and work. Wall-mounted track systems, overhead ceiling racks, and sturdy cabinets provide organized access without eating into parking or workspace.

Clear Plastic Storage Bins
Durable, stackable, and moisture-resistant for long-term garage storage
Zone your garage before buying products. Common zones: tools/workbench, automotive, seasonal items, sports gear, lawn/garden, and household overflow. Each zone stays self-contained so everything for a given task lives in one spot.
The temptation is to buy storage products first and figure out zones later. That’s backwards. Walk your garage with a notepad. Mark where you naturally gravitate when looking for tools versus where you dump seasonal decorations. Those patterns reveal your zones. Once you know them, you can pick products that fit the space and the actual workflow.
Most garages have odd corners, low ceiling spots under opener rails, and wall sections interrupted by garage door tracks or electrical panels. Good zoning acknowledges these constraints. Put rarely-used seasonal items in the awkward spots. Save the prime real estate for what you grab weekly.
Why Many DIY Organizing Attempts Collapse
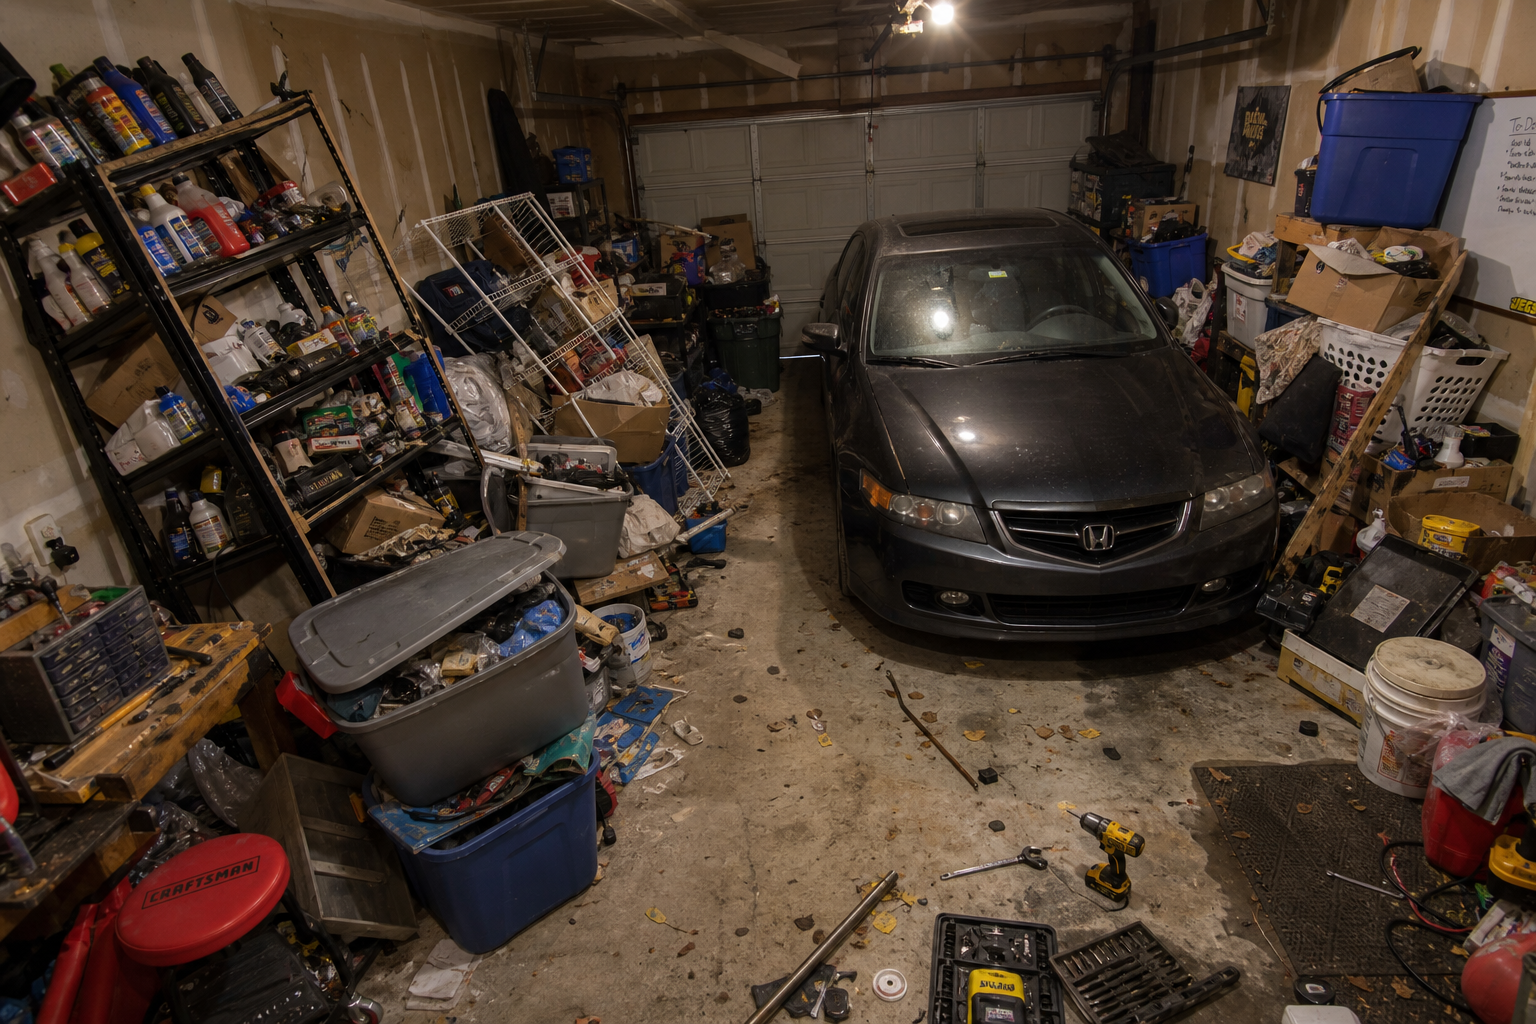
Wrong bin sizes, no zoning, ignoring vertical space, or mixing hazardous items with kids’ gear. This is an area where cutting corners comes back to haunt you. Invest the effort upfront and you’ll save significant time and money over the next several years of use.
Most failed systems share a handful of root causes. You bought mismatched bins because they were on sale, so nothing stacks properly. You installed shelves without measuring what you need to store, so tall items don’t fit. You mounted track systems on drywall instead of studs, so the whole setup sags under real weight. You skipped labeling because it felt unnecessary, so you spend ten minutes every time you need one specific thing.
Another common mistake: copying a neighbor’s system without considering your own needs. Their slatwall works because they hang lightweight hand tools. You need to store a canoe and five bikes. Same product, different load, total failure.
Start with a small test area if you’re uncertain. A 4 by 4-foot section in an inconspicuous spot lets you evaluate adhesion, appearance, and workability without committing to the full project. Troubleshooting a small test area is far easier than redoing everything.
Wear appropriate protection throughout: safety glasses, gloves, respirator when working with chemicals or dust. Ventilate when using adhesives, paints, or solvents. These aren’t optional precautions.

Steel Garage Cabinets
Durable storage that handles garage temperature swings and heavy loads
The Eleven Reasons Systems Fail
1. No Load Calculation Before Installation
You hung a shelf rated for 200 pounds and put 150 pounds on it. Should work, right? Except you concentrated all that weight on one 18-inch section. The shelf bows. Brackets pull loose. The rating assumes even distribution across the entire span.
Calculate actual load before installation. Weigh what you plan to store or estimate conservatively. A gallon of paint weighs 11 pounds. A case of motor oil weighs 24 pounds. Four winter tires stack to 120 pounds. Add it up, then install hardware rated 50% above that number as a safety buffer.
2. Poor Stud Location and Anchoring
Drywall anchors hold 15 to 25 pounds under ideal conditions. Real-world use, especially in garages where things get bumped, cuts that capacity. Finding studs takes five minutes with a stud finder. Skipping that step costs you when the track system rips out of the wall and dumps your toolbox on the hood of your car.
Mark studs with painter’s tape before mounting anything. Use lag screws or structural screws, not just drywall screws, when anchoring into studs. Pre-drill pilot holes to prevent splitting. These steps take extra time but they’re the difference between a system that holds for ten years and one that fails in six months.
3. Ignoring Seasonal Temperature Swings
Garages heat up in summer and freeze in winter. Adhesive-backed hooks lose their stick in extreme heat. Plastic bins crack in deep cold if you try to open them without letting them warm up first. Cardboard absorbs humidity and collapses.
Pick materials rated for your climate. Metal shelving and powder-coated cabinets handle temperature swings better than particleboard or plastic systems. If you’re in a four-season area, plan for 100-degree summer days and sub-zero winter nights. The system needs to function year-round.
4. No Defined Homes for Items
You installed beautiful bins and racks, but you never assigned specific spots for specific things. The bins fill randomly. The racks hold whatever gets tossed up there. Six months later you’re still hunting for the drill bits because they could be in any of eight locations.
Every category gets one spot. All automotive fluids live in the same cabinet. All hand tools hang on the same section of pegboard. All sports gear goes on the same overhead rack. Label the spot, not just the bin. A label on the shelf edge tells you what belongs there even when the bin is empty.
5. Buying Before Measuring
You brought home a storage cabinet without measuring the space. It doesn’t fit. Or it fits, but it blocks the only electrical outlet. Or it fits and clears the outlet, but the garage door opener interferes with the cabinet doors.
Measure the install location: height, width, depth. Measure door swing clearances and walking paths. Measure the items you plan to store. Write it all down before shopping. Bring the list and a tape measure to the store. Verify product dimensions on the box match what you need.
6. Choosing Form Over Function
Matching bins look great in photos. They’re also expensive and often the wrong size for what you actually store. You picked a sleek slatwall system because it looks clean, but you need pegboard’s dense hook spacing for small hand tools.
Function first. Pick storage that matches your inventory and workflow, then find the version that looks acceptable. A mismatched set of bins that perfectly fits your gear beats a uniform set that leaves gaps or forces you to cram things in at odd angles.
7. Overloading Ceiling Racks
Overhead racks rated for 600 pounds seem bulletproof until you realize that rating assumes the load spans the full 8-foot length. You stacked everything on one 2-foot section because that’s where the ladder reaches easily. The joists flex. Drywall cracks. The whole rack sags.
Distribute weight evenly across the full rack surface. Store lighter seasonal items overhead. Keep heavy stuff (paint cans, bags of concrete mix, full water jugs) on floor-level shelving where weight capacity is higher and access is safer.
8. No Maintenance Plan
You set up the system and walked away. Dust accumulates. Bins shift. Labels peel. Nobody puts things back in the right spot because the system was never explained to anyone else in the household.
Schedule a quarterly 30-minute reset. Sweep the floor, wipe down shelves, re-label anything that’s faded, push bins back into alignment, relocate items that drifted to the wrong zone. Get the whole household on board with the zone system. If they don’t know where things belong, they can’t maintain it.
9. Mixing Incompatible Storage Needs
Hazardous chemicals stored next to kids’ bikes. Oily automotive parts in the same bin as camping gear. Lawn fertilizer on a shelf directly above the dog food bag. These aren’t just organizational failures. They’re safety issues.
Separate hazardous materials into a dedicated locked cabinet. Keep petroleum products away from anything fabric or porous. Store pool chemicals and lawn treatments in a separate area from household items. Vertical separation matters too: never put chemicals on a shelf above something that could be contaminated if the container leaks.
10. Inadequate Lighting in Storage Zones
You can’t find things because you can’t see them. Overhead garage lighting creates shadows in corners and behind tall cabinets. You’re digging through bins with a flashlight held in your teeth.
Add task lighting in each zone. Battery-powered LED strips work for quick fixes. Wired fixtures provide long-term reliability. Motion-activated lights in cabinets and closets make a surprising difference. You’ll use the system more consistently if you can actually see what you’re doing.
11. No Allowance for Growth
You built the perfect system for your current inventory. Then you bought a kayak. Or picked up woodworking. Or started stocking bulk supplies. The system has zero flex, so the new stuff piles on the floor or gets jammed into inappropriate spots.
Build 20% spare capacity into every zone. Leave empty hooks on the pegboard. Keep one shelf open in each cabinet. Reserve part of the overhead rack. That buffer absorbs changes without forcing a system redesign every time you acquire something new.
Reset Before Investing in New Products
Understanding the specifics of your situation helps you choose the right approach. Your garage’s age, construction type, and local climate all influence what works best and what to avoid.
Before throwing money at new products, audit what failed. Pull everything out of one zone. Sort it into keep, relocate, donate, and trash. Measure what you’re keeping. Count how many of each item type you have (12 paint cans, 8 bins of holiday decor, 22 hand tools, 4 bikes). Those numbers dictate capacity requirements.
Check the existing install points. Are there studs where you need them? Is the drywall damaged from previous anchors? Are there electrical boxes or plumbing you need to work around? Document these constraints before shopping.
Sometimes the fix isn’t buying more storage. It’s purging 40% of what you own and reusing the storage you already have. Be honest about what you actually use. That bread maker you haven’t touched in three years doesn’t need prime garage real estate.
Measure twice and commit once. A tape measure and five minutes of verification prevent the mistakes that take hours to fix. This applies doubly to cuts, holes, and any irreversible step.
If this is your first project of this type, budget 50% more time than guides suggest. The learning curve is real, and careful work produces better results than rushing to meet an estimated timeline.
Additional Considerations
Weight capacity is critical and often misunderstood. Wall systems in studs hold 50 to 75 pounds per linear foot. On drywall alone, that drops to 15 to 25 pounds before failure. Ceiling racks rated for 600 pounds assume even distribution; concentrating weight in one area can cause failure well under the total limit.
Fastener type matters as much as stud location. Lag screws provide more holding power than standard wood screws. Structural screws rated for shear loads handle dynamic weight better than generic hardware. Toggle bolts work for drywall but only for light loads and only when the item won’t get bumped or pulled.
Joist direction affects ceiling rack installation. If you’re mounting perpendicular to joists, the rack spans multiple attachment points and distributes load well. Mounting parallel to joists means the rack only attaches to one or two joists, concentrating the entire load. You may need to add blocking between joists to create more attachment points.
Concrete and masonry walls require different anchors than wood framing. Tapcon screws work for light loads. Sleeve anchors handle heavier installations. Either way, use a hammer drill with a masonry bit and go slow to prevent cracking.
Practical Planning Tips
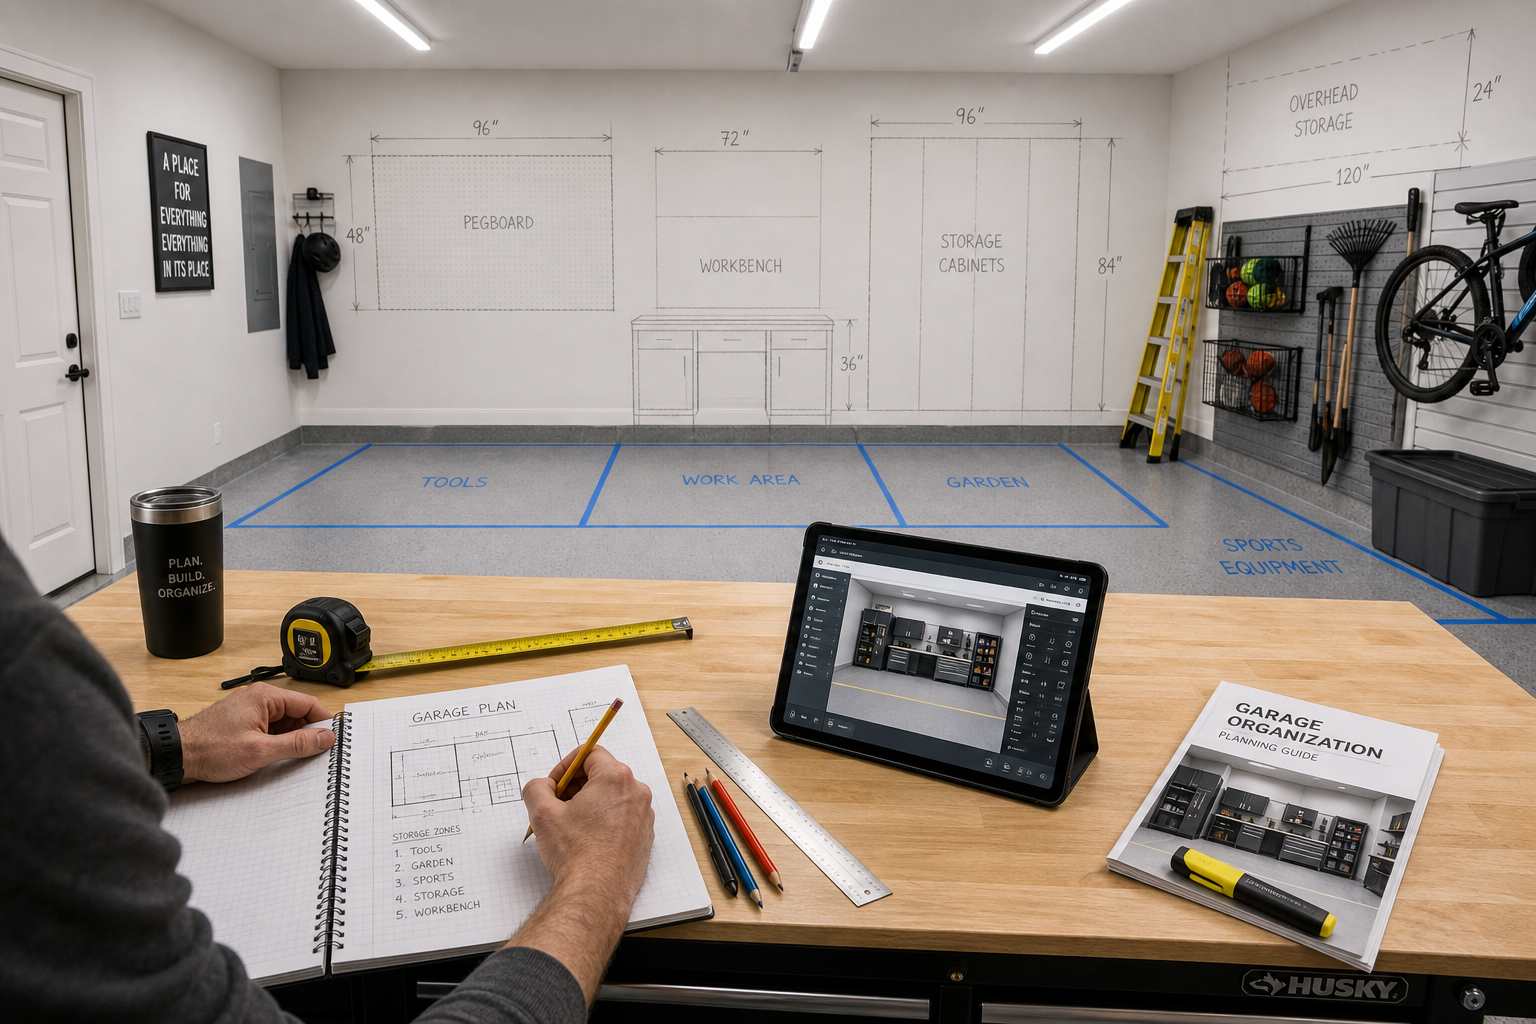
Before starting any garage project, take stock of what you have and what you need. Walk the space with a tape measure and a notepad. Record dimensions, note existing electrical outlets and their amperage, check for moisture issues, and photograph anything you want to change. This baseline assessment prevents surprises mid-project and helps you budget materials accurately.
Sketch a rough floor plan to scale. Graph paper works. Mark door swings, vehicle parking spots, and fixed obstacles like water heaters or HVAC units. Shade in the zones you identified earlier. This visual makes it obvious where you have wall space for cabinets versus where you need to use ceiling storage or mobile solutions.
Research local building codes and permit requirements for your specific project. Electrical work, structural modifications, and HVAC installations often require permits and inspections. Working without required permits can create liability issues, insurance complications, and problems when selling the home.
Set a realistic timeline and budget before buying anything. Most garage projects take 50% longer than initial estimates, especially for first-timers. Build that buffer into your plan so unexpected discoveries don’t derail the entire project or blow the budget.
When to Call a Professional
DIY covers most of what’s listed above, but some situations need professional help. High-voltage electrical work, garage door spring replacement, structural modifications, and commercial-grade coatings requiring specialized equipment are all worth outsourcing. A botched repair often costs more to fix than hiring the right person from the start.
Ceiling joist damage or rot discovered during rack installation requires a structural assessment. Don’t just bolt into compromised wood. Get it evaluated and repaired first. Similarly, if you find evidence of water intrusion, termites, or foundation settling, address the root problem before organizing around it.
Large overhead platforms that span the full garage width put significant load on the structure. A contractor can verify that your joists, and the walls supporting them, can handle the added weight. They can also install blocking and reinforcement where needed.
Get two to three quotes, verify licensing and insurance, and ask for recent references. A reputable contractor explains the process clearly, provides a written estimate, and backs the work with a written warranty.

Garage Storage Track Systems
Professional-grade organization systems that grow with your needs
Recovering from a Failed System
If your current setup has already collapsed, the recovery process is manageable but time-consuming. Pick a weekend. Clear everything out of the garage. Yes, everything. This is your chance to start fresh.
Sort on the driveway. Make piles: definitely keep, probably keep, donate, trash
