

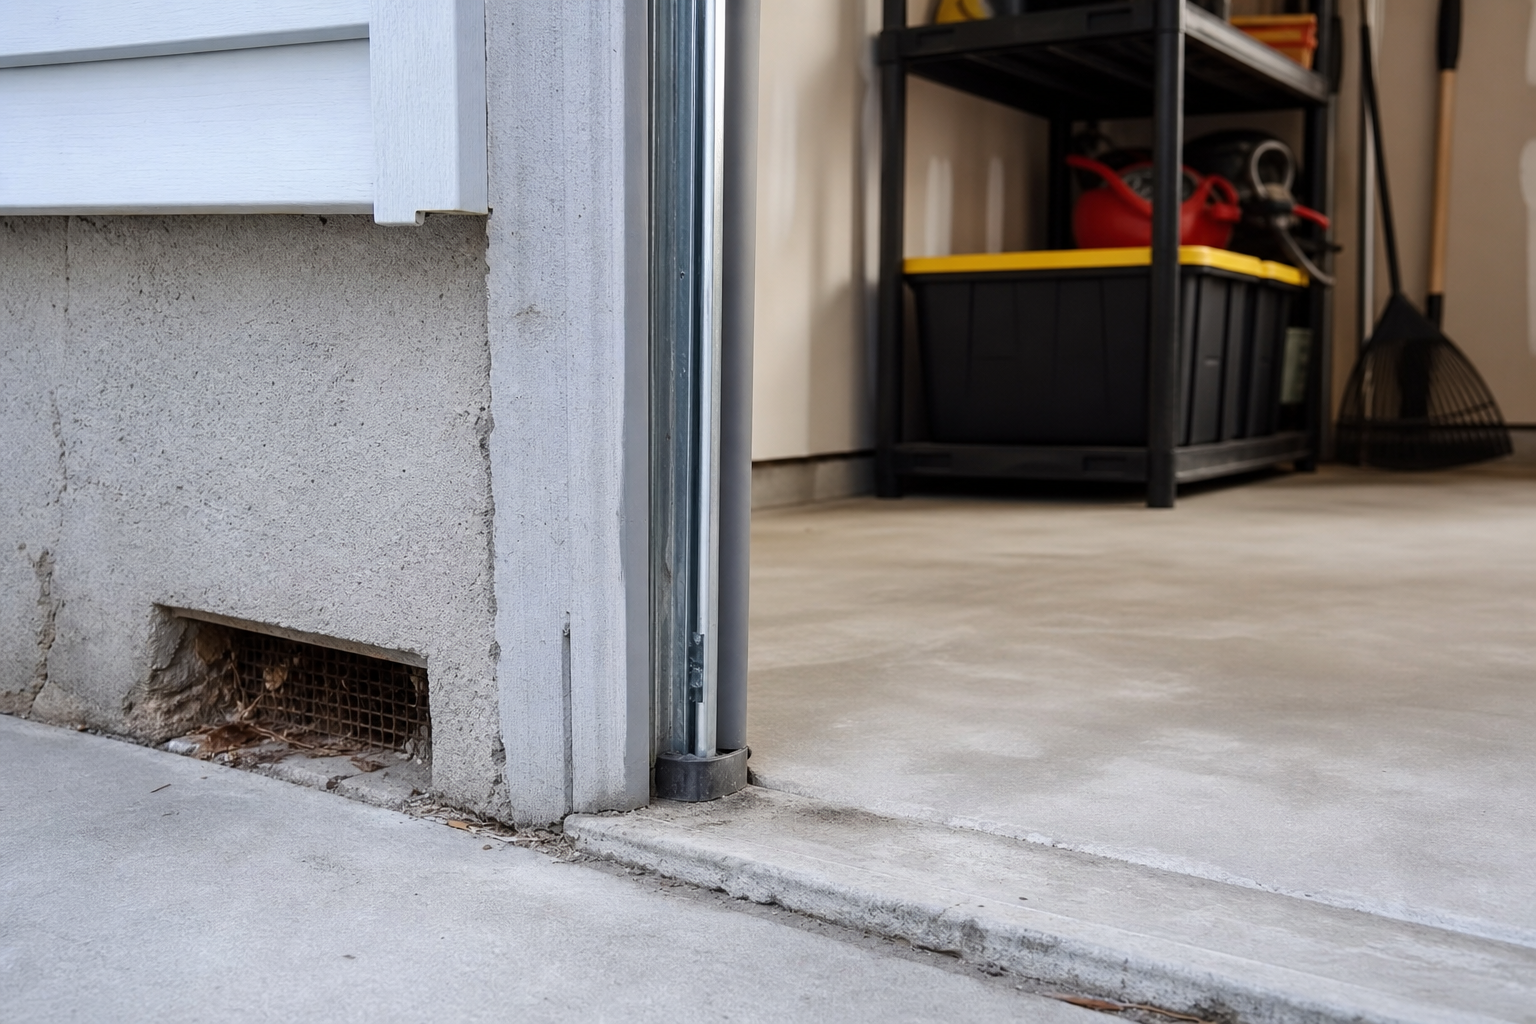
Dealing with pest entry points in your garage is one of those frustrations that catches you off guard. Everything seemed fine until one day you notice something isn’t right. The reassuring truth is that these issues almost always trace back to identifiable causes with practical solutions.
This guide covers the most common culprits in diagnostic order, starting with the simplest checks. Most readers find their answer within the first few sections without needing a service call.
Understanding the Basics
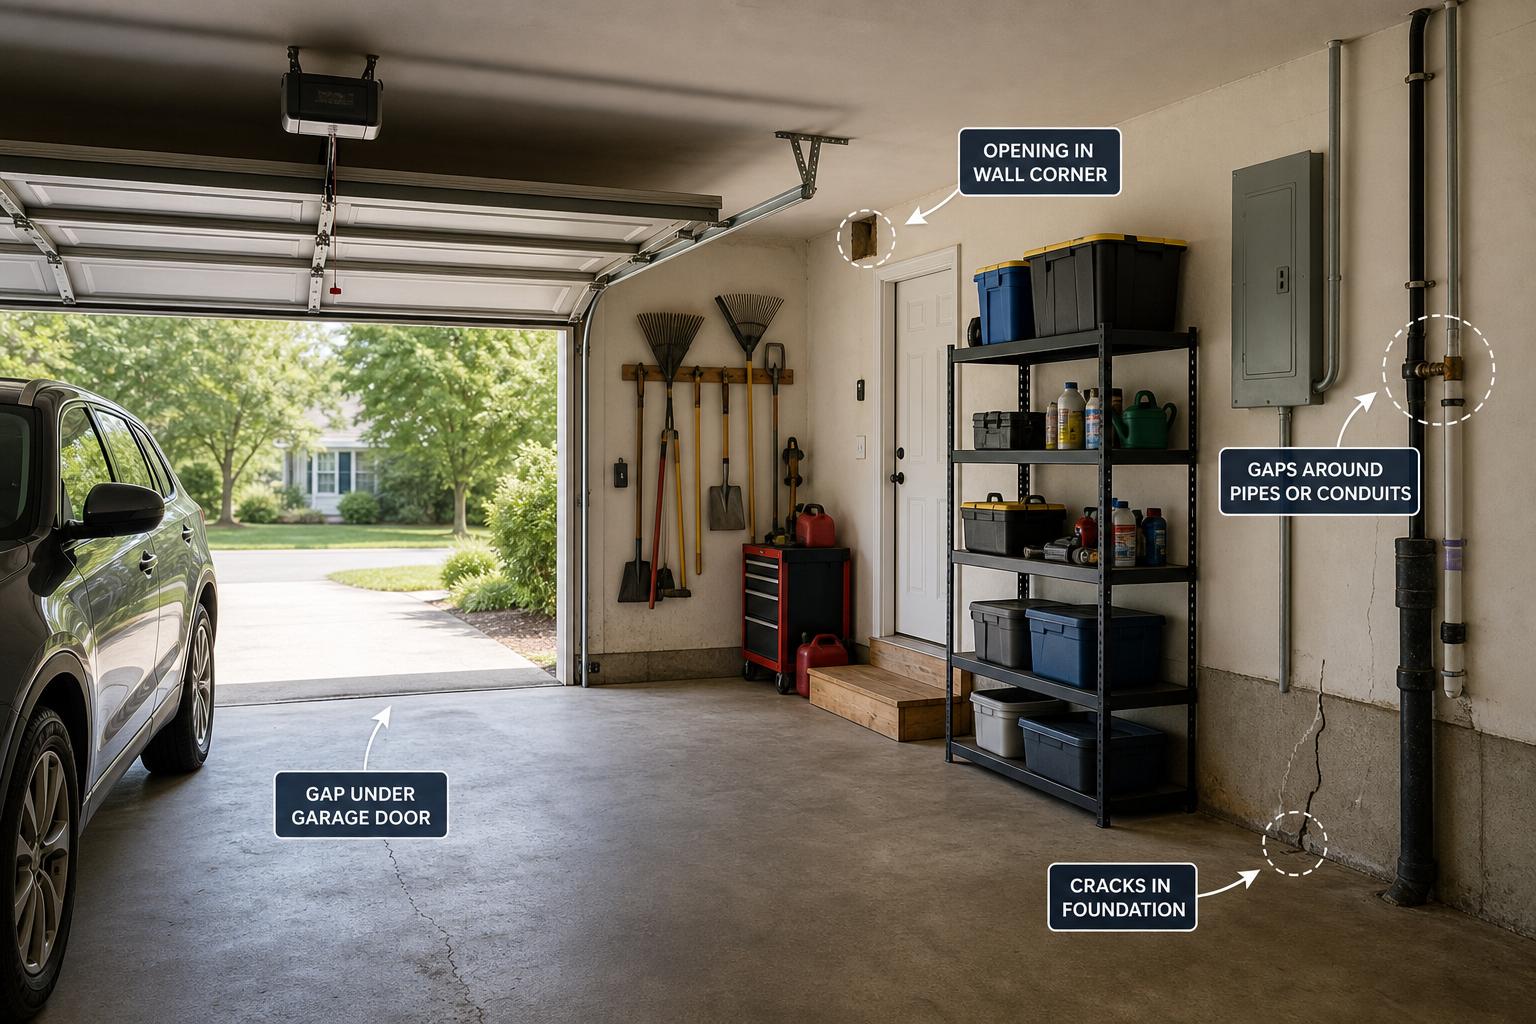
The garage door bottom seal is the most common pest entry point. A 1/4-inch gap admits mice, insects, and spiders. Inspect the entire seal length for cracks, compressed areas, or hardened rubber that no longer contacts the ground fully.
Other entries include gaps around pipes and wires, sill plate-to-foundation spaces, unscreened vents, and deteriorated weatherstripping on side doors. Physical exclusion (sealing gaps) beats traps because it prevents entry entirely.

Garage Door Bottom Seal
Essential for sealing the most common pest entry point in your garage
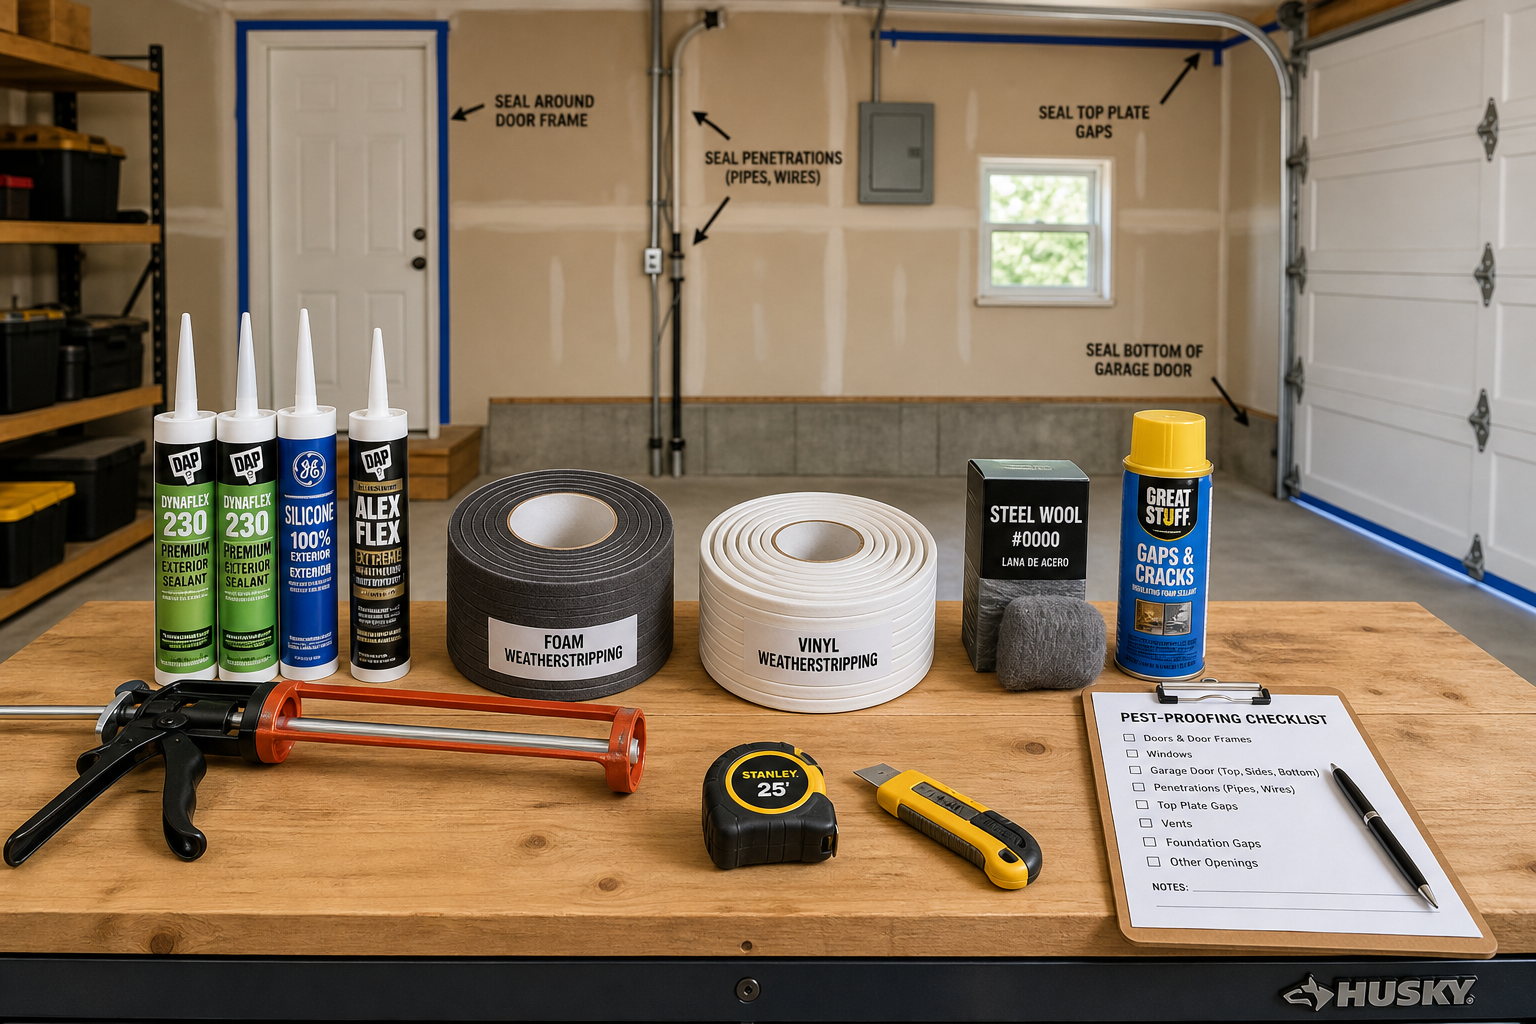
Steel wool packed into openings and secured with expanding foam stops rodents (foam alone gets chewed through). Copper mesh is even better. For larger gaps, 1/4-inch galvanized hardware cloth screwed in place creates a permanent, chew-proof barrier.
If you’re experiencing issues with your garage door not sealing properly due to alignment problems, check out our guide on garage door stops halfway troubleshooting for related fixes.
Deep Troubleshooting of Gaps Around Pipes and Doors
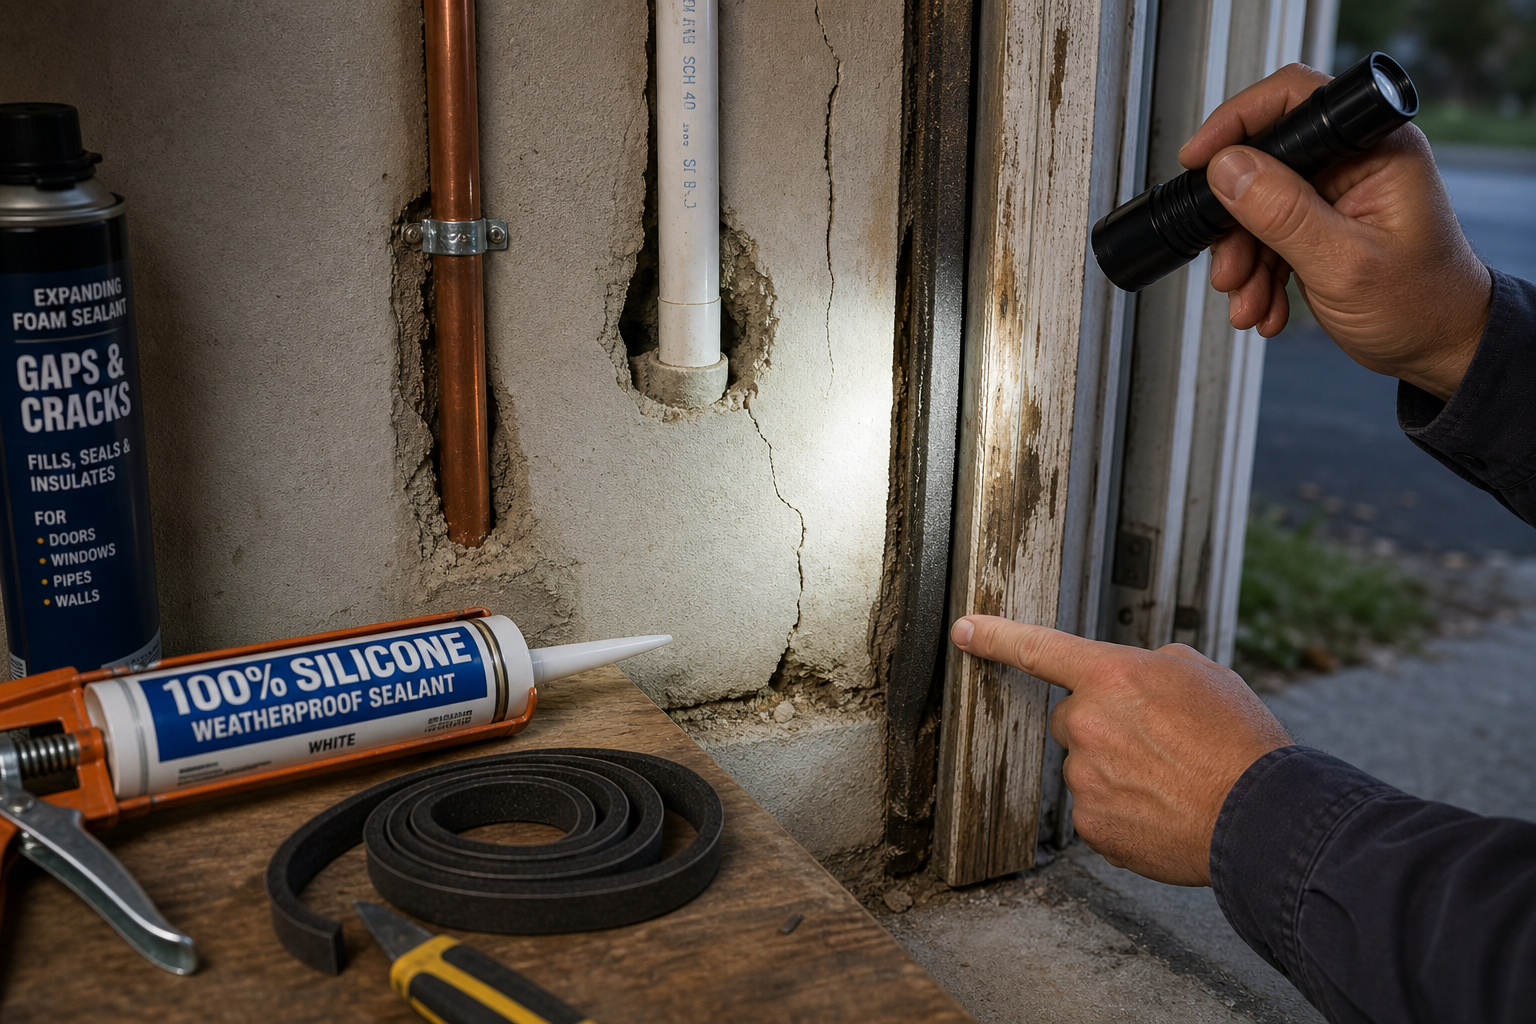
Understanding the specifics of your situation helps you choose the right approach. Your garage’s age, construction type, and local climate all influence what works best and what to avoid.
Check specific requirements before purchasing materials. Measure the area, note unusual conditions (extreme temps, high humidity, uneven surfaces), and read product specs carefully. A mismatch between your conditions and the product’s rated range is the most common cause of unexpected failures.
Safety and Material Considerations
Wear appropriate protection throughout: safety glasses, gloves, respirator when working with chemicals or dust. Ventilate when using adhesives, paints, or solvents. These aren’t optional precautions.
For comprehensive weatherstripping replacement beyond just pest control, our garage door weather stripping replacement guide covers the complete process.

Copper Mesh for Pest Control
Superior to steel wool for long-term rodent exclusion
Practical Planning Tips
Research local building codes and permit requirements for your specific project. Electrical work, structural modifications, and HVAC installations often require permits and inspections. Working without required permits can create liability issues, insurance complications, and problems when selling the home.
Before starting any garage project, take stock of what you have and what you need. Walk the space with a tape measure and a notepad. Record dimensions, note existing electrical outlets and their amperage, check for moisture issues, and photograph anything you want to change.
Timing Your Project
Consider the seasonal timing of your project. Floor coatings apply best in mild weather (50 to 85 degrees). Insulation projects are most motivating (and noticeable) before extreme weather hits. Electrical and plumbing work can happen year-round but should be completed before insulating or finishing walls over the wiring.
Set a realistic timeline and budget before buying anything. Most garage projects take 50% longer and cost 20% more than initial estimates, especially for first-timers. Build that buffer into your plan so unexpected discoveries don’t derail the entire project.
When to Call a Professional
DIY covers most of what’s listed above, but some situations need professional help. High-voltage electrical work, garage door spring replacement, structural modifications, and commercial-grade coatings requiring specialized equipment are all worth outsourcing.
A botched repair often costs more to fix than hiring the right person from the start. Get two to three quotes, verify licensing and insurance, and ask for recent references. A reputable contractor explains the process clearly, provides a written estimate, and backs the work with a written warranty.

Expanding Foam Sealant
Must be combined with steel wool or copper mesh for rodent-proof sealing
For additional pest control measures beyond sealing entry points, check out our comprehensive DIY garage bug control guide for more strategies.
Frequently Asked Questions
How long will the results last?
Years of reliable performance with quality materials and proper installation. Preparation quality is the single biggest longevity factor.
What mistake should I avoid above all?
Rushing preparation. Whether it’s surface prep, measuring, or reading instructions, upfront time prevents expensive do-overs.
How much should I budget for materials?
Varies widely by scope and materials. DIY saves significantly on labor. Check current Amazon pricing for accurate material estimates.
Can I use expanding foam alone to seal rodent entry points?
No, expanding foam alone gets chewed through by rodents. Always pack steel wool or copper mesh into the opening first, then seal with foam for a permanent barrier.
This article contains affiliate links. We may earn a small commission at no extra cost to you.
