

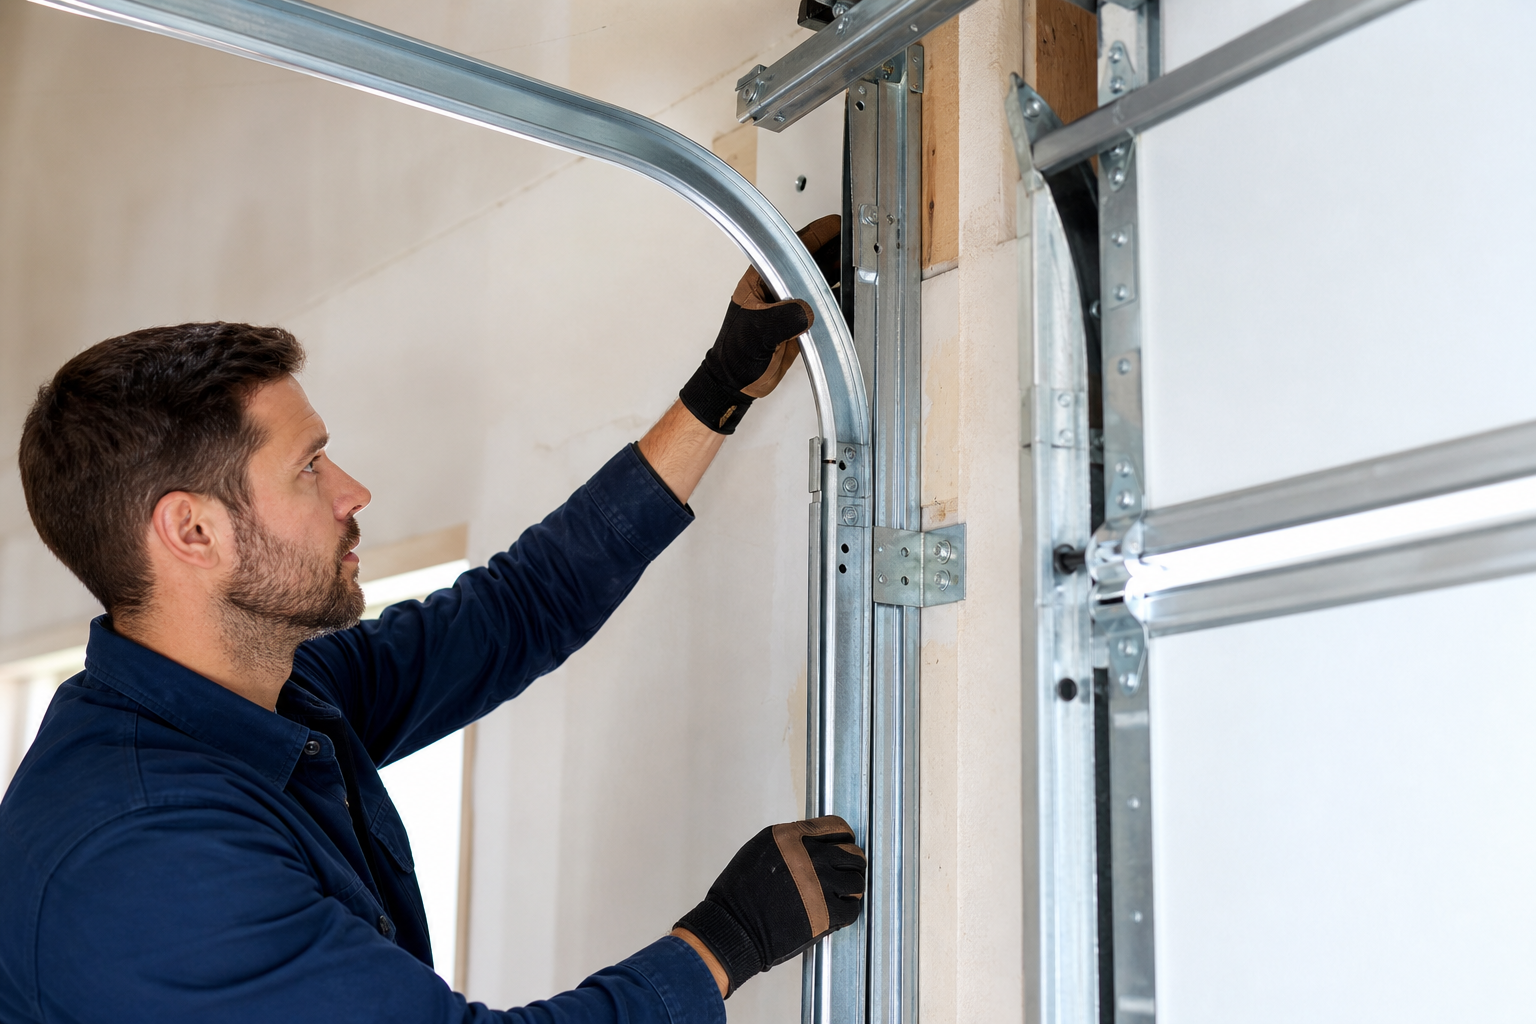
Understanding garage door track alignment is one of those skills that separates a smooth-running garage door from one that grinds, sticks, or refuses to close. Tracks guide every inch of the door’s travel, and when they’re even slightly off, the entire system suffers.
Misaligned tracks cause premature roller wear, strain the opener motor, and create safety risks. Most alignment issues are fixable with basic tools and a systematic approach.
This guide walks through the diagnosis, the fix, and the maintenance that keeps your tracks straight for years.
Recognizing Track Problems Before They Get Worse
Track misalignment shows up in predictable ways. The door hesitates or jerks at certain points during opening or closing. You hear scraping or grinding metal-on-metal sounds.
The door stops partway and reverses for no obvious reason. Rollers visibly wobble or bind instead of gliding smoothly. Gaps appear between the rollers and the track edge, or the rollers press hard against one side.
Vertical track sections are more prone to alignment issues than horizontal runs. They take the full weight of the door and absorb impacts when someone backs into the partially open door or when heavy items stored nearby bump the track. Horizontal sections can sag over time if the brackets loosen or if the ceiling structure settles.
Check both tracks from floor to ceiling with a four-foot level. Hold the level against the vertical section and note any deviation from plumb. Then check the horizontal run for levelness.
A quarter-inch variance over four feet is enough to cause problems. Measure the distance between the left and right tracks at several heights. The spacing should match the door width exactly at every point. If the bottom is 16 feet apart but the top is 16 and a quarter, you’ve found your problem.
Safety Sensor Misalignment
Safety sensor misalignment is the most common reason a garage door won’t close. The sender and receiver must aim precisely at each other across the opening. Even a slight bump from a broom or bike tire knocks them off.
A steady LED on both sensors means alignment is good; a blinking light on the receiver indicates misalignment or beam obstruction.
Start by cleaning both sensor lenses with a soft cloth. Dust, spider webs, and garage grime block the beam more often than you’d think. If cleaning doesn’t solve it, loosen the wing nut holding the receiving sensor (the one with the blinking light) and adjust it up, down, left, or right until the light goes steady.
Tighten the wing nut once the light is solid. Test the door. If it still reverses, check that nothing in the door’s path is triggering the sensor beam. A rake leaning against the wall, a cardboard box, even a reflection off a shiny surface can interfere.
Sensors mounted too loosely drift out of alignment from vibration every time the door operates. After realigning, make sure both sensors are snug on their brackets. If the bracket itself is bent or the mounting screws have stripped the wood, relocate the sensor to fresh wood or replace the bracket entirely.
For detailed sensor troubleshooting, check our complete guide on garage door safety sensor alignment.
Straightening Vertical Track Sections
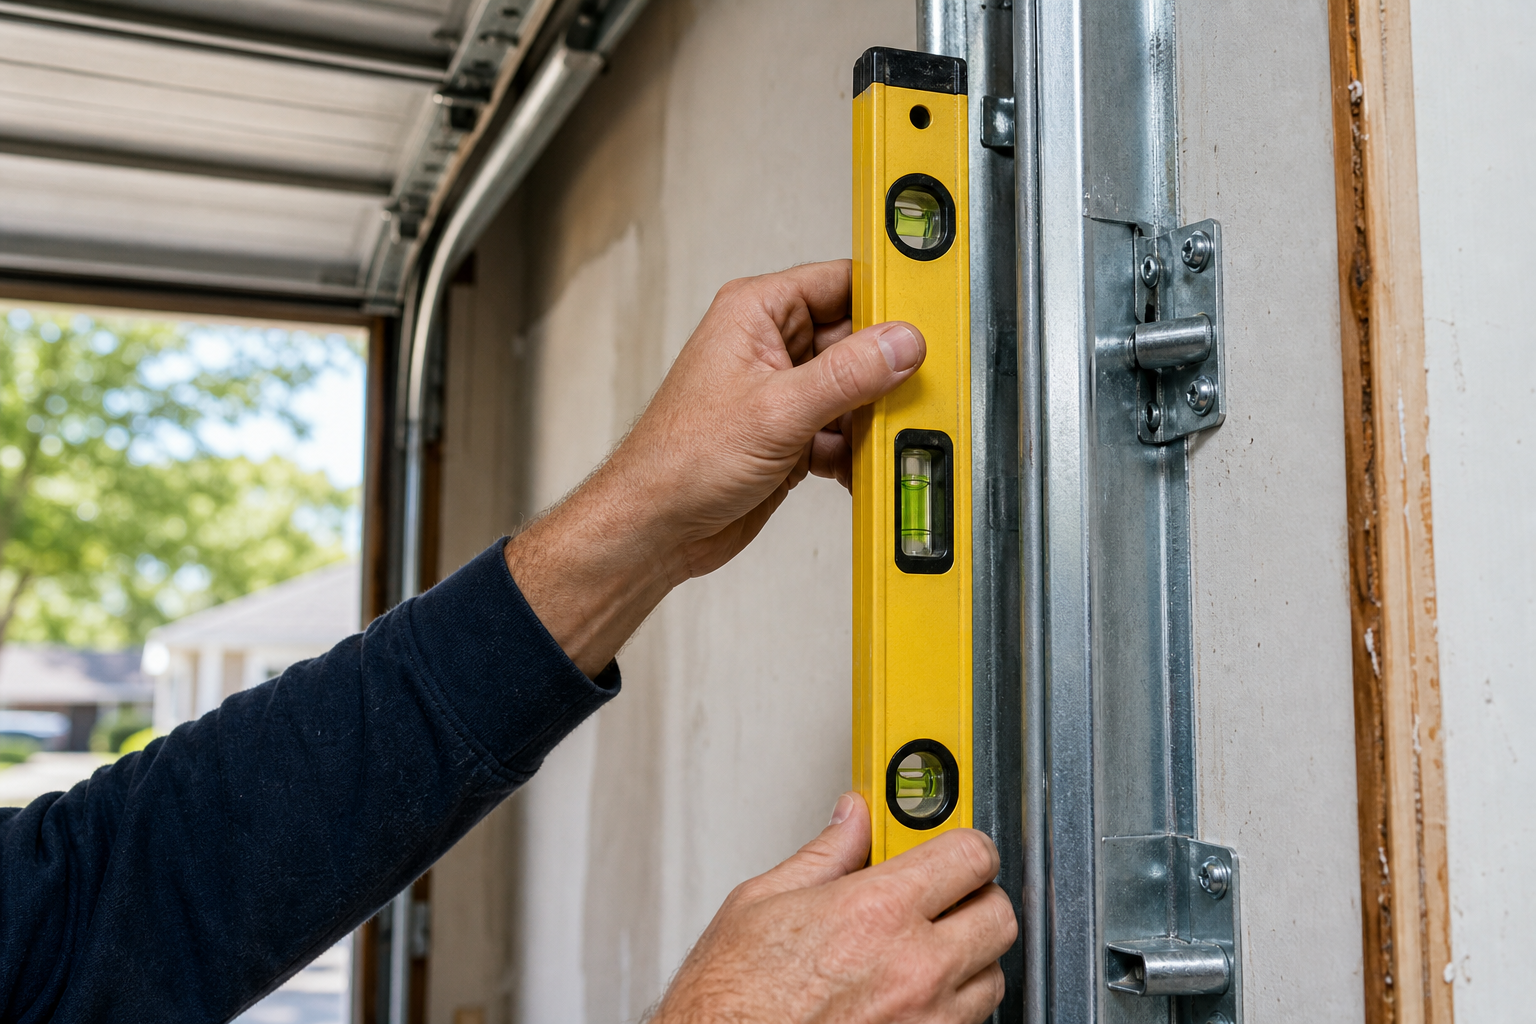
Vertical track problems usually stem from loose mounting brackets or impact damage. Start at the bottom bracket where the track bolts to the door frame. Loosen the bolts enough that the track can shift but still holds its position.
Use a level to confirm the track is perfectly plumb. Tap the track gently with a rubber mallet if needed to nudge it into place. Once plumb, tighten the bottom bracket bolts.
Move up to the middle bracket and repeat the process. Loosen, check for plumb, adjust, tighten. Then do the same at the top bracket where the vertical track transitions to the horizontal section.
Recheck plumb on the entire vertical run after tightening all three brackets. If one bracket pulls the track out of alignment when tightened, the bracket itself may be bent or the wall surface may not be flat. Shim behind the bracket with metal washers to bring it flush.
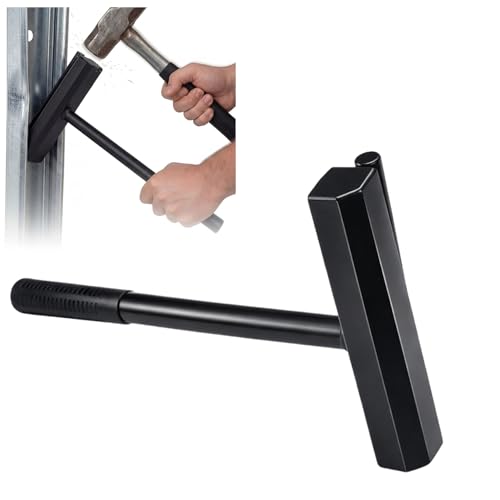
Garage Door Track Alignment Tool
Professional-grade tools make this job much easier and more accurate
Dented or kinked vertical tracks are harder to fix. Small dents that don’t obstruct roller movement can stay. Anything that catches or binds the roller needs correction.
Clamp a block of hardwood over the dent on the outside of the track and tap the inside face with a hammer to push the dent out. This works for shallow dents. Deep creases or cracks mean the track section needs replacement.
Tracks are sold in sections at home centers and garage door suppliers. Measure the exact profile; track dimensions vary by door weight and design.
Leveling Horizontal Tracks
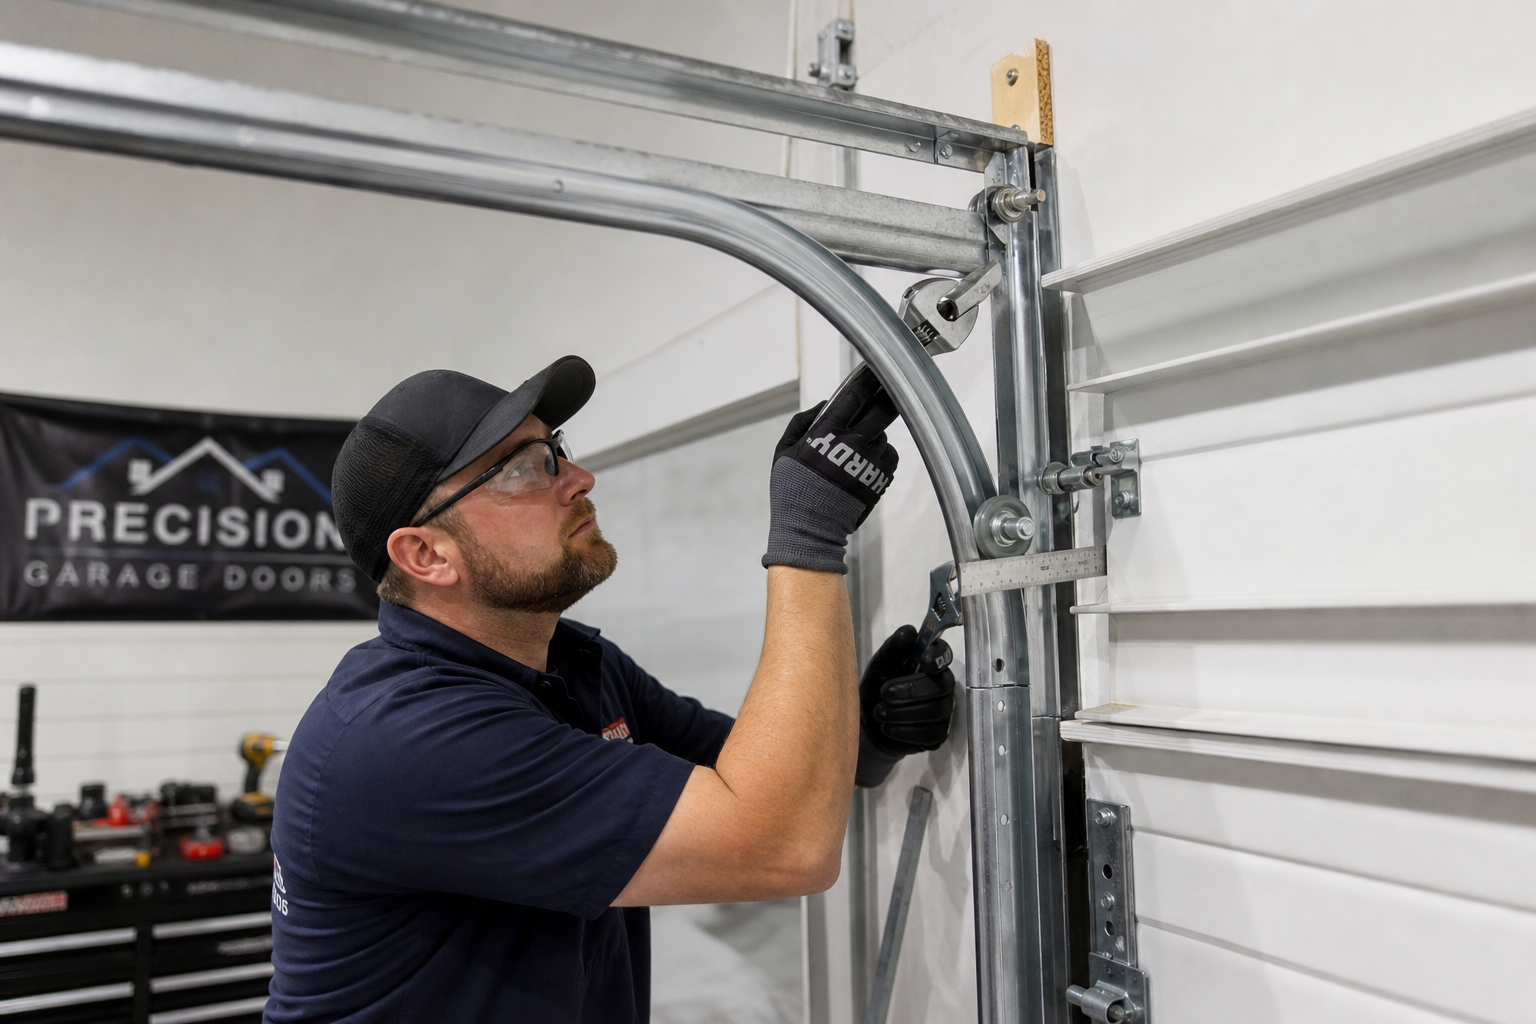
Horizontal track sections run from the top of the vertical track back into the garage, usually sloping slightly downward toward the rear to help the door settle into the closed position. A quarter-inch drop over eight feet is typical.
Too much slope and the door slams shut. Too little and it drifts open.
Check the slope with a torpedo level. Place the level on the inside bottom edge of the horizontal track. A slight bubble movement toward the rear is normal. If the track is level or slopes forward, you have a problem.
Loosen the brackets holding the horizontal track to the ceiling or wall. Adjust the track angle by raising or lowering the rear mounting point. Some brackets have slotted bolt holes that make this easy. Others require drilling new holes.
Tighten all brackets once the slope is correct and retest the door’s balance.
Ensuring Parallel Tracks
Horizontal tracks must also stay parallel. Measure the distance between the left and right horizontal tracks at the front (where they meet the vertical sections) and at the rear (where they terminate near the opener).
The measurements should match within an eighth of an inch. If one track is closer to the centerline than the other, the door will bind and twist as it travels. Loosen the brackets on the misaligned track and shift it left or right until both tracks are equidistant from the door’s centerline.
Sagging horizontal tracks happen when bracket screws pull out of drywall or when the ceiling joists settle. If screws won’t hold, relocate the bracket to a ceiling joist or install a lag bolt into solid wood. For metal buildings, use self-tapping screws rated for the gauge of the metal roof or wall structure.
Roller Condition and Replacement
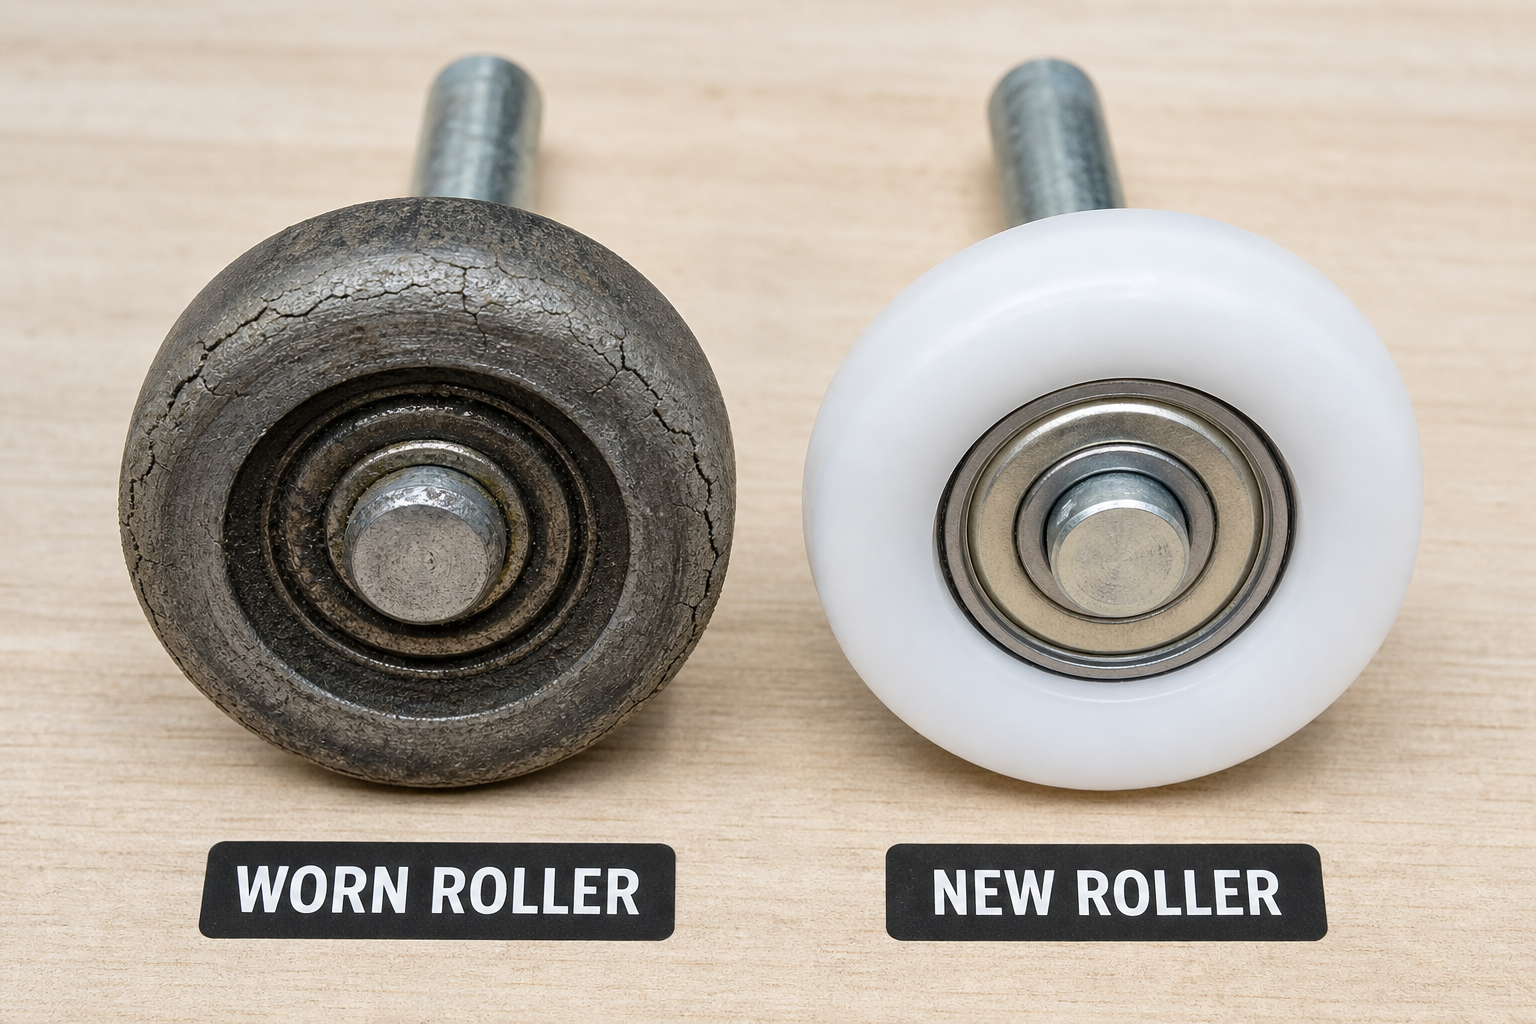
Even perfectly aligned tracks won’t help if the rollers are shot. Steel rollers with worn bearings grind and bind. Plastic rollers crack and chip.
Inspect every roller while the door is closed. Spin each one by hand. It should rotate smoothly and quietly. Any resistance, wobble, or grinding means replacement.
Nylon rollers with sealed ball bearings are the best upgrade. They’re quieter than steel, resist moisture, and last longer. Rollers are sold by stem diameter (usually half-inch or one-inch) and wheel diameter (typically two inches or three inches).
Match the size to what’s currently installed. Replacing rollers requires removing the old roller from the hinge bracket. For all but the bottom roller on each side, this is straightforward: open the door partway, remove the hinge bolt, slide out the old roller, insert the new one, and replace the bolt.
The bottom rollers attach differently. They sit in a bracket that’s bolted to the door’s bottom corner and is under spring tension. Adjusting or replacing bottom rollers means releasing spring tension, which is dangerous.
If you’re not familiar with garage door spring systems, hire a professional for bottom roller work. Springs store enough force to cause serious injury.
Track Bracket Reinforcement
Loose brackets are the root cause of recurring alignment problems. Over time, vibration works screws loose and brackets shift. Once a year, go through every bracket on both tracks and check the tightness.
Use a socket wrench or impact driver to snug everything down. If a screw spins without tightening, the hole is stripped. Move the bracket slightly and drill a new hole into solid material, or use a larger screw with a plastic anchor if you’re mounting into drywall.
Adding extra brackets helps on long horizontal runs or on heavy doors. Space brackets no more than four feet apart. More support means less sag and fewer alignment headaches down the road.
Use brackets rated for your door’s weight. Light-duty stamped steel brackets are fine for single-car doors under 150 pounds. Double-car doors or insulated doors over 200 pounds need heavy-duty brackets, usually 14-gauge steel or thicker.
When to Call a Professional
Track alignment is DIY-friendly for most homeowners, but some situations call for a pro. If the door’s torsion springs are broken or show visible gaps in the coils, don’t touch the tracks. Spring replacement requires specialized tools and training.
Broken springs put the entire door system under abnormal stress, and adjusting tracks won’t solve the underlying issue.
Severely damaged tracks, bent beyond simple hammer correction, cracked welds, rust holes need replacement, and that’s easier with professional equipment. A technician can swap out a damaged track section in under an hour with the door properly secured.
DIY track replacement risks dropping the door if you don’t support it correctly.
If you’ve aligned the tracks, replaced the rollers, tightened every bracket, and the door still binds or makes noise, the problem may be in the door itself. Warped door sections, failed hinges, or a bent bottom panel all mimic track issues.
For complex issues involving door panel problems, a garage door service company can diagnose these problems with a full door inspection.
Track Maintenance That Prevents Alignment Issues
Lubrication keeps rollers and tracks in good shape and reduces the friction that contributes to wear and misalignment. Use a silicone-based spray lubricant or a product specifically designed for garage doors.
Spray each roller, the track’s inside surface where the rollers ride, the hinges, and the spring (torsion springs only; extension springs are pre-lubricated and shouldn’t be sprayed). Do this every six months.
In cold climates, lube before winter so the door operates smoothly when temperatures drop.

Garage Door Lubricant
Quality lubricants designed specifically for garage door components perform much better than general-purpose oils
Wipe excess lubricant off the tracks with a rag. Buildup attracts dirt and creates a gummy residue that actually increases friction over time. The goal is a light, even coating, not a puddle.
Keeping Track Areas Clear
Keep the track area clear of stored items. Leaning a ladder or stacking boxes against the track puts pressure on the brackets and can shift alignment. Even lightweight contact over months can bend a track slightly out of true.
If your garage is tight on space and track-area storage is unavoidable, mount a barrier. A strip of plywood or a metal guard protects the track from direct contact.
Check the track and bracket bolts twice a year. Garage doors cycle thousands of times annually, and vibration gradually loosens hardware. Tightening bolts before they’re completely loose prevents the track from shifting in the first place.
Door Balance and Its Effect on Track Alignment
A garage door should hover in place when manually lifted to waist height and released. If it slams down, the springs are too weak. If it flies up, the springs are too tight.
Imbalanced spring tension forces the door to one side during travel, putting uneven pressure on the tracks and accelerating misalignment.
Test balance with the door closed and the opener disconnected (pull the red release handle). Lift the door to chest height. Let go. The door should stay put or drift down slowly.
If it crashes, springs need adjustment or replacement. If it shoots up, springs are over-tensioned. Either way, this is a job for a professional unless you’re trained in spring adjustment.
Torsion springs are under hundreds of pounds of tension and can cause severe injury if mishandled.
Keeping springs properly tensioned reduces strain on every part of the system, including the tracks. A balanced door glides smoothly, wears rollers evenly, and puts minimal stress on track brackets.
For opener-related adjustments, our guide on garage door opener force settings provides detailed information on balancing opener performance with door mechanics.
Upgrading Track Systems
If you’re replacing an older garage door or upgrading to a heavier insulated model, the existing track system may not be adequate. Track size, gauge, and bracket strength all need to match the door’s weight.
A 200-pound insulated door on tracks designed for a 100-pound door will sag, bind, and misalign constantly no matter how often you adjust it.
Heavy-duty tracks are deeper and thicker. Standard two-inch tracks work for doors up to 150 pounds. Three-inch tracks handle doors up to 300 pounds. Anything heavier requires commercial-grade hardware.
Track gauge matters too; thicker steel resists bending and flexing under load. Look for 14-gauge or 13-gauge tracks for residential doors over 200 pounds.
Replacing a track system is a full-day project and usually involves removing the door. Unless you’re experienced with garage door work, hire a professional for this level of upgrade.
The labor cost is typically budget-friendly considering the complexity, including removal of the old system and installation of the new one. You get properly matched components and the assurance that everything is aligned and safe.
Common Track Alignment Mistakes
Over-tightening bracket bolts can warp the track. Snug is good; gorilla-tight is bad. If you’re using an impact driver, dial back the torque setting so you’re not crushing the metal. Tracks need to be secure, not deformed.
Forcing a badly bent track back into shape rarely works long-term. You might get the dent out, but the metal is fatigued and will likely kink again under load. Replace damaged sections instead of spending hours trying to salvage them.
Ignoring the door’s balance while focusing on track alignment is a waste of time. If the springs are weak or broken, the door will stress the tracks no matter how straight they are. Fix the balance issue first, then align the tracks.
Skipping the measurement step and eyeballing alignment leads to crooked tracks that look okay but still cause problems. Use a level and a tape measure. Get the numbers right.
Track Alignment for Noisy Doors
If your door is loud, track alignment is a likely contributor. Misaligned tracks force rollers to scrape and grind instead of rolling smoothly. Even a slight variance creates friction and noise.
After aligning the tracks, lubricate the rollers and track surfaces. Replace any steel rollers with nylon ones. The noise reduction is dramatic.
Loose
