

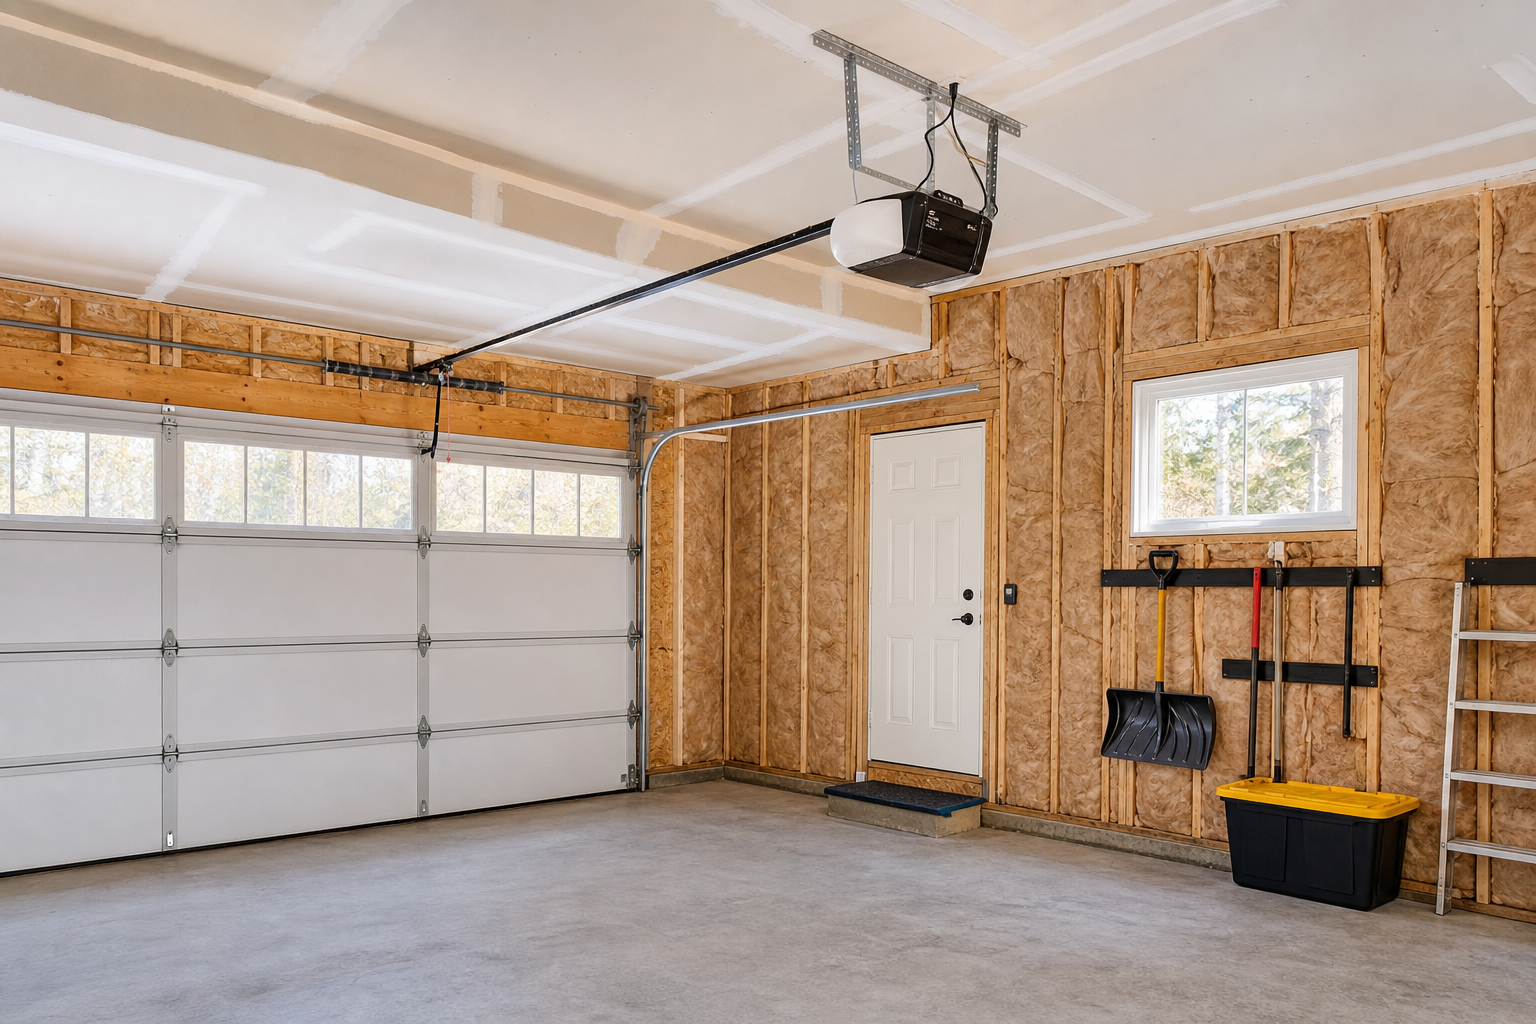
If your garage gets too cold in winter, you’re dealing with one of the most reported garage issues. Climate, age, and usage all play a role, but the root causes fall into a surprisingly short list.
This troubleshooting guide covers each possibility with clear explanations and actionable fixes. By the end, you’ll have the problem solved or know exactly what to tell a technician.
Understanding the Basics
The garage door accounts for 30 to 40% of total thermal loss. An uninsulated steel door has near-zero R-value; proper insulation or pre-insulated replacement reaches R-6 to R-12 depending on material thickness. This single upgrade makes the largest temperature impact.
A standard single-car door (9 by 7 feet) transfers as much cold as 63 square feet of uninsulated wall. A two-car door (16 by 7 feet) doubles that. The door surface area matters more than most people expect when they’re trying to figure out why the garage won’t hold heat.

Garage Door Insulation Kit
Most cost-effective way to make an immediate temperature difference
Wall Insulation Options
Wall options include fiberglass batts (R-13 for 2×4 walls, R-19 for 2×6), rigid foam boards, and spray foam. Fiberglass is most cost-effective for exposed-stud garages. Already drywalled? Blown-in or exterior foam are alternatives that don’t require opening walls.
Rigid foam boards install fast on bare concrete or CMU walls. Cut to fit between studs, seal edges with expanding foam, then tape seams. You get R-5 to R-6.5 per inch. Two-inch boards bring a typical concrete wall to R-10 or better without tearing anything apart. For comprehensive guidance on wall and ceiling insulation options, consider factors like moisture control and vapor barriers in your climate zone.
Ceiling Insulation Strategy
Ceiling insulation matters most when living space sits above the garage. An uninsulated ceiling lets heat transfer freely, making the room above uncomfortable and increasing energy bills. R-30 to R-38 is the standard recommendation for most climate zones.
Attic-style open ceilings over the garage are easier to insulate than finished ceilings. Roll out fiberglass batts between joists, or blow in cellulose if access is tight. If the ceiling is finished and you can’t access the cavity from above, drilling small holes and blowing in dense-pack cellulose works but takes more time and creates patching work.
Troubleshooting Poor Insulation and Drafts
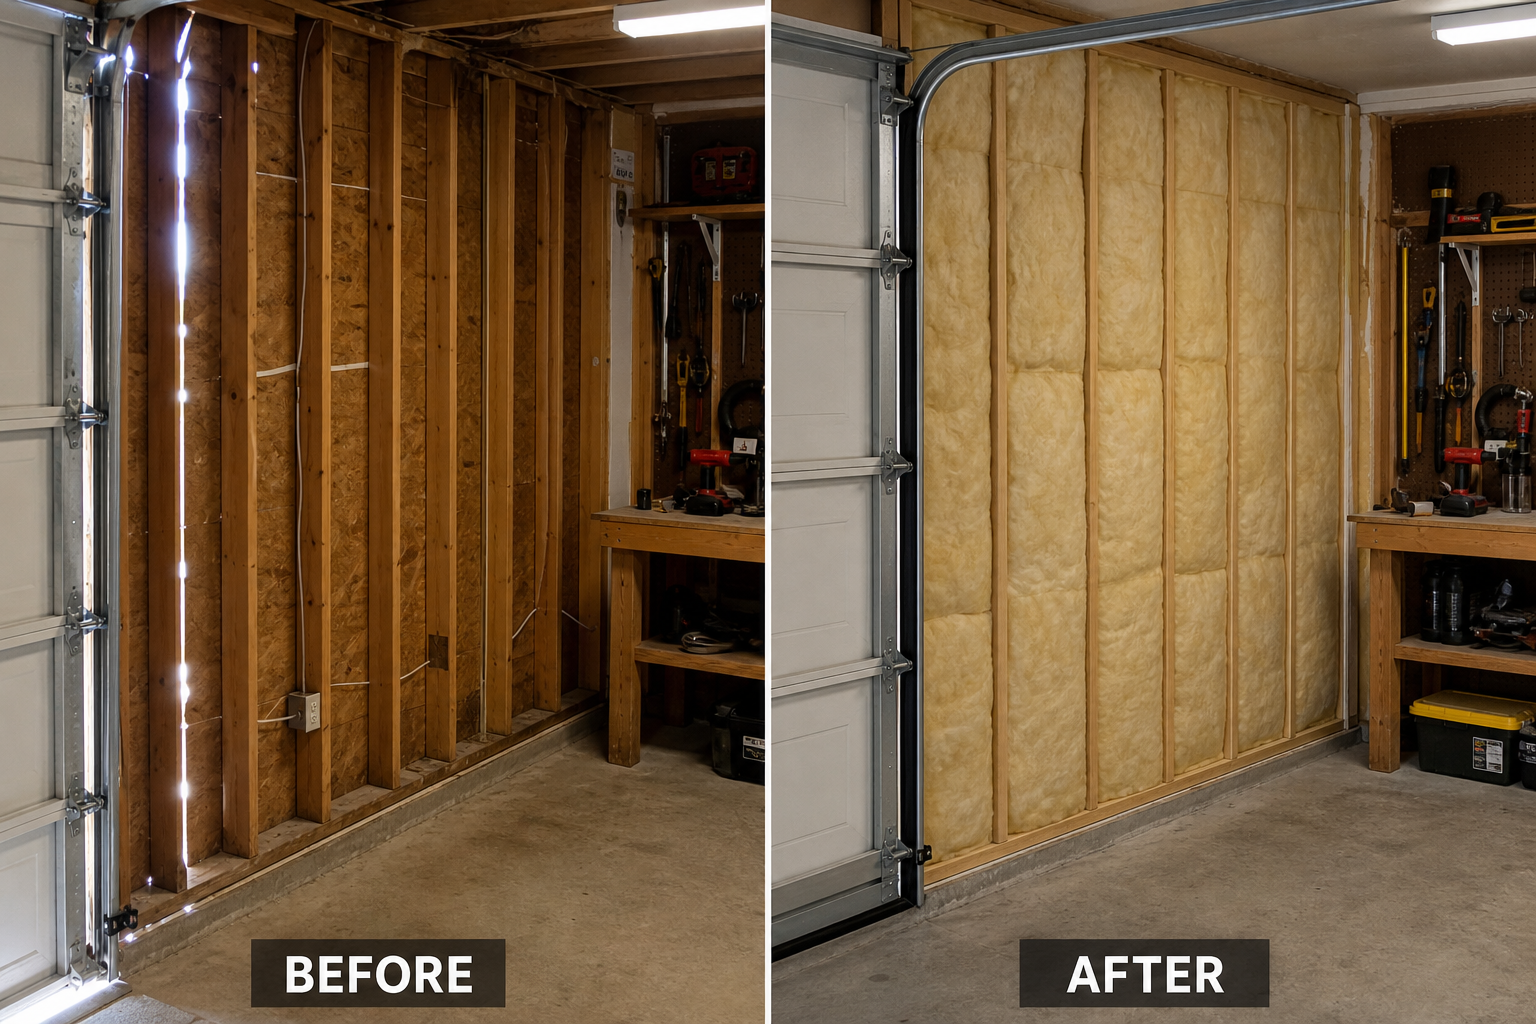
Getting this right requires matching your approach to actual conditions rather than following a generic formula. Climate, surface condition, and usage patterns all influence the best path forward.
Finding Air Leaks
Walk the perimeter with an incense stick or smoke pen on a cold, windy day. Hold it near the door frame, window edges, wall penetrations where cables or pipes enter, and the gap between the bottom of the door and the slab. Smoke deflection shows you exactly where air is leaking. Most garages have five to ten distinct leak points that account for the majority of heat loss.
Weatherstripping around the garage door frame should compress fully when the door closes. If you see light gaps or feel air movement, the stripping is worn or improperly installed. Replace it with new adhesive-backed foam or rubber bulb stripping. The door bottom seal (the rubber flap that contacts the floor) wears fastest and needs replacement every three to five years in climates with freeze-thaw cycles.
Sealing Common Problem Areas
Gaps around window frames are common in garages because the installation quality is often lower than in the main house. Remove interior trim, inspect the gap between the window frame and rough opening, and fill voids with low-expansion foam. Don’t use high-expansion foam; it can bow the frame and crack the glass.
Cable and pipe penetrations through exterior walls usually have oversized holes left from rough-in work. Seal these with fireblock-rated expanding foam or exterior-grade caulk. A 1-inch gap around a half-inch conduit lets as much cold air in as leaving a window cracked.
Test Before You Commit
Start with a small test area if you’re uncertain. A 4 by 4-foot section in an inconspicuous spot lets you evaluate adhesion, appearance, and workability without committing to the full project. Troubleshooting a small test area is far easier than redoing everything.
If this is your first project of this type, budget 50% more time than guides suggest. The learning curve is real, and careful work produces better results than rushing to meet an estimated timeline.
Reflective insulation rolls make a noticeable difference in results. Check current options and reviews on Amazon to find the right match for your project and budget.
Reflective barriers work by blocking radiant heat transfer rather than conductive transfer. They’re most effective on the underside of a roof deck in hot climates or behind drywall on exterior walls. They don’t replace traditional insulation but add a few R-value points when installed with an air gap.
Heater Sizing, Portable Heaters, and Radiant Panels
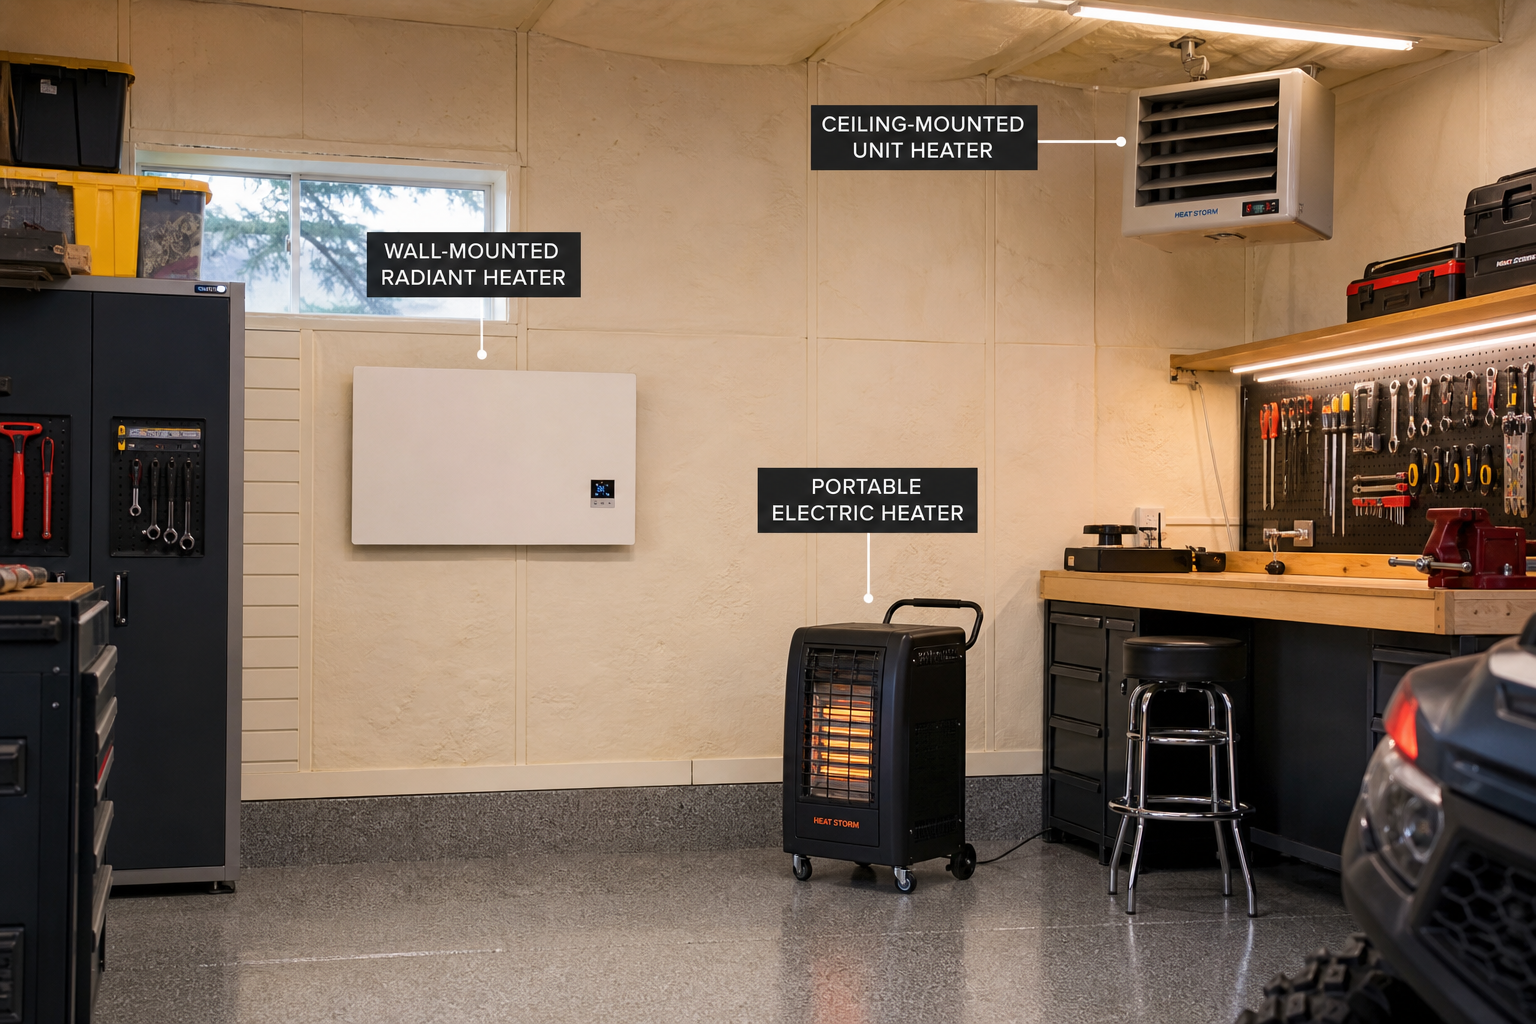
The details here make the difference between a result that lasts and one that needs redoing within a year. Take the time to assess your conditions before committing to a method or product.
Calculating BTU Requirements
Calculate required BTUs using 45 to 60 BTUs per square foot for a moderately insulated garage in a cold climate. A 400-square-foot two-car garage needs 18,000 to 24,000 BTUs. Uninsulated? Double that. Well-insulated with a heated space on one or more walls? Use the lower end of the range.
Ceiling height affects heat demand. An 8-foot ceiling is the baseline. For every additional foot of height, add 10 to 15% more BTUs. A garage with a 12-foot ceiling serving as a shop or storage space needs substantially more heat than the basic calculation suggests.
Electric Heater Options
Portable electric heaters top out around 5,000 BTUs (1,500 watts) on a standard 15-amp circuit. That’s enough for a well-insulated single-car garage or a small workspace zone within a larger garage. Running two on separate circuits gets you to 10,000 BTUs but won’t keep a full two-car garage warm when it’s 10 degrees outside.
Electric forced-air heaters mount to the wall or ceiling and run on 240-volt circuits. Models in the 3,000 to 7,500-watt range (10,000 to 25,000 BTUs) cover most residential garage heating needs. Installation requires running new wire from the breaker panel and mounting a dedicated breaker. Expect to budget for materials plus electrician labor if you’re not doing it yourself.
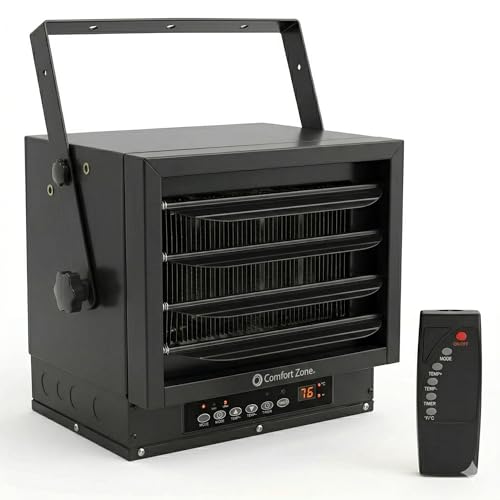
Electric Garage Heater
Wall-mount units provide powerful heating for permanently heated garage workshops
Radiant panels mount on the ceiling and heat objects and people directly rather than warming the air. They feel comfortable at lower ambient temperatures because you’re absorbing infrared heat. A 1,500-watt radiant panel keeps you warm at a workbench even when the air temp is 50 degrees. They’re ideal for garages used intermittently rather than maintained at a constant temperature.
Gas Heater Advantages
Natural gas and propane heaters give the most BTUs per dollar. They require proper exterior venting (never run unvented combustion heaters in enclosed garages) and a gas line. Higher install cost, but lowest operating cost for daily use in cold climates.
A vented gas unit heater (often called a “garage heater” by HVAC suppliers) mounts to the ceiling, connects to a gas line and a vented exhaust pipe, and runs on a thermostat. Typical residential units range from 30,000 to 75,000 BTUs. Installation costs vary depending on how far the gas line needs to extend and whether the vent can tie into existing ductwork or needs its own roof penetration.
Propane heaters work where natural gas isn’t available. You’ll need a propane tank (100-gallon minimum for regular winter use), a regulator, and proper line sizing. Refill or exchange costs vary by region but typically run competitively priced to competitively priced per gallon. A 30,000 BTU heater running six hours a day in January uses roughly 60 gallons per month.
Check specific requirements before purchasing materials. Measure the area, note unusual conditions (extreme temps, high humidity, uneven surfaces), and read product specs carefully. A mismatch between your conditions and the product’s rated range is the most common cause of unexpected failures.
Additional Considerations for Maximum Efficiency
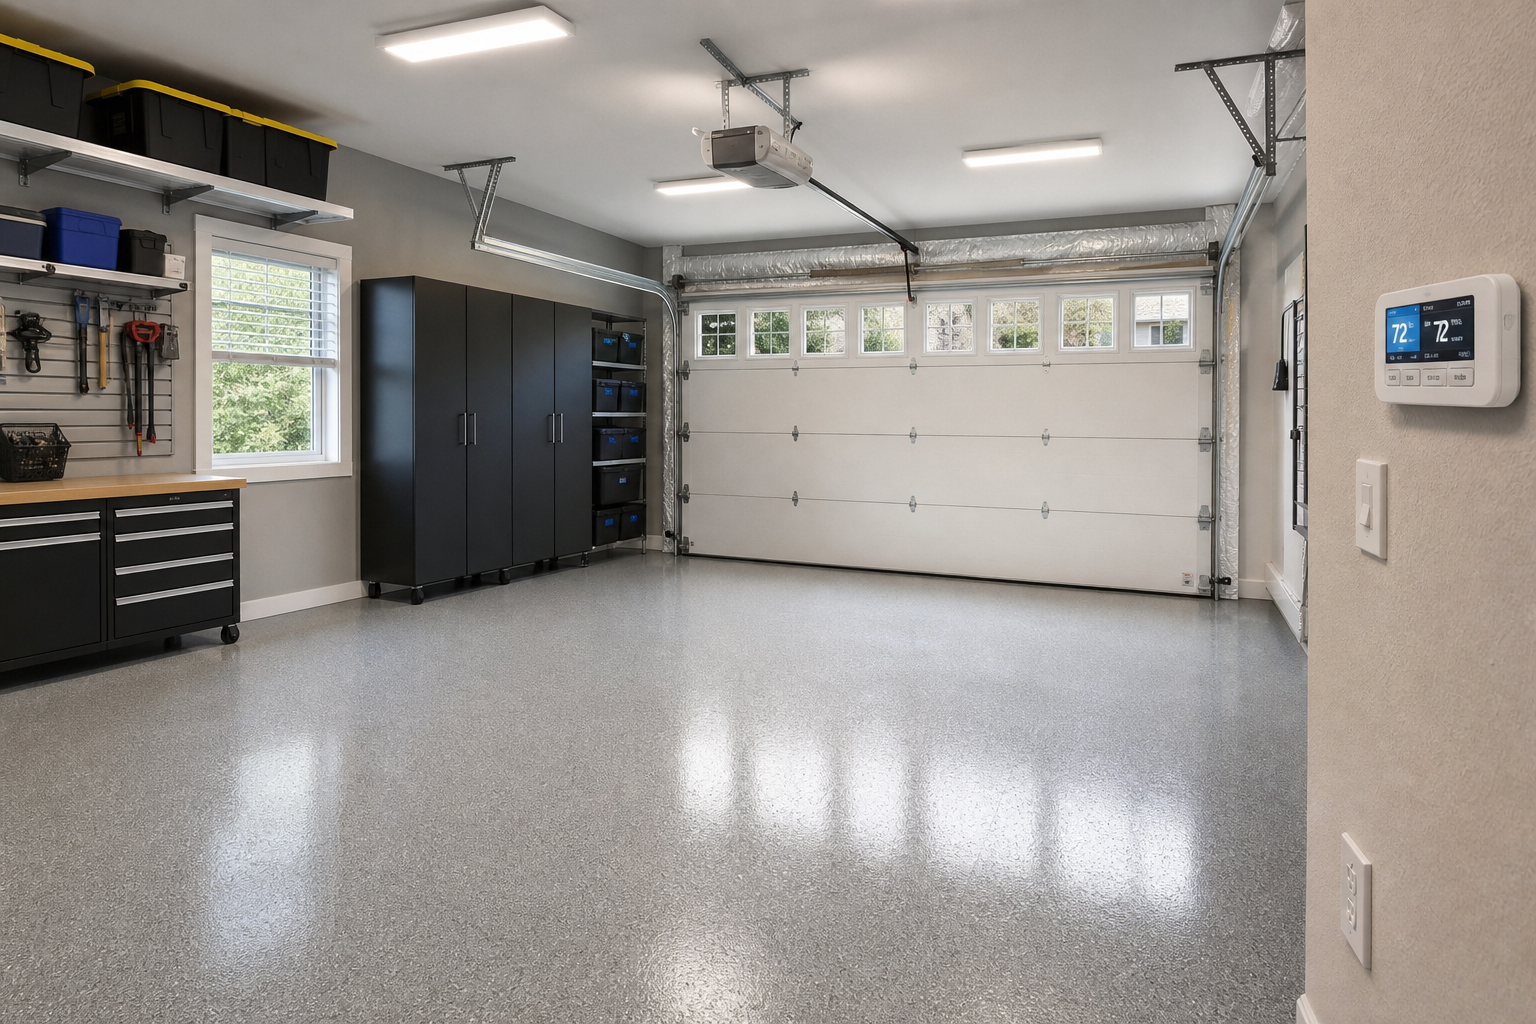
After the door, seal air leaks around the frame. Gaps between door frame and wall, worn weatherstripping, and unsealed pipe/wire penetrations let conditioned air escape. Weatherstripping and expanding foam provide immediate, noticeable improvement for minimal cost.
Install a programmable thermostat if you’re running any permanent heater. Drop the temp to 40 or 45 degrees overnight or when you’re not using the space. Bringing it back up to 60 or 65 when you walk in takes 20 to 30 minutes and uses less energy than maintaining temp around the clock.
Door and Window Improvements
Insulated garage door panels don’t help much if the door is old and loose-fitting. Check the seal all around the perimeter when the door is closed. If you see gaps wider than a quarter-inch or feel significant air movement, the door track may need adjustment or the door itself may be warped. Sometimes replacing the door makes more sense than fighting a door that’s sagging or twisted. When shopping for a replacement, energy efficient models offer superior insulation values and weatherstripping systems.
Windows in garage doors or walls create cold spots. Single-pane glass has almost no insulation value. Cover them with rigid foam panels cut to fit the opening, or install insulating cellular shades. Either approach adds R-3 to R-5 and stops radiant heat loss through the glass.
Floor Insulation Solutions
Concrete slabs pull heat out of the space through direct contact with cold ground. Insulated floor mats or interlocking foam tiles reduce this effect in areas where you stand for long periods. A 4 by 6-foot anti-fatigue mat at a workbench makes a bigger comfort difference than most people expect when the slab is 35 degrees.
Practical Planning Tips
Research local building codes and permit requirements for your specific project. Electrical work, structural modifications, and HVAC installations often require permits and inspections. Working without required permits can create liability issues, insurance complications, and problems when selling the home.
Most
