

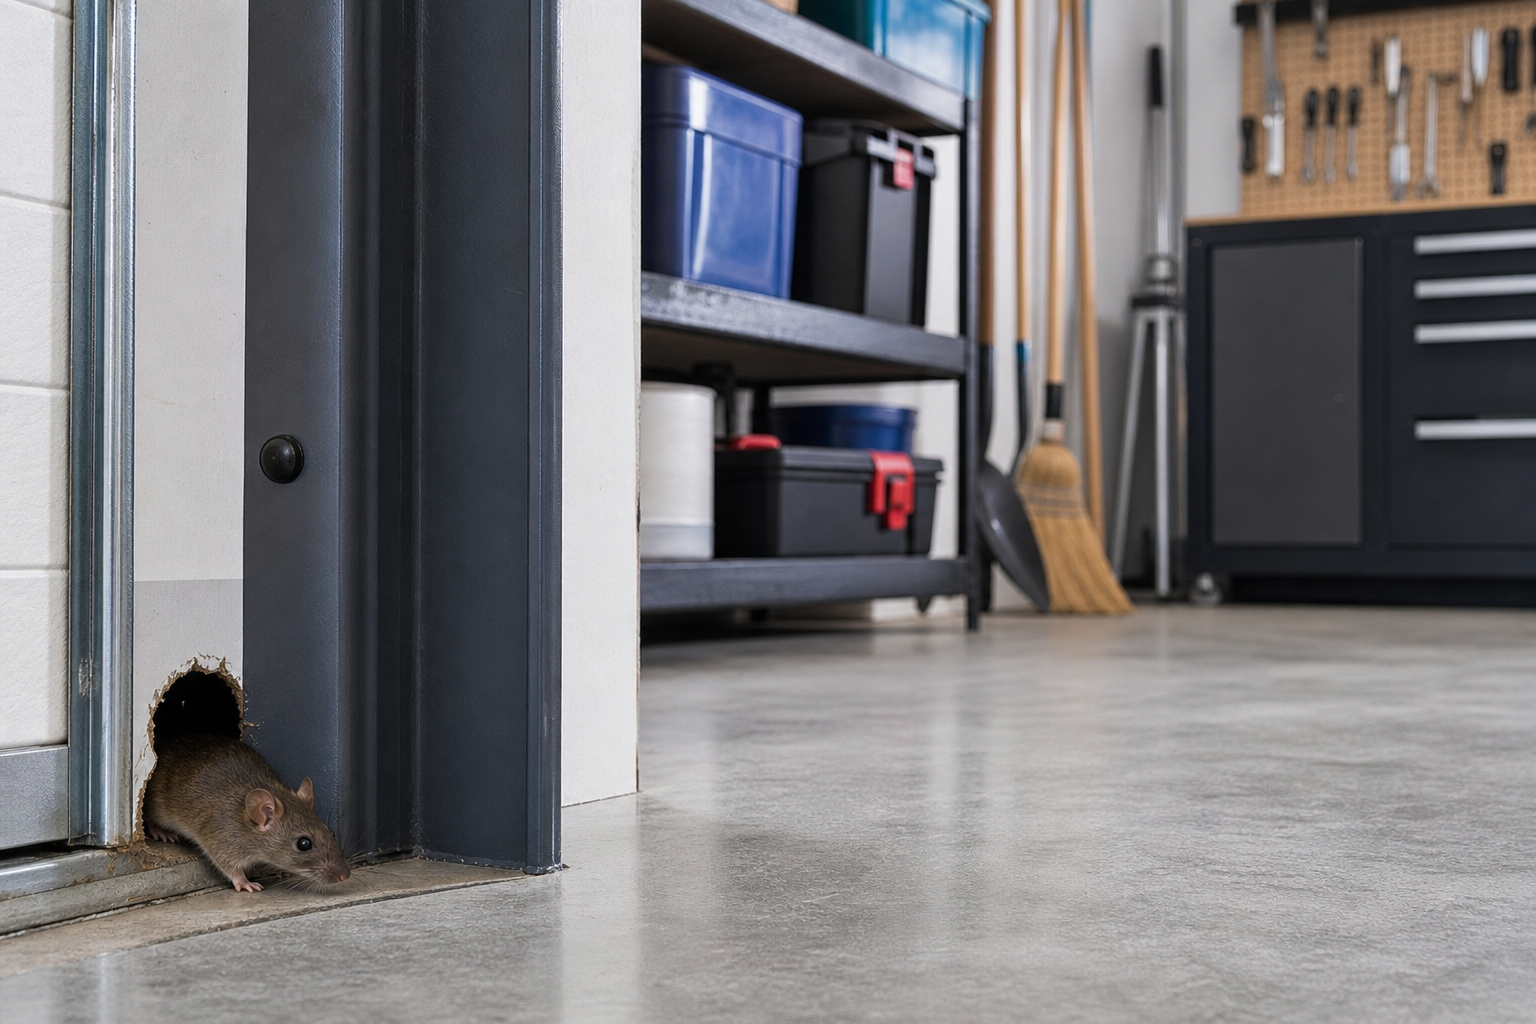
Dealing with a garage mice problem is one of those garage frustrations that catches you off guard. Everything seemed fine until one day you notice droppings in a corner, chewed cardboard, or worse, a mouse darting across the floor when you flip on the light. The reassuring truth is that mice infestations almost always trace back to identifiable entry points and attractants with practical solutions that don’t require an exterminator.
This guide covers six proofing steps that actually work, in diagnostic order starting with the most common entry points. Most readers solve their mouse problem by tackling the first three steps without needing a service call. The key is being thorough: missing even one gap gives mice all the access they need.
Seal the Bottom Door Gap
The garage door bottom seal is the number one entry point for mice. A gap as small as a quarter-inch is enough. Mice compress their bodies to fit through openings that look impossibly tight, so even a slightly worn seal is an invitation.
Bottom seals come in T-shaped, bulb, beaded, and J-type profiles. Match the profile to your existing retainer channel, which is usually 3 or 4 inches wide. Measure channel width and height before ordering to avoid modification headaches. Most hardware stores stock common profiles, but you may need to order specialty sizes online.
EPDM rubber is the most durable material. It resists UV, stays flexible below freezing (unlike vinyl, which cracks), and bounces back after compression. PVC seals cost less but need more frequent replacement in extreme climates. In the Midwest, where temperatures swing from below zero to 90-plus, EPDM pays for itself in longevity.

EPDM Garage Door Bottom Seal
Superior weather resistance and durability compared to vinyl alternatives
Installing a new bottom seal takes 30 to 45 minutes. Slide the old seal out of the retainer channel, clean debris from the track, and slide the new seal in from one end. Trim to length with a utility knife. Test the seal by closing the door fully and checking for light gaps from inside the garage with the lights off. Any visible light means mice can get through.
Garage doors use three seal types: bottom, side (jamb), and header (top). Replacing all three gives the best results. If budgeting, start with the bottom seal, which takes the most abuse and makes the biggest difference. For more detailed guidance on garage door weather stripping replacement, we have a complete guide that walks through each type. Poor sealing can also contribute to garage door seal failure over time, so proper installation and quality materials are essential.
Install Door Sweeps and Threshold Seals
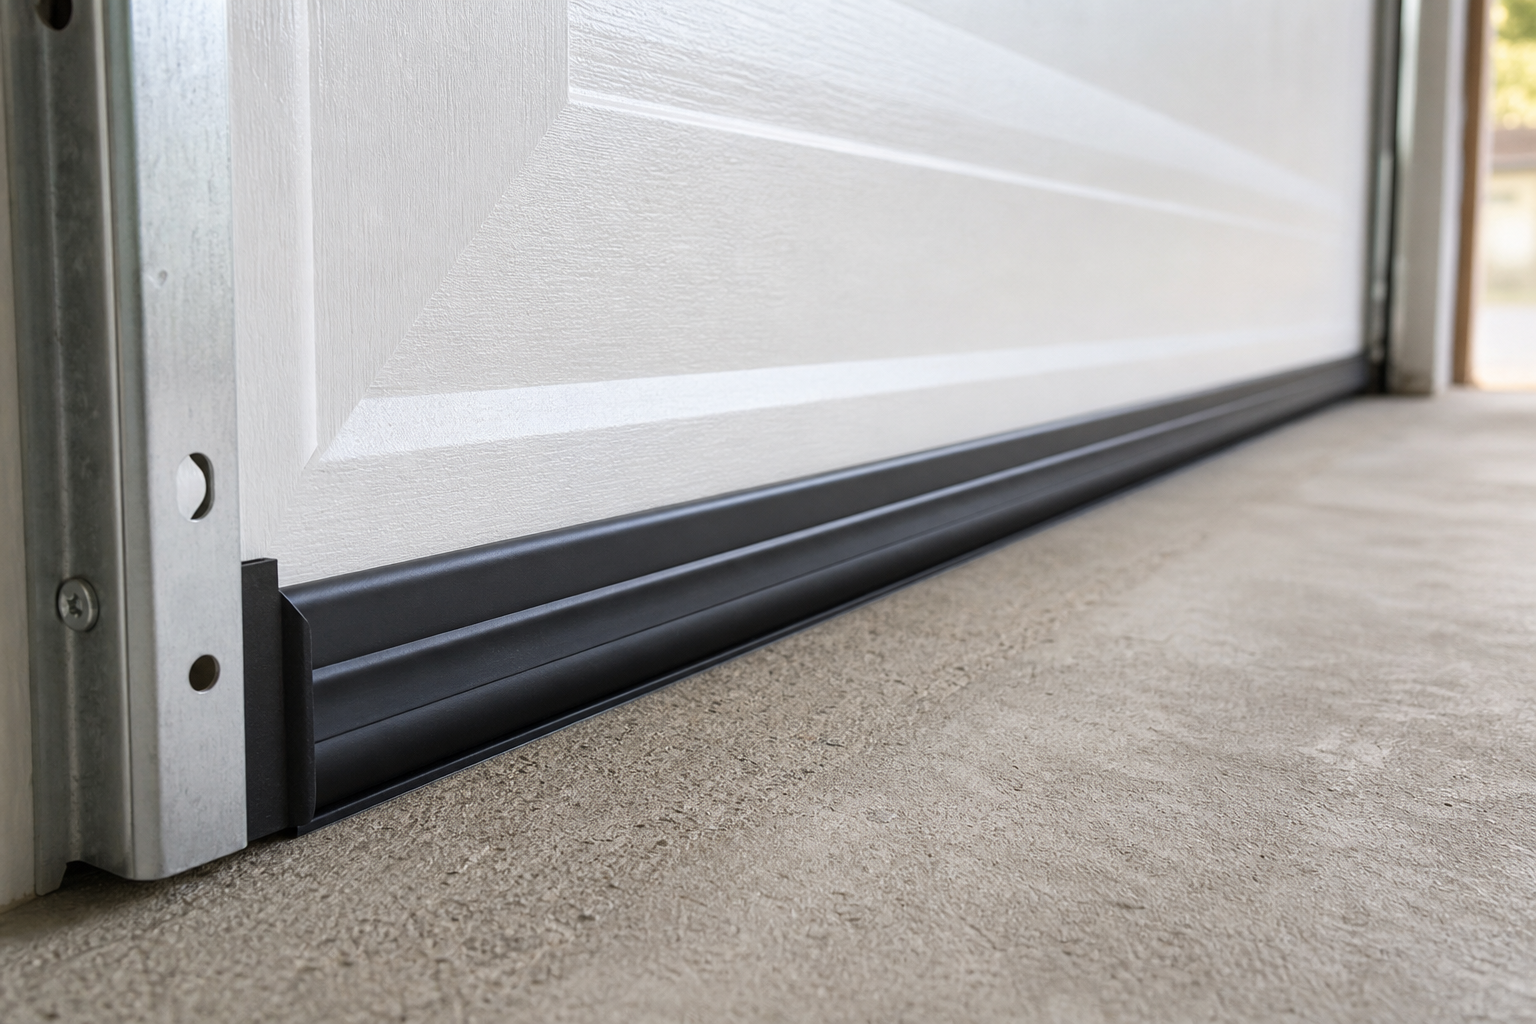
The gap under entry doors between the garage and house is another prime entry point. Most builder-grade doors have minimal or worn weatherstripping that leaves a visible gap at floor level.
A metal door sweep attached to the door bottom creates a physical barrier that drags along the threshold when the door closes. Choose a sweep with a vinyl or rubber insert that compresses against the floor. Screws hold the sweep in place, drill pilot holes to avoid splitting the door bottom.
Alternatively, install a threshold seal that mounts to the floor. These create an upward lip that the door closes against. Threshold seals work better on uneven floors where a door sweep might not make consistent contact.
Check the door frame perimeter too. Run your hand slowly around the entire frame with the door closed. Any air movement means a gap. Fill small gaps (under a quarter-inch) with weatherstripping tape. Wider gaps need pest-block expanding foam, which seals irregular openings and hardens to block entry. Trim excess foam flush with a utility knife after it cures.
Don’t forget the base of the frame where it meets the floor. Builders often leave a small gap here during installation. A bead of exterior-grade caulk or expanding foam closes it permanently.
Seal Utility Penetrations
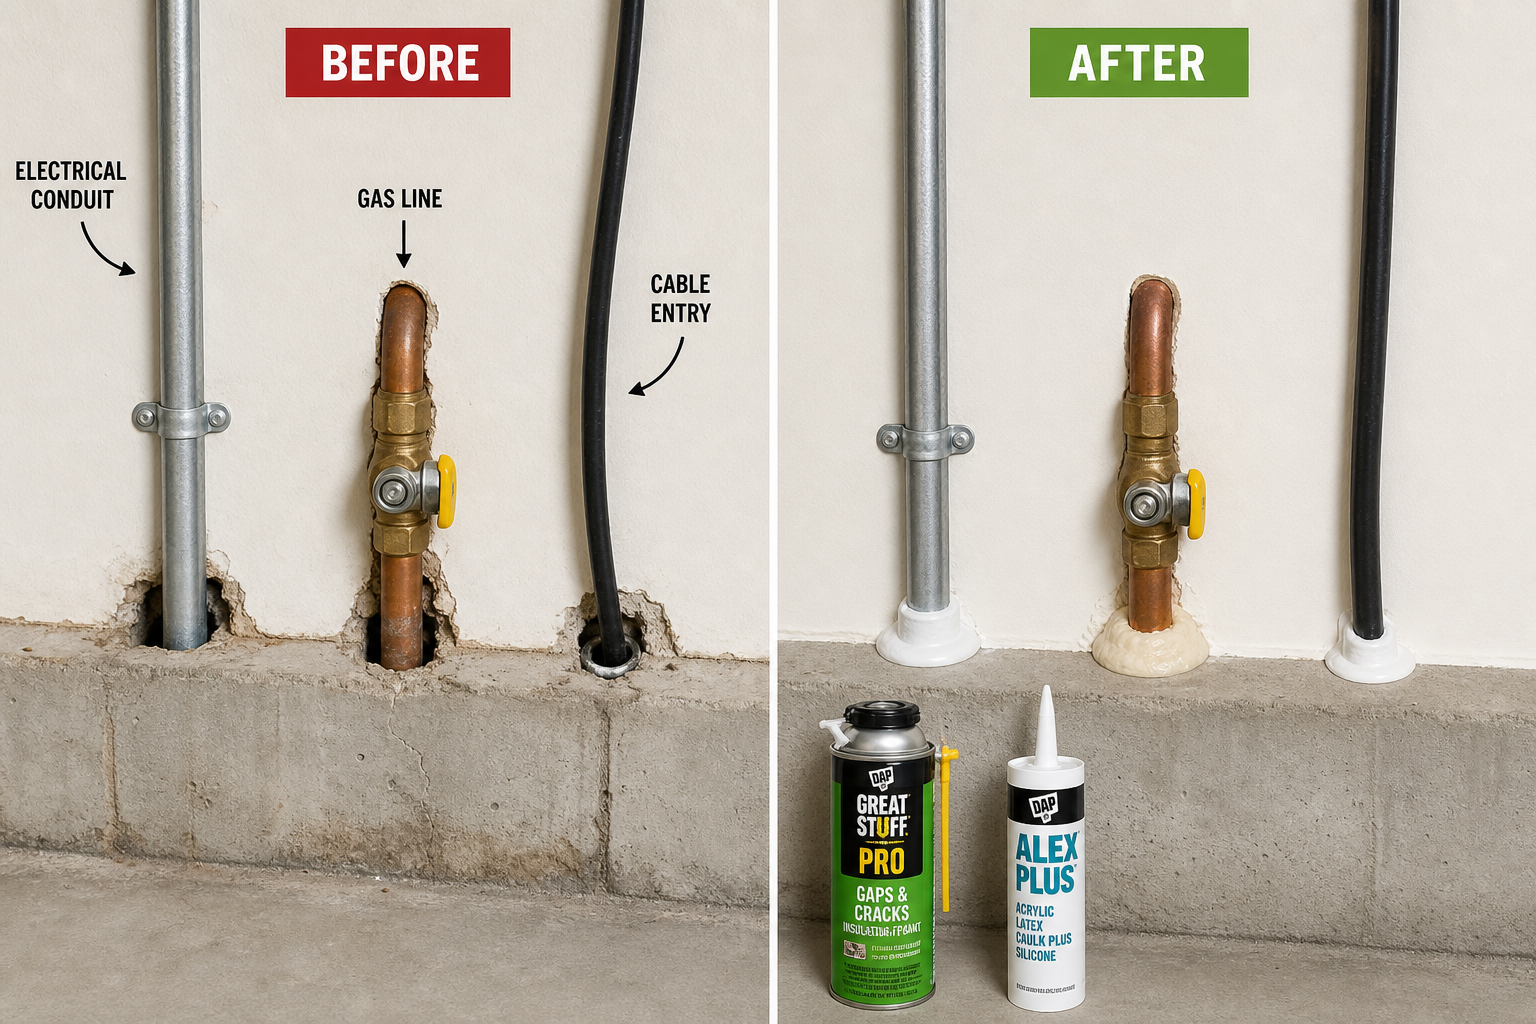
Pipes, conduit, dryer vents, and cables that enter through walls create ready-made entry points. Contractors typically drill oversized holes to make installation easier, then leave gaps around the penetration. A half-inch gap around a water line gives mice easy access.
Walk the garage perimeter and inspect every spot where something enters through a wall, floor, or ceiling. Common trouble spots include water supply lines for utility sinks, electrical conduit for subpanels, HVAC refrigerant lines, and cable or phone lines.
Seal small gaps (under one inch) with copper mesh stuffed into the opening, then cover with foam or caulk. Mice won’t chew through copper mesh the way they chew through steel wool, which rusts and loses effectiveness. For larger gaps (one to three inches), use expanding foam designed for pest control. Standard expanding foam doesn’t deter mice, they’ll chew right through it. Pest-control foam includes a bittering agent that discourages gnawing.
Check inside and outside. Some penetrations are only sealed on one side, leaving the other wide open. Seal both sides for complete protection.
Dryer vents need a functioning damper that closes when the dryer isn’t running. Replace broken or missing dampers. Mice enter through dryer vents surprisingly often, especially in winter when they’re seeking warmth.
Address Gaps in Walls and Floors
Older garages develop cracks and gaps as the foundation settles and materials age. New construction sometimes has gaps where different materials meet, siding to foundation, drywall to floor, or where an addition connects to the original structure.
Inspect the interior wall-to-floor junction carefully. Gaps here are common and often hidden behind stored items. Move everything away from walls for a thorough check. Mice travel along edges, so perimeter gaps are the most problematic.
Cracks in concrete floors wider than an eighth-inch should be filled. Use a concrete crack filler or polyurethane sealant rated for floor use. Clean the crack thoroughly before filling, loose debris prevents proper adhesion.
Check where walls meet the ceiling. Gaps at the top plate, especially in unfinished garages, provide access to wall cavities where mice nest. Seal these with caulk or foam.
Don’t overlook gaps around electrical boxes, light fixtures, and outlets mounted on exterior walls. Remove the cover plate and inspect. If you see daylight or feel air movement, seal around the box with foam or caulk before replacing the cover. While you’re troubleshooting electrical issues, you might also notice problems like garage door opener lights that won’t turn off, which could indicate wiring issues that create additional gaps.
Garage attics or spaces above the ceiling are common nesting areas. If you have ceiling access, inspect for gaps where roof decking meets walls or where vents penetrate the roof. Seal from the inside when possible, it’s more durable than exterior-only repairs.
Store Items Off the Floor

Clutter on the floor gives mice cover and nesting material. Cardboard boxes are especially attractive, mice shred cardboard for nests and often find food residue or actual food inside. Stored paper goods, pet food, birdseed, and grass seed are all targets.
Move everything off the floor onto shelves or wall-mounted systems. Slatwall systems and overhead racks keep items visible and accessible while eliminating hiding spots. When mice can’t hide, they’re less likely to settle in. For detailed installation guidance, check out our guide on how to install garage slat wall accessories.
Transfer any food items, including pet food and wild bird seed, into airtight plastic or metal containers. Mice chew through bags with ease. Heavy-duty plastic bins with locking lids work, but metal is better. A 20-pound bag of dog food fits in a standard trash can with a tight lid.
Seasonal items that sit undisturbed for months (holiday decorations, camping gear) are prime nesting targets. Store them in sealed plastic bins, and inspect the contents when you retrieve them. Mice leave droppings, urine stains, and shredded material as evidence.
Keep a 12-inch clear zone along all walls. This makes gaps visible during inspections and removes the cover mice prefer when traveling. Similar to how keeping spiders out of your garage requires eliminating hiding spots, maintaining clean perimeter zones deters rodent activity.
Use Bait Stations Strategically
Sealing entry points is the permanent solution, but bait stations handle mice already inside while you’re completing the proofing work. Place stations along walls where you’ve seen droppings or travel signs (small greasy marks along baseboards).
Enclosed bait stations protect children and pets from accidental contact. They also keep bait dry and appealing longer. Position stations every 8 to 12 feet along problem walls, with the entry hole facing the wall so mice encounter it during their usual travel patterns.
Snap traps work faster than poison for small infestations. Bait with peanut butter, not cheese (cheese dries out and loses appeal). Set traps perpendicular to walls with the bait end closest to the wall. Check daily and dispose of caught mice promptly.

Enclosed Mouse Bait Stations
Child and pet-safe design with weather protection for garage use
For persistent problems, a garage pest repellent adds a layer of deterrent. Ultrasonic units and scent-based repellents have mixed reviews, some users report good results, others see no effect. They work best as part of a thorough approach, not as a standalone solution.
Poison baits should be a last resort. Mice often die in wall voids or other inaccessible areas, creating an odor problem that lasts weeks. If you use poison, expect to deal with dead mice you can’t remove. Traps give you control over disposal.
Seasonal Prevention Calendar
Mouse pressure varies by season. Understanding these patterns helps you time prevention work for maximum effectiveness.
Fall (September to November)
Peak entry season. Mice seek indoor shelter as temperatures drop. Inspect and seal all entry points before the first hard freeze. This is the most important prevention window.
Winter (December to February)
Mice are settled in their winter locations. Focus on trapping and bait stations to reduce indoor populations. Sealing work is harder in freezing weather but still worthwhile if you’re dealing with an active infestation.
Spring (March to May)
Mice reproduce rapidly as temperatures warm. A pair of mice produces 50 to 60 offspring in a year under ideal conditions. Maintain traps and inspect for new entry points as the building expands and contracts with temperature swings.
Summer (June to August)
Lower indoor pressure but outdoor populations grow. Store outdoor food sources (birdseed, pet food) in sealed containers. Trim vegetation within two feet of the garage, overgrown shrubs and tall grass provide cover for mice approaching the building.
Practical Planning Tips
Invest in quality tools for tasks
