

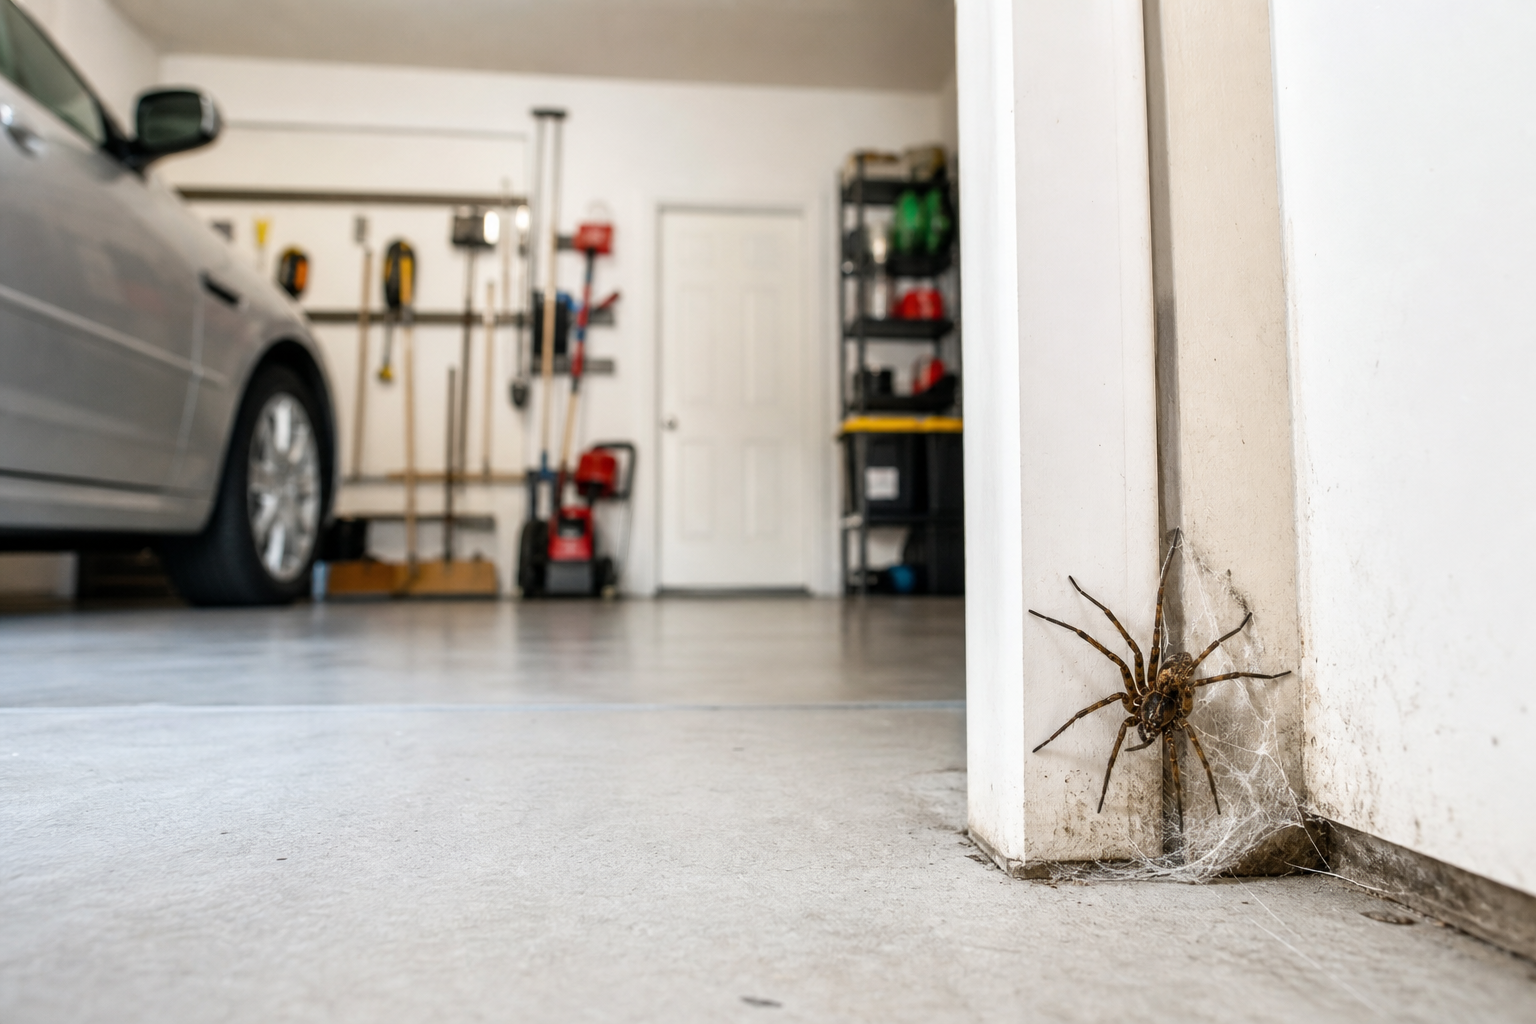
Dealing with a spider problem in your garage is one of those frustrations that catches you off guard. Everything seemed fine until one day you notice something isn’t right. The reassuring truth is that these issues almost always trace back to identifiable causes with practical solutions.
This guide covers the most common culprits in diagnostic order, starting with the simplest checks. Most readers find their answer within the first few sections without needing a service call.
Understanding the Basics
Garage doors use three seal types: bottom, side (jamb), and header (top). Replacing all three gives the best results. If budgeting, start with the bottom seal, which takes the most abuse and makes the biggest difference.
EPDM rubber is the most durable material. It resists UV, stays flexible below freezing (unlike vinyl, which cracks), and bounces back after compression. PVC seals cost less but need more frequent replacement in extreme climates.

EPDM Garage Door Seals
Most durable material for extreme climates with excellent UV resistance
Bottom seals come in T-shaped, bulb, beaded, and J-type profiles. Match the profile to your existing retainer channel (usually 3 or 4 inches wide). Measure channel width and height before ordering to avoid modification headaches.
Side jamb seals fill the gap between the door and vertical track. Most use a self-adhesive backing that sticks to the door edge. Clean the mounting surface thoroughly with rubbing alcohol before installing. Dirt or garage grime will compromise adhesion within weeks.
Header seals close the top gap when the door is fully open. They’re often overlooked but crucial in pest control. Spiders and insects typically enter from upper corners where warm air escapes. A properly installed header seal eliminates that pathway.
For detailed instructions on installing these seals properly, check out our complete garage door weather stripping replacement guide.
Why Spiders Choose Your Garage
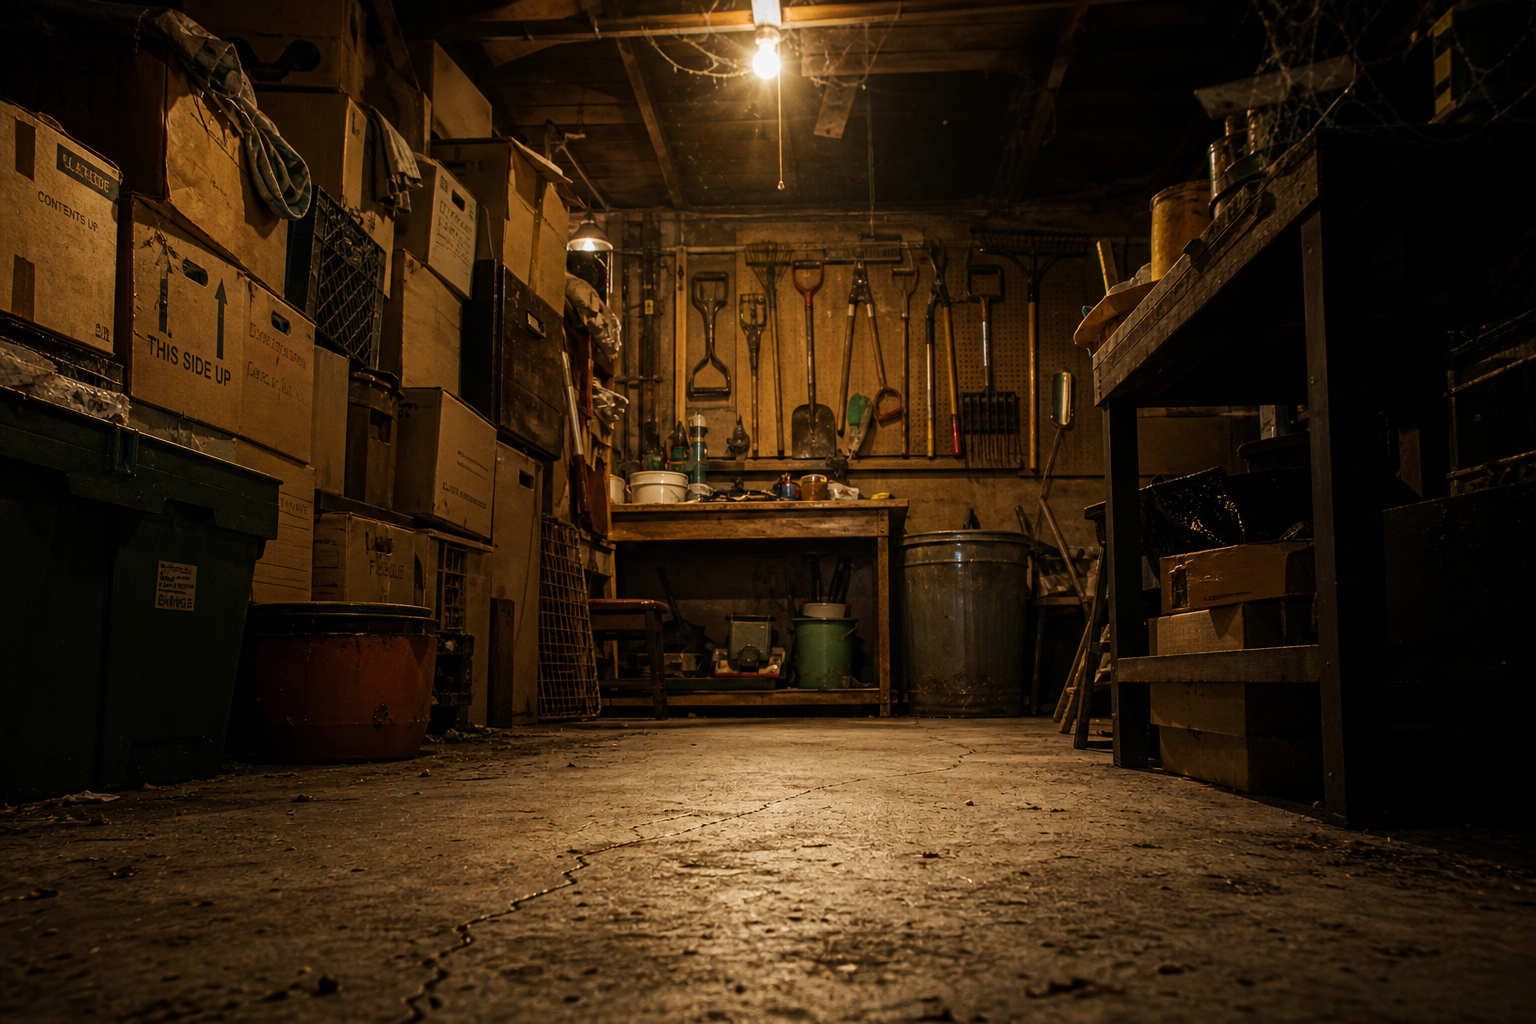
Spiders follow food sources. Your garage has them: moths, flies, beetles, silverfish, and other insects attracted to cardboard boxes, pet food, grass clippings, and trash bins. If you’re seeing spider webs, you’ve got an insect problem feeding them.
Temperature stability matters. Garages stay cooler in summer and warmer in winter than the outdoors. That narrow climate band makes your space ideal spider habitat compared to the extremes outside.
Clutter provides hiding spots and anchor points for webs. Stacked boxes, rarely-moved equipment, and piles of seasonal items create protected zones where spiders build undisturbed. Reduce clutter and you reduce spider real estate.
Light attracts insects, which attracts spiders. If you leave garage lights on after dark, you’re running an insect buffet. Moths and beetles hit the lights, spiders set up shop nearby to catch them. Switch to yellow bug lights or limit evening lighting to cut the attraction.
Water sources draw both insects and spiders. Leaky hoses, condensation puddles, pet water bowls, and damp cardboard all provide moisture. Fix leaks, improve ventilation, and store materials off the floor to eliminate standing water.
Seven Prevention Steps That Work
1. Seal Every Entry Point
Start with the garage door seals as described above. Then move to windows, vents, utility penetrations, and the door between the garage and house. Spiders slip through gaps as narrow as a credit card edge.
Use expanding foam pest blockers for larger gaps around pipes, conduit, and cable entries. The foam expands to fill irregular spaces and hardens into a barrier that blocks insects and spiders. Let it cure fully (usually 8 hours) before trimming excess flush with the wall.
Weatherstripping works for doors and windows. V-strip or bulb weatherstripping compresses when closed and springs back when open. Replace any weatherstripping that’s hardened, cracked, or lost its spring.
Stuff steel wool pest barriers into weep holes in brick veneer and gaps too small for foam. Spiders won’t crawl through the sharp fibers. Combine steel wool with caulk for permanent exclusion.
Check the bottom corners where walls meet the floor. Concrete settling creates hairline cracks that become spider highways. Fill them with masonry crack filler or polyurethane caulk rated for concrete movement.
2. Declutter Ruthlessly
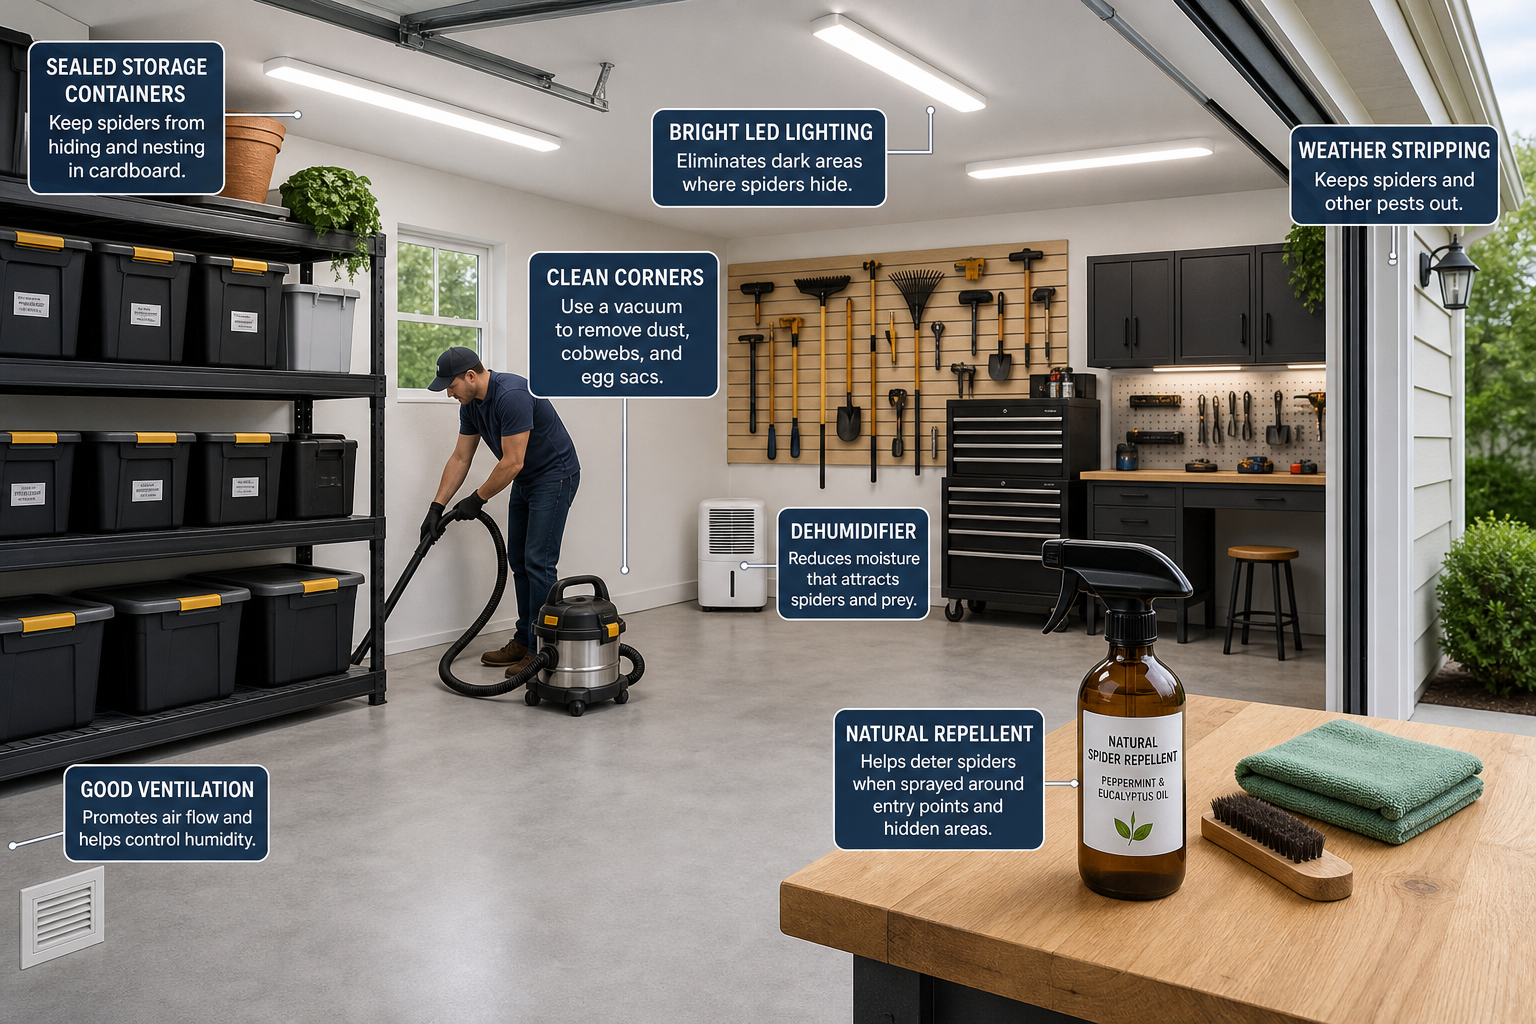
Box consolidation cuts hiding spots in half. Collapse duplicates, discard what you haven’t used in two years, and store keepers in sealed plastic bins instead of cardboard. Spiders love cardboard because it absorbs moisture and attracts silverfish and roaches.
Get storage off the floor. Wall-mounted shelving, ceiling racks, and slatwall systems eliminate the shadowy under-shelf zones where spiders camp. If you can see it and reach it easily, spiders won’t nest there.
For excellent slatwall organization options, read our guide on how to install garage slat wall accessories.
Create clear floor perimeters. Pull stored items at least 12 inches away from walls. That open space makes spider webs visible and eliminates the wall-to-item anchor points they need. It also simplifies sweeping and spraying.
Rotate seasonal items annually. Bringing down holiday decorations, camping gear, or winter equipment once a year disrupts any spider colonies before they establish. Inspect every box when you rotate it and vacuum out any webs.
3. Control Insects First
Spiders are the symptom. Insects are the disease. Eliminate their food and spiders leave on their own.
Keep trash bins sealed and empty them regularly. Organic waste draws flies, which draw spiders. Rinse out bins monthly to remove residue.
Store pet food in airtight containers. Open bags attract grain beetles and moths. Those insects attract spiders. Tightly sealed containers break the chain.
Remove grass clippings and leaf piles promptly. Decomposing plant matter hosts dozens of insect species. If you’re storing lawn equipment in the garage, shake off clippings before bringing it inside.
Replace standard light bulbs with yellow bug lights or sodium vapor bulbs. They produce wavelengths less attractive to moths and beetles. Fewer insects at the light means fewer spiders setting up nearby.
4. Use Natural Repellents
Peppermint oil disrupts spider senses. Mix 10 to 15 drops of pure peppermint essential oil with water in a spray bottle. Spray corners, door frames, window sills, and known spider zones weekly. The scent fades to humans within hours but lingers for spiders much longer.
Vinegar works as a contact spray and mild deterrent. Mix equal parts white vinegar and water. Spray directly on spiders to kill them and on surfaces to discourage return. Vinegar evaporates quickly and won’t damage most garage surfaces, but test on painted or finished areas first.
Chestnuts and hedge apples (Osage oranges) have folk reputations as spider repellents. Place them in corners and along walls. Evidence is anecdotal, but they’re non-toxic and won’t hurt. Replace them when they shrivel and dry out.
Diatomaceous earth (food-grade) kills spiders through dehydration. Sprinkle it along baseboards, in corners, and around entry points. It stays effective until it gets wet. Reapply after cleaning or if moisture is an issue. Wear a dust mask when applying because the fine powder irritates lungs.

Food Grade Diatomaceous Earth
Natural spider control that works through dehydration
5. Vacuum and Sweep Regularly
Weekly sweeping removes webs, egg sacs, and spiders before they establish. Use a shop vacuum with a hose attachment to reach corners, ceiling joists, and behind equipment. Empty the vacuum outside immediately so spiders don’t escape back into the garage.
Hit the ceiling first. Most garage spiders build webs high where they’re out of foot traffic. Knock down ceiling webs with a long-handled duster or broom, then vacuum up the debris.
Pay attention to window frames, door tracks, and light fixtures. These spots collect dead insects, which attract new spiders. Clean them monthly.
Don’t just vacuum the webs. Get the spiders too. A web without a spider will be rebuilt by another spider within days. Removing both the web and the resident makes the space less attractive to newcomers.
6. Improve Ventilation and Reduce Moisture
Damp garages attract moisture-loving insects like silverfish, earwigs, and sowbugs. Spiders follow the bugs.
Run a dehumidifier if humidity stays above 60 percent. Ideal garage humidity sits between 30 and 50 percent. Lower humidity discourages both insects and mold.
Install or upgrade exhaust fans if your garage traps air. Ventilation moves moist air out and reduces condensation on cold surfaces. In cold climates, this also prevents frost buildup on garage door tracks and hardware.
For proper ventilation installation, see our guide on how to install garage roof vents.
Fix any roof leaks, gutter overflow, or foundation seepage. Water intrusion creates damp zones that host entire ecosystems of insects and spiders. Trace the source and repair it permanently.
Store susceptible materials (cardboard, fabric, paper) on shelves rather than directly on concrete. Concrete wicks moisture from the ground, especially in basements and older slabs without vapor barriers. Elevation plus air circulation keeps stored items dry.
7. Establish a Barrier Treatment
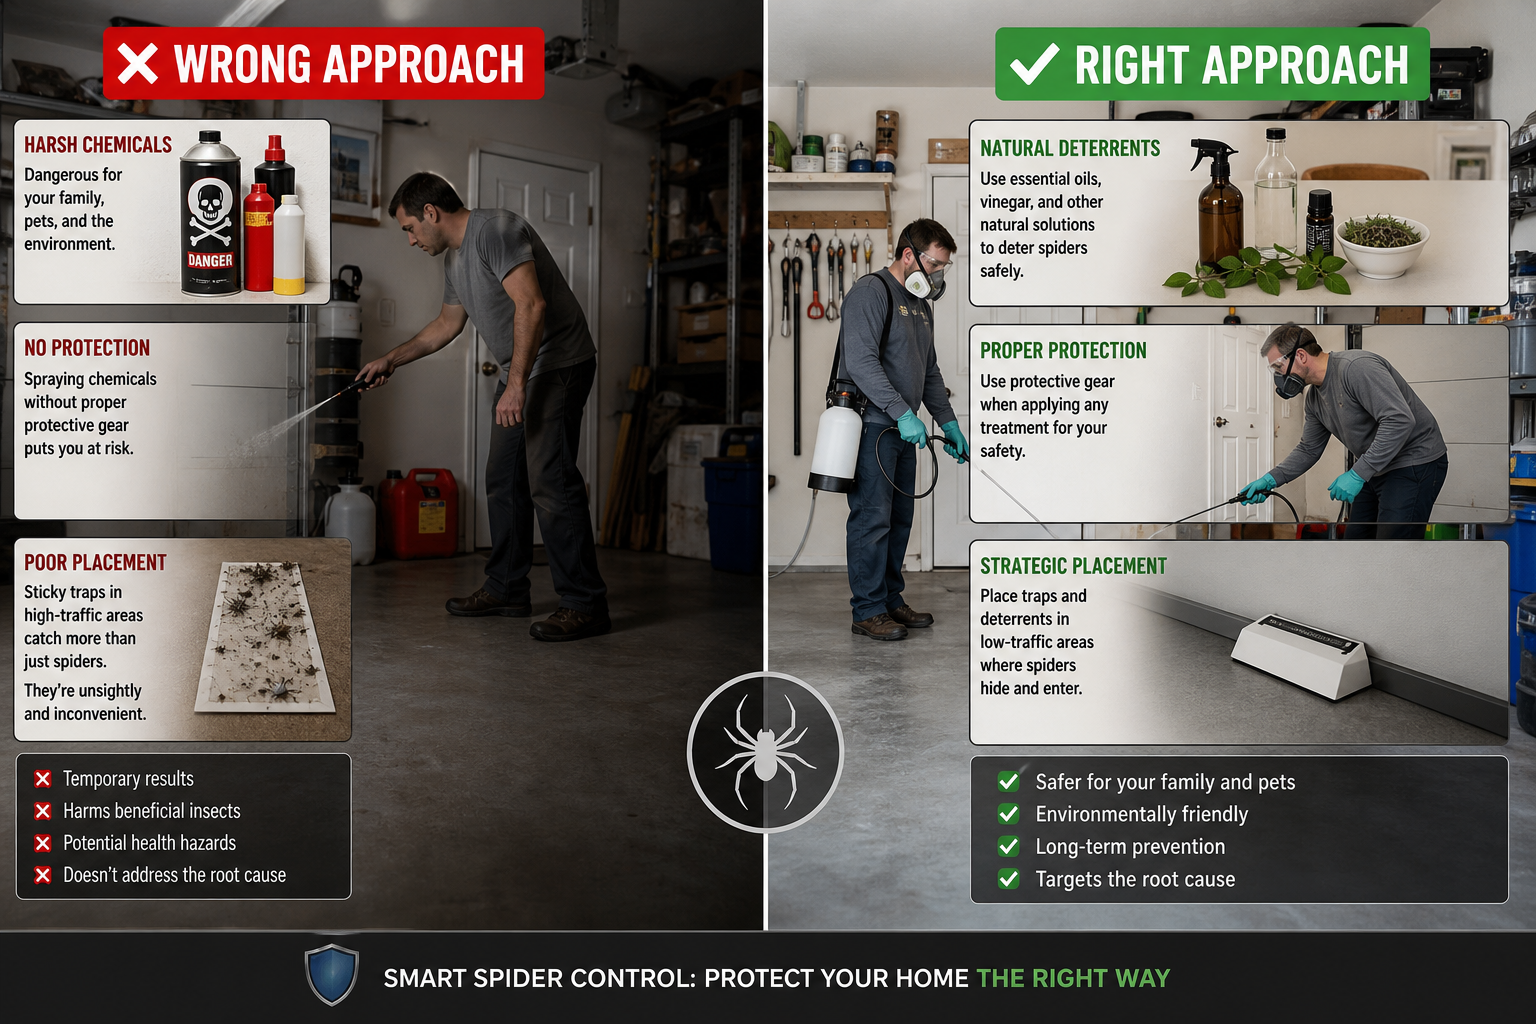
Residual insecticides create a chemical barrier that kills spiders on contact and deters new arrivals. Apply them along baseboards, around door frames, and at common entry points.
Choose products labeled for spiders and safe for garage use. Pyrethroids like bifenthrin and lambda-cyhalothrin are common active ingredients. Follow label directions for mixing, application, and reapplication intervals (usually every 30 to 90 days).
Spray low and in cracks. Spiders walk along edges, not across open floor. Focus on the junction where walls meet the floor, inside door tracks, and along the garage door seal. A targeted spray uses less product and puts the barrier exactly where spiders travel.
Combine barrier treatments with the steps above. Chemicals work best when you’ve already sealed entry points, reduced clutter, and controlled insects. Pesticides alone won’t solve a spider problem if the conditions still favor spiders.
Avoid spraying directly on webs. The spray won’t reach the spider hiding in the web structure. Remove the web first, then spray the surface underneath.
Practical Planning Tips
Consider the seasonal timing of your project. Floor coatings apply best in mild weather (50 to 85 degrees). Insulation projects are most motivating (and noticeable) before extreme weather hits. Electrical and plumbing work can happen year-round but should be completed before insulating or finishing walls over the wiring.
Prioritize your projects based on impact and urgency. Safety issues (faulty wiring, CO risk, structural problems) come first. Pest control and moisture issues come second because they affect everything else you build on top. Comfort improvements (insulation, lighting, climate control) come third. Cosmetic upgrades (floor coatings, paint, organization systems) come last. Following this order ensures you’re building each improvement on a solid foundation.
Before starting any garage project, take stock of what you have and what you need. Walk the space with a tape measure and a notepad. Record dimensions, note existing electrical outlets and their amperage, check for moisture issues, and photograph anything you want to change. This baseline assessment prevents surprises mid-project and helps you budget materials accurately.
Spider prevention fits into the larger garage ecosystem. Sealing gaps improves energy efficiency and reduces dust infiltration. Better ventilation helps floor coatings cure properly and prevents mold on stored items. Decluttering makes space for functional storage systems. Think about how the changes interact.
Budget time for the initial cleanout and sealing phase. Most garages need 8 to 12 hours of focused work to seal major gaps, declutter, and establish baseline cleanliness. After that, weekly maintenance takes 15 to 30 minutes. The upfront investment pays off in reduced pest pressure and easier upkeep.
Research local building codes and permit requirements for your specific project. Electrical work, structural modifications, and HVAC installations often require permits and inspections. Working without required permits can create liability issues, insurance complications, and problems when selling the home.
What Doesn’t Work
Ultrasonic repellers are largely ineffective. Multiple studies show they don’t repel spiders in real-world conditions. The devices might affect some insects temporarily, but spiders ignore them. Save your money.
Sticky traps catch spiders but don’t reduce populations meaningfully. They work as monitors to show you where spiders are active, but they won’t solve an infestation. Use them for detection, not control.
Bug zappers kill flying insects but attract more insects to your garage in the process. The UV light draws bugs from a wide area. Many miss the electrified grid and end up in your space instead. You’re better off reducing light attraction entirely.
One-time treatments rarely hold. Spider prevention is ongoing maintenance, not a single event. Seal gaps, clean regularly, and reapply barriers as needed. Expect to refresh efforts every few months.
Common Mistakes to Avoid
Sealing the garage without addressing moisture first traps humidity inside and creates worse problems. Fix ventilation and water intrusion before you weatherstrip.
Spraying pesticides without removing webs wastes product. Knock down webs, vacuum spiders, then apply barrier treatments to clean surfaces.
Storing cardboard boxes directly on concrete in humid climates invites silverfish, roaches, and the spiders that hunt them. Switch to plastic bins with tight lids.

Garage Storage Bins
Essential for replacing cardboard boxes that attract insects
Ignoring the gap under the garage door because it seems small. That gap is the number one entry point for spiders, insects, and rodents. Replace the bottom seal even if nothing else gets done.
Relying entirely on pesticides while leaving clutter, moisture, and entry points unaddressed. Chemicals work best as part of a complete approach, not as a standalone fix.
When to Call a Professional
DIY covers most of what’s listed above, but some situations need professional help. If you’re seeing brown recluse or black widow spiders regularly, call a licensed pest control company with experience in venomous species. Misidentification is common, so get a professional confirmation.
Persistent infestations despite following prevention steps suggest a hidden moisture source, structural gap, or insect problem you haven’t found. Pros have inspection tools (moisture meters, thermal cameras, borescopes) that reveal what’s
