

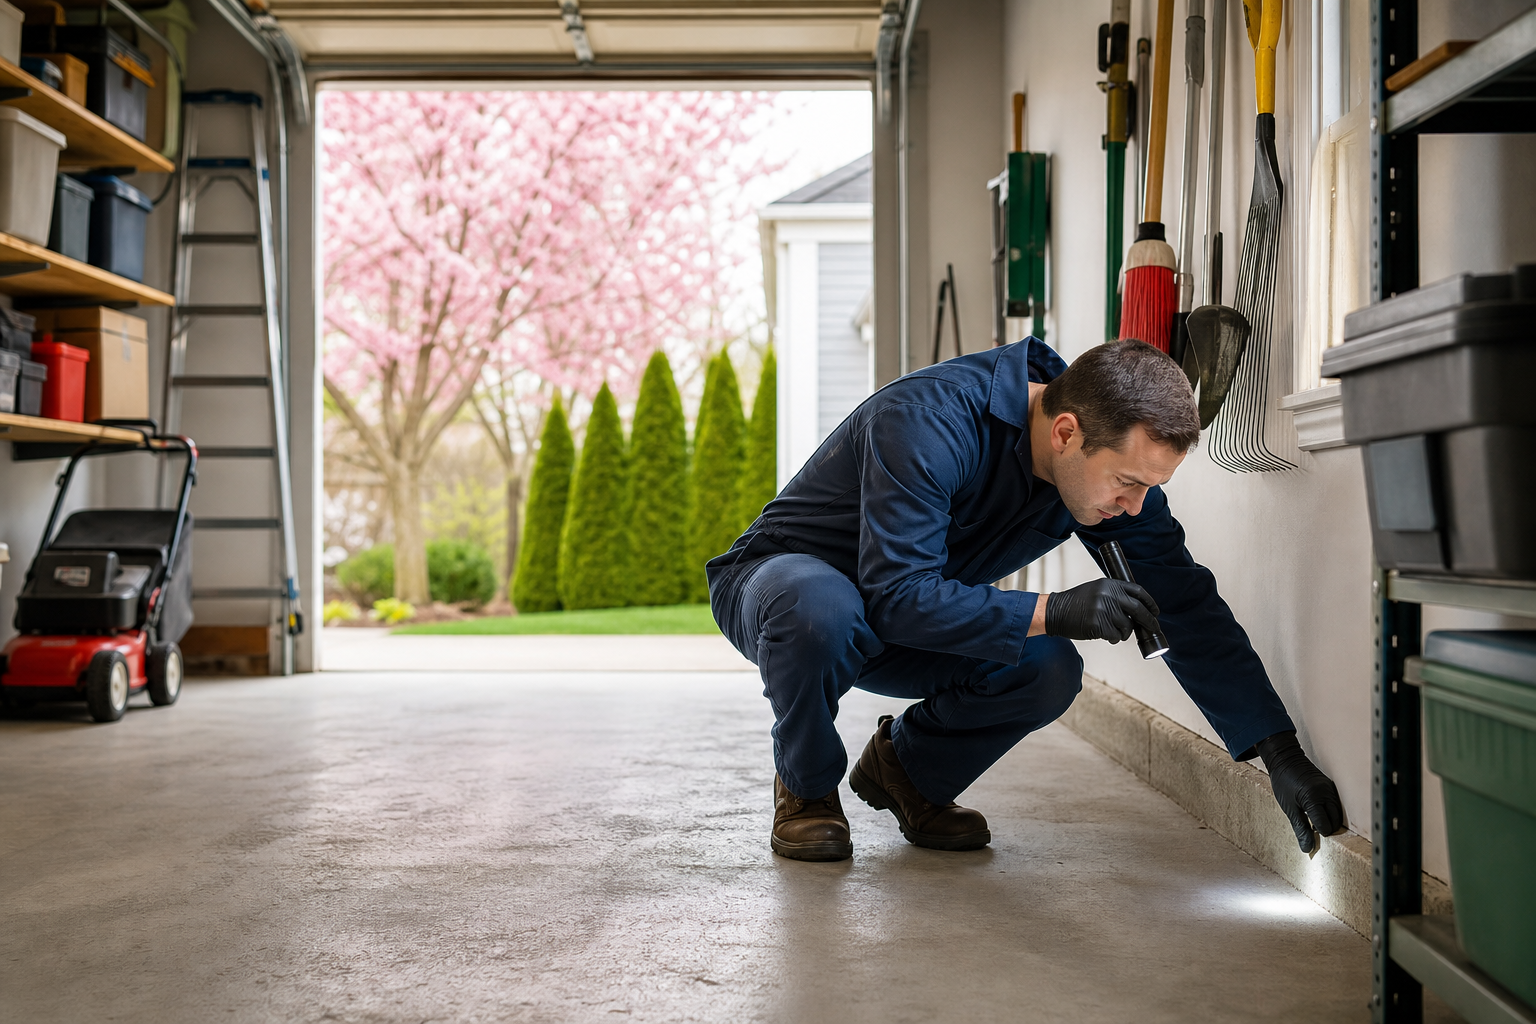
Understanding a garage pest control checklist for spring in detail gives you a real advantage, whether you’re planning a project, troubleshooting, or making smarter decisions about your space. The specifics matter more than most people expect.
Pests move into garages for three reasons: access, food, and shelter. Spring brings all three into play. Temperatures rise, insects emerge from dormancy, rodents seek nesting sites, and your garage offers everything they need if you haven’t sealed it properly. A systematic approach now prevents infestations that become expensive problems later.
This guide covers everything you need to know in practical terms, with actionable takeaways you can use right away.
Why Spring Demands a Different Approach
Spring pest pressure differs from fall. You’re not just sealing against winter invaders looking for warmth. You’re blocking breeding populations that will multiply exponentially if they establish inside your garage. One mouse pair can produce 30 to 35 offspring in a single season. A single carpenter ant queen can start a colony of thousands. The stakes are higher.
Temperature swings in spring create gaps that weren’t there in winter. Your garage door contracts and expands. Concrete settles. Weatherstripping that worked in January fails in April. Inspect every seal, every threshold, every penetration through the wall. Assume nothing from last season still works.
Moisture also peaks in spring in most climates. Rain, snowmelt, humidity. Pests need water. A damp garage corner or a puddle near the foundation becomes an attractant. Fix drainage issues before you seal entry points. Otherwise you’re just trapping moisture inside, which creates its own problems.
Seal Every Gap and Crack
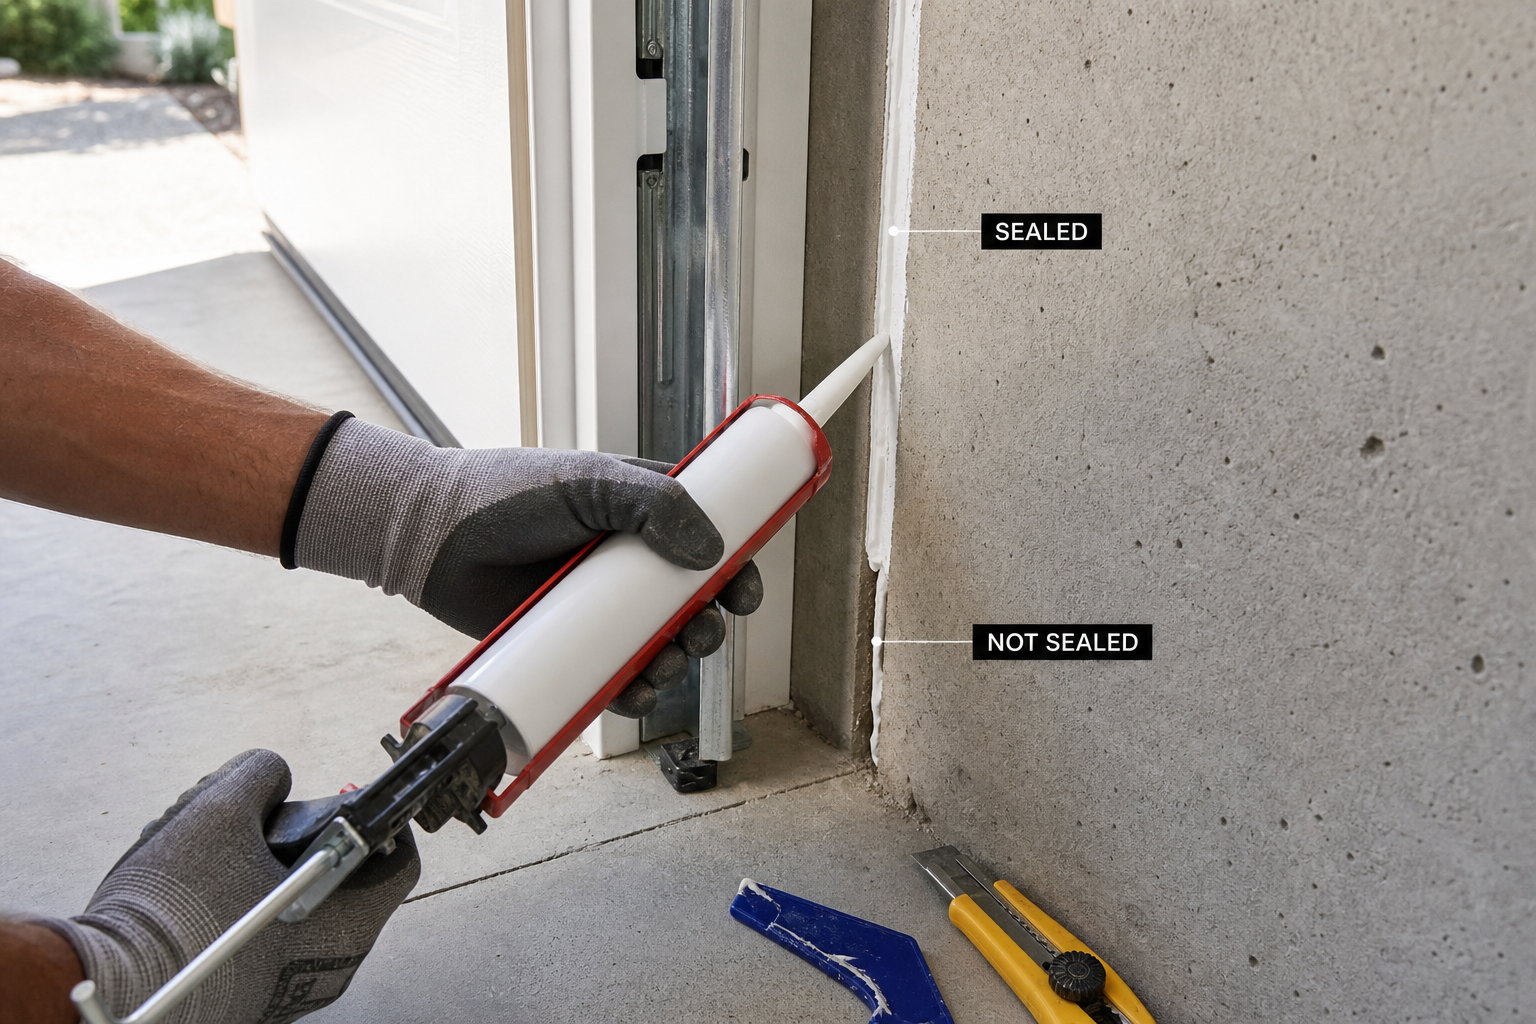
Start at the garage door. The bottom seal takes the most abuse and wears fastest. Check the entire length for compression damage, tears, or gaps when the door is closed. A gap the width of a pencil is enough for mice. Replace worn weatherstripping with the correct profile for your door type. Bulb seals work for uneven floors. Beaded seals fit smooth concrete. Don’t guess. Measure the retainer channel before buying.

Garage Door Weatherstripping
Essential for sealing the primary entry point where pests commonly enter
If you need detailed guidance on replacement techniques, check out our complete garage door weather stripping replacement guide for step-by-step instructions.
Inspect side and top seals on the door. These fail less often but still need checking. Look for separation from the door, hardening from UV exposure, or compression set where the seal no longer springs back. Replace sections, not just patch damaged spots. Mismatched weatherstripping creates new gaps. When working on energy efficient garage doors, pay extra attention to the seal integrity as these systems rely on proper weatherstripping to maintain their performance ratings.
Move to wall penetrations. Electrical conduit, water lines, cable entry, dryer vents. Anything that passes through the garage wall is a potential entry point. Use expanding foam for large gaps around pipes. Steel wool wrapped in foam works for holes you can’t fully seal, since rodents can’t chew through steel. Don’t use foam alone for rodent barriers. Mice chew through it easily.

Steel Wool Pest Control
Creates an impenetrable barrier that rodents cannot chew through
Check where the sill plate meets the foundation. This joint often develops cracks as the house settles. Use outdoor-rated caulk for gaps under a quarter inch. Larger cracks need backer rod first, then caulk. Don’t skip the backer rod. Caulk alone in a deep crack just sinks and fails.
Foundation cracks themselves matter. Anything wider than a hairline needs sealing. Hydraulic cement works for active moisture. Epoxy or polyurethane caulk for dry cracks. A crack you can fit a credit card into is large enough for spiders, ants, and young mice.
Vents need screens. Gable vents, soffit vents, foundation vents if you have them. Check existing screens for tears or separation from the frame. Replace with 1/4-inch hardware cloth, not window screen. Hardware cloth blocks mice. Window screen doesn’t.
Treat the Perimeter
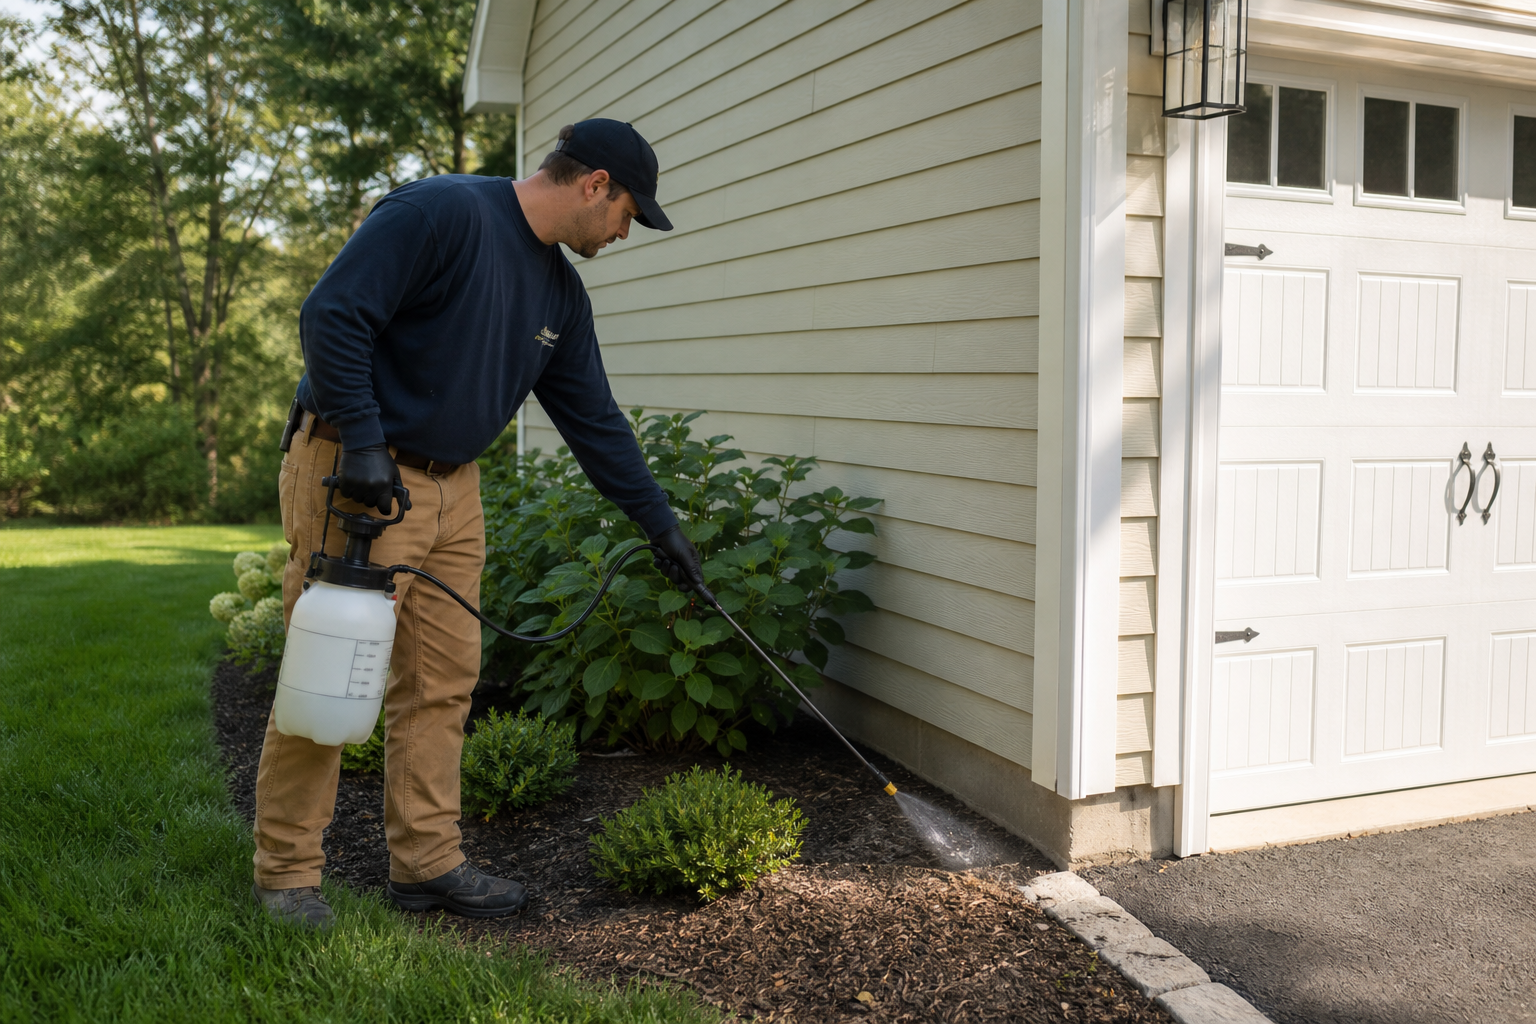
Spring perimeter treatment creates a barrier before pests reach the structure. This isn’t about daily defense. It’s about reducing the population near your garage so fewer attempt entry.
Apply a residual insecticide around the foundation. Focus on the first three feet out from the wall and the first three feet up the wall. This is the zone pests cross to access your garage. Use a product labeled for outdoor perimeter use. Bifenthrin and permethrin are common active ingredients. Follow label rates exactly. More is not better. Over-application wastes product and increases environmental exposure.
Treat cracks in the concrete apron or driveway near the garage. Ants nest in these cracks and use them as highways into the structure. A crack-and-crevice treatment with a narrow spray tip gets product where it needs to be.
Granular baits work for ants if you have ongoing activity. Place them along ant trails, near nesting sites, around the perimeter. Ants carry the bait back to the colony. It takes days to see results. Don’t retreat just because you still see ants tomorrow.
Keep vegetation trimmed back from the garage walls. Bushes, tree branches, ivy, anything touching the structure gives pests a bridge. Maintain a six-inch gap minimum between plants and siding. This also improves air circulation and reduces moisture against the wall.
Remove debris piles near the garage. Firewood, lumber, leaf piles, old equipment. These are harborage sites. Stack firewood at least 20 feet from the structure and raise it off the ground on a rack. Keep the area around the garage clean and open. Motion sensor lighting can also help deter pests by eliminating dark areas where they prefer to travel and hide.
Store Food Properly
Pet food is the number one attractant in most garages. A 40-pound bag of dog food in a torn paper sack is an open invitation. Transfer food to sealed containers. Metal trash cans with locking lids work. Heavy-duty plastic bins with gasket seals work. The bag the food came in does not work.
Bird seed is equally attractive. Store it in sealed metal containers. Mice chew through plastic eventually. They don’t chew through steel.
Check for forgotten food. Half-empty bags of grass seed. Fertilizer with bone meal. Dried corn for deer. Anything organic draws pests. Seal it or store it elsewhere.
Clean up spills immediately. A scoop of spilled bird seed on the floor will draw mice within days. Sweep regularly. Don’t let organic material accumulate.
If you have a refrigerator or freezer in the garage, keep it clean. Spills inside attract pests once the door opens. Coils underneath collect dust and food particles. Vacuum them twice a year.
Check and Maintain Traps
Spring is when you set or reset traps, not when you wait to see if you have a problem. Snap traps for mice work if you place them correctly. Put them along walls, perpendicular to the baseboard, with the trigger end facing the wall. Mice run along edges, not across open floor.
Bait with peanut butter, not cheese. Peanut butter sticks to the trigger. Mice have to work it, which sets off the trap. Cheese can be grabbed without triggering.
Check traps daily if you’ve caught something. A dead mouse in a trap starts to smell within 48 hours in warm weather. Reset immediately after clearing.
Live traps work for some people but create a disposal problem. You have to relocate the animal far enough that it doesn’t return. Most experts recommend at least five miles. Check local regulations. Some areas prohibit relocation of rodents.
Glue traps are controversial. They work but they’re not humane. Mice stuck on glue traps can take hours to die. If you use them, check them frequently and dispatch caught animals quickly.
For insects, sticky traps help you monitor activity. Place them in corners, along walls, near suspected entry points. They won’t eliminate an infestation but they tell you what you’re dealing with and where the pressure is highest.
Manage Moisture and Clutter
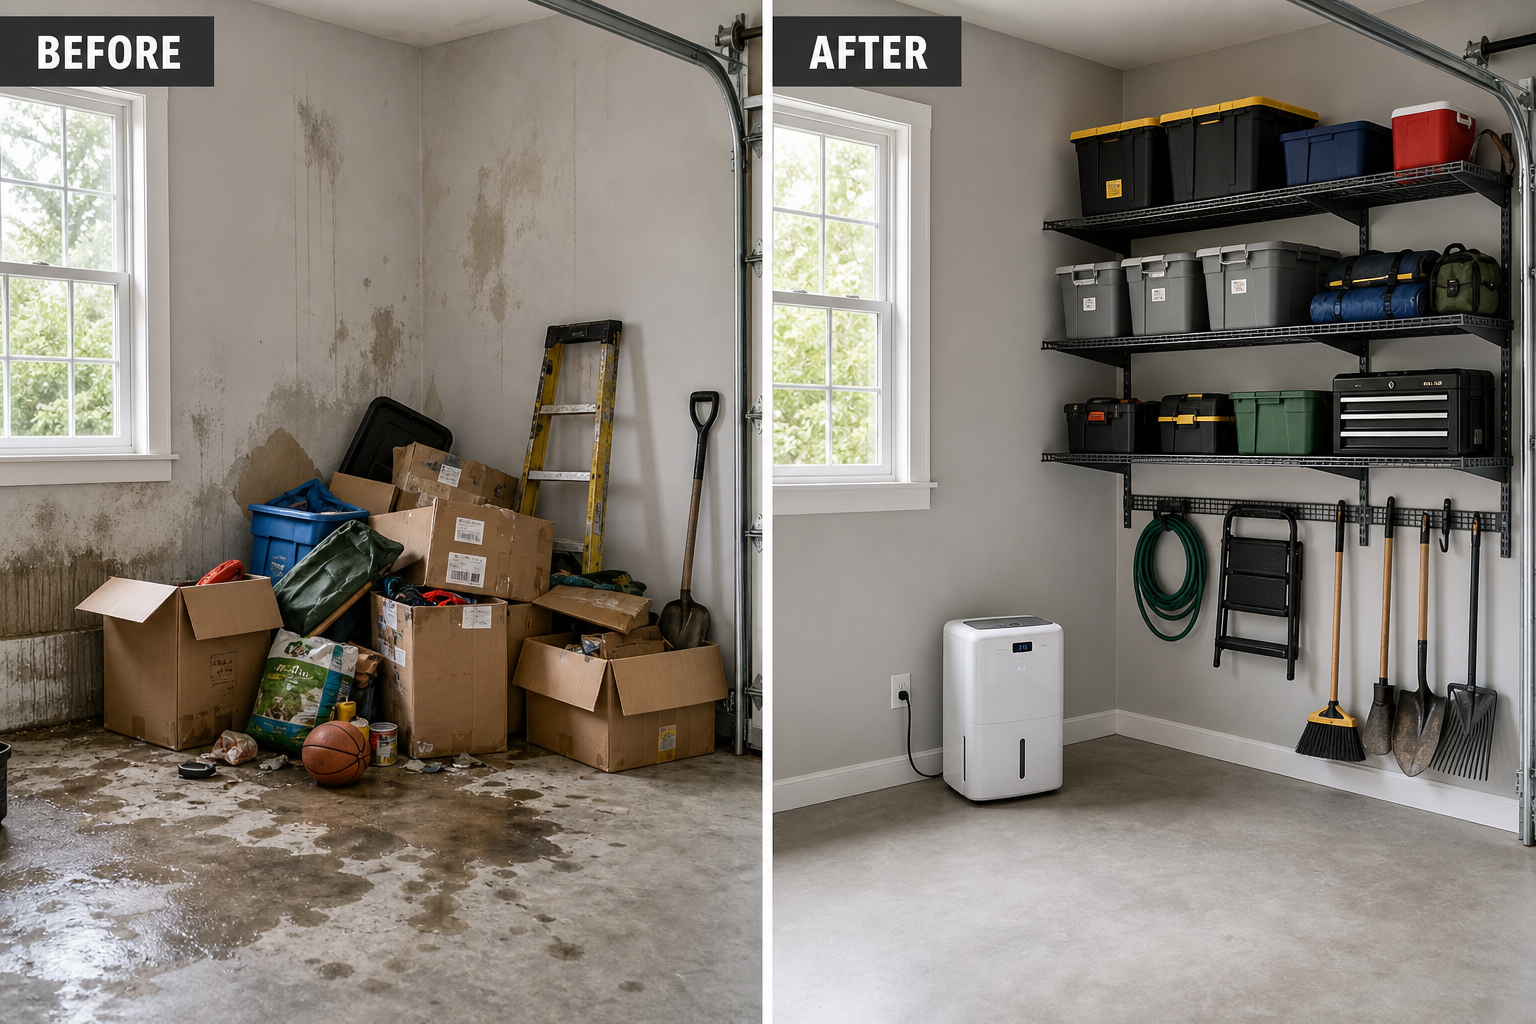
Pests need water. Eliminate standing water anywhere in or around the garage. Fix leaks. Redirect downspouts. Grade soil away from the foundation so water doesn’t pool against the slab.
Check the garage floor for low spots that collect water after rain. You can’t always fix the grade inside, but you can direct water toward the door with a squeegee after a storm. Don’t let it sit.
Dehumidifiers help in humid climates. If your garage regularly hits 60% humidity or higher, consider one. Insects and spiders thrive in humidity. Reduce it and you reduce their habitat.
Clutter provides hiding spots and nesting material. Cardboard boxes stacked in corners are prime real estate for mice. They chew the cardboard for nesting and hide in the spaces between. Switch to plastic bins with lids. Stack them neatly so you can see behind and underneath.
Store items off the floor when possible. Shelving and overhead racks reduce the footprint pests can access. They also make cleaning easier. You can sweep under a rack. You can’t sweep under a pile of boxes. Installing pegboard systems provides organized storage that eliminates hiding spots while keeping tools easily accessible.
Go through stored items and purge what you don’t need. Every item in your garage is something else for pests to hide behind. Less stuff equals fewer hiding spots.
Consider Professional Treatment
Some infestations require professional help. Carpenter ants, termites, wasps nesting inside walls. These aren’t DIY projects. The products available to homeowners don’t reach deep enough or last long enough.
If you’ve sealed and treated and still have ongoing activity, call a pest control company. They have access to commercial-grade products and application equipment you can’t buy retail. A quarterly service typically runs between budget-friendly to moderate pricing in most areas. It’s cheaper than replacing framing damaged by carpenter ants.
Termite inspections are worth doing even if you don’t see evidence. Many pest control companies offer free inspections. Take them up on it. Termites cause billions in damage annually. Most of that damage happens before homeowners realize there’s a problem.
Wasp and hornet nests inside the garage structure need professional removal if they’re large or in a hard-to-reach spot. A small nest you can see and access yourself is one thing. A nest inside the wall cavity with bees coming and going through a crack in the siding is another.
Professional treatment also makes sense if you have health concerns that limit your ability to use pesticides safely. Asthma, chemical sensitivities, pregnancy. Let someone else handle the application.
Document Your Work
Keep records of what you did and when. Note the date you sealed the door, the product you used for perimeter treatment, the brand of weatherstripping you installed. This information matters when it’s time for touch-ups or when you’re troubleshooting a recurring problem.
