

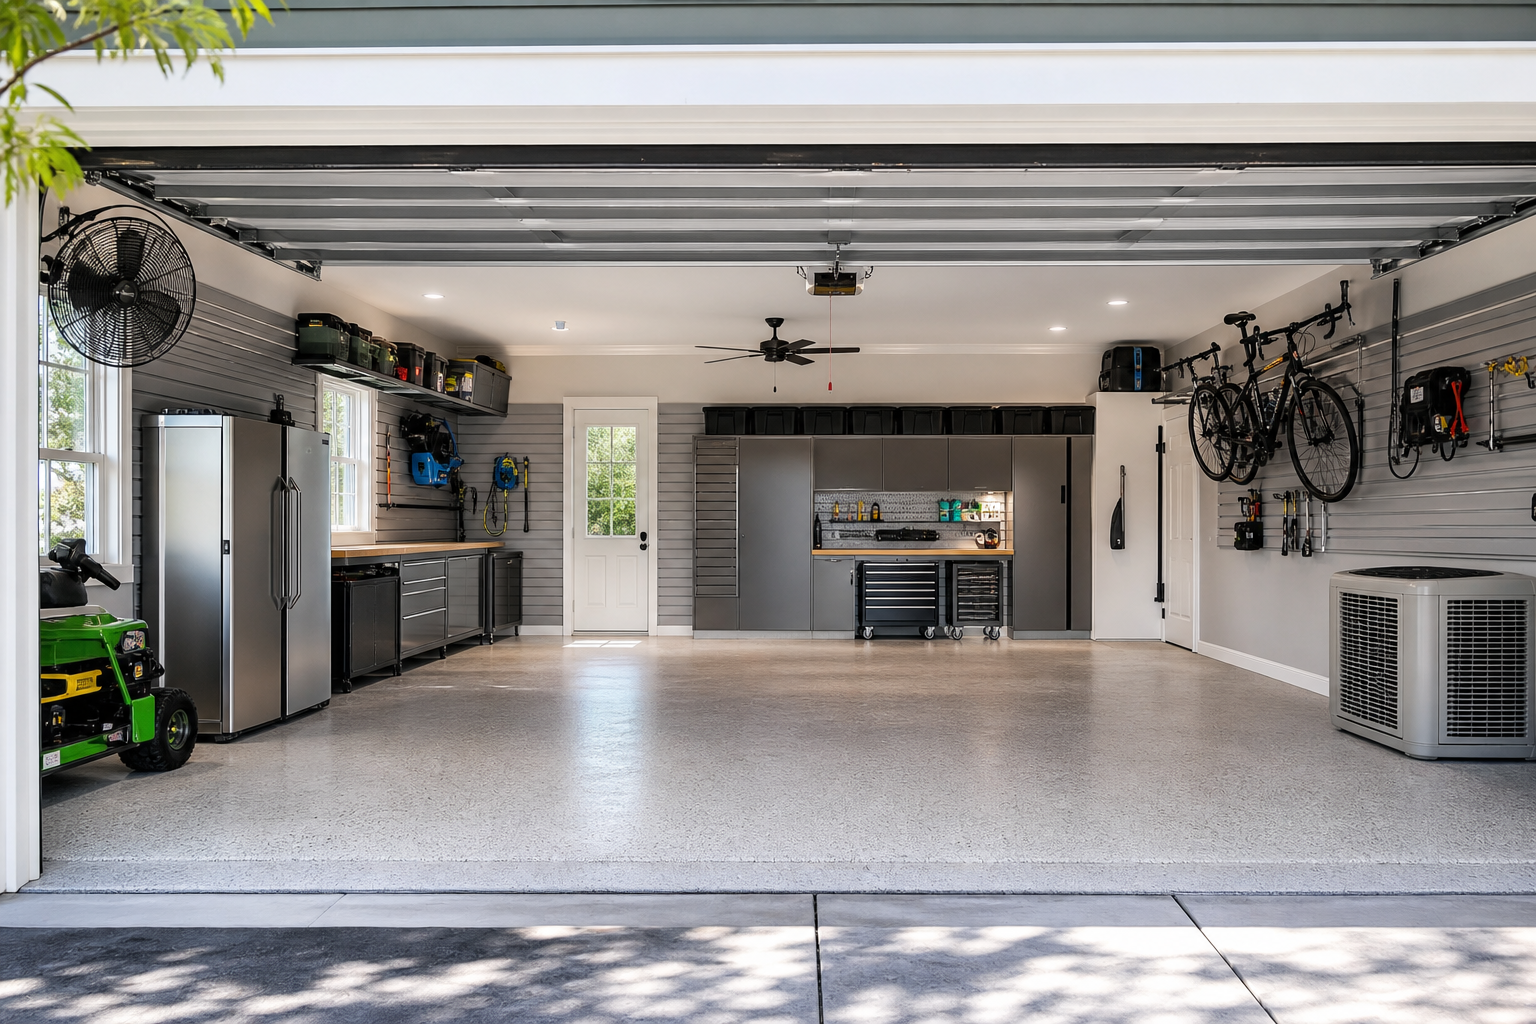
When your garage is too hot in summer, the temptation is to assume the worst. In reality, the cause is usually simpler and cheaper than expected. The key is working through possibilities systematically rather than guessing.
Most garages weren’t built with cooling in mind. They’re designed to park cars and store things, not to work comfortably in July. That means poor airflow, minimal insulation, dark surfaces that absorb heat, and zero consideration for what happens when the sun hammers the roof for eight hours straight.
You’re fighting physics, but the fixes don’t require an engineering degree or a contractor’s budget. Below, you’ll find each common cause with specific diagnostic steps and fixes. Grab a flashlight and your basic toolkit, then work through these from easiest to most involved.
Understanding the Basics
Mount an exhaust fan high on the wall opposite the garage door for heat removal. Hot air collects at the ceiling; the fan pulls it out while cooler air enters through the open door or a low intake vent. A 1,400 CFM fan exchanges air in a two-car garage every 3 to 4 minutes.
Most garages have only passive ventilation (air leaking around the door), which is inadequate for workspace use. A single wall-mounted exhaust fan creates deliberate airflow that removes heat, moisture, and fumes. The improvement is immediate and dramatic.
Install the fan as high as possible on the wall, ideally within 12 inches of the ceiling. Wire it to a switch inside the garage so you can run it before stepping into the heat. Some models include a thermostat that kicks on automatically at a set temperature, usually around 90 degrees.
If you run the fan during peak afternoon heat, expect to drop interior temps by 10 to 15 degrees within 30 minutes in a standard two-car space.
For intake, crack the overhead door 6 to 8 inches or install a passive louver vent low on an adjacent wall. Air can’t leave without air coming in. The intake doesn’t need a fan; the exhaust fan creates negative pressure that pulls fresh air through naturally.

Installation takes two to three hours if you’re comfortable cutting a hole through siding and running basic electrical. If not, an electrician will charge you for the full install. For more guidance on working with existing garage structures, check out our guide on how to install garage roof vents.
Insulation and Radiant Barriers
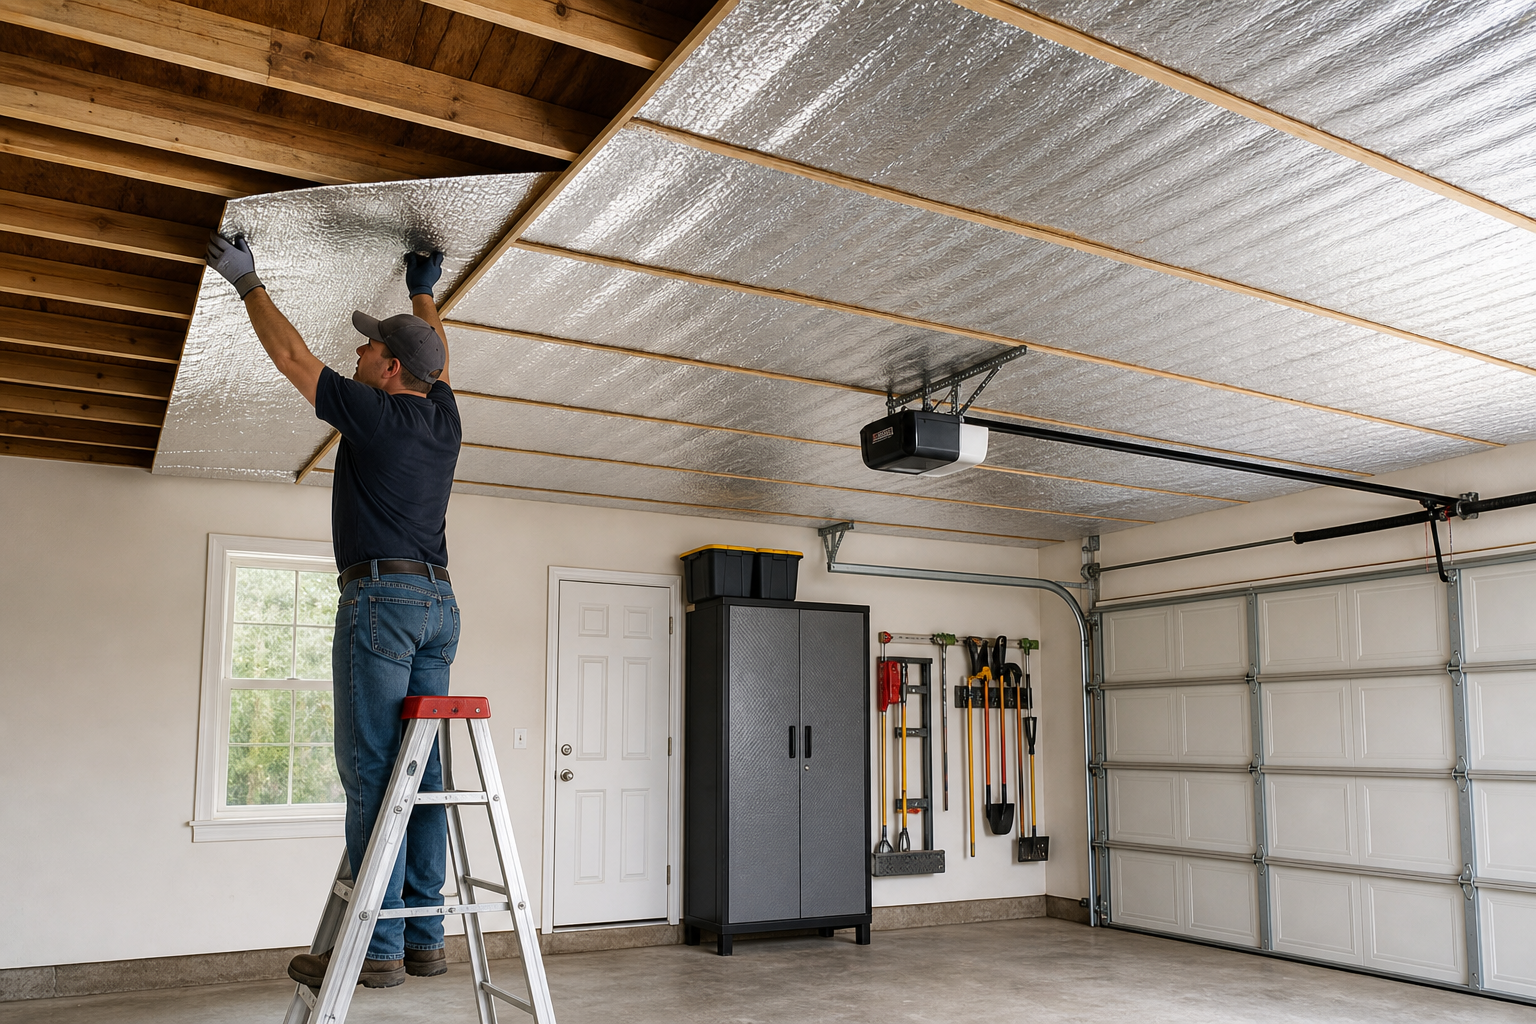
Radiant barrier material (reflective foil) stapled to the underside of roof rafters reflects up to 97% of radiant heat before it enters the garage. Combined with insulation, this is the most effective way to reduce summer roof heat gain. Installation is simple: just staple the material with the shiny side facing down toward the garage floor.
The barrier works by bouncing infrared radiation back out through the roof before it heats the air inside. Standard fiberglass or foam insulation slows conductive heat transfer, but it does almost nothing for radiant heat.
Asphalt shingles can hit 160 degrees in direct sun; without a barrier, that heat radiates straight through your roof deck into the space below.
Radiant barrier rolls are budget-friendly. A two-car garage with an 18-by-20-foot roof deck needs about 360 square feet. Add a heavy-duty stapler and an afternoon of time. Leave a 1 to 2-inch air gap between the barrier and the roof deck for maximum effectiveness.
If your rafters are already insulated, you can still add a radiant barrier by stapling it to the underside of the rafters, shiny side down. If you’re starting from bare rafters, install the barrier first, then add batt insulation between the rafters.
R-19 insulation is standard for garage ceilings in moderate climates; cold-climate zones benefit from R-30 or higher. For detailed installation instructions, see our complete guide on how to install garage radiant barrier.
Insulating the garage door itself also helps. Garage door insulation kits with pre-cut foam panels and adhesive backing install in under an hour. The R-value boost is modest (R-8 to R-12), but you’ll feel the difference when you touch the door from inside on a hot day. Metal doors without insulation conduct heat like a radiator.
Wall insulation matters less for summer cooling than ceiling insulation, but if you’re finishing the garage anyway, standard R-13 to R-15 batts in the walls make a noticeable difference year-round. Spray foam is overkill for most garages unless you’re converting the space to conditioned living area.
Reflective Roof Coatings
If you have a flat or low-slope roof over the garage, a white or light-gray reflective coating drops surface temperatures by 30 to 50 degrees compared to black asphalt. The coating goes on like thick paint and lasts five to ten years before needing a refresh.
Acrylic elastomeric roof coatings designed for this purpose cover 50 to 100 square feet per gallon depending on the surface. A small single-car garage roof might need two gallons; a larger detached garage could take six to eight.
Application requires a clean, dry surface and temperatures above 50 degrees for proper curing.
You won’t see this kind of impact on a shingled steep-pitch roof, but it’s a major improvement for flat or nearly flat garage roofs common on attached garages and older detached buildings. The coating also seals minor cracks and extends roof life, so you’re solving two problems at once.
Shade Structures and Window Treatments
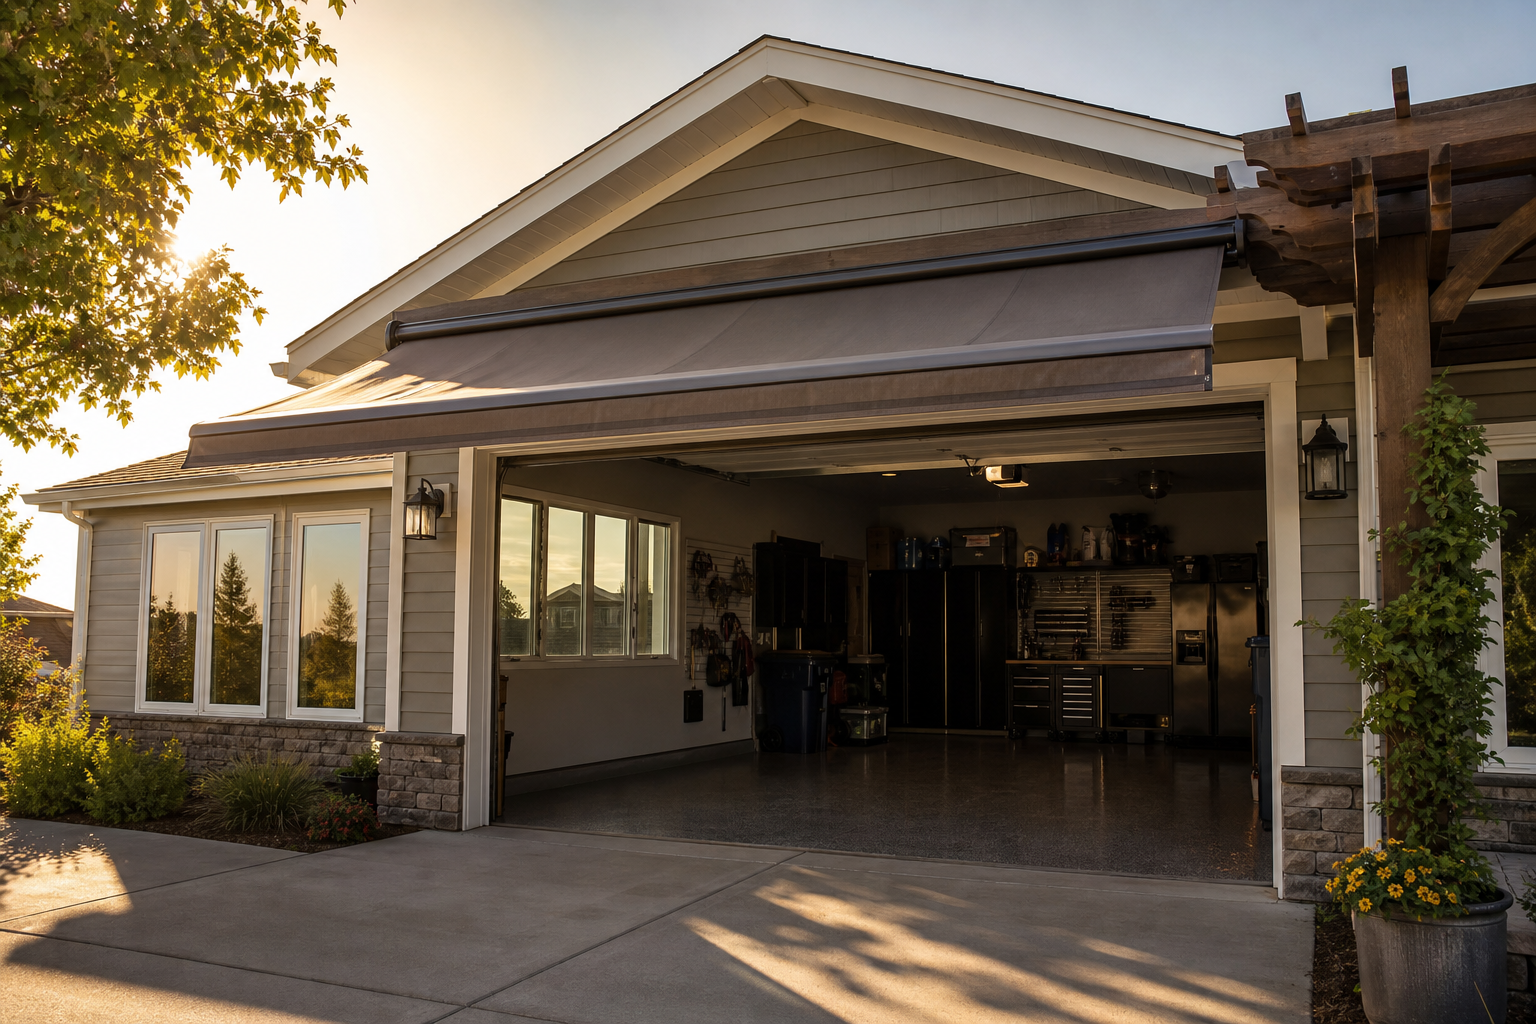
If the garage door faces south or west, direct sun exposure heats the door and everything behind it. A simple shade structure (pergola, awning, or even a strategically planted tree) blocks that radiation before it hits the building.
Retractable awnings over the garage door vary in price depending on size and quality. Fixed metal awnings cost more when installed. Both drop door surface temps significantly and make stepping into the garage less like opening an oven.
For windows, blackout shades or reflective window film reject solar heat gain. Reflective film installs with soapy water and a squeegee. It cuts visible light along with heat, so balance cooling benefit against your need for natural light.
If the garage doubles as a workshop, consider film on south- and west-facing windows only, leaving north-facing windows clear.
External roller shades mounted outside the window work better than internal blinds because they stop heat before it enters. Check current pricing on exterior window shades that hold up to weather.
Portable and Permanent Cooling Options
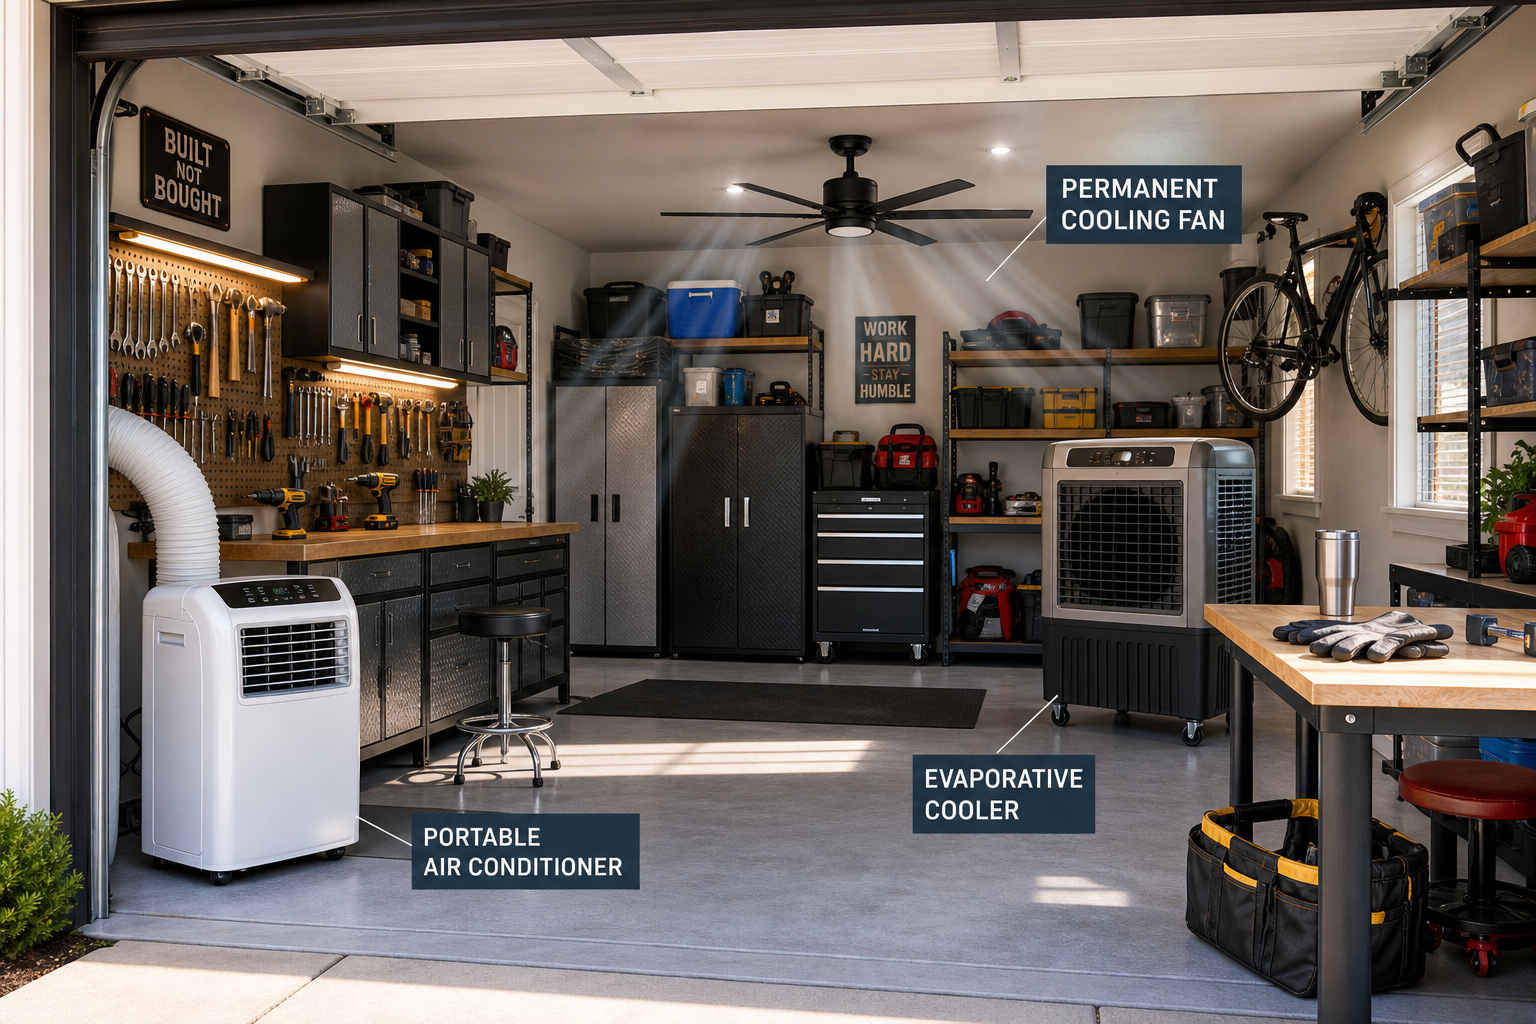
Exhaust fans and insulation handle the bulk of the problem, but if you need the space genuinely comfortable for extended work sessions, a portable air conditioner or evaporative cooler fills the gap.
Portable AC units rated for 10,000 to 14,000 BTU cool a two-car garage adequately if you close the overhead door and seal gaps. They vent through a window or a cut hole in the wall.
They’re loud, they pull significant power (1,200 to 1,500 watts), and they work best in moderate humidity. In the desert Southwest, an evaporative cooler costs less to buy and less to run (uses 75% less electricity), but it adds humidity, which makes them useless in already-humid climates.
Mini-split air conditioners are the permanent solution if budget allows. A 12,000 BTU mini-split cools efficiently without taking up floor space. The outdoor compressor mounts on a wall or pad outside; the indoor air handler mounts high on the garage wall.
Operation cost is lower than a portable unit because mini-splits use inverter-driven compressors that modulate power instead of cycling on and off.
Mini-splits make sense if you spend serious time in the garage or if you’re finishing it as a workshop, gym, or hobby space. For garage gym setups, check out our collection of garage gym ideas for inspiration on creating the perfect workout space.
Floor and Wall Color Choices
Dark floors absorb heat and radiate it back into the space. If you’re planning a floor coating project, choose light gray or tan instead of charcoal or black. The surface temperature difference between a light-gray epoxy floor and a dark-gray floor can hit 15 to 20 degrees in direct sun exposure.
True two-part epoxy and polyaspartic coatings hold up far better than single-component garage paints, especially in temperature extremes. True two-part systems create a cross-linked film that’s dramatically harder and more chemical-resistant.
Application demands more prep and timing attention, but the durability gap is enormous and visible within the first year of use.
Latex garage paint and one-part “epoxy” paint are fundamentally different from true two-part systems. One-part products are acrylic paint with a small amount of epoxy resin added for marketing. They go on easily but wear through in high-traffic spots within 6 to 12 months.
A quality concrete primer makes a noticeable difference in results. Check current options and reviews to find the right match for your project and budget.
Wall color matters less than floor color for heat management, but light colors reflect more light and feel cooler. Standard interior latex paint in white or light gray works fine for garage walls.
If you’re shopping for supplies, browse garage wall paint options that are well-reviewed by garage owners.
Start with a small test area if you’re uncertain. A 4 by 4-foot section in an inconspicuous spot lets you evaluate adhesion, appearance, and workability without committing to the full project.
For more detailed guidance on proper surface preparation, check out our article on how to seal garage floor before epoxy.
Combining Solutions for Maximum Effect
No single fix solves everything. The garages that stay genuinely comfortable combine ventilation, insulation, and shading. Start with the exhaust fan because it delivers immediate, noticeable improvement for the lowest cost. Add ceiling insulation and a radiant barrier next.
From there, evaluate whether you need door insulation, window treatments, or active cooling.
Budget modestly if you’re doing the work yourself for fan and basic ceiling insulation. Add more for door insulation and window film. A mini-split pushes total cost higher but transforms the space into year-round usable area.
Factor in maintenance when choosing your approach. The lowest-maintenance option isn’t always cheapest initially, but it usually wins over a 5 to 10-year window when you include touch-ups, repairs, and replacements.
This is an area where cutting corners comes back to haunt you. Invest the effort upfront and you’ll save significant time and money over the next several years of use.

Wall Mount Garage Fan
Essential for creating proper airflow and immediate temperature reduction
Installation and Safety Notes
Wear appropriate protection throughout: safety glasses, gloves, respirator when working with chemicals or dust. Ventilate when using adhesives, paints, or solvents. These aren’t optional precautions.
Follow manufacturer instructions exactly, even when online tutorials suggest shortcuts. Formulations differ between brands; what works for one product can cause failure with another.
If the data sheet says 4 hours between coats at 60 degrees minimum, those numbers aren’t suggestions.
Document every product you use: brand, color, batch number, application date. Future touch-ups need exact material matches. Tape the info inside a cabinet door or take a quick phone photo for your records.
Getting this right requires matching your approach to actual conditions rather than following a generic formula. Climate, surface condition, and usage patterns all influence the best path forward.
Practical Planning Tips
Consider the seasonal timing of your project. Floor coatings apply best in mild weather (50 to 85 degrees). Insulation projects are most motivating (and noticeable) before extreme weather hits.
Electrical and plumbing work can happen year-round but should be completed before insulating or finishing walls over the wiring.
Set a realistic timeline and budget before buying anything. Most garage projects take 50% longer and cost 20% more than initial estimates, especially for first-timers. Build that buffer into your plan so unexpected discoveries don’t derail the entire project or blow the budget.
Research local building codes and permit requirements for your specific project. Electrical work, structural modifications, and HVAC installations often require permits and inspections.
Working without required permits can create liability issues, insurance complications, and problems when selling the home.
Some jurisdictions classify mini-split installation as HVAC work requiring a licensed contractor. Same for running new 240-volt circuits for large equipment. A quick call to your local building department clears up what’s DIY-legal and what requires a pro.
When to Call a Professional
DIY covers most of what’s listed above, but some situations need professional help. High-voltage electrical work, garage door spring replacement, structural modifications, and commercial-grade coatings requiring specialized equipment are all worth outsourcing.
A botched repair often costs more to fix than hiring the right person from the start.
Get two to three quotes, verify licensing and insurance, and ask for recent references. A reputable contractor explains the process clearly, provides a written estimate, and backs the work with a written warranty.
Electricians vary in hourly rates depending on your area. HVAC techs charge more per hour for mini-split installation. Insulation contractors typically bid by the square foot or by the job.
Return on Investment
Cooling improvements pay back in comfort first, resale value second. A finished, climate-controlled
