

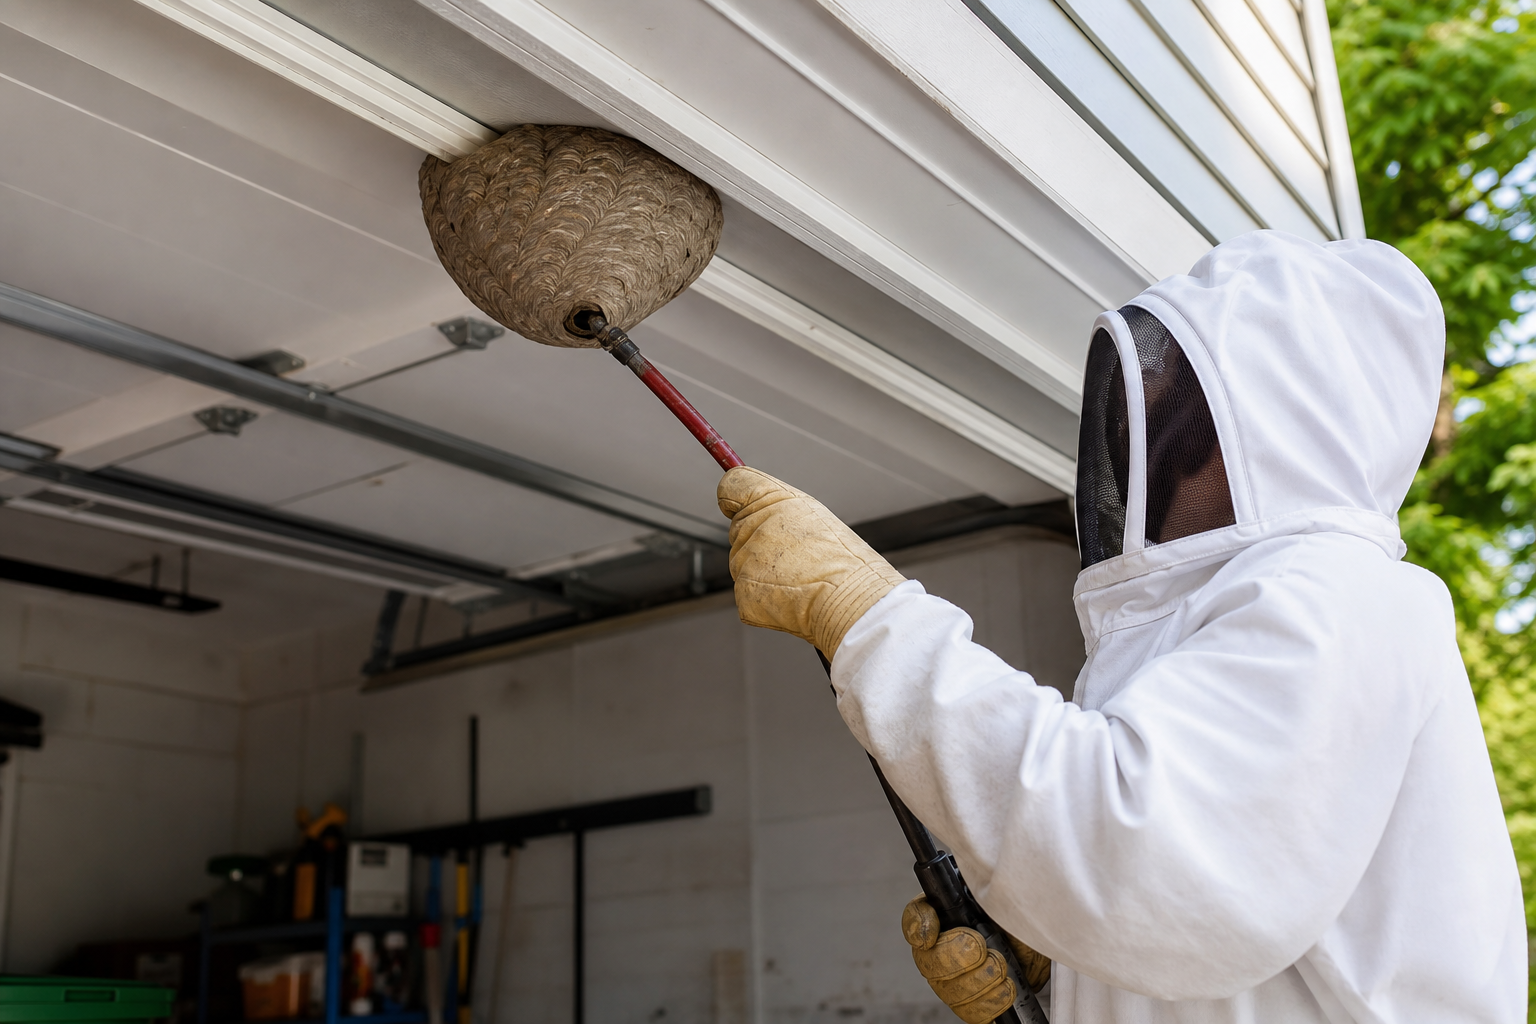
Understanding garage wasp nest removal safety gives you a real advantage, whether you’re planning a project, troubleshooting, or making smarter decisions about your space. The specifics matter more than most people expect.
Wasps in your garage aren’t just a nuisance. They’re a safety hazard that can turn a simple task like grabbing a ladder into a trip to urgent care. Most garage wasp situations are manageable with the right approach, proper timing, and a realistic assessment of when to call in help.
This guide covers everything you need to know in practical terms, with actionable takeaways you can use right away.
Identifying What You’re Dealing With
Before you do anything, know what species you’re facing. Paper wasps build umbrella-shaped nests with visible open cells, usually under eaves or in corners. Yellowjackets prefer enclosed spaces like wall voids or old boxes, and they’re more aggressive when disturbed. Mud daubers leave tube-like structures on walls and ceilings but are generally docile and rarely sting.
Check for nest activity during early morning or late evening when wasps are less active. Stand at a safe distance and watch for flight patterns. Active nests show steady wasp traffic. Abandoned nests are empty and show no movement.
Don’t assume a nest is abandoned just because you don’t see wasps immediately. Watch for at least ten minutes.
Size matters. A nest smaller than a golf ball with just a few wasps is a different situation than a football-sized colony with dozens of defenders. Small, early-season nests (typically spring) are easier to handle yourself. Large, established colonies with heavy traffic warrant professional removal.
Location determines your approach. A nest tucked in an open ceiling joist is accessible. One buried inside a wall cavity or tucked behind stored items creates complications. You need clear access and a quick exit route before attempting any removal.
Timing Your Removal
Early spring is the sweet spot for DIY wasp removal. Queens are just starting to build, colonies are small, and wasps are sluggish from cooler temperatures. A nest with three or four wasps in April is manageable. The same nest in July might house fifty aggressive defenders.
Temperature affects wasp behavior significantly. Wasps are least active when temperatures drop below 50 degrees or early in the morning before the sun warms their nest. Plan your removal for dawn or dusk when wasps are slow and most of the colony is inside the nest.
Avoid removal during peak heat. Midday in summer, wasps are alert, aggressive, and quick to defend. You’re also working in uncomfortable heat while wearing protective gear, which increases your risk of mistakes.
Never attempt removal during or right before rain. Wasps trapped by weather become defensive. Rain also limits your mobility and reduces the effectiveness of most sprays.
Safety Gear You Actually Need

Standard clothing isn’t enough. Wasps can sting through a regular t-shirt or jeans. Wear thick, long-sleeved layers. A canvas jacket over a hoodie provides decent protection for small-nest situations. Tuck pants into boots or socks to prevent wasps from crawling up your legs.
Eye protection is non-negotiable. Safety glasses or goggles prevent spray blowback and keep wasps away from your eyes. Regular sunglasses don’t cut it. You need something that seals around your face.
Gloves should be thick leather or heavy-duty rubber. Thin latex or nitrile gloves offer zero protection against stings. Garden gloves work if they’re thick enough that you can’t easily feel a pen tip through the material.
A hat with a brim keeps wasps out of your hair and away from your face. Some people use a beekeeper’s veil for large nests, which is overkill for a small paper wasp nest but appropriate for yellowjacket colonies.
Keep an escape route clear. Don’t box yourself into a corner or work from a ladder with nowhere to go if wasps swarm. Have a plan for retreating quickly if the situation escalates.
The Right Products for the Job
Wasp and hornet sprays with a 15 to 20-foot range let you treat nests from a safe distance. Shorter-range products force you too close to an active nest. Buy a product labeled specifically for wasps and hornets, not general bug spray. The formulation matters.
Foam sprays work well for nests in wall voids or enclosed spaces. The foam expands to fill the cavity and coats wasps as they try to exit. It’s messier than aerosol but more effective for hidden nests.
Dust products like Tempo Dust or Delta Dust work for nests inside walls or voids where you can’t see the nest itself. Puff the dust into entry holes at dusk when wasps are inside. They track it through the nest. Dust lasts longer than spray but takes more time to work.
Avoid DIY remedies like soapy water, gasoline, or fire. Soapy water only works if you completely saturate every wasp, which is nearly impossible with an active nest. Gasoline creates fire hazards and doesn’t kill faster than proper insecticide. Fire is just dangerous stupidity that can burn down your garage.

Wasp and Hornet Spray
Long-range formulas (15-20 feet) keep you safely away from active nests
Step-by-Step Removal Process
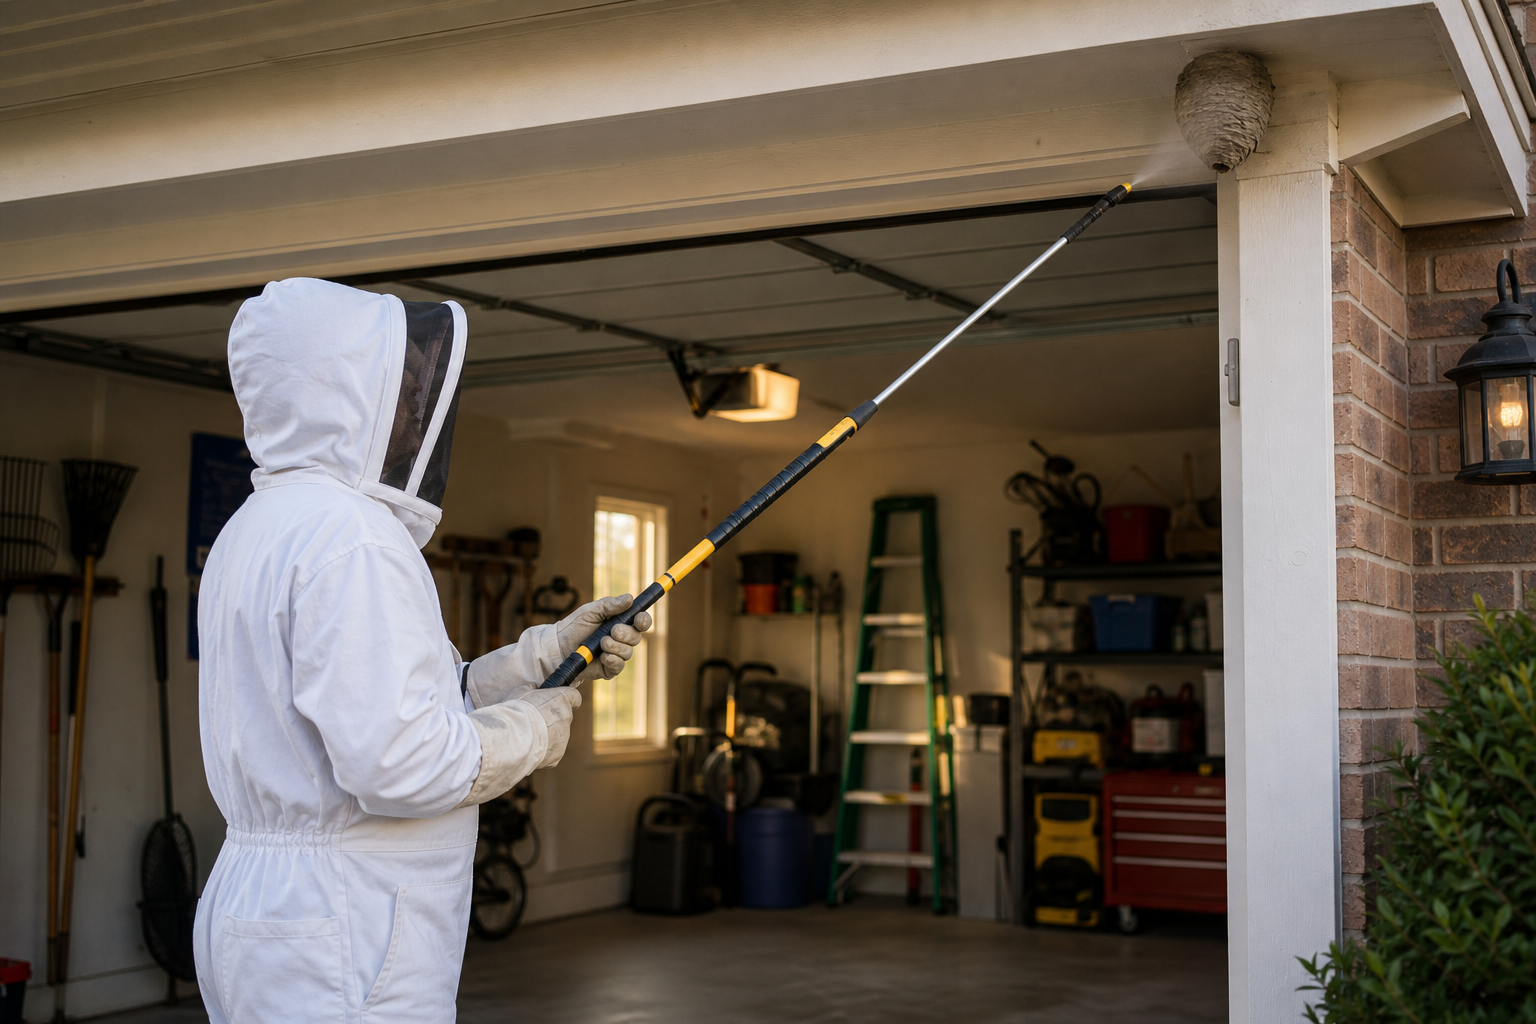
Scout the area in daylight. Note the nest location, wasp activity level, and your approach path. Identify where you’ll stand, where you’ll retreat if needed, and any obstacles in your way.
Treat the nest at dusk or dawn when wasps are sluggish and most of the colony is inside. Approach slowly and quietly. Sudden movements trigger defensive behavior.
Spray from maximum distance. Aim for the nest opening first, then saturate the entire nest structure. Use the full stream for 10 to 15 seconds. Don’t just give it a quick spritz. You want the insecticide soaking into the nest material.
Retreat immediately after spraying. Don’t stand there watching. Some wasps will emerge agitated. Get back to a safe distance and observe from 15 feet away.
Wait 24 hours before removing the nest structure. Dead wasps may still be inside, and stragglers returning to the nest can be aggressive. Knock the nest down with a long stick or broom handle. Don’t use your hand even if the nest appears dead.
Bag the nest and dispose of it in an outdoor trash can. Don’t leave it on the ground where pets or kids might find it.
Clean the area where the nest was attached. Wasps are attracted to pheromones left behind. Scrub the spot with soapy water to remove chemical markers that might attract a new queen next season.
When to Call a Professional
Multiple nests indicate a bigger problem. If you’re finding three or four nests around your garage, the area is attracting queens. A pro can treat the broader property and identify attractants.
Nests inside walls or ceilings require cutting into the structure to remove fully. Killing the wasps is step one. Removing the nest material prevents odor, mold, and future pest problems. Most homeowners aren’t equipped to cut drywall, remove a nest, and patch properly.
If you need to tackle drywall repairs after removing a nest from inside walls, our guide on patching large holes in garage drywall covers the proper materials and techniques for a professional-looking repair.
Allergic reactions to stings make DIY removal reckless. If you or anyone in your household has a known wasp allergy, don’t risk it. Professional pest control is a worthwhile investment compared to emergency medical treatment.
Large established colonies with heavy traffic are beyond safe DIY limits. If you see 20 or more wasps actively flying in and out, call a pro. The risk isn’t worth the savings.
Yellowjacket ground nests near your garage entrance create a high-traffic danger zone. These colonies can number in the thousands by late summer. Professionals have equipment and experience to handle aggressive ground-nesting species safely.
Preventing Future Nests
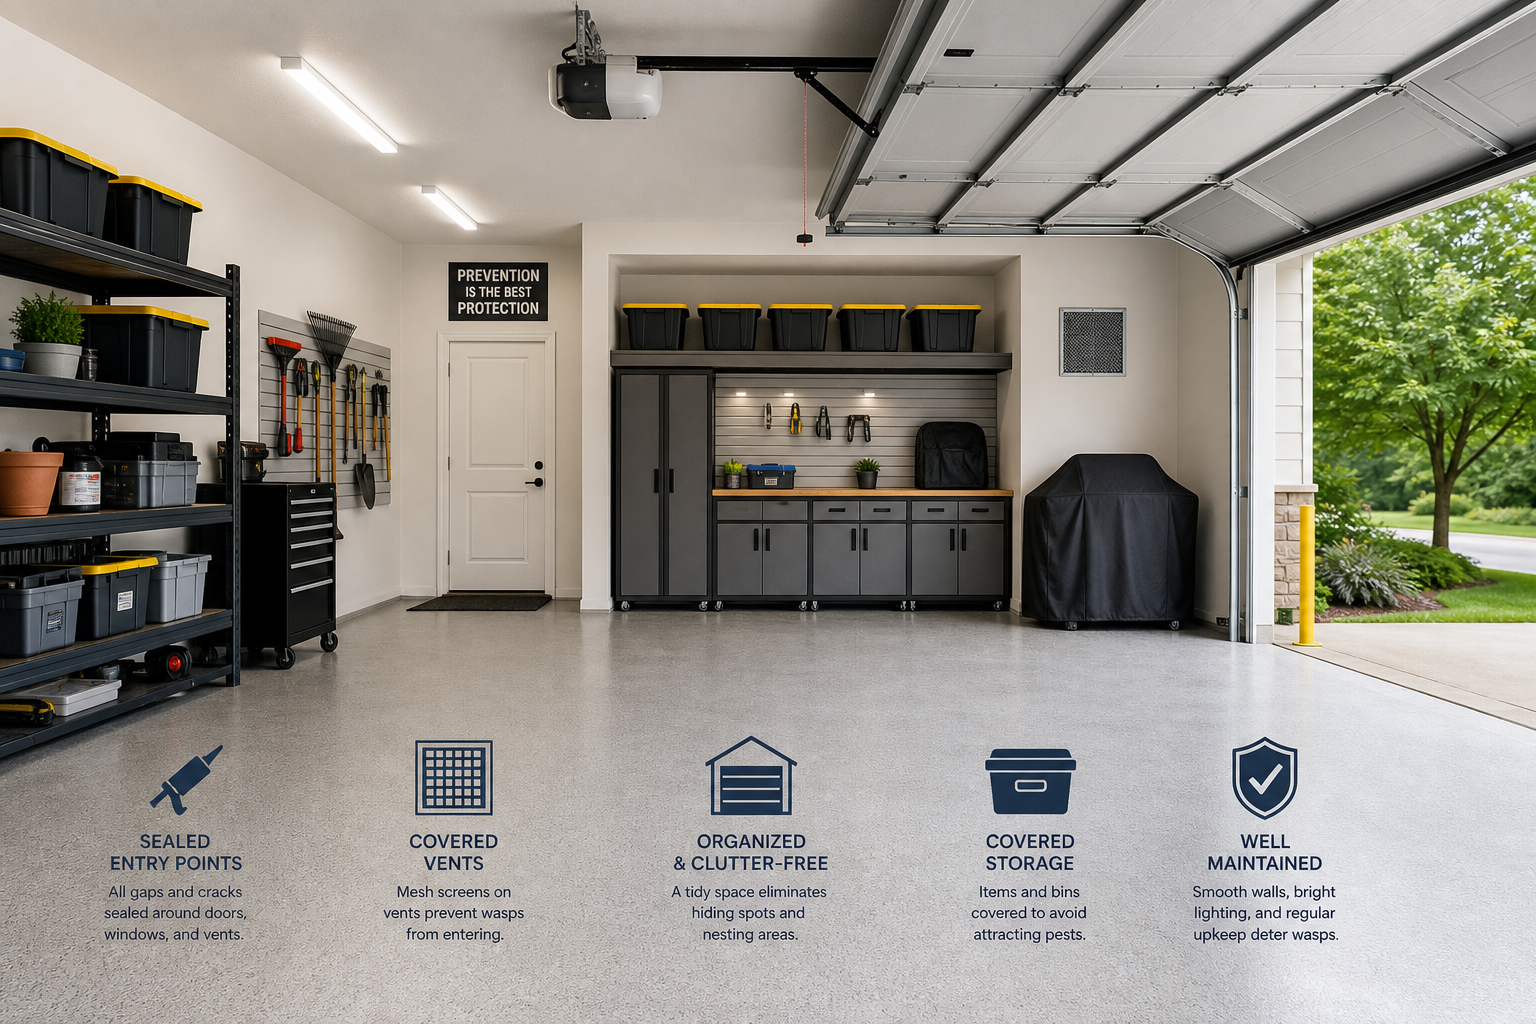
Seal entry points in spring before queens start building. Walk your garage perimeter and look for gaps around vents, lights, door frames, and where utilities enter. Caulk small gaps. Use steel wool and expanding foam for larger holes.
Proper weather stripping replacement around your garage door eliminates another common entry point for wasps looking to build nests in protected areas.
Remove attractants. Wasps feed on protein sources (dead insects, spiders) and sugary substances. Keep garbage cans sealed. Clean up spills. Don’t leave pet food in the garage.
Eliminate standing water. Wasps need water to build paper nests. Fix leaky hoses, drain buckets, and slope areas where water pools.
Knock down starter nests early. In spring, queens build small nests alone before the first workers emerge. A single-cell nest with one wasp is easy to spray and remove. Check garage corners, under eaves, and around door frames weekly in April and May.
Fake nests don’t work reliably. The theory is that wasps avoid areas with existing colonies, but in practice, wasps often build right next to fake nests. Don’t count on them as your only prevention strategy.
Regularly used spaces deter nest building. Wasps prefer quiet, undisturbed areas. A garage with daily car traffic and regular human activity is less attractive than a forgotten corner that never sees use. Reorganize storage annually to disturb potential nesting sites.
Common Mistakes That Make Things Worse
Spraying nests during the day when wasps are active and dispersed. You’ll miss half the colony, and the survivors will be aggressive. Always treat at dusk or dawn.
Using too little insecticide. A one-second spray might knock down a few wasps but won’t penetrate the nest or kill the queen. Saturate thoroughly.
Removing the nest immediately after spraying. Wasps inside the nest take time to die. Disturbing it too soon releases live, angry wasps.
Ignoring protective gear because the nest looks small. Even paper wasps deliver painful stings, and multiple stings can cause serious reactions even in non-allergic people.
Trying to seal wasps inside a wall cavity without killing them first. They’ll chew through drywall, find another exit, or die inside your walls and create an odor problem.
Spraying into wind. You’ll coat yourself with insecticide and alert the wasps before the spray reaches the nest. Always position yourself upwind or wait for calm conditions.
Health and Safety Considerations
Know the symptoms of allergic reactions. Localized swelling, redness, and pain at the sting site are normal. Hives, difficulty breathing, rapid pulse, dizziness, or swelling of the face and throat indicate anaphylaxis. Call 911 immediately if severe symptoms appear.
Even non-allergic people can have serious reactions to multiple stings. Ten or more stings can cause vomiting, diarrhea, headache, and fever. Fifty or more stings can be life-threatening regardless of allergy status.
Keep antihistamine and ice packs in your garage first aid kit. Benadryl reduces swelling and itching for normal reactions. Ice numbs pain and slows venom spread.
Don’t attempt removal while alone. Have someone nearby who can help if you’re stung or need to retreat quickly. They don’t need to be right next to you, but they should be within shouting distance.
Children and pets should be kept inside during treatment. Insecticide drift and disturbed wasps both pose risks. Clear the area completely before you start.
Cost Breakdown
DIY removal requires basic wasp spray and protective gear you might already own. Check current pricing on Amazon for wasp removal supplies to budget appropriately.
Professional removal varies significantly based on nest size and location. A single accessible nest costs much less than multiple nests or difficult locations requiring specialized equipment. Large yellowjacket colonies or nests requiring structural access command premium pricing.
Factor in your time and risk tolerance. A small paper wasp nest might take you 30 minutes and minimal supplies. A large yellowjacket nest in your garage ceiling could take a pro two hours and specialized equipment you don’t own.
Some pest control companies offer seasonal contracts that include wasp removal as part of general pest service. If you have recurring wasp problems, a quarterly service contract might cost less than paying for individual emergency removals.
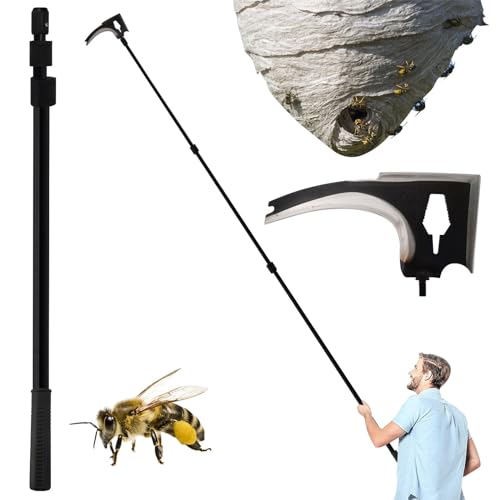
Protective Clothing for Pest Control
Thick layers and sealed coverage prevent stings during nest removal
Making the Most of Your Garage
Every garage project builds on the ones before it. A well-organized, properly maintained garage serves as a functional extension of your home, not just a place to park. Whether you’re tackling this project as a standalone improvement or as part of a larger garage transformation, the effort you put in pays dividends every time you use the space.
Start with the basics and build from there. Proper lighting, adequate electrical capacity, moisture control, and organized storage form the foundation that makes every subsequent project easier and more enjoyable. Skipping these fundamentals is like building a house without a solid foundation.
If you’re planning a complete garage makeover, consider how wasp prevention fits into your broader design. Workshop spaces and home gyms benefit from pest-free environments where you can focus on your activities rather than dodging insects.
Keep a running list of improvements you want to make, prioritized by impact and budget. Tackle safety issues first, then comfort improvements, then cosmetic upgrades. This sequence ensures each improvement supports the next rather than conflicting with it.
Documentation and Record-Keeping
Keep all receipts, warranty cards, and product data sheets for garage projects in a dedicated folder or binder. Many products come with warranties that require proof of purchase. When a repair or replacement is needed three years from now, having that documentation readily available can save you the full cost of the product.
Before starting any garage project, take a few minutes to photograph the existing conditions from multiple angles. These “before” photos serve as a reference during the project, help you troubleshoot if something doesn’t look right, and provide satisfying “before and after” comparisons when you’re done.
Document where nests were located and when you removed them. Patterns emerge over multiple seasons. If you’re getting nests in the same corner every spring, there’s likely an entry point you haven’t sealed or an attractant you haven’t eliminated.
Seasonal Maintenance Schedule
Spring: Walk the garage perimeter weekly looking for starter nests. Queens are building solo before workers emerge. Early removal prevents colonies.
Summer: Check less frequently but focus on high-activity areas. Look under workbenches, in rafters, and around stored items that haven’t moved in months.
Fall: Remove any remaining nests even if they appear abandoned. Dead nest material can attract other pests and provides structure for new queens next spring.
Winter: Wasps die off in cold climates, but nests remain. Remove old nests during mild winter days. It’s easier to see them when leaves are down and stored items might be temporarily moved for holiday decorations.
Frequently Asked Questions
What mistake should I avoid above all when removing wasp nests?
Underestimating the colony size or treating
