

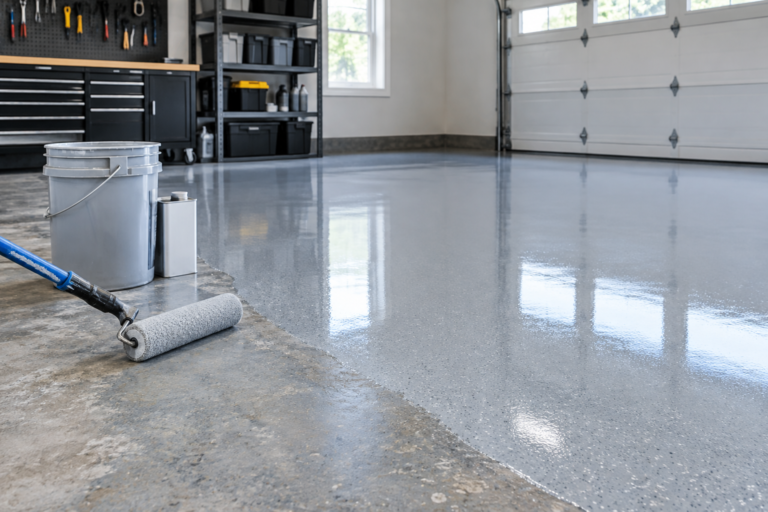
Cold weather does strange things to epoxy. What looks like a perfectly good coating job in a 45 degree garage can turn into a cloudy, slow-curing mess that never fully hardens, or worse, peels off in sheets a few months later. If you’re planning to tackle your floor once temperatures drop, you need to understand what cold actually does to the chemistry before you crack open that kit.
The short answer is that yes, you can epoxy a garage floor in cold weather, but only within a fairly narrow window and only if you control conditions carefully. Below that window, you’re gambling with adhesion and cure quality. Let’s get into the specifics so you know exactly where that line is.
Slab Temperature vs. Air Temperature: Why It’s Not the Same Thing
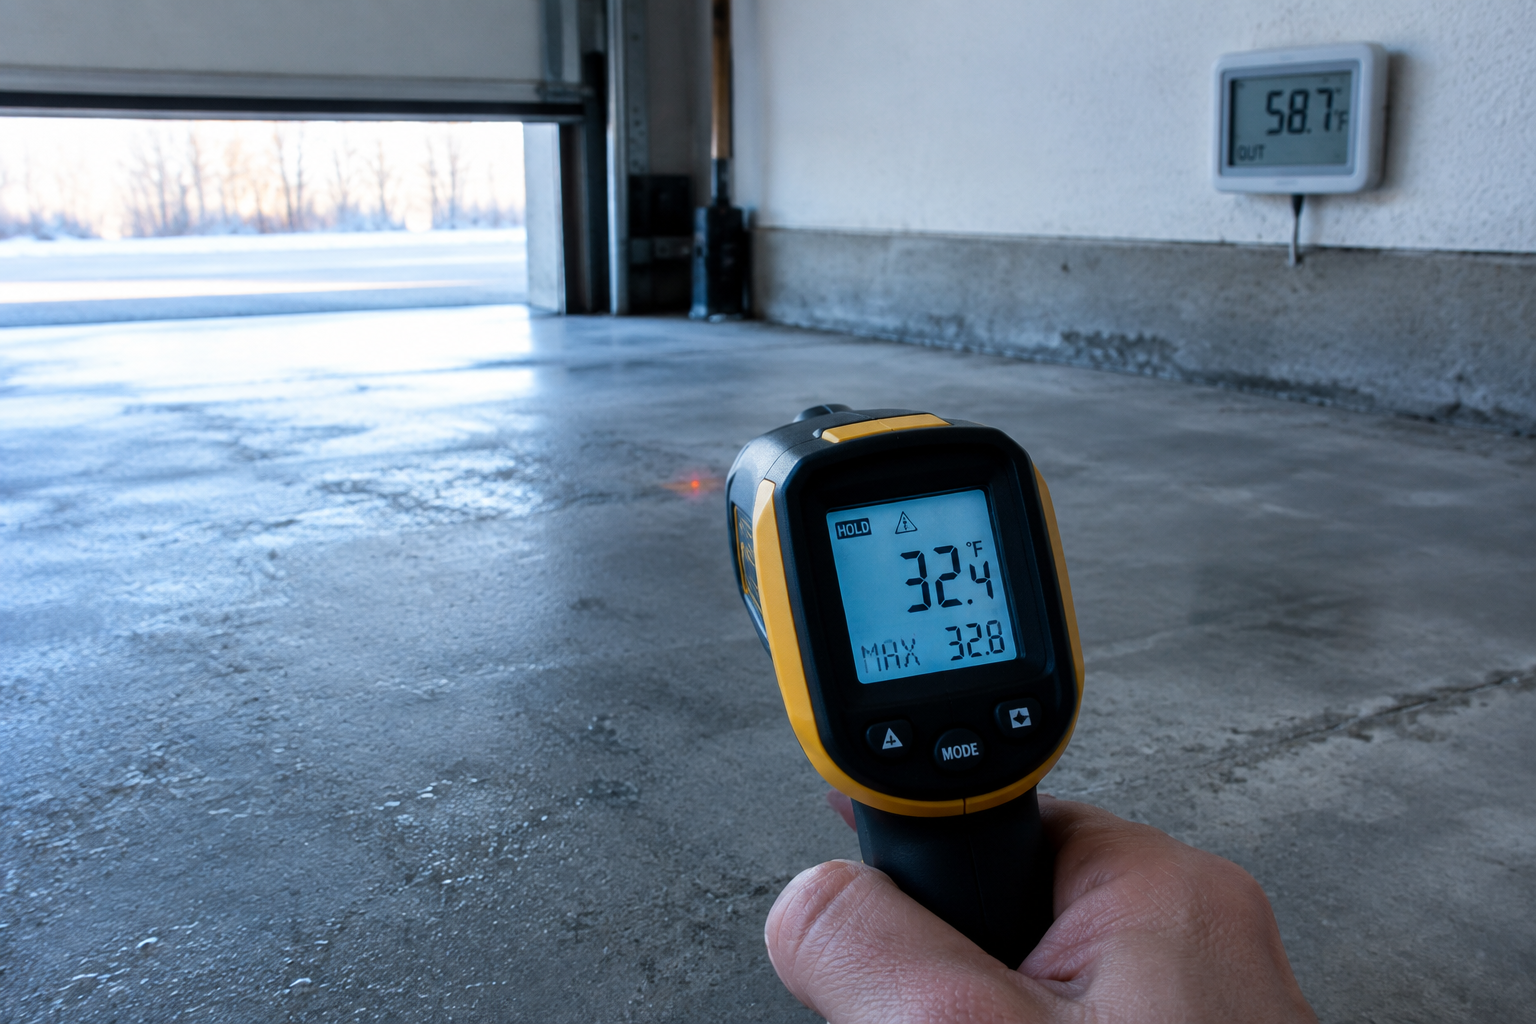
Most people check the thermostat or a weather app and call it good. That’s a mistake. Concrete is a massive thermal mass, and it holds onto cold far longer than the air around it does.
Your garage air might read 55 degrees by mid-afternoon, but the slab underneath could still be sitting at 40 degrees or lower, especially if it’s an unheated, unattached slab in direct contact with frozen ground. Epoxy cures based on the temperature of the surface it’s bonded to, not the air temperature you’re comfortable working in.
Always measure the slab itself with an infrared thermometer, not the room. Point it at several spots across the floor, including corners and areas near the garage door, since those tend to run colder than the center of the slab. A cheap infrared thermometer is one of the best five-dollar insurance policies you can buy for a flooring project, and it takes the guesswork out of the equation completely.
Minimum Temperature Specs for Epoxy Products
Every epoxy system has a manufacturer-listed minimum application temperature, and it’s not a suggestion. Most residential water-based and solvent-based epoxy kits list a minimum slab temperature somewhere between 50 and 60 degrees Fahrenheit, with many specifically calling out 55 degrees as the cutoff for reliable curing.
Below that threshold, the resin and hardener don’t cross-link the way they’re supposed to. The chemical reaction that turns liquid epoxy into a hard, durable coating slows dramatically as temperatures drop, and below the manufacturer’s minimum it can stall out almost entirely, leaving you with a soft, tacky surface that never fully hardens.
Some 100% solids epoxies and specialty cold-cure formulas are rated down to around 35 to 40 degrees, but these are the exception, not the rule, and they usually cost more. If you’re shopping for a kit specifically because you’re working in a cooler garage, check the technical data sheet before you buy, not after.
Rust-Oleum EpoxyShield Garage Floor Coating Kit
A widely available DIY kit with a clearly listed minimum application temperature, making it easy to plan around cooler weather.
Whatever kit you choose, take the time to read the full technical data sheet, not just the label on the front of the box. Manufacturers bury the important numbers, like minimum slab temperature and recoat windows, in the fine print, and those details matter far more in cold weather than they do in July.
How Cold Affects Mixing, Flow, and Working Time
Cold epoxy behaves differently from the moment you start mixing it. Resin and hardener both thicken as temperature drops, which means you get a less complete chemical reaction if you mix for the same amount of time you would on a warm day.
Increase your mixing time slightly in cold conditions, and scrape the sides and bottom of the bucket more thoroughly than usual. Unmixed streaks are far more likely to show up in cold epoxy because the material doesn’t flow together as easily.
Pot life and open time also stretch out in the cold, which sounds like an advantage but often isn’t. Slower cure means the epoxy stays wet and workable for longer, so dust, debris, and foot traffic have more time to get trapped in the surface before it sets up.
Flow and self-leveling suffer too. Cold epoxy is noticeably thicker as you pour it, so it doesn’t spread and level itself out the way it does at 75 degrees. You’ll need to work faster with your squeegee and roller, and you may see more visible lines or lap marks if you let the material sit too long before back-rolling.
Adhesion Problems Unique to Cold Slabs
Poor adhesion is the most expensive mistake you can make with epoxy, and cold weather is one of the leading causes of it. When a slab is cold, any moisture in the concrete pores moves more slowly, and the epoxy has a harder time penetrating and mechanically bonding to the surface.
This is closely related to a problem covered in our guide on garage floor moisture problems, because cold and moisture often show up together. A slab that tested dry in September can behave completely differently in December once the ground underneath it drops in temperature and starts pulling moisture upward through capillary action.
If you’ve already had trouble with coating failure, it’s worth reading through our breakdown of why garage floor paint wears off, since a lot of the same root causes apply to epoxy adhesion failures in cold conditions. Weak surface prep combined with a cold slab is close to a guaranteed failure within the first year.
Heating the Garage Safely Before and During Application
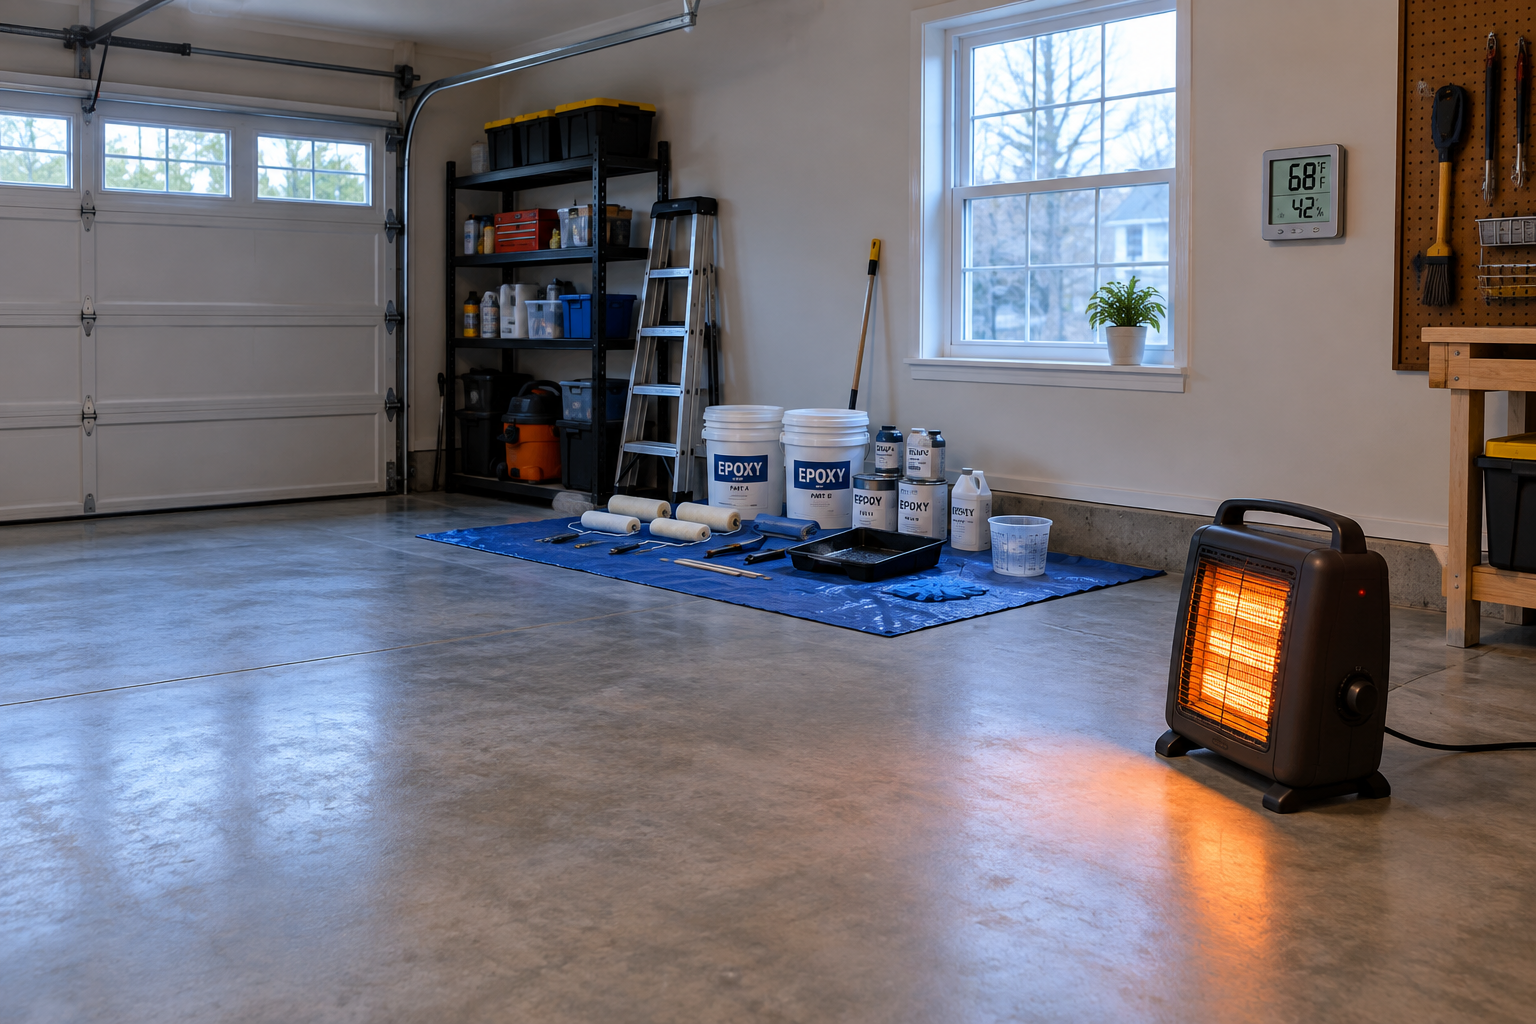
If your slab is running below the manufacturer’s minimum, the fix is to raise the temperature before you start, not to apply the coating anyway and hope for the best. Give yourself at least 48 to 72 hours of consistent heating before application, since it takes time for warmth to soak into several inches of concrete, not just the air above it.
Electric space heaters are the safest option during epoxy work. Combustion heaters, including propane and kerosene units, release moisture and carbon monoxide as combustion byproducts, and that moisture can condense right on your curing epoxy and ruin the finish. If you’re using any fuel-burning equipment in the garage for other reasons, our guide on generator safety and CO risks covers why that combination is dangerous in an enclosed space.
Keep heaters running throughout the cure window, not just before you start pouring. A sudden temperature drop overnight, like when a heater shuts off or a cold front rolls through, can cause the epoxy to blush or cure unevenly, leaving soft spots that never fully harden.
Lasko Ceramic Space Heater
A dependable electric heater option for warming a garage slab without introducing combustion moisture into your cure area.
If cold garages are a recurring problem beyond just flooring projects, it’s worth addressing the bigger picture with our guide on fixing a cold garage with insulation and weatherproofing. A properly insulated garage holds heat far more consistently, which makes every future coating project easier.
Condensation Risk During Cold Weather Cure
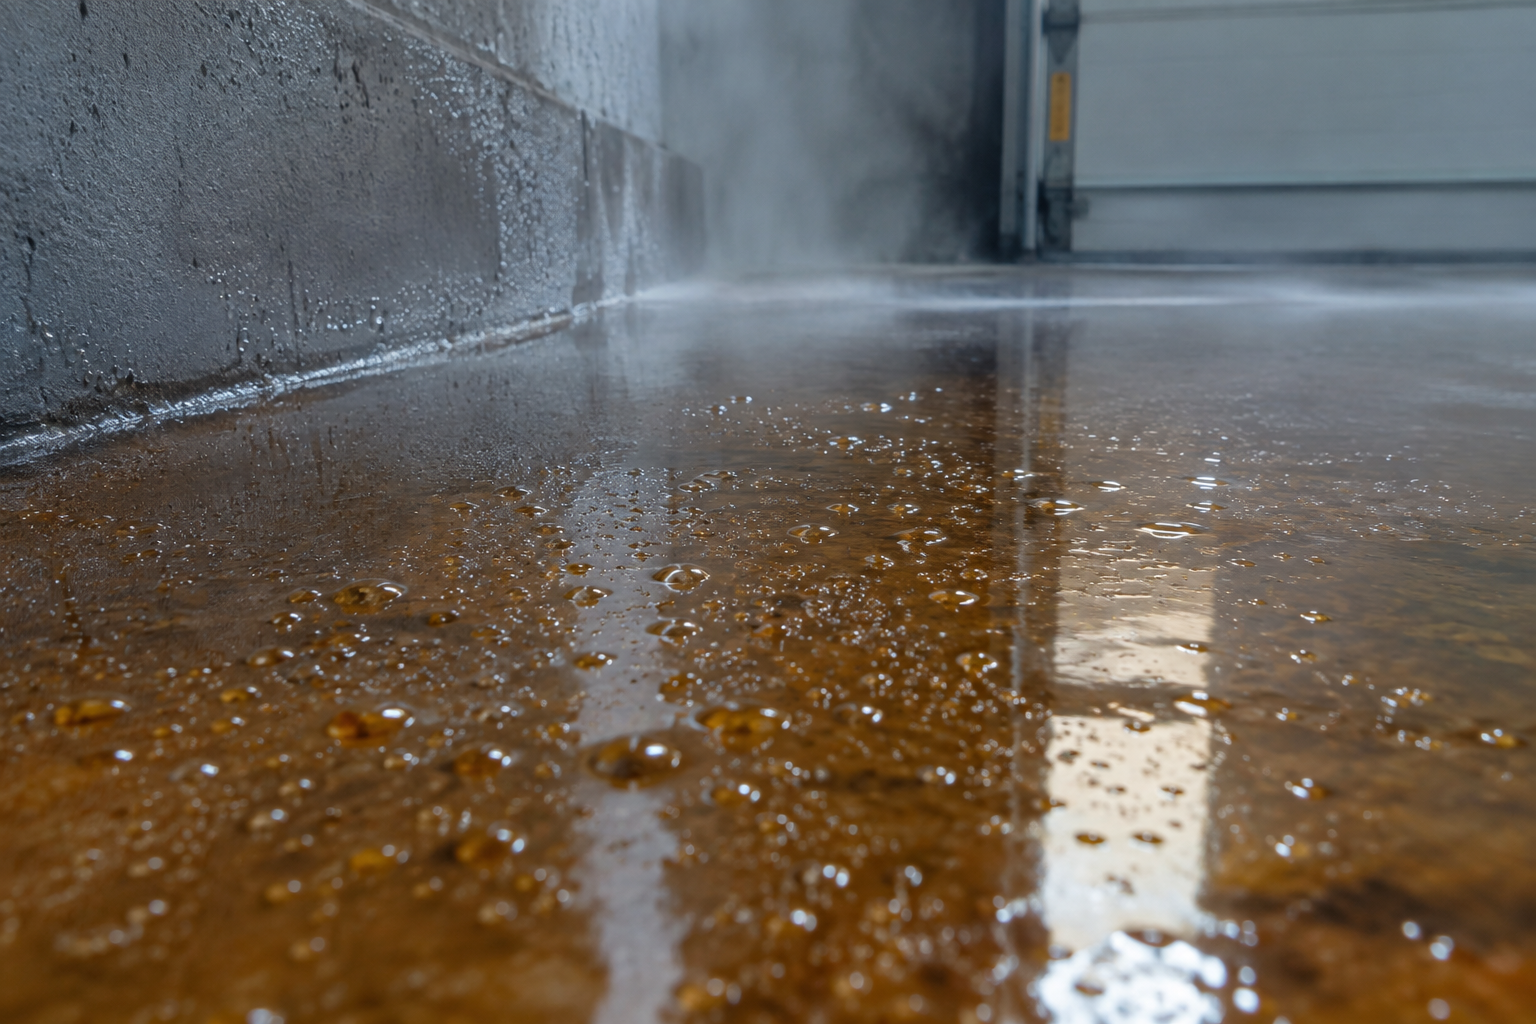
Condensation is the silent killer of a lot of cold-weather epoxy jobs. When a heated slab sits inside a cold, humid garage, moisture in the air can condense right onto the wet epoxy surface, especially overnight when temperatures swing.
That surface moisture interferes with the cure and often shows up as a hazy, blotchy, or amine-blush finish once the coating dries. It can also weaken the top layer enough that a topcoat won’t bond properly.
Keep the dew point in mind, not just the temperature. If the slab temperature is within a few degrees of the dew point, you’re in the danger zone for condensation regardless of what the thermostat says. A basic hygrometer paired with your infrared thermometer gives you both numbers you need before you commit to pouring.
Good airflow helps here too. If your garage tends to run humid in general, it’s worth working through our tips on fixing high garage humidity and ventilating your garage before you schedule a cold-weather epoxy job, since both moisture and stagnant air work against a clean cure.
When to Just Postpone the Job
Sometimes the right call is to wait for spring. If your slab consistently reads below 50 degrees and you can’t realistically heat and hold the space above that threshold for several days, postponing is cheaper than redoing a failed floor.
Watch the extended forecast too, not just the day you plan to apply the coating. A cold snap during the recoat window or the first 24 to 48 hours of cure can undo days of careful heating and prep work.
If you’re not ready to commit to epoxy this season, a coat of garage floor paint or one of the ideas in our garage floor paint ideas roundup can hold you over as a temporary refresh. It’s not as durable as epoxy long term, but it gives you a clean-looking floor without fighting winter temperatures.
You can also use the downtime productively. Winter is a good season to sort out storage before your epoxy project, and browsing options like garage cabinet ideas or garage shelving ideas now means everything is off the floor and ready to move the day you actually pour.
FAQ
What is the lowest temperature you can epoxy a garage floor?
Most standard epoxy kits require a slab temperature of at least 50 to 55 degrees Fahrenheit, with air temperature ideally in the same range or slightly higher. Specialty cold-weather formulas can go as low as 35 to 40 degrees, but always check the specific product’s technical data sheet rather than assuming.
Can epoxy cure if the garage is too cold?
It can partially cure, but it often stays soft, tacky, or improperly bonded, and it may never reach full hardness or chemical resistance. A slow or incomplete cure in cold weather is one of the most common causes of early coating failure and peeling.
How long should you heat a garage before applying epoxy?
Plan on 48 to 72 hours of consistent heating before you start, since concrete holds cold deep into the slab and needs time to warm through, not just at the surface. Keep heating running during application and through the full cure window as well.
Does cold weather cause epoxy bubbles or bumps?
Cold itself isn’t the main cause of bubbling, but slower cure times in cold weather give trapped air and outgassing moisture more time to form bubbles before the surface sets. If you’re dealing with this issue, our guide on fixing epoxy floor bubbles walks through the causes and fixes in detail.
This article contains affiliate links. We may earn a small commission at no extra cost to you.
