

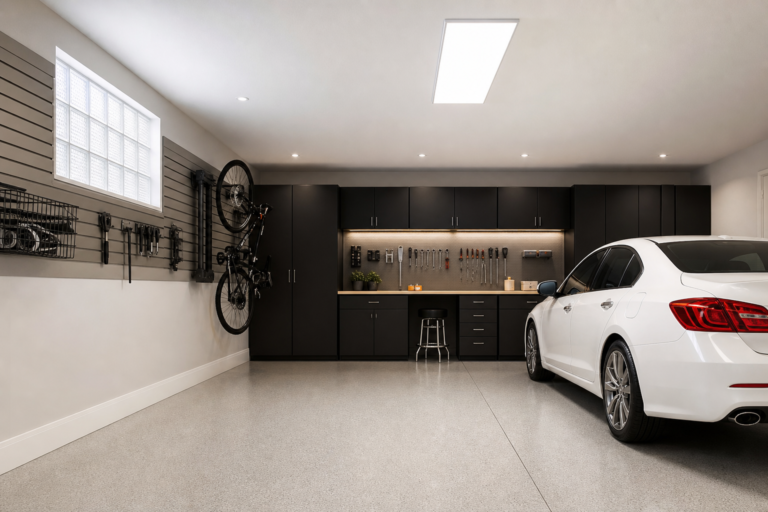
Whether you’ve been planning to add natural light to windowless garages for months or decided to tackle it this weekend, a clear roadmap makes all the difference. Preparation accounts for about 80% of the success in projects like this.
Everything you need is below: tools, materials, step-by-step instructions, and the common pitfalls to avoid.
Understanding the Basics
Color temperature (Kelvin) determines light quality. 5000K (daylight) gives crisp, color-accurate illumination ideal for garages. 4000K (neutral white) is slightly warmer if you find daylight too harsh. Avoid warm-white bulbs (2700-3000K) for workshop use since they make it harder to see fine detail.
LED shop lights are the standard: 50,000+ hour lifespan, low electricity consumption, and instant full brightness. Linkable models daisy-chain from one outlet. Most manufacturers limit chains to 4 to 8 fixtures to prevent voltage drop that causes dimming or flickering on distant units.
Target 50 lumens per square foot for general garage use. A 400 square-foot two-car garage needs at least 20,000 lumens total. For workbench detail, boost to 300 lumens per square foot with dedicated task lighting positioned to minimize shadows.
Placement matters as much as total output. Evenly spaced fixtures eliminate dark spots. Four to six 4-foot LED shop lights in rows cover most two-car garages well. Add a task light directly above the workbench, positioned so you don’t cast your own shadow on the work surface.
Tubular Skylights: Actual Daylight Without Full Windows
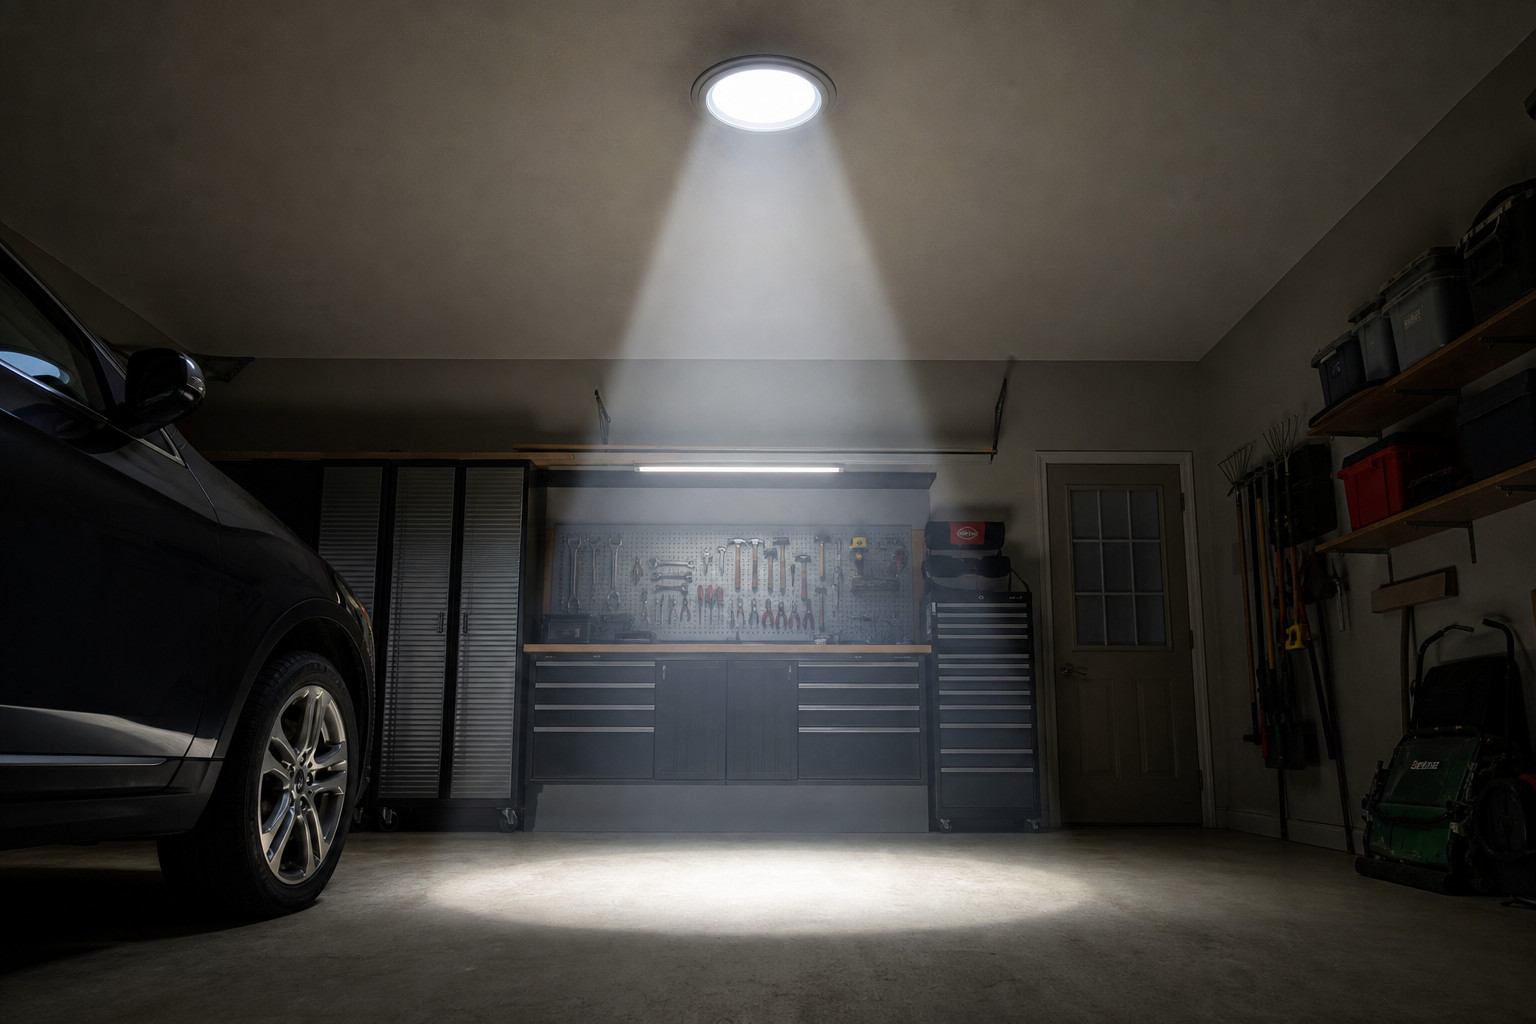
Tubular skylights (also called solar tubes or sun tunnels) bring real sunlight into windowless garages through a reflective tube running from the roof to the ceiling. They install faster and cheaper than traditional skylights since the opening is smaller (10 to 14 inches diameter vs 24+ inches for most skylights). No massive roof cuts, no structural headers, no interior drywall rebuilding.
A typical tubular skylight installation runs budget-friendly in materials. Figure half a day to a full day for the install if you’re comfortable working on the roof and cutting through sheathing and drywall. Hire a roofer or handyman if you’re not. Poorly flashed roof penetrations leak, and garage ceiling water damage spreads fast.
Placement depends on roof access and interior layout. You want the tube as short and straight as possible. Every bend and extra foot of tube reduces light transmission. Ideal spots: directly above the main work area or in the center of the garage for even spread.
Light output varies by tube diameter and roof exposure. A 10-inch tube in full sun delivers roughly 200 to 400 watts of incandescent-equivalent light on a sunny day. Overcast days drop that significantly. Northern climates with long winters get less benefit than southern states with year-round sun. Tubular skylights work best as supplemental light, not your only source.
Installation cuts through roofing, sheathing, insulation (if present), and the garage ceiling. You’ll need a reciprocating saw or jigsaw, roofing sealant, flashing kit (usually included with the skylight), and basic hand tools. Follow the manufacturer’s template exactly. An off-center cut means gaps around the ceiling diffuser or flashing that won’t seal properly.
Flashing is critical. Use the provided flashing kit and follow the instructions for your roof type. Shingle roofs require step-flashing that weaves into the shingle courses. Metal roofs need different mounting hardware. Seal every fastener penetration with roofing sealant rated for your climate. A badly flashed skylight will leak within the first hard rain.

Tubular Skylight Kit
Complete kits include all flashing and mounting hardware for professional results
Motion-Activated and Automatic Lighting
Motion sensors eliminate the need to fumble for switches when your hands are full. They also prevent lights left on overnight that waste electricity and shorten bulb life (even LEDs degrade faster under constant use).
Most motion sensors mount in a standard light socket or replace existing wall switches. Socket-mounted models screw in like a bulb, then your LED shop light or bulb screws into the sensor. Wall-switch replacements require basic electrical knowledge: turn off the circuit, remove the old switch, connect hot and neutral wires to the motion switch, restore power.
Detection range and sensitivity matter. A sensor rated for 20 feet in all directions covers a two-car garage. Cheaper models with narrower detection angles miss motion at the sides and corners. Adjustable sensitivity settings prevent false triggers from small animals or wind-blown debris near the door.
Time delay settings control how long lights stay on after motion stops. Most models offer 30 seconds to 10 minutes. Shorter delays save energy but cause lights to click off mid-project if you stand still too long. Longer delays keep the space lit during active work but waste power if you step outside for a few minutes.
Smart Lighting and Daylight Simulation
Smart bulbs and fixtures simulate natural daylight cycles or respond to voice commands and schedules. Some models adjust color temperature through the day: cooler 5000K light in the morning, warmer 3000K in the evening. This mimics outdoor light but isn’t necessary for most garage work. The benefit is convenience, not performance.
Smart systems require a hub (Google Home, Alexa, Apple HomeKit) or a direct Wi-Fi connection. Setup involves screwing in the bulb, downloading an app, connecting to your network, and configuring scenes or schedules.
Reliability varies. Wi-Fi congestion or router issues can make lights unresponsive. Stick with major brands (Philips Hue, LIFX, GE Cync) that get firmware updates and have decent app support. Cheap off-brand smart bulbs often lose connection or stop responding after a few months.
For most garages, simple LED shop lights on a motion sensor outperform smart bulbs on value and reliability. Smart lighting makes sense if you already have a whole-home system and want garage integration, or if you use the garage as a workshop with specific lighting needs for different tasks.
Installing Standard LED Shop Lights
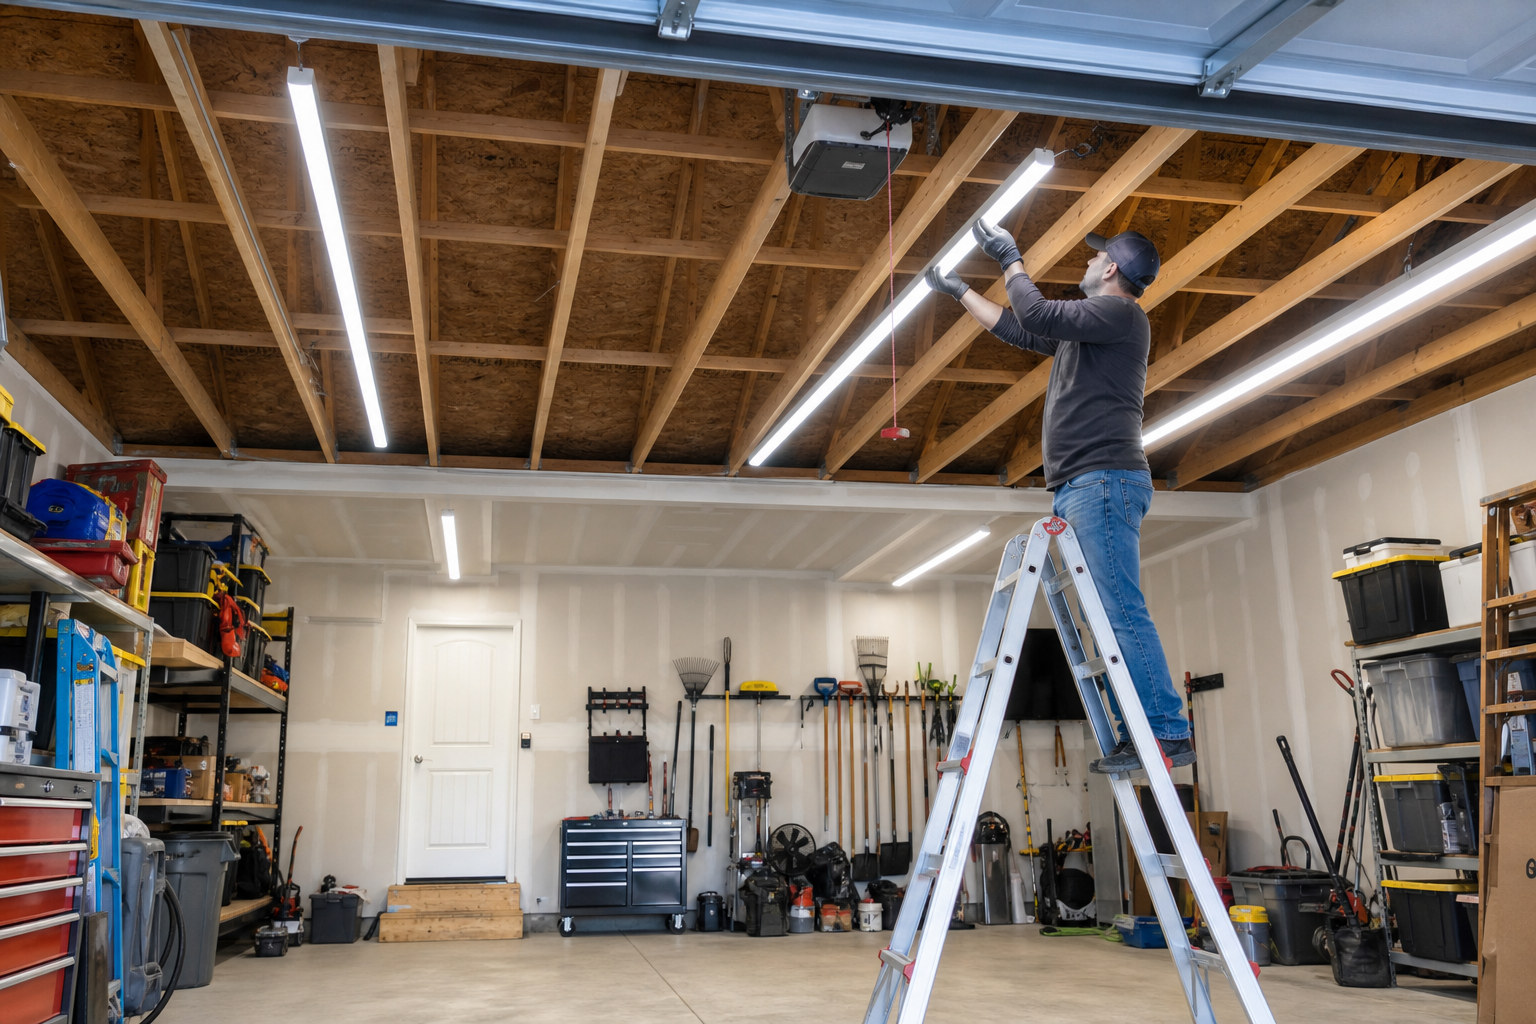
Four-foot LED shop lights remain the most cost-effective solution for windowless garages. A two-car garage needs four to six fixtures for even coverage.
Mounting options: surface-mount directly to ceiling joists, or hang from chains if you need adjustable height. Surface-mount is cleaner and more permanent. Hanging works better if you need lights positioned between joists or want to lower them closer to the work surface.
Power the fixtures from existing ceiling outlets or run new wiring. If you have an outlet, use linkable fixtures to daisy-chain from one power source. If not, hire an electrician to add a circuit or extend an existing one. DIY electrical work is legal in most states but must meet code. Get it inspected if required.
Wiring a new circuit: 14-gauge wire for 15-amp circuits, 12-gauge for 20-amp. Run the wire through the attic or along the ceiling joists to each light location. Use junction boxes at each fixture. Mount the fixtures to joists with the provided hardware (usually screws into wood or toggle bolts for drywall ceilings without joist access).
Space fixtures evenly. Measure the garage length and divide by the number of lights plus one. A 24-foot garage with four lights: 24 ÷ 5 = 4.8 feet between lights and from the walls. This spacing eliminates dark corners and shadows.

Linkable LED Shop Lights
Daisy-chain capability saves on electrical work and provides clean installation
Task Lighting for Workbench and Detail Work
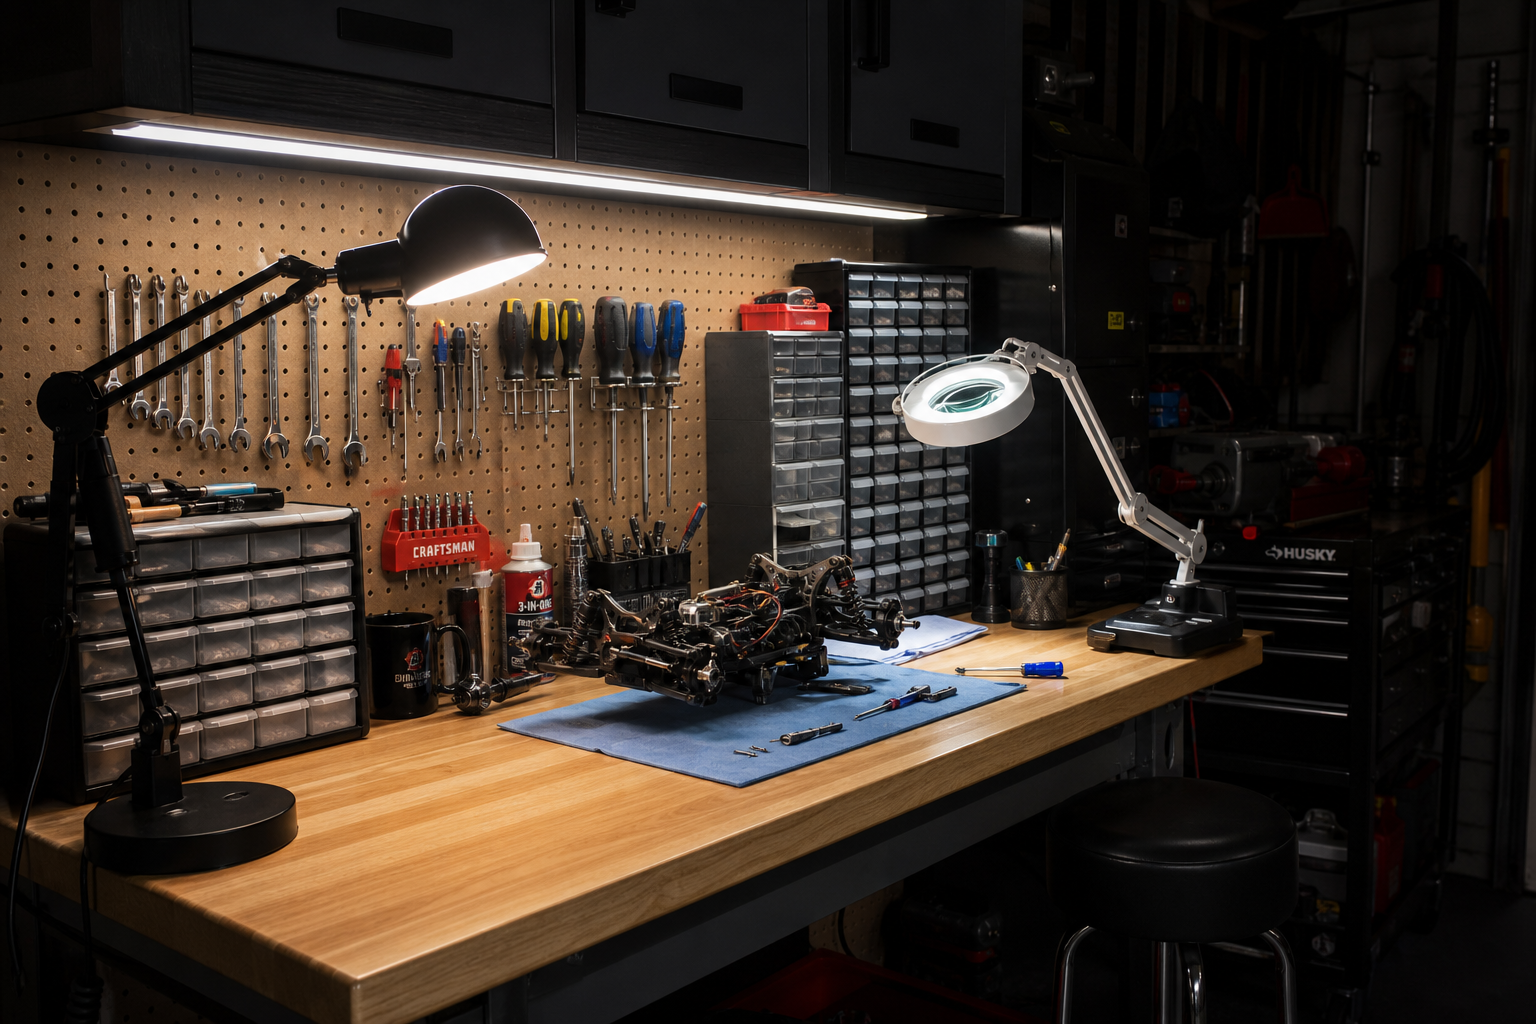
General overhead lighting handles basic visibility. Task lighting handles precision work: electronics repair, finish carpentry, automotive detailing, anything requiring close focus. This type of focused lighting can enhance any garage workshop setup.
Clamp-on LED desk lamps or articulating arm fixtures work well. Position the light so it shines on the work surface from an angle (not directly overhead) to reveal texture and depth. A light behind you casts your shadow on the work. A light in front causes glare. Side or three-quarter angles eliminate both problems.
Lumen requirements jump for task work: 300 lumens per square foot minimum. A 2×4-foot workbench surface (8 square feet) needs 2,400 lumens of direct light. Most adjustable task lamps deliver 800 to 1,500 lumens, so you’ll need two positioned at opposite corners or sides.
Adjustable color temperature helps for different tasks. Cooler 5000K light shows true colors for paint matching and finish work. Warmer 3000K reduces eye strain during long sessions. Fixtures with dual settings (or dimmable smart bulbs) let you switch based on the job. Check out our guide on workbench lighting solutions for more specific recommendations.
What Not to Do
Don’t over-rely on portable work lights or battery-powered lanterns as primary lighting. They work for temporary setups or job sites but aren’t a permanent solution. Batteries die mid-project, and moving lights around wastes time.
Don’t install incandescent or halogen bulbs thinking they’re “brighter.” They consume more power, generate heat that’s uncomfortable in summer, and burn out in 1,000 to 2,000 hours (vs 50,000+ for LEDs). The upfront savings evaporate after replacing them 25 times.
Don’t chain more LED shop lights than the manufacturer allows. Voltage drop causes flickering, dimming, and premature ballast failure. If you need more than the max daisy-chain count, run a second circuit or use a splitter closer to the middle of the string.
Don’t ignore existing wiring condition. Old cloth-insulated wiring, aluminum wiring, or circuits already running near capacity aren’t safe to load up with new fixtures. Have an electrician inspect before adding lights to a circuit that already powers outlets, openers, or other devices.
Practical Planning Tips
Research local building codes and permit requirements for your specific project. Electrical work, structural modifications, and HVAC installations often require permits and inspections. Working without required permits can create liability issues, insurance complications, and problems when selling the home.
Set a realistic timeline and budget before buying anything. Most garage projects take 50% longer and cost 20% more than initial estimates, especially for first-timers. Build that buffer into your plan so unexpected discoveries don’t derail the entire project or blow the budget.
Consider the seasonal timing of your project. Floor coatings apply best in mild weather (50 to 85 degrees). Insulation projects are most motivating (and noticeable) before extreme weather hits. Electrical and plumbing work can happen year-round but should be completed before insulating or finishing walls over the wiring.
Prioritize your projects based on impact and urgency. Safety issues (faulty wiring, CO risk, structural problems) come first. Comfort improvements (insulation, lighting, climate control) come second. Cosmetic upgrades (floor coatings, paint, organization systems) come last. Following this order ensures you’re building each improvement on a solid foundation.
Tips for Better Results
- Work in sections small enough to finish before material sets. Consistent technique across sections produces the most uniform results.
- Clean between major steps. Tidy workspaces produce fewer errors and better-looking final results.
- Read all product instructions before opening anything. Temperature, humidity, and timing requirements affect when and how you can work.
- Stage tools and materials within reach before starting. Mid-project supply runs interrupt time-sensitive steps.
- Test light placement before permanent mounting. Use clamps or temporary supports to position fixtures, then work under them for an hour to catch shadows or glare you didn’t notice on paper.
- Label circuits and switches. If you’re adding new lighting circuits, mark the breaker and switch clearly so you know what controls what.
Dealing with Concrete Ceilings and Finished Spaces
Unfinished garages with exposed joists make lighting installs simple: screw fixtures directly into wood. Finished ceilings with drywall or concrete slabs complicate things.
For drywall ceilings with no joist access, use toggle bolts rated for the fixture weight. Standard drywall anchors won’t hold a 5-pound LED shop light long-term. Toggles spread the load and grip the back of the drywall panel securely. Install them where the fixture mounting holes line up, not randomly.
Concrete ceilings require masonry anchors or adhesive mounts. Drill pilot holes with a masonry bit, tap in plastic or metal anchors, then drive screws through the fixture into the anchors. Adhesive mounts (heavy-duty construction adhesive or epoxy pads) work for lightweight fixtures under 3 pounds but aren’t as secure as mechanical fasteners.
If your garage sits below living space, running new wiring means drilling through floor joists or fishing wire through finished walls. This is tedious work best left to an electrician unless you’re experienced with old-work wiring and patching drywall. Consider this when planning any garage office conversion or gym setup that requires good lighting.
Frequently Asked Questions
What’s the best color temperature for garage lights?
5000K (daylight) provides clear, accurate illumination that’s ideal for most garage work. Choose 4000K (neutral white) if you prefer slightly warmer light that’s less harsh on the eyes.
How many lumens does my garage need?
Target 50 lumens per square foot for general use. A 400 square foot garage needs about 20,000 lumens total. Add task lighting at 300 lumens per square foot over your workbench area for detailed work.
Can I install LED shop lights on a dimmer switch?
Only if the fixture is specifically labeled as dimmable. Non-dimmable LEDs will flicker or fail when connected to a dimmer switch. Always check the product specifications before purchasing.
Do tubular skylights work well in cold climates?
Yes, but condensation inside the tube can form during temperature swings. Insulated tubes and proper flashing reduce this issue. They’re less effective during short winter days when daylight hours are limited, so plan for supplemental artificial lighting.
This article contains affiliate links. We may earn a small commission at no extra cost to you.
