

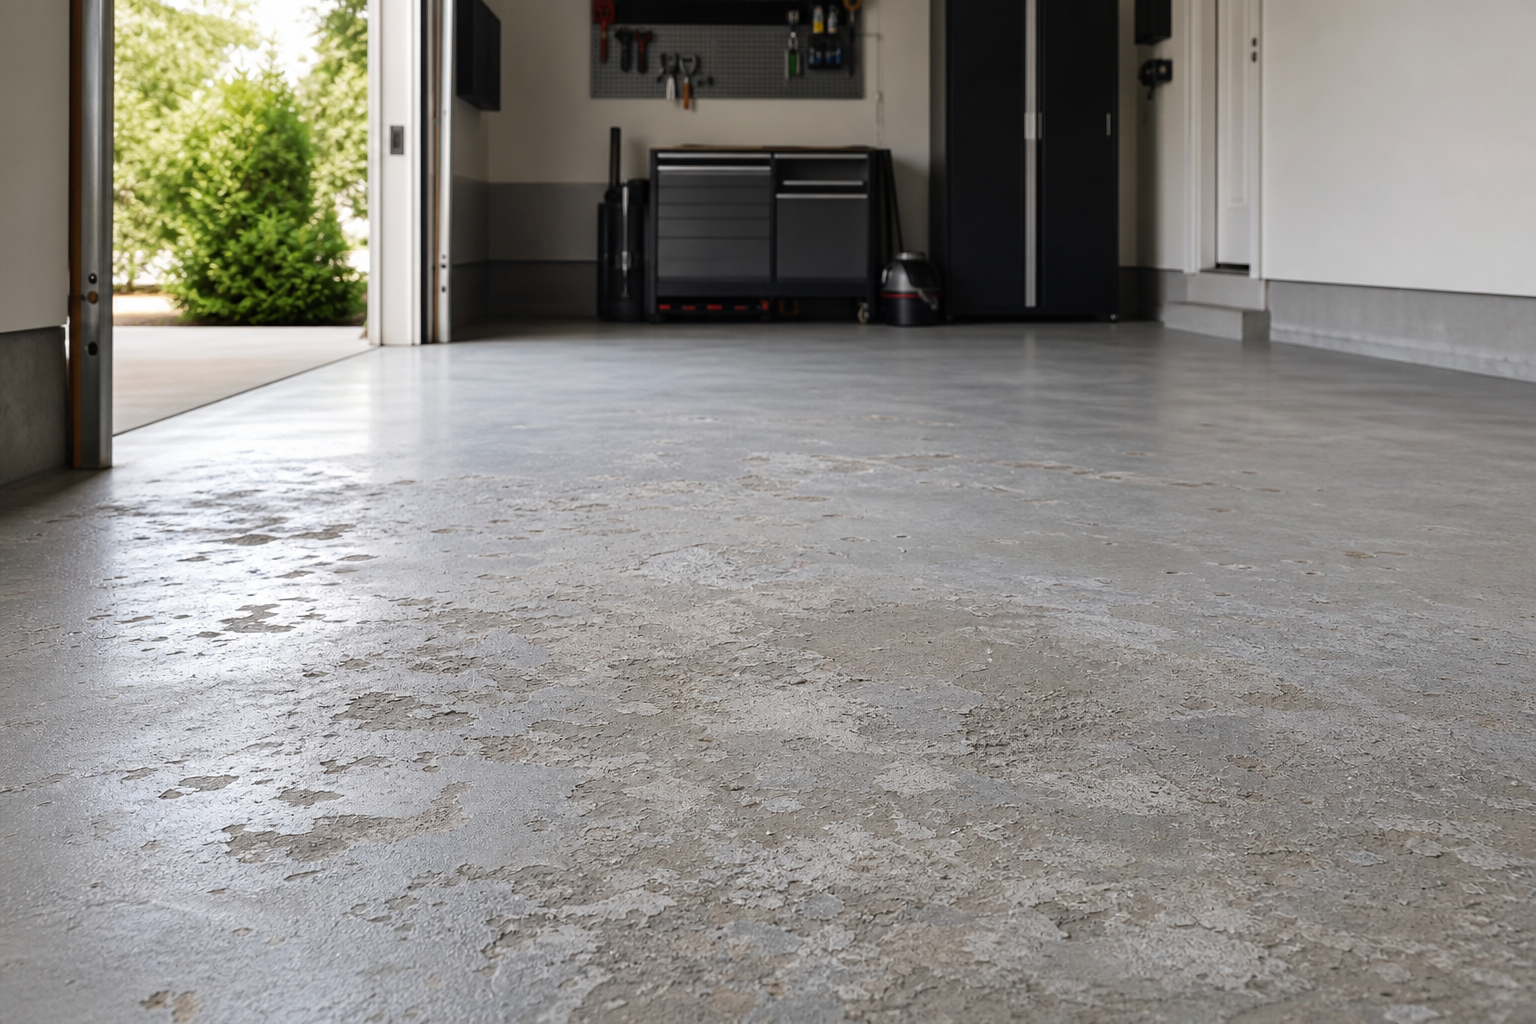
If your concrete garage floor is dusting and flaking, you’re dealing with one of the most reported garage issues. Climate, age, and usage all play a role, but the root causes fall into a surprisingly short list.
This troubleshooting guide covers each possibility with clear explanations and actionable fixes. By the end, you’ll have the problem solved or know exactly what to tell a technician.
Understanding Concrete Floor Problems
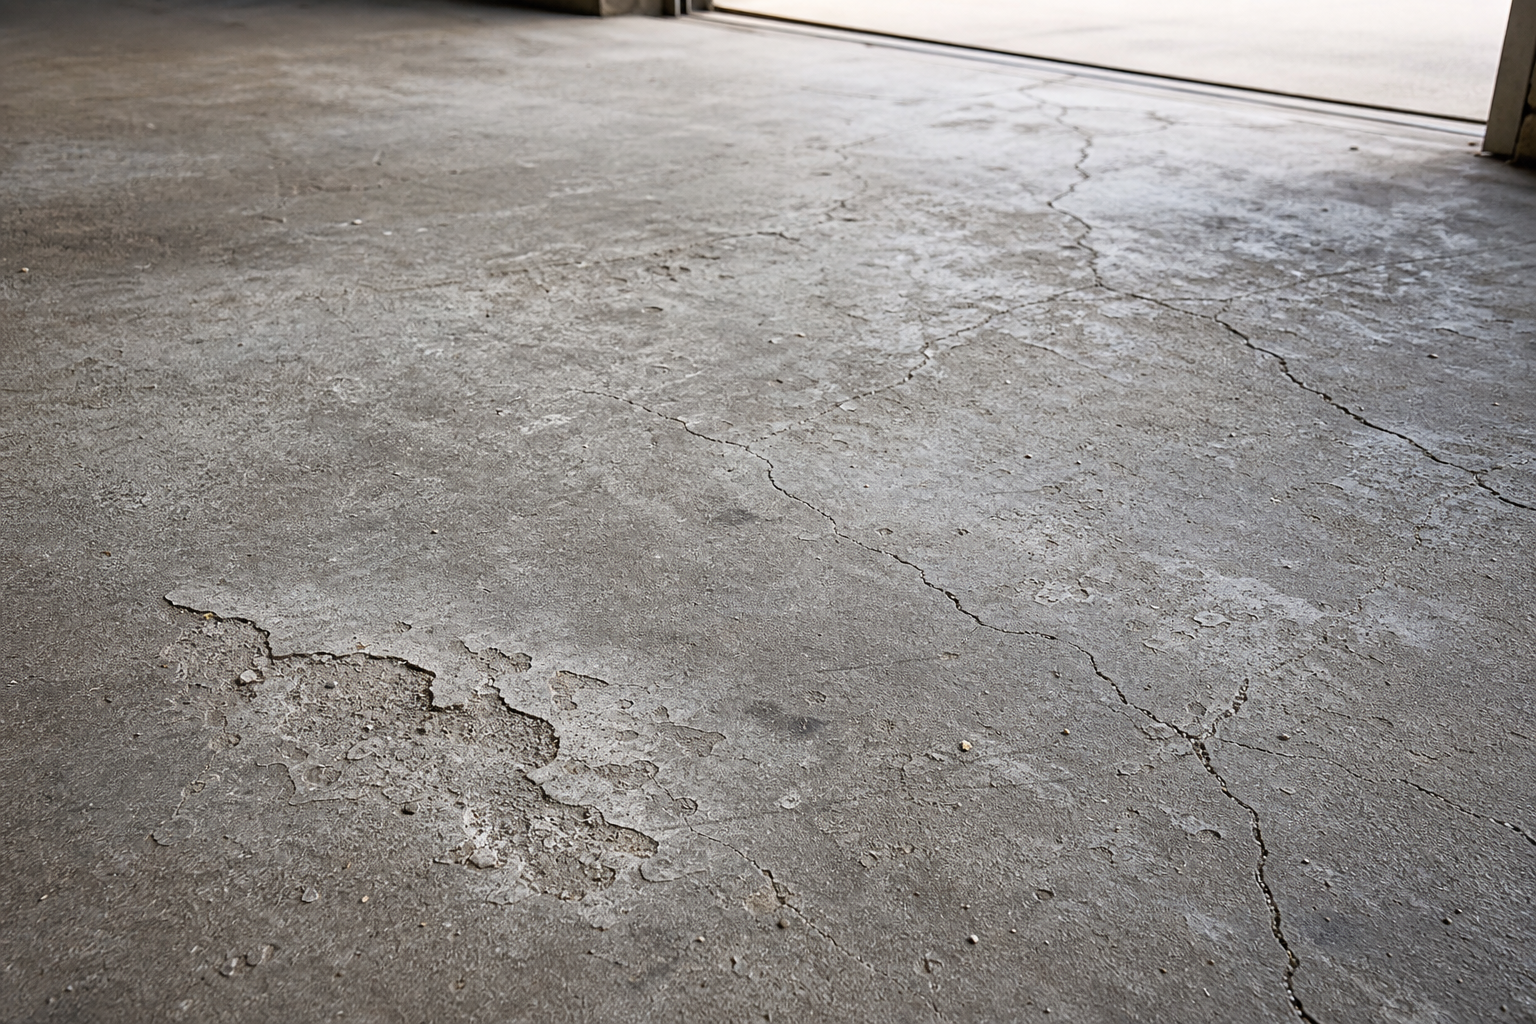
Concrete dusting and flaking happen when the surface layer weakens or deteriorates. Three main culprits cause most problems: freeze-thaw damage, poor original finishing, and natural carbonation over time.
Document every product you use: brand, color, batch number, application date. Future touch-ups need exact material matches. Tape the info inside a cabinet door or take a quick phone photo for your records.
Consider how this change fits the larger garage picture. Improvements in one area can shift dynamics elsewhere. Better insulation changes humidity patterns. Heavy storage affects the floor underneath. Think about interactions.
Spalling from Freeze-Thaw Cycles
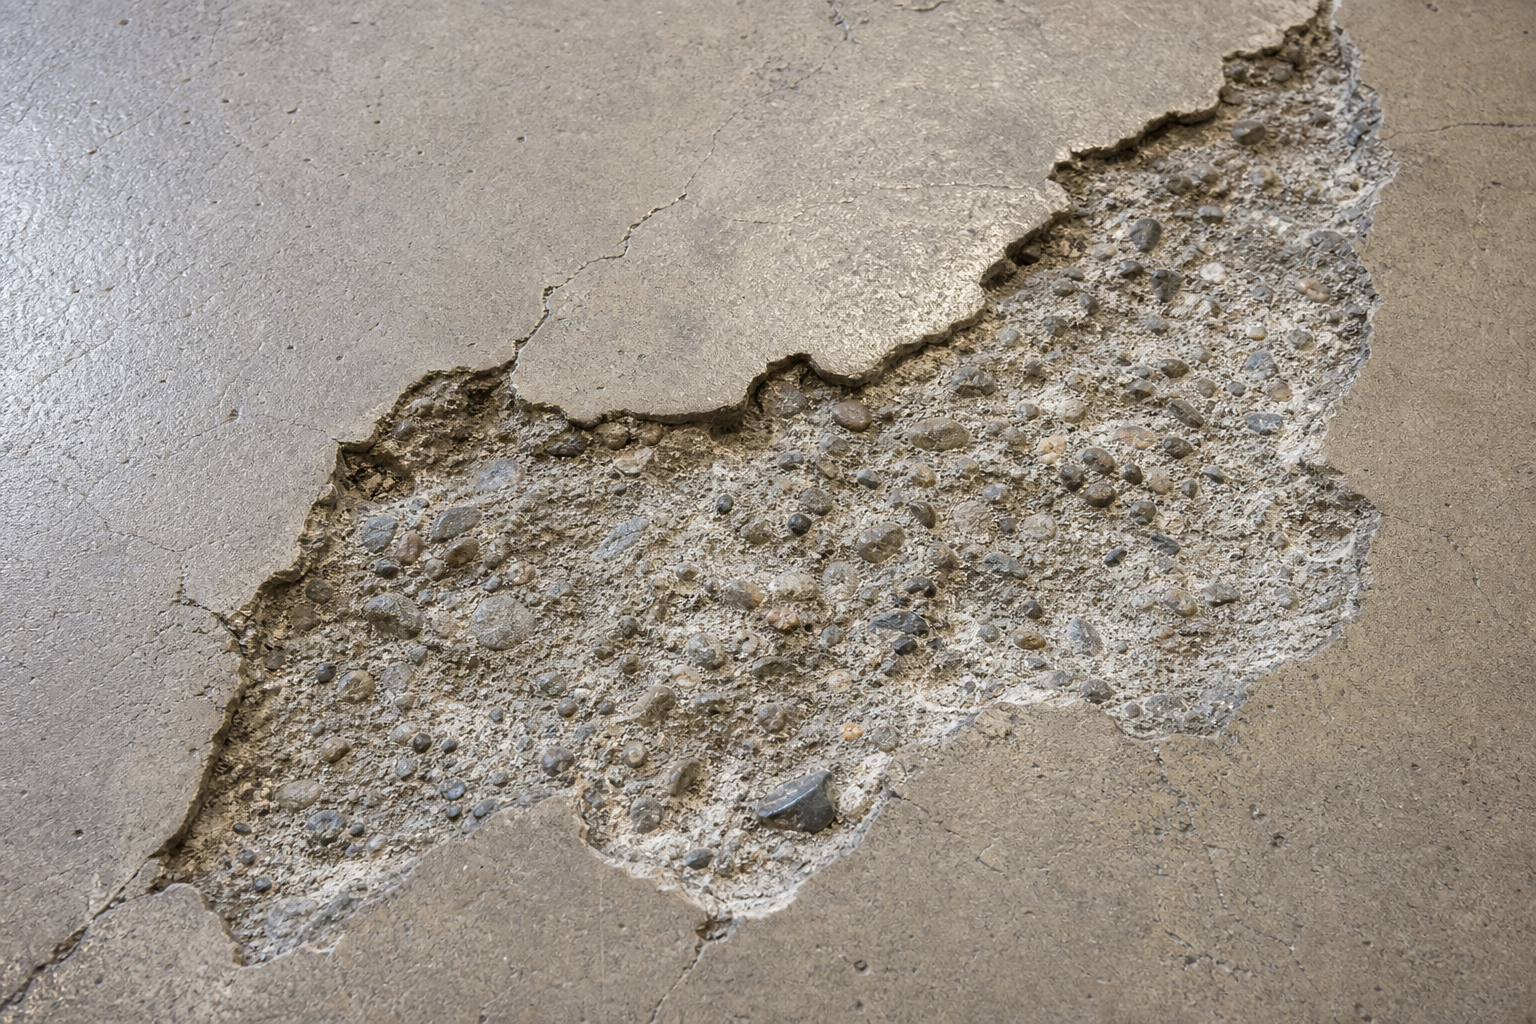
Spalling from freeze-thaw cycles and deicing salt damage creates the most visible floor problems. Water penetrates small cracks, freezes, expands, and breaks off chunks of concrete. Salt accelerates this process by lowering the freeze point and increasing water penetration.
Getting this right requires matching your approach to actual conditions rather than following a generic formula. Climate, surface condition, and usage patterns all influence the best path forward.
Keep the workspace organized throughout. Debris and clutter cause errors and safety issues. Clear tools and waste between major steps rather than letting mess accumulate to the end.
Wear appropriate protection throughout: safety glasses, gloves, respirator when working with chemicals or dust. Ventilate when using adhesives, paints, or solvents. These aren’t optional precautions.
Weak Surface Layer from Poor Finishing
A weak surface layer from poor original finishing and carbonation creates ongoing dusting problems. When concrete cures too quickly or gets overworked during finishing, the top layer becomes powdery and unstable.
Carbonation happens naturally as concrete ages. Carbon dioxide from the air reacts with the cement, gradually weakening the surface. This process is normal but accelerates in poorly finished floors.
Follow manufacturer instructions exactly, even when online tutorials suggest shortcuts. Formulations differ between brands; what works for one product can cause failure with another. If the data sheet says 4 hours between coats at 60 degrees minimum, those numbers aren’t suggestions.
Repair Options and Solutions
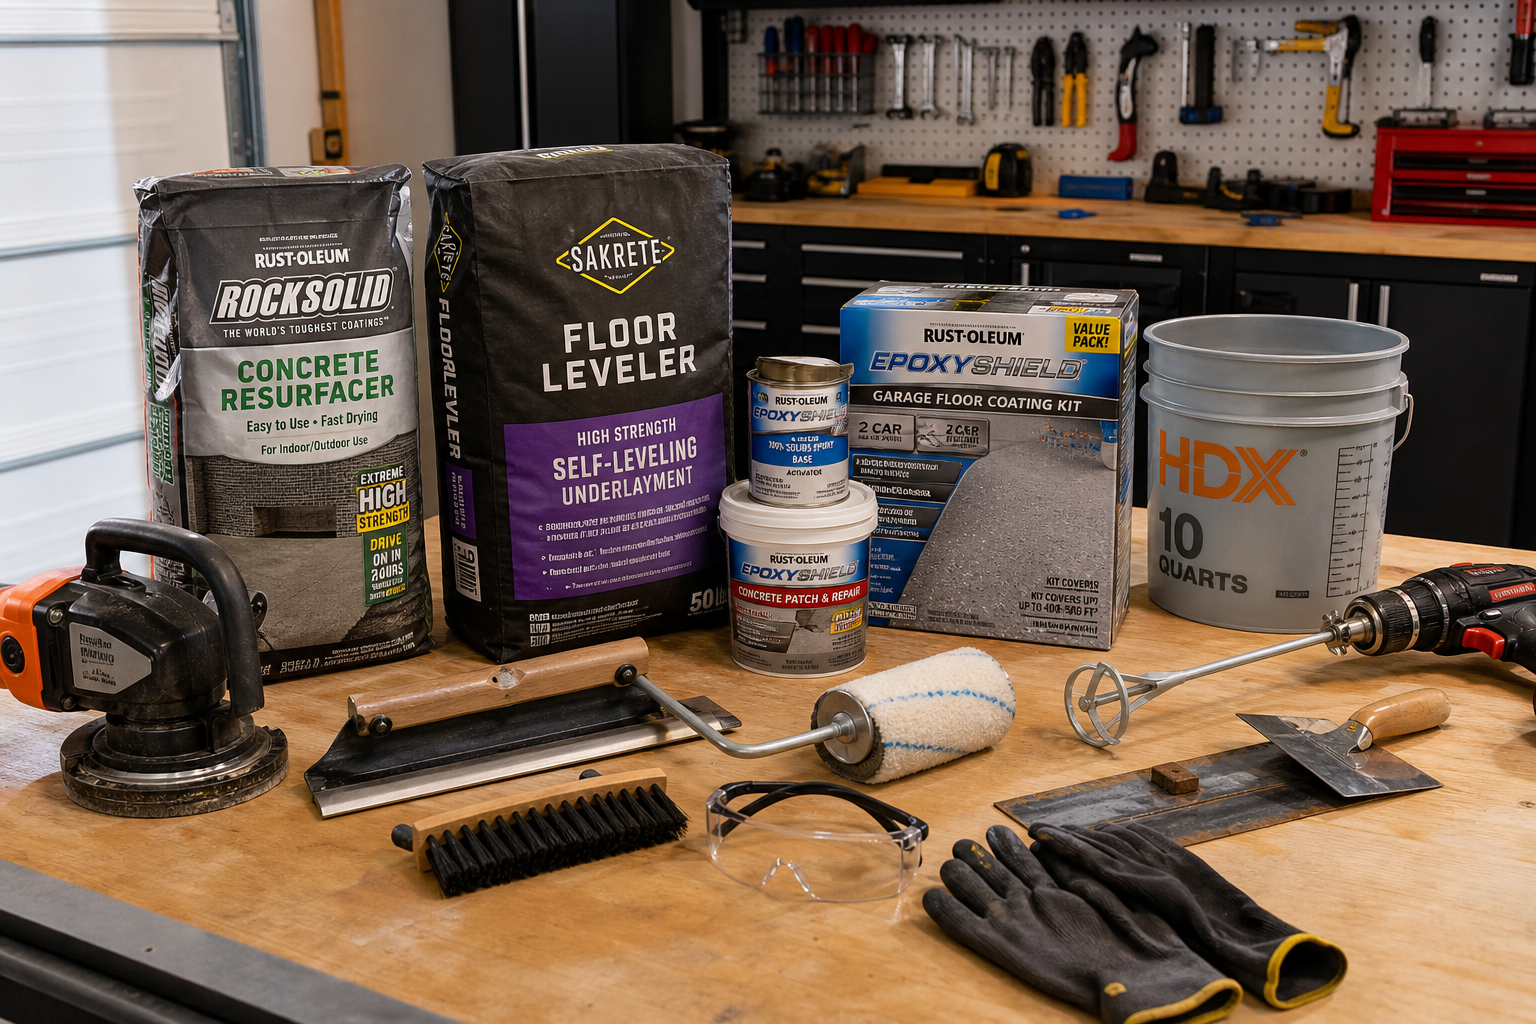
Repair options range from concrete densifiers and sealers for light dusting to skim-coating or grinding for severe spalling. Getting this right requires matching your approach to actual conditions rather than following a generic formula.

Concrete Floor Densifier
Essential for treating light dusting and strengthening weak concrete surfaces
For light dusting, concrete densifiers penetrate the surface and chemically strengthen weak areas. Apply these products to clean, dry concrete and allow full penetration before sealing.
Moderate spalling requires mechanical preparation before treatment. Grind away loose material, clean thoroughly, and apply a penetrating sealer or thin overlay system.
Severe damage may need complete resurfacing. Remove all loose concrete, clean to bare substrate, and apply a polymer-modified overlay or proper epoxy coating system.
Factor in maintenance when choosing your approach. The lowest-maintenance option isn’t always cheapest initially, but it usually wins over a 5 to 10-year window when you include touch-ups, repairs, and replacements.
Application and Timing Considerations
Temperature and humidity control success more than any other factors. Most concrete treatments work best between 50 and 85 degrees Fahrenheit with humidity below 85%.
Never shortcut cure time. Most two-part epoxies need 24 hours for foot traffic, 72 hours for heavy use, and 7 days before vehicle parking. Polyaspartic systems cure faster, often allowing vehicles within 24 hours. Parking too early causes tire marks, soft spots, or full sheet delamination.
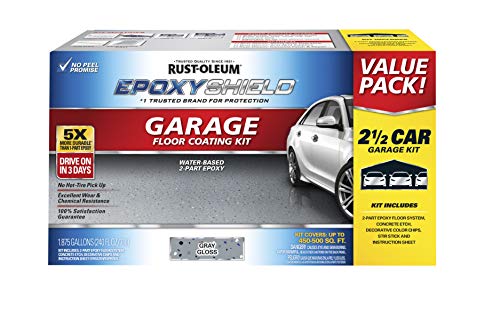
Garage Floor Epoxy Kit
Complete system for DIY floor coating with excellent durability
Apply coatings in the evening when temperatures are falling to avoid outgassing bubbles. Rising temperatures cause trapped air to expand and create surface defects.
Practical Planning Tips
Consider the seasonal timing of your project. Floor coatings apply best in mild weather (50 to 85 degrees). Insulation projects are most motivating (and noticeable) before extreme weather hits.
Before starting any garage project, take stock of what you have and what you need. Walk the space with a tape measure and a notepad. Record dimensions, note existing electrical outlets and their amperage, check for moisture issues, and photograph anything you want to change.
Set a realistic timeline and budget before buying anything. Most garage projects take 50% longer and cost 20% more than initial estimates, especially for first-timers. Build that buffer into your plan so unexpected discoveries don’t derail the entire project or blow the budget.
This baseline assessment prevents surprises mid-project and helps you budget materials accurately. Poor planning causes more project failures than technical mistakes.
When to Call a Professional
DIY covers most of what’s listed above, but some situations need professional help. Structural cracks wider than 1/4 inch, floors with significant settling, and commercial-grade coatings requiring specialized equipment are all worth outsourcing.
A botched repair often costs more to fix than hiring the right person from the start. Complex surface preparation, multiple product systems, and warranty requirements favor professional installation.
Get two to three quotes, verify licensing and insurance, and ask for recent references. A reputable contractor explains the process clearly, provides a written estimate, and backs the work with a written warranty.
Professional installation makes sense for workshop spaces where floor durability directly affects your work quality and safety.
Frequently Asked Questions
What temperature is best for floor coating application?
Between 50 and 85 degrees Fahrenheit with humidity below 85%. Apply in the evening when temperatures are falling to avoid outgassing bubbles that create surface defects.
Are hairline garage floor cracks normal?
Yes. Nearly all slabs develop them during curing. Under 1/8 inch and stable? Cosmetic only. Easy to fill before coating. Wider cracks or those that continue growing need professional evaluation.
Can I coat over an existing floor finish?
If the old coating is well-adhered and just worn thin, scuff-sand it and apply a new topcoat. If it’s peeling or bubbling, strip it completely first. Poor adhesion to old coatings causes complete system failure.
How long do concrete densifiers take to work?
Most densifiers react within 30 minutes but continue strengthening for up to 90 days. You’ll notice reduced dusting immediately, but full hardening takes several weeks of normal garage use.
This article contains affiliate links. We may earn a small commission at no extra cost to you.
