

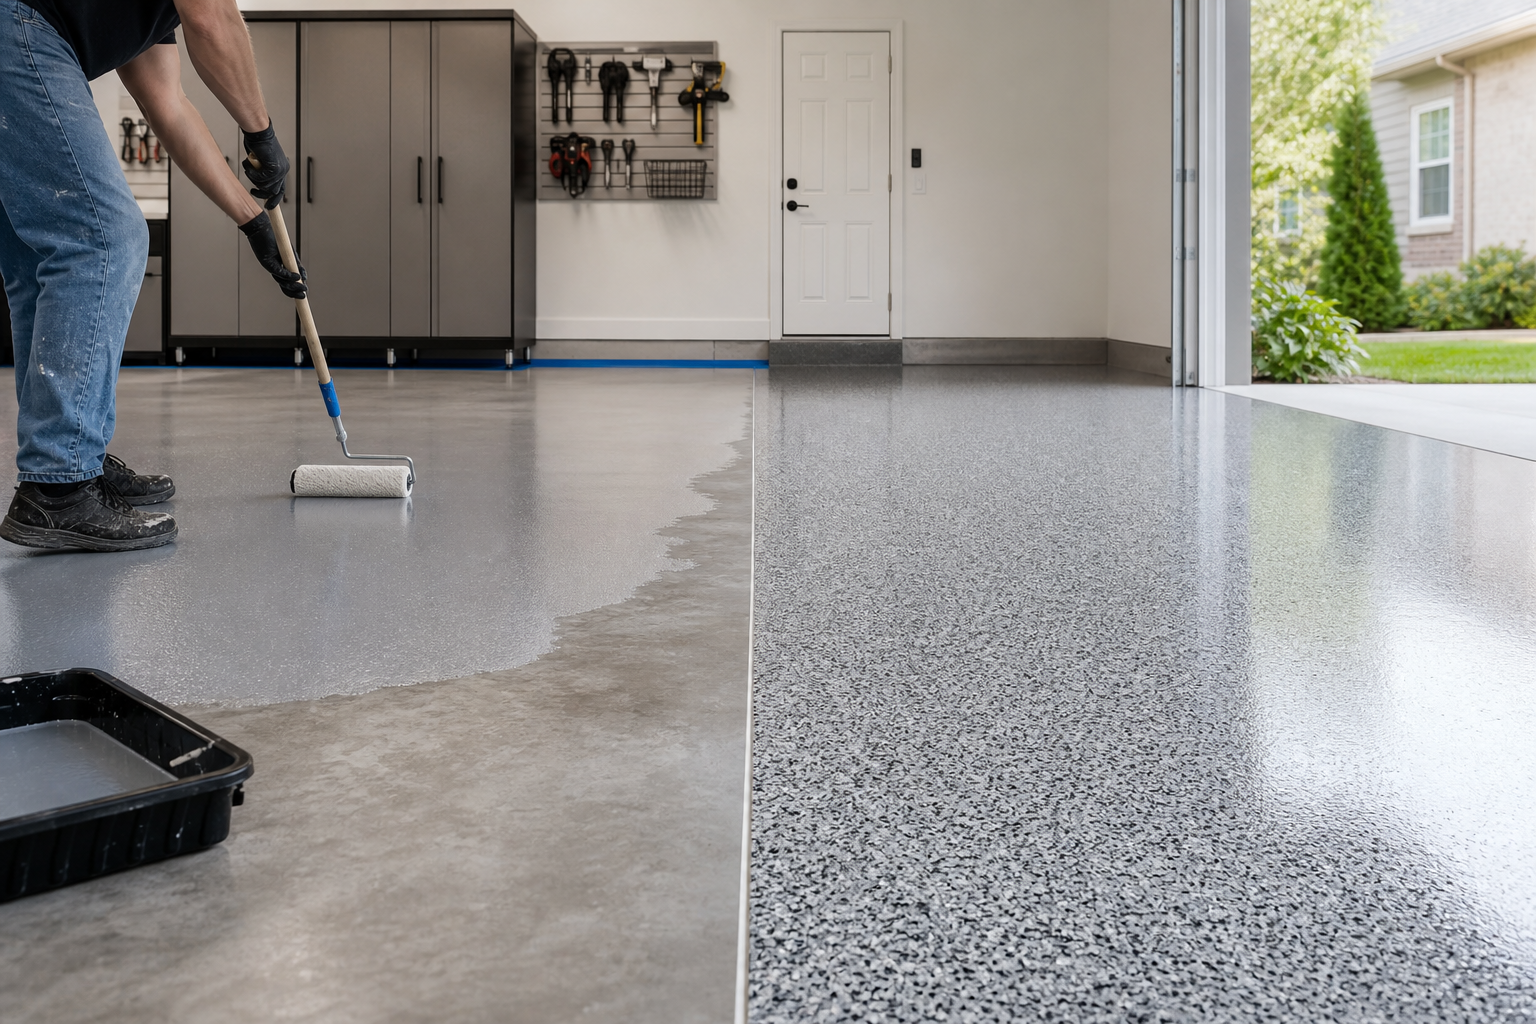
Wondering how much it costs to epoxy a garage floor? You’re not alone. Most homeowners spend between competitively priced and competitively priced per square foot depending on whether they tackle it themselves or hire a pro. A standard two-car garage (400 to 500 square feet) runs anywhere from competitively priced to competitively priced, with the wide range explained by prep work, coating quality, and labor costs.
The number that matters most isn’t the coating price. It’s what you spend on prep. Surface preparation accounts for 80% of how long your floor lasts, and cutting corners here is where most failed coatings start.
This guide breaks down actual costs by approach: DIY kits, professional single-day polyaspartic installs, and multi-day epoxy jobs. You’ll also see the hidden costs that push budgets higher than initial estimates, what drives those price differences, and when each approach makes sense for your garage.
Understanding the Basics
Surface preparation drives roughly 80% of a coating’s long-term performance. Concrete needs a CSP 2 to 3 surface profile for proper adhesion. CSP stands for Concrete Surface Profile, a standard measure of texture. Picture the difference between smooth glass and 60-grit sandpaper. That roughness gives the coating something to grip.
Diamond grinding achieves this reliably. A walk-behind grinder with diamond-embedded pads removes the top layer of concrete, opening pores and creating consistent texture. Rental costs run competitively priced to competitively priced per day, and you’ll need 6 to 10 hours for a two-car garage if you’ve never run one before. Add another competitively priced to competitively priced for dust containment supplies and vacuum rental.
Acid etching is a budget alternative on clean, unsealed concrete but creates a lighter profile that’s less durable in high-traffic areas. A gallon of muriatic acid competitively priced to competitively priced and covers about 200 square feet. You’ll scrub, rinse, and neutralize the surface. It works fine on newer concrete that’s never been sealed, but older slabs with contaminants need mechanical prep.
Two-part epoxy creates a chemical bond far stronger than any single-can product. When resin and hardener mix, cross-linking produces a dense, chemical-resistant surface. This reaction is sensitive to temperature, humidity, and mixing ratios, making adherence to the data sheet critical. Mix ratios off by even 10% can leave you with a coating that never fully hardens or one that sets so fast you can’t spread it.
Apply coatings when temperatures are falling, not rising. Warming concrete expels trapped air through the wet coating (outgassing), creating bubbles. Evening application avoids this. Most epoxies perform best between 55 and 85 degrees Fahrenheit with the slab surface in the same range. Use an infrared thermometer to check the slab itself, not just air temperature. A cold slab in a warm garage will cause condensation under the coating.
DIY Kit Cost Breakdown
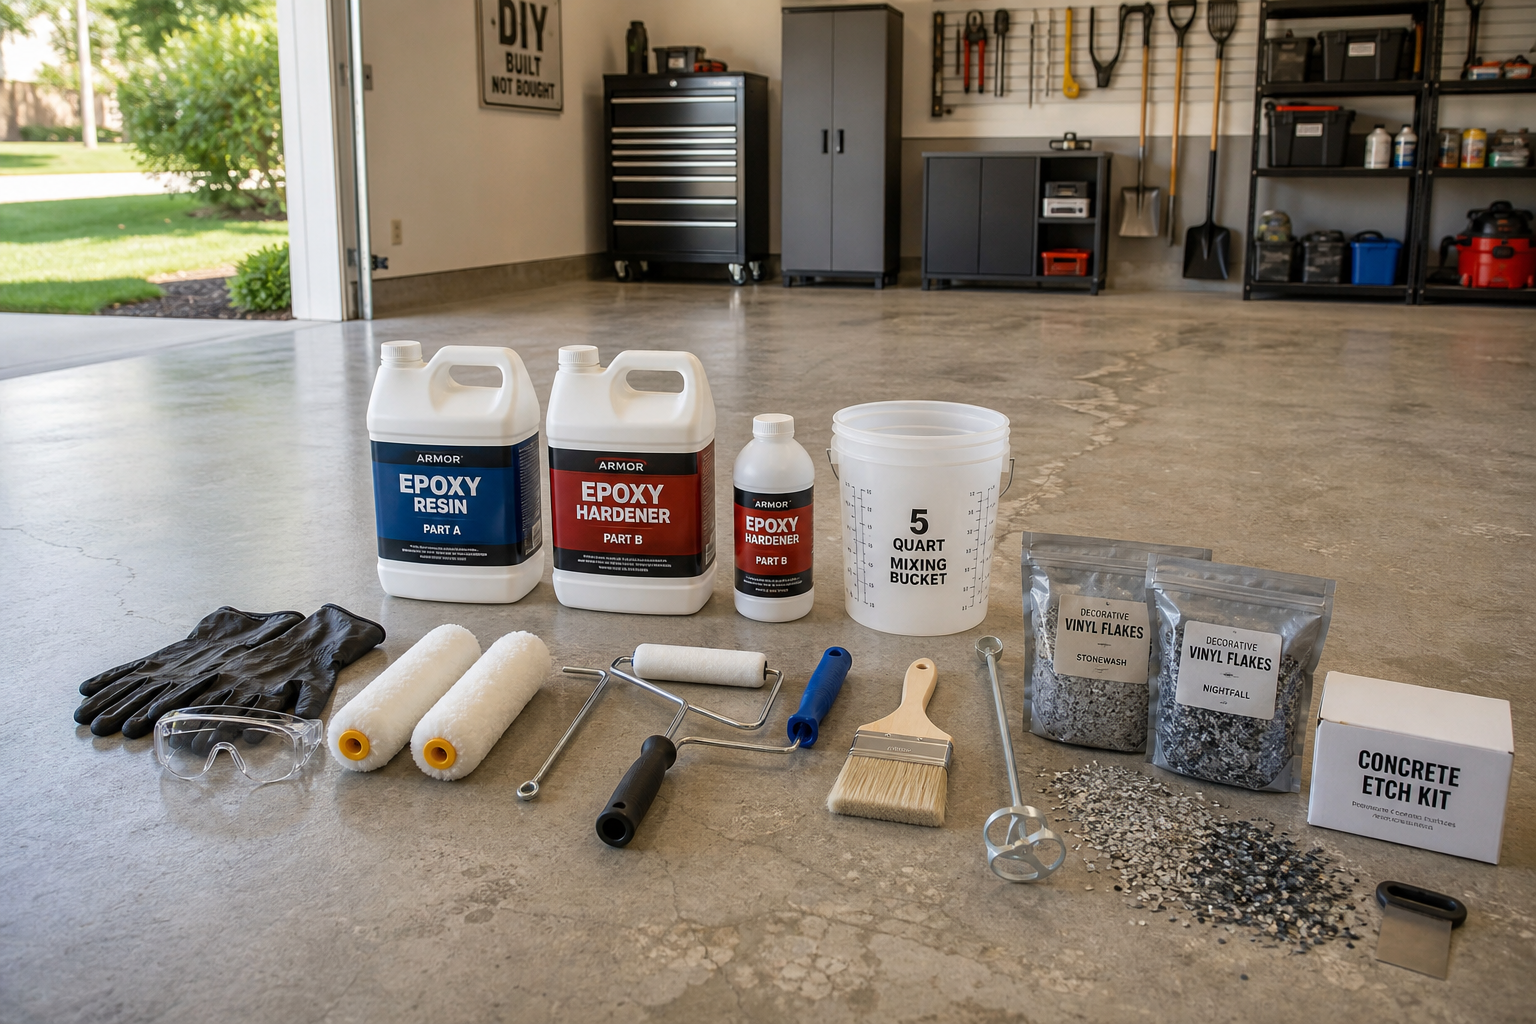
Budget DIY kits run competitively priced to competitively priced for a two-car garage. These are typically water-based epoxies that come in one or two gallon sets. Coverage is around 250 to 400 square feet per kit, so you’ll need two for most garages. The coating goes down fast but wears through in high-traffic areas within 18 to 36 months. Fine for a workshop you use occasionally, not ideal under daily vehicle traffic.
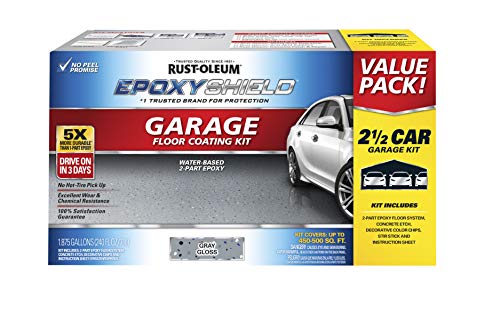
Garage Floor Epoxy Coating Kit
Popular choice for DIY installations with good coverage and durability
Mid-grade kits competitively priced to competitively priced. These are solvent-based or 100% solids epoxies with better abrasion resistance and chemical tolerance. A typical kit covers 500 square feet in two coats. Add competitively priced to competitively priced for decorative chips if you want texture and color variation. These systems hold up 3 to 5 years under regular use before you see wear patterns at tire tracks.
The kit price is just the start. You’ll also need:
- Concrete cleaner/degreaser: competitively priced to competitively priced
- Crack filler (if needed): competitively priced to competitively priced per tube
- Paint rollers, pads, brushes, mixing buckets: competitively priced to competitively priced
- Painter’s tape and plastic sheeting: competitively priced to competitively priced
- Respirator and safety glasses: competitively priced to competitively priced
- Diamond grinder rental (if not acid etching): competitively priced to competitively priced per day
- Moisture test kit: competitively priced to competitively priced
Total DIY cost including materials and tool rental: competitively priced to competitively priced for basic coverage, competitively priced to competitively priced for a solid mid-grade system with proper prep.
Your labor is the other cost. Plan on a full weekend minimum. Day one is cleaning, crack repair, and grinding or etching. Day two is coating application. Many first-timers add a third day when they discover their cleaning wasn’t thorough enough or their crack repair needs more cure time.
Before starting any floor coating project, learn the proper sealing techniques to ensure your investment lasts as long as possible.
Professional Single-Day Polyaspartic Costs
Single-day polyaspartic installs run competitively priced to competitively priced per square foot for most contractors. That’s competitively priced to competitively priced for a standard 400 to 500 square foot two-car garage. The higher end includes decorative chips, multiple color blends, or intricate patterns.
Polyaspartic is not epoxy. It’s a polyurea coating that cures in hours instead of days. Contractors can grind, prep, and coat your floor in one day with vehicle traffic allowed within 24 hours. Epoxy needs 7 days before you park on it.
The speed comes from chemistry. Polyaspartic coatings have extremely short pot lives (10 to 20 minutes once mixed) and cure fast even in cold weather. This requires experience to apply well. The material doesn’t forgive mistakes. Roll too slow and you get lap marks. Too fast and you miss spots. This is why DIY polyaspartic kits often disappoint. The learning curve is steep and you don’t get a second chance on the same batch.
Professional crews prep more aggressively than most DIYers. They’ll run a diamond grinder until the surface profile is right, vacuum all dust, fill every crack with flexible filler, and apply a moisture mitigation primer if your slab needs it. The base coat goes down first, then decorative chips are broadcast while it’s still wet, then a clear topcoat seals everything. Three layers in one day.
Polyaspartic holds up better than epoxy under UV exposure, so it won’t yellow if sunlight hits part of your floor. It’s also more flexible, which means it moves with concrete as temperatures shift without cracking. In climates with freeze-thaw cycles, that flexibility matters.
Professional Multi-Day Epoxy Costs
Professional multi-day epoxy runs competitively priced to competitively priced per square foot, or competitively priced to competitively priced for a two-car garage. The process takes 2 to 3 days with a 7-day cure before you can park vehicles.
Day one is grinding and repair. Day two is base coat application. Day three is topcoat. Some contractors apply a third seal coat for extra durability, which adds competitively priced to competitively priced per square foot.
Epoxy is thicker than polyaspartic and builds up in layers, which gives it excellent impact resistance. Drop a wrench on cured epoxy and you’ll probably just leave a scuff mark. The same impact on a thin coating might chip through.
Professional-grade epoxy is 100% solids, meaning zero solvents that evaporate during cure. What you put down is what stays. DIY epoxy is often 50% to 70% solids, which is why a gallon covers more square footage but produces a thinner final film. Thinner film wears faster.
Contractors use epoxy for commercial garages, auto shops, and high-traffic spaces where durability matters more than fast return to service. The week-long cure is a deal-breaker for some homeowners but worth it if you want a floor that lasts 10+ years without recoating.
Expect to pay more if your slab has issues. Active moisture problems add competitively priced to competitively priced for mitigation (more on that below). Deep cracks or spalling concrete can add competitively priced to competitively priced in repair costs. Contractors charge competitively priced to competitively priced extra to move out stored items if you haven’t cleared the space.
Hidden Costs That Push Budgets Higher
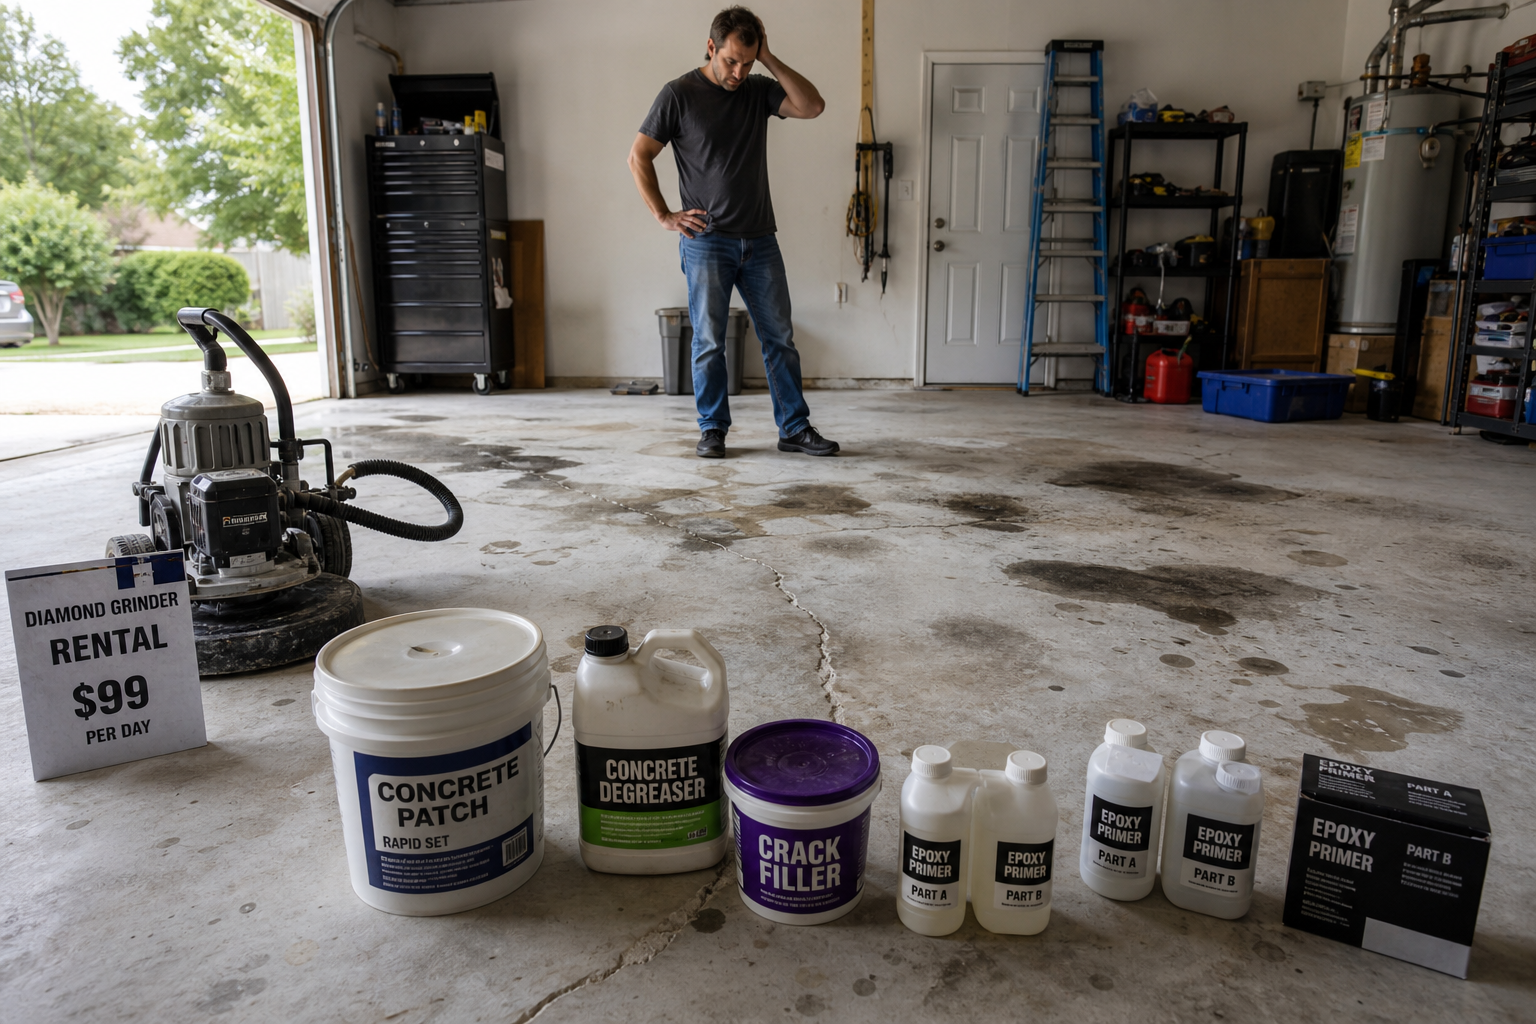
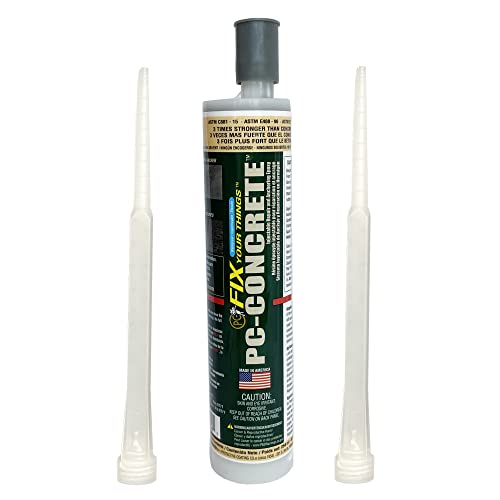
Crack repair sounds minor until you see the bill. Hairline cracks under 1/8 inch are easy to fill with flexible epoxy filler competitively priced to competitively priced per tube. You’ll use one tube per 20 to 30 feet of crack. Cracks over 1/4 inch need routing (cutting a V-groove along the crack) and filling with polyurea or flexible epoxy. Contractors charge competitively priced to competitively priced per linear foot for this work. A garage with 50 feet of significant cracking adds competitively priced to competitively priced to the project.
Moisture mitigation is the hidden cost that catches people off guard. Concrete is porous. Ground moisture wicks up through the slab constantly in many regions, especially where groundwater is high or vapor barriers weren’t installed under the slab. If moisture vapor transmission exceeds 3 pounds per 1,000 square feet per 24 hours, standard coatings will fail. They’ll bubble, delaminate, or turn cloudy.
Moisture testing competitively priced to competitively priced if you do it yourself with a calcium chloride test kit. Professionals include it in the estimate. If you fail the test, you’ll need a moisture-mitigating primer. These penetrate deep and create a barrier that blocks vapor transmission. Material and labor add competitively priced to competitively priced per square foot, or competitively priced to competitively priced for a two-car garage.
Restriping parking lines, storage zones, or workspace boundaries happens after coating. Contractors charge competitively priced to competitively priced depending on how many lines and whether you want custom colors. DIY restriping with a chalk line and painter’s tape competitively priced to competitively priced in materials but takes patience to get straight.
Control joint filling is another hidden line item. Most garages have saw-cut control joints (those lines scored into fresh concrete) to manage cracking. Coating manufacturers recommend filling them with flexible joint filler before applying the coating, or the joints will telegraph through as visible lines. Joint filler runs competitively priced to competitively priced per tube, and a two-car garage typically has 30 to 60 linear feet of joints. Budget competitively priced to competitively priced for materials if you’re doing this yourself, or competitively priced to competitively priced if the contractor handles it.
What Drives the Price Differences
The gap between a competitively priced DIY job and a competitively priced professional install comes down to materials, labor, and longevity.
Material quality varies wildly. Water-based epoxy in a DIY kit contains 40% to 60% solids. The rest is water that evaporates, leaving a thin film. Professional 100% solids epoxy leaves a thicker, denser coating with better chemical and abrasion resistance. Polyaspartic coatings cost even more per gal
