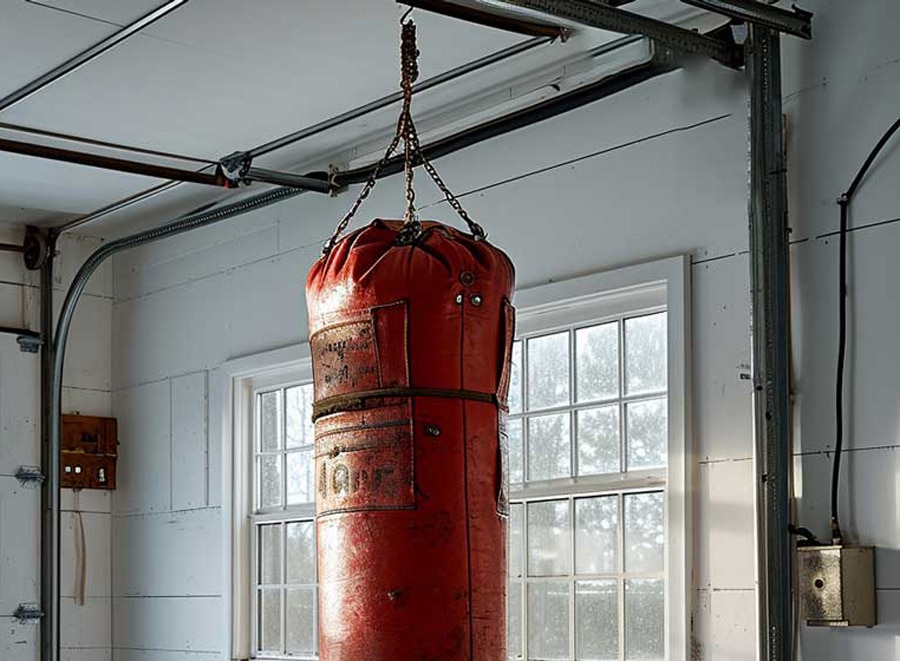
Few activities get your heart racing, your muscles burning, and your lungs working overtime like an intense heavy bag session. That’s precisely why punching bags have long been such a popular addition to garages and home gyms.
Even if you don’t turn your garage into a gym, the right punching bag and a pair of gloves will give you a killer workout.
But is hanging a punching bag in garages or basements a knockout idea or an expensive repair waiting to happen?
(That’ll be the last pun, I promise)

They’re Called ‘Heavy Bags’ for a Reason (Punching Bag Weight)
To determine whether or not you can even hang a punching bag in your garage or basement, you first need to know how much weight you’re working with.
Most standard-sized punching bags weigh between 70 and 150 lbs, though you’ll also find compact training bags as light as 40 lbs.
Meanwhile, full-length Muay Thai and MMA-style bags often weigh over 150 lbs. That’s a significant weight increase.
It’s because they feature longer body designs that allow for techniques like low kicks and knees.
If you’ve already got a punching bag you want to hang, the simplest way to find out how much it weighs is to refer to the manufacturer’s specs or the tag on the bag itself.
Assuming you didn’t hang on to these materials, try searching online to track down the particulars of your exact model.
If neither of these options pans out, you may have no other alternative than to put your punching bag onto a scale. If it’s small enough to hold, it may help to weigh yourself first, then pick up the bag and weigh yourself again to calculate the differential.
Weight is the most critical factor influencing whether your ceiling can support a punching bag.
Still, it isn’t the only one.
How you use it is also important.
In physics, weight plus force equals stress.
In other words, the harder you hit your punching bag, the more strain it will place on the surrounding support structure.
That may be fine if you only plan on installing a compact bag to drill boxing basics.
It’s entirely different if you’ve got your eye on a 200-pound body bag and want to land spinning dragon kicks.
Then, you’ll need to ensure your garage’s walls or ceiling absorbs all that impact on the back end.
How to Hang a Punching Bag in Garages
Now that you know how much weight you need to support, it’s time to hang a punching bag in your garage.
There are several ways you can do this.
Which method you choose should ultimately come down to your garage layout, the weight of your punching bag, the strength of your support surface, and the amount of structural stress you’re willing to risk.
Hang It From a Ceiling Joist
This is the most common mounting method, but you must consider how much weight your ceiling joists can hold.
If you’ve got an electric drill, a wrench, an eye bolt, an S-hook, and a few chain lengths, you can hang a punching bag and be ready for action in just a few minutes.
- Pick out a sturdy ceiling joist or rafter in the area where you want to hang your punching bag. Unless your garage has exposed ceiling joists or rafters, you’ll need an electronic stud finder to pinpoint one to anchor your eye bolt into.
- Drill a pilot hole into the bottom edge of the joist or rafter at a 90-degree angle.
- Install the eye bolt in your pilot hole. Once you’ve got it in place, use a wrench or the shaft of a screwdriver to tighten it until it’s seated securely.
- Attach the chains and S-hook if your punching bag uses a chain-style suspension. If it uses straps, connect them with an S-hook or strong carabiner.
- With another person’s assistance, pick the bag up and hang it from the mounting arm.
Use a Ceiling Mount
Invest in a heavy-duty ceiling mount for something sturdier than the standard eye bolt/S-hook setup.
These come in many different styles and configurations. However, they’re all designed to be screwed directly into an overhead support beam or between two support beams.
Once in place, they distribute the punching bag’s weight more evenly across the support surface.
- Once you’ve figured out where your bag will go, hold the mounting plate up to your chosen location on the ceiling.
- Use a pencil to mark the placement of the bolt holes. Make sure your markings are dark enough to find them easily later on.
- Grab your power drill and bore starter holes for the mounting bolts. Open one hole for each bolt that came with your mounting apparatus.
- Move the mounting plate into position on the ceiling and use one hand to hold it there.
- Insert the mounting bolts into the holes in the mounting plate and tighten them with your drill.
- If your punching bag includes chains, attach them to the straps at the upper end, then group them with the S-hook. For bags with straps, bring the straps together and connect them with an S-hook or carabiner.
- Have someone help you raise the bag and fasten the S-hook or carabiner to the eye bolt at the end of the mounting arm.
Use a Wall Mount
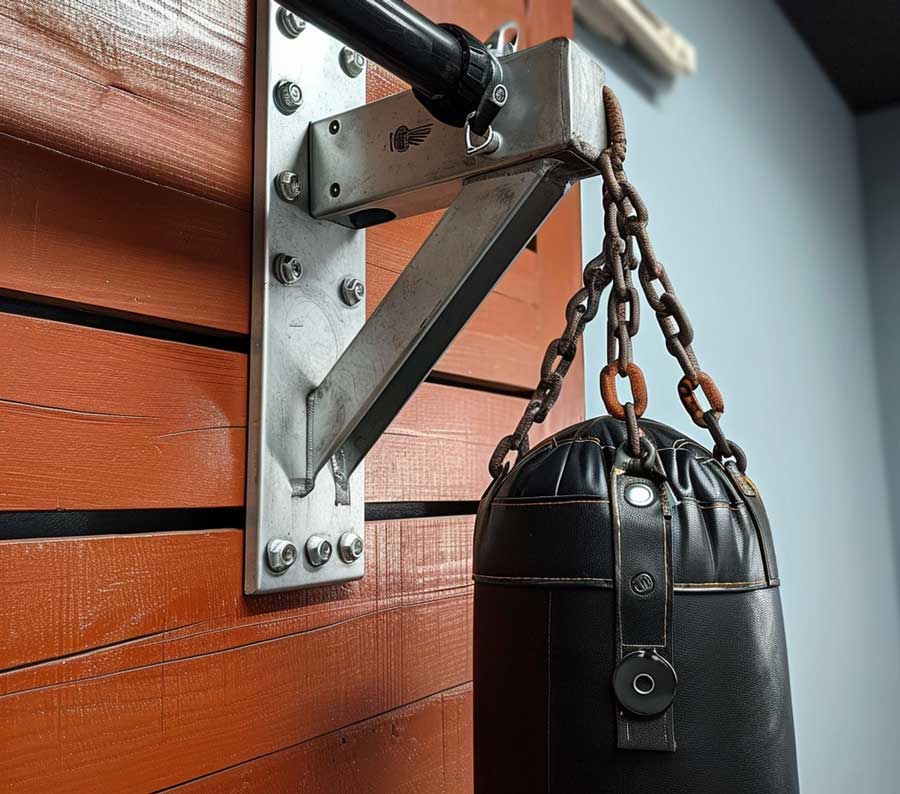
Need an optimal spot on the ceiling to hang your punching bag? Use a garage wall mount instead.
Wall mounts do the same thing as ceiling mounts, only at a 90-degree angle to the floor.

For this method, you’ll rely on a vertical wall stud rather than a horizontal ceiling joist. Otherwise, the tools and steps involved are nearly identical to those of the previous two methods.
- Locate a load-bearing wall stud where you want to situate your bag. A stud finder can come in handy for this part.
- Hold the base plate of the mounting arm against the wall and use a pencil to mark where the bolt holes need to go.
- Drill starter holes in the spots you just marked.
- Place the mount back on the wall, slip the included bolts into your starter holes, and cinch them down with your drill. You may need someone to give you a hand with this step.
- Connect the chains to the top of your punching bag. If the bag has straps, use an S-hook or carabiner to join them.
- Hoist up the punching bag and secure it to the mounting arm with your helper’s aid.
Note: Because of the unusual angle of stress it puts on wall joists, this method isn’t recommended for very heavy bags. Anything weighing over 100 lbs should go on the ceiling or a separate stand.
Invest in a Freestanding Heavy Bag Stand
Last but certainly not least, you can pick up a freestanding heavy bag stand. This is your best bet if you’re a renter or don’t want to drill holes in your ceiling or walls.
They’re pricey and don’t offer much stability or room to maneuver, but they’re better than nothing.
- Pick up a freestanding heavy bag stand online or at your local sporting goods store. Look for a style of stand that will suit your training preferences and your available space.
- Find an open area in which to house your punching bag stand. For most stands, you’ll need at least 12-15 square feet to move around comfortably during your workout.
- Set up your heavy bag to stand in a corner or against one wall to give yourself as much leeway as possible.
- Connect the chains to the top of your punching bag. If the bag has straps, use an S-hook or carabiner to join them.
- Lift the heavy bag and connect the S-hook or carabiner to the eye bolt at the end of the stand’s extended mounting arm. You may need help with this step.
Wrapping It Up
Choosing the right installation method when hanging your punching bag in garages is critical.
As long as you do, your punching bag and garage will stand up round after round.
Stands approx 70'' tall, FITVEN punching bag allows you to develop throwing strikes targeted at the entire range of the body, fit for whole family workout-adults, teens and kids(47-73'' tall). Great gift for stress release and strength build!

