

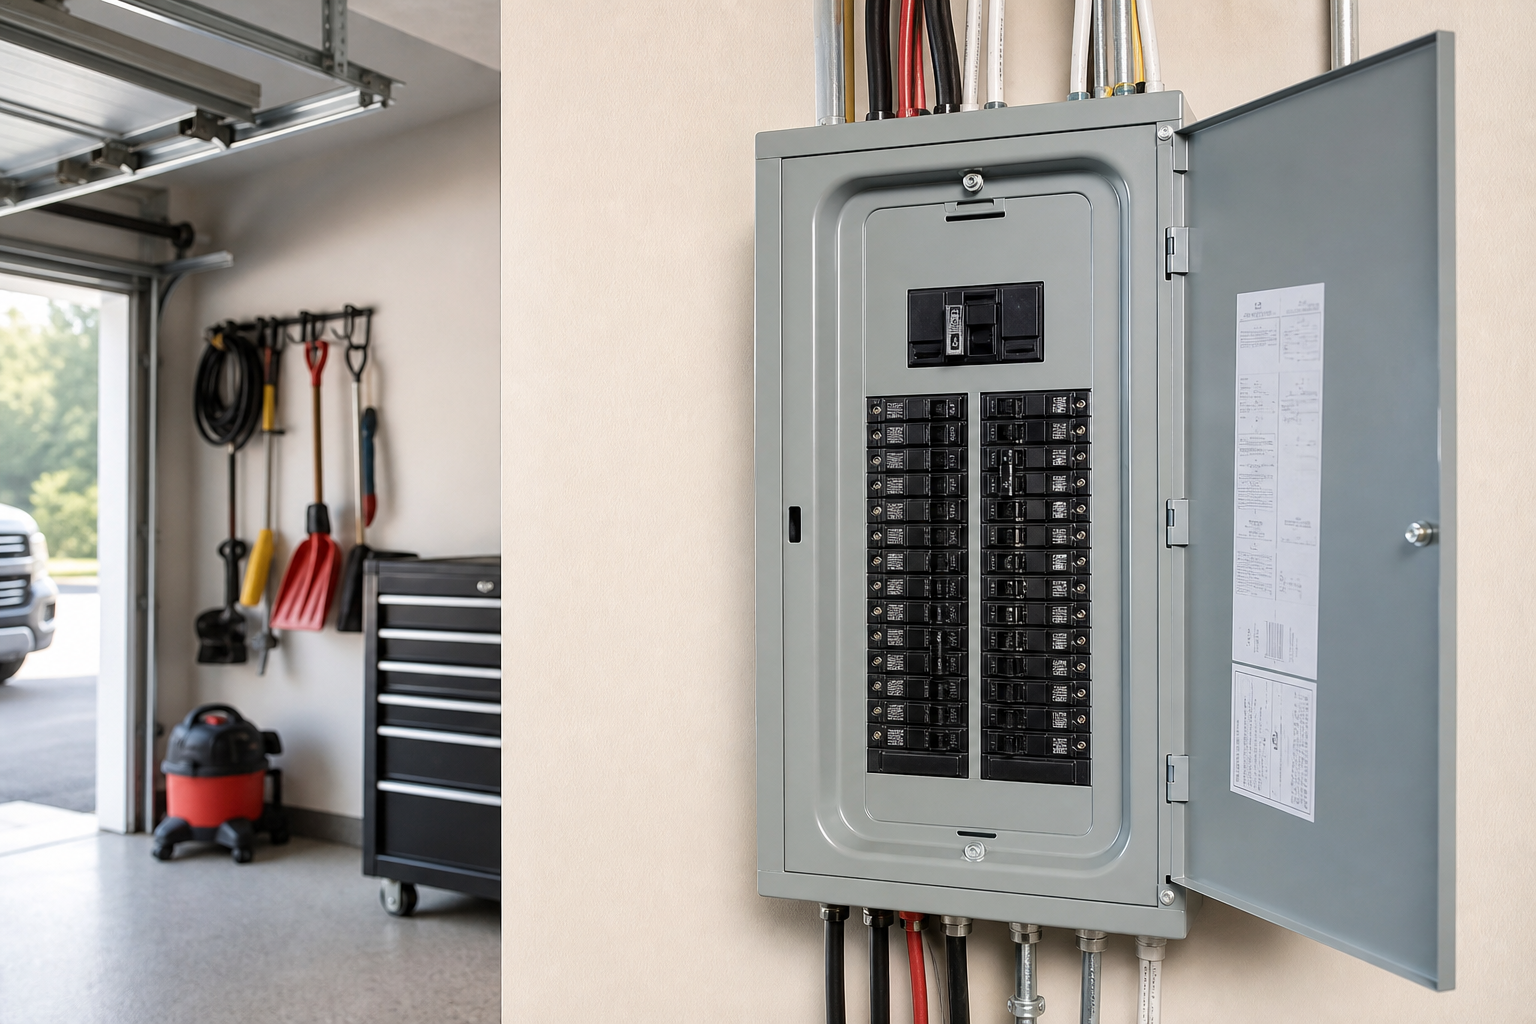
Dealing with a situation where your garage subpanel keeps tripping the main breaker is one of those frustrations that catches you off guard. Everything seemed fine until one day you notice something isn’t right. The reassuring truth is that these issues almost always trace back to identifiable causes with practical solutions.
This guide covers the most common culprits in diagnostic order, starting with the simplest checks. Most readers find their answer within the first few sections without needing a service call.
Understanding the Basics
A 20-amp, 120V circuit safely delivers about 1,920 watts continuously (80% of 2,400W max). If your table saw pulls 1,800 watts and the shop vac draws 1,200 watts, they can’t run on the same circuit simultaneously without tripping the breaker.
240V circuits (for welders, compressors, EV chargers) use thicker wire (10 AWG for 30A, 6 AWG for 50A) and double-pole breakers. Installation typically requires a permit and licensed electrician unless you have substantial electrical experience. If you’re planning to upgrade your garage to 240V outlets, proper circuit planning becomes essential.
Most garages were wired with one or two 20-amp circuits, enough for basic lighting and an outlet. Power tools, compressors, heaters, and EV chargers easily exceed that original capacity. Dedicated circuits for high-draw equipment are the standard solution.
The main breaker trips when total current exceeds its rating, even when individual branch circuits aren’t overloaded. A 100-amp main panel feeding a 60-amp garage subpanel means the combined load on both panels can’t exceed 100 amps. Add a window AC unit running in the house, someone blow-drying hair, and a space heater in the garage, and you’ve hit the limit before running a single power tool.
Understanding the relationship between your main panel and subpanel helps diagnose why the main trips instead of just the garage breaker. If the garage subpanel breaker stays on but the main trips, you’re dealing with a whole-house load problem, not just a garage issue.
Overloaded Subpanel Circuits
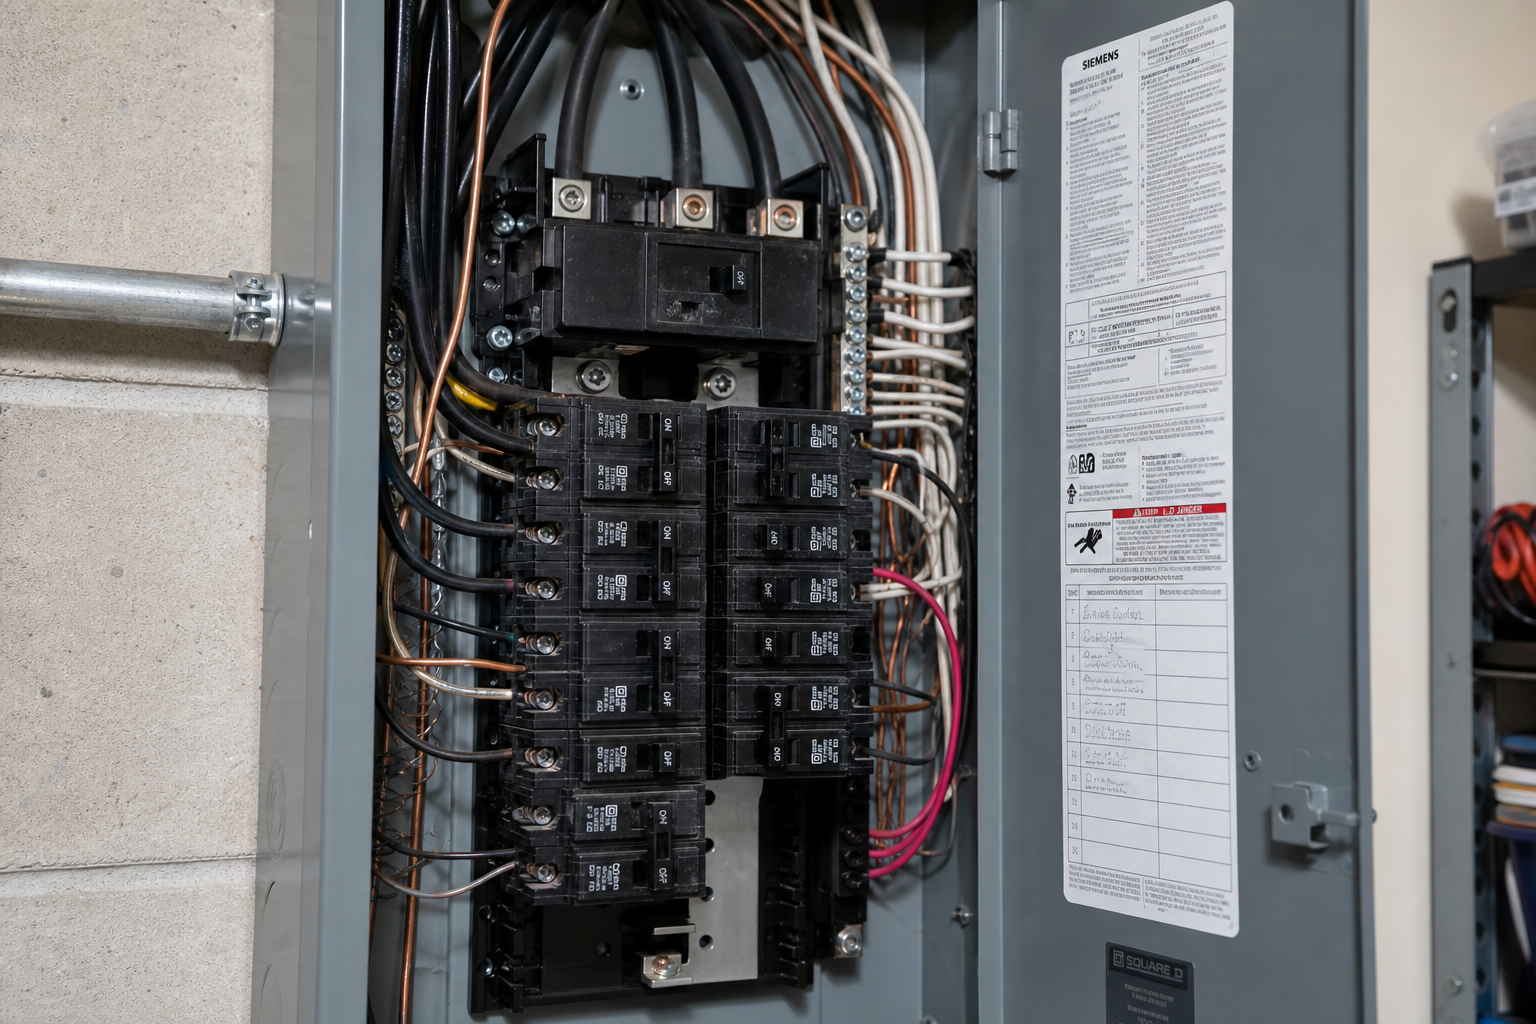
The feeder wire running from your main panel to the garage subpanel must match the breaker size protecting it. A 60-amp subpanel needs 6 AWG copper or 4 AWG aluminum. A 100-amp subpanel requires 2 AWG copper or 1/0 aluminum. Undersized feeder wire heats up under load, and the main breaker trips to prevent a fire hazard.
Check the breaker size in your main panel that feeds the garage. Then verify the wire gauge running to the subpanel. You can identify wire gauge by the numbers stamped on the cable sheathing every few feet. If you see 10 AWG feeding a 60-amp breaker, you’ve found the problem. The breaker is too large for the wire, or the wire is too small for the planned load.
Distance matters more than most DIYers realize. A 60-amp subpanel 150 feet from the main panel needs larger wire than the same subpanel 25 feet away due to voltage drop. The National Electrical Code allows 3% voltage drop on feeder circuits. Beyond that, motors struggle to start, lights dim noticeably, and sensitive electronics malfunction. An online voltage drop calculator gives you the right wire size for your specific distance and load.
Common scenario: someone installed a subpanel years ago with wire sized for the original load (a few lights and outlets). Over time, the garage gained a welder, an air compressor, a shop heater, and an EV charger. The feeder wire that worked fine for 30 amps now chokes on 50 amps, tripping the main breaker during peak use. This is where planning your electrical outlets and circuits becomes crucial for avoiding future problems.
The fix involves either upgrading the feeder wire to handle the current load or reducing the garage’s electrical demand to match the existing wire capacity. Upgrading the wire means pulling new cable through walls, conduit, or underground, depending on your setup. It’s not trivial work, but it’s permanent.

10 AWG Electrical Wire
Essential for 30-amp circuits and makes a noticeable difference in performance
Load calculation tells you exactly what you’re drawing. Walk through your garage and list every device that could run simultaneously: lights (check bulb wattage), outlet loads (estimate or check tool nameplates), fixed appliances (heater, compressor). Add it all up. If the total approaches or exceeds your feeder capacity, you’ve found the problem.
Corroded Connections
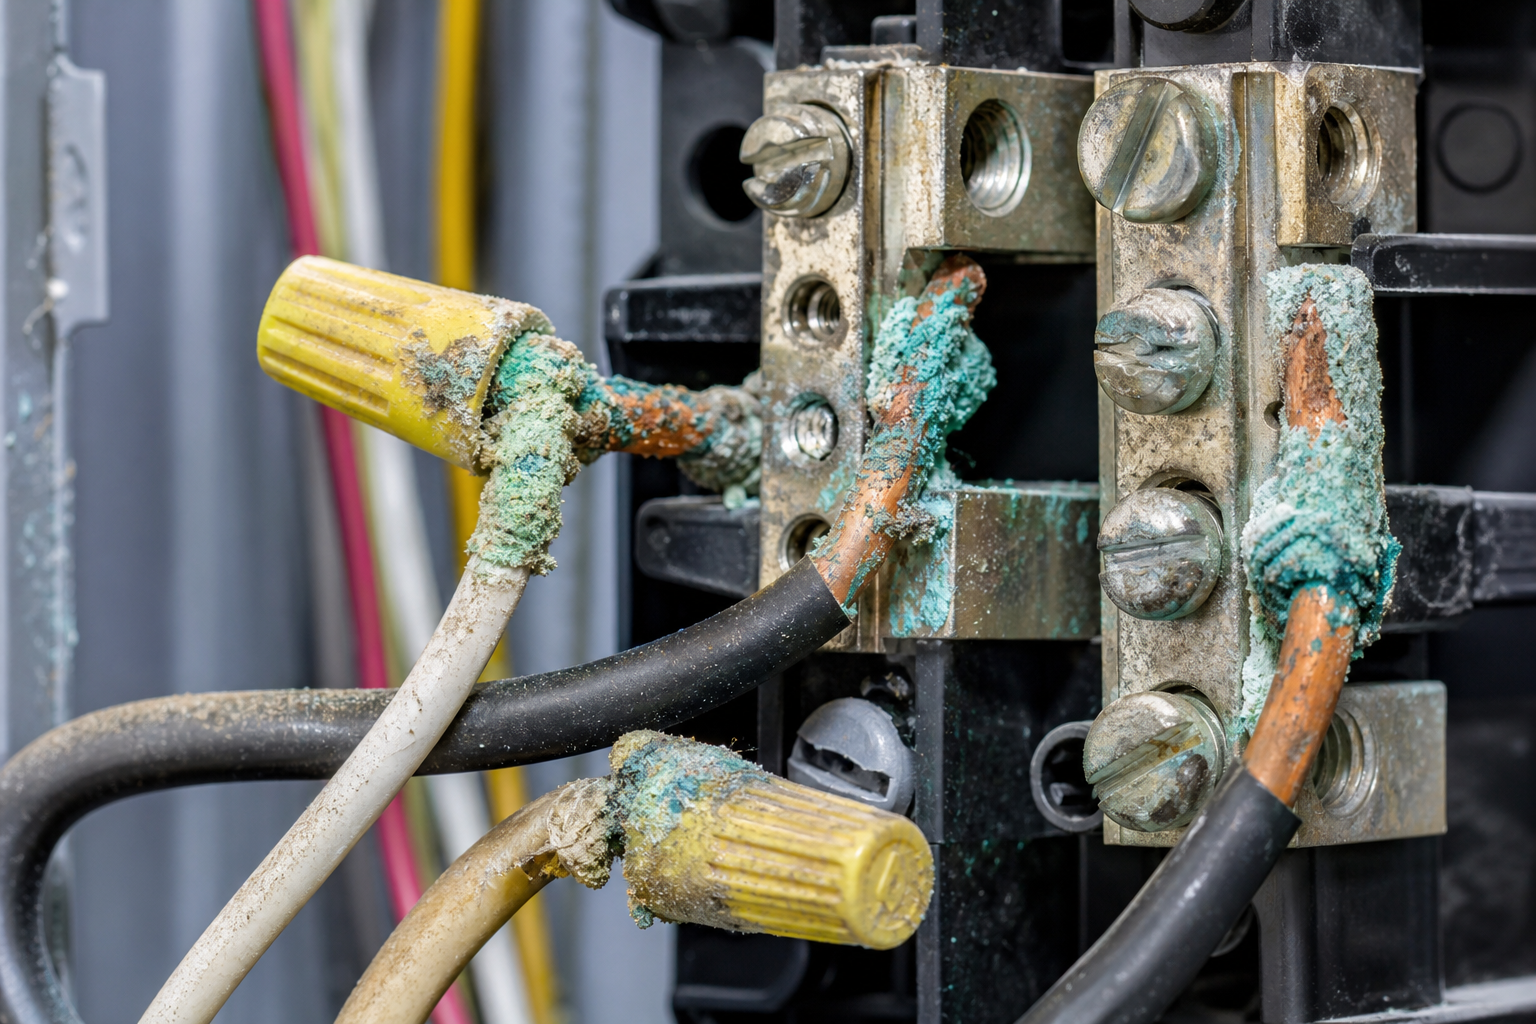
Corrosion at connection points creates resistance, which generates heat. As resistance increases, the effective current-carrying capacity of that connection drops. What started as a solid 60-amp connection might degrade to effectively 40 amps. The main breaker senses the problem and trips before the connection fails catastrophically.
Garage subpanels face harsher conditions than indoor panels. Humidity, temperature swings, and exposure to road salt tracked in on vehicles all accelerate corrosion. Aluminum wire corrodes faster than copper, particularly at connection points where dissimilar metals meet.
Check every connection in the subpanel. Turn off the main breaker feeding the garage first. Remove the subpanel cover and inspect each wire termination. Look for green or white crusty buildup, discolored wire, or terminals that feel loose. A properly torqued connection resists moderate hand pressure. A loose connection wiggles.
The main lugs where the feeder cable enters the subpanel are prime corrosion spots. These large connections carry the full subpanel load. Even slight corrosion here creates enough resistance to trip the main breaker under load. Clean corroded lugs with a wire brush, apply anti-oxidant compound rated for electrical connections, and retorque to the manufacturer’s specification (typically 150-250 inch-pounds for main lugs).
Garage environments create condensation inside electrical panels during temperature swings. Warm humid air enters the panel, then cools overnight. Water droplets form on metal surfaces. Over months and years, this moisture corrodes connections. Proper panel mounting (slight forward tilt so water runs out instead of pooling inside) and sealed knockouts help, but some corrosion is inevitable in unconditioned garages.
GFCI and AFCI Complications
GFCI and AFCI breakers add another layer of complexity. These devices trip at current leaks (GFCI) or arc faults (AFCI) that standard breakers ignore. GFCI protection is code-required for all garage outlets. These devices trip at small current leaks, preventing electrocution in damp conditions. In garages, trips can be caused by moisture, cold temperatures, or brief startup surges from motor-driven tools.
AFCI breakers, required in some jurisdictions for garage circuits, detect arcing from damaged wire or poor connections. They prevent fires but also trip from normal arcing in brush-motor tools (circular saws, routers, grinders). If your garage has AFCI protection and you experience nuisance trips when running certain tools, that’s often the culprit. The breaker is doing its job, but the tool’s normal operation mimics a fault condition.
The fix for AFCI nuisance trips is either replacing problematic tools with brushless models or moving those tools to a non-AFCI circuit if code allows. Don’t disable AFCI protection to avoid trips. Those breakers catch real problems that start fires.
How to Audit Your Garage’s Electrical Load
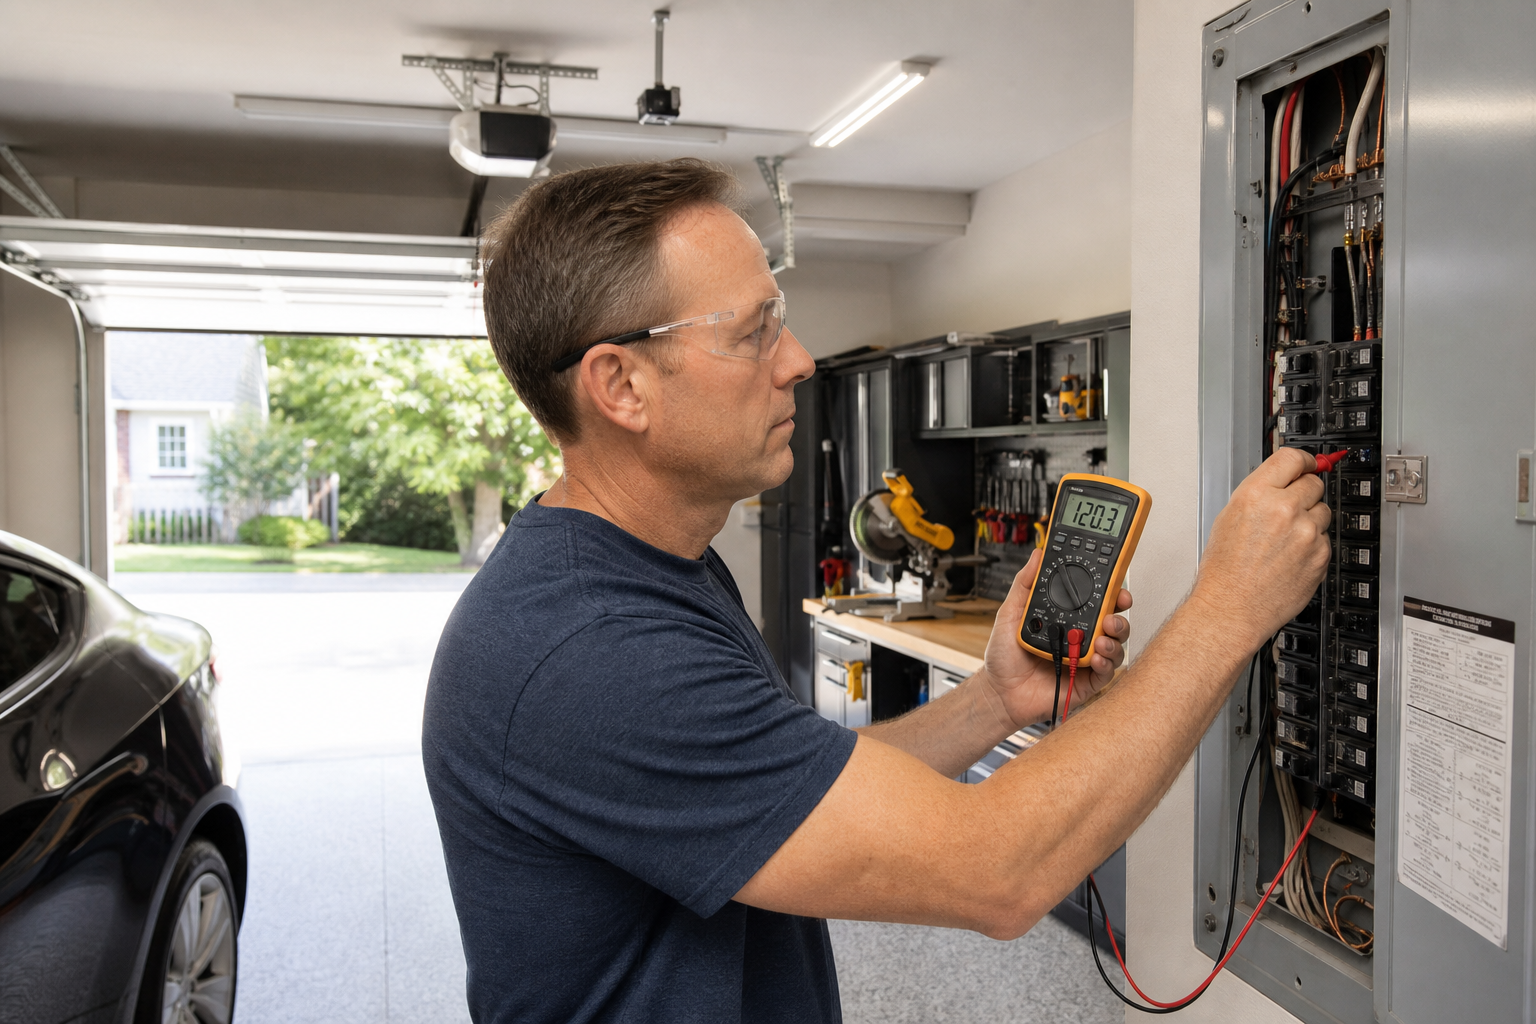
Start with your main panel. Find the breaker feeding the garage subpanel and note its amperage. That’s your ceiling. A 60-amp breaker means your garage can pull 60 amps maximum before tripping, assuming the wire is correctly sized.
Make a spreadsheet of every electrical device in the garage. Include continuous loads (items running for three hours or more) and intermittent loads (tools used briefly). Continuous loads include shop heaters, dehumidifiers, refrigerators, and EV chargers. Intermittent loads cover most power tools, air compressors, and shop vacs.
Calculate the amperage for each device. Check the nameplate or owner’s manual. If you only have wattage, divide by voltage. A 1,500-watt heater on a 120V circuit draws 12.5 amps (1,500 ÷ 120). A 7,200-watt Level 2 EV charger on 240V draws 30 amps (7,200 ÷ 240). If you’re considering installing an EV charger, understanding how to wire your garage for an EV charger helps prevent future electrical issues.
Add up everything that could realistically run at the same time. Don’t count your table saw and miter saw together unless you actually use them simultaneously. Do count the shop heater, overhead lights, and an EV charging overnight because that happens regularly.
Apply the 80% rule for continuous loads. A 60-amp subpanel should only see 48 amps of continuous load (60 × 0.8). If your audit shows 55 amps of continuous draw, you’re overloading the subpanel and need an upgrade or load reduction.
Common discovery: readers find they’re pulling 70-80 amps in a garage fed by a 60-amp breaker. The main trips because the subpanel breaker is oversized for the feeder, so the main sees the overload first and protects the system by tripping.
Clamp Meter Testing
Clamp meter testing gives real-world data instead of theoretical calculations. A clamp ammeter measures current on individual wires without disconnecting anything. With the garage running a typical load (lights on, heater running, maybe a tool operating), clamp the meter around one hot leg of the feeder at the main panel. The reading shows your actual draw.
Repeat during different usage scenarios (EV charging overnight, running the air compressor, etc.) to find peak loads. If peak draw exceeds your breaker rating, you’ve confirmed the problem. The solution splits into two paths: reduce load or upgrade capacity.

Digital Clamp Meter
Essential tool for measuring real-world electrical loads accurately
When the Subpanel Itself Needs Upgrading
Older subpanels max out at 60-100 amps with 8-12 circuit positions. Modern garage demands easily exceed that. A serious workshop needs dedicated circuits for a table saw, welder, air compressor, dust collector, EV charger, space heater, and general outlets. That’s seven circuits minimum, plus lighting. You run out of spaces before you run out of power needs.
Upgrading from a 60-amp to a 100-amp subpanel requires new feeder wire from the main panel (1 AWG copper or 2/0 aluminum for 100 amps), a larger breaker in the main panel, and often a main panel upgrade if there isn’t capacity for a 100-amp feeder. This cascades into significant work and expense.
Before committing to a subpanel upgrade, verify your main panel has the capacity. A 200-amp main service can typically handle a 100-amp subpanel if the
