

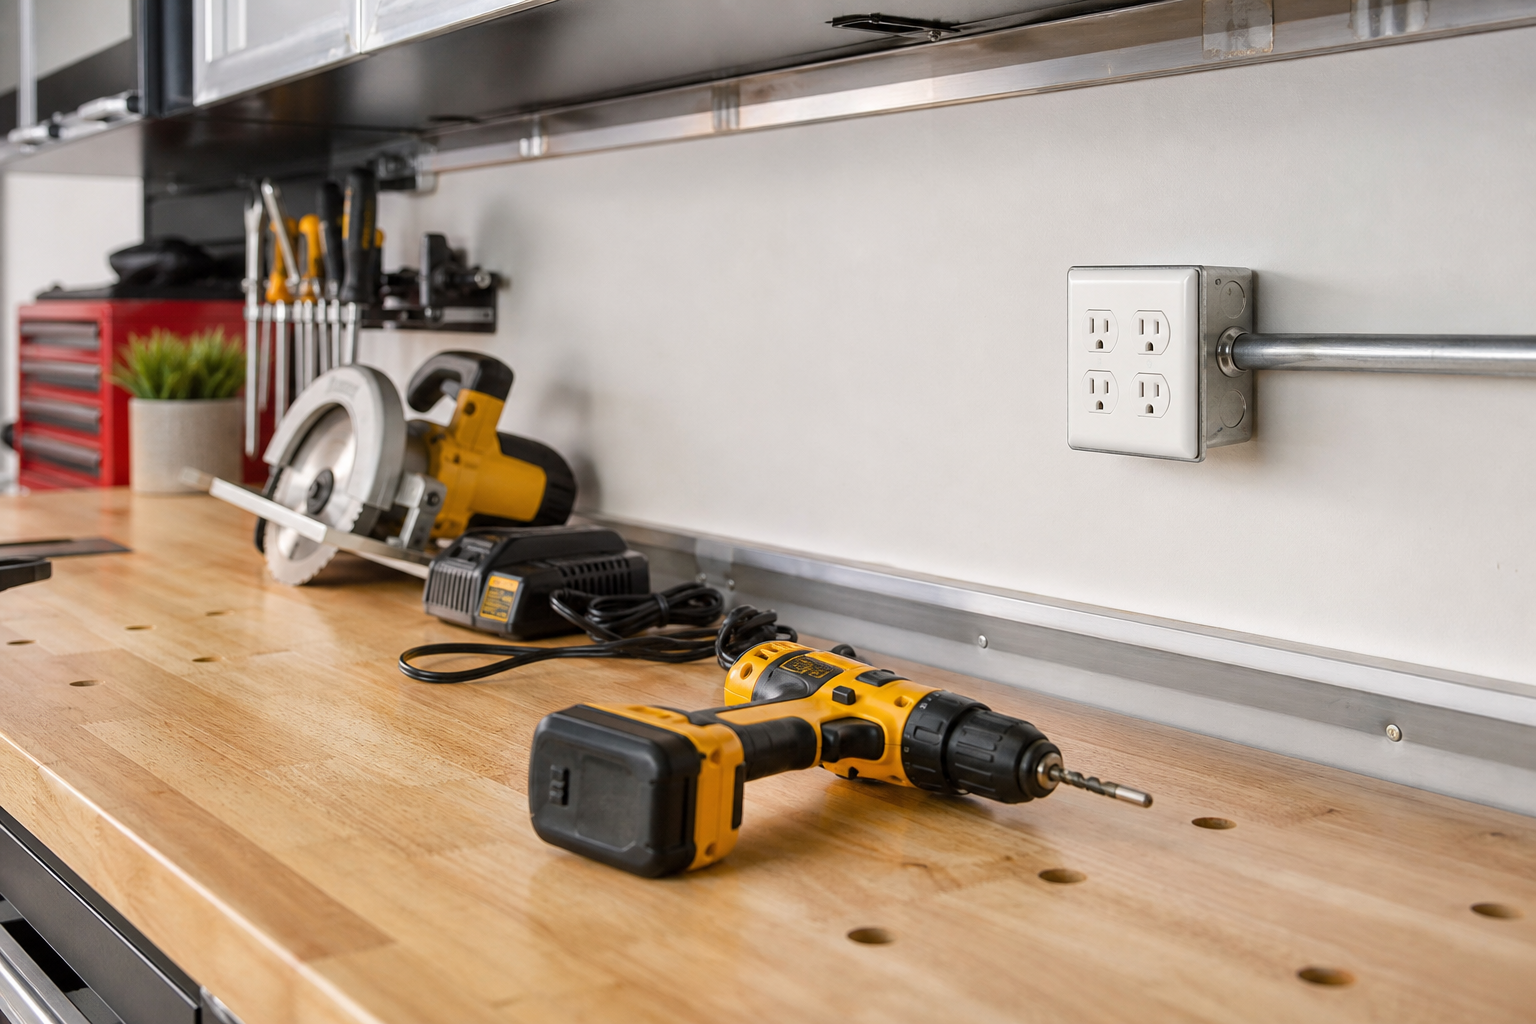
Deciding to add outlets to a garage workbench area safely is a smart garage upgrade that most homeowners can handle over a weekend. The key is that technique matters, and details that seem minor during the process determine long-term quality.
Here’s the complete process organized into manageable steps. Read through it entirely first, then work section by section.
Understanding the Basics
A 20-amp, 120V circuit safely delivers about 1,920 watts continuously (80% of 2,400W max). If your table saw pulls 1,800 watts and the shop vac draws 1,200 watts, they can’t run on the same circuit simultaneously without tripping the breaker.
240V circuits (for welders, compressors, EV chargers) use thicker wire (10 AWG for 30A, 6 AWG for 50A) and double-pole breakers. For more comprehensive guidance on upgrading to 240V outlets, installation typically requires a permit and licensed electrician unless you have substantial electrical experience.
Most garages were wired with one or two 20-amp circuits, enough for basic lighting and an outlet. Power tools, compressors, heaters, and EV chargers easily exceed that original capacity. Dedicated circuits for high-draw equipment are the standard solution. If you’re planning to wire for an EV charger, these same principles apply but with heavier-duty requirements.
Wire gauge matters more than most first-timers expect. 12 AWG wire handles 20-amp circuits, while 14 AWG maxes out at 15 amps. Using 14 AWG on a 20-amp breaker is a code violation and fire hazard. The wire heats up under load it wasn’t designed to carry.
When you’re pulling new wire anyway, 12 AWG gives you the flexibility to run 20-amp circuits now or later. Voltage drop becomes an issue on long runs. If your panel sits 80 feet from the workbench, a 12 AWG wire loses enough voltage that tools run weaker or won’t start. Bump up to 10 AWG on runs over 75 feet to maintain full power at the outlet.
Planning Circuit Capacity and Outlet Height
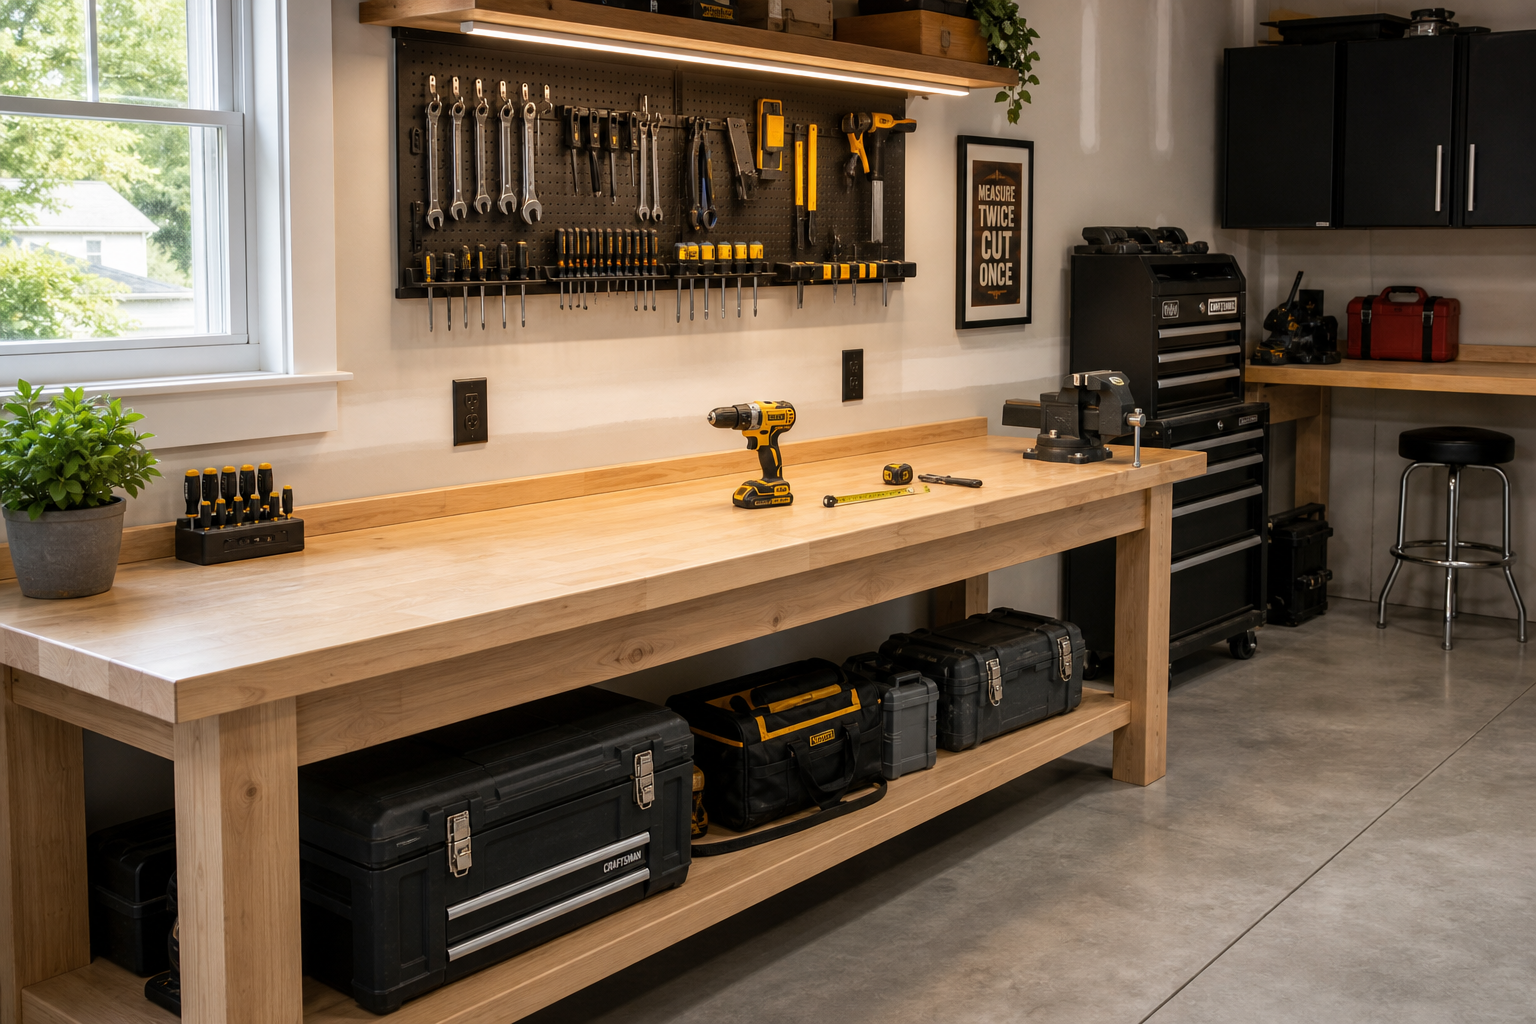
Start by listing every tool you’ll plug in at the workbench. Not just what you own now, but what you might add in the next few years. A miter saw, orbital sander, and drill charger don’t pull much individually, but a router (1,850W), shop vac (1,200W), and space heater (1,500W) will trip a single circuit fast.
Group tools by usage pattern. If you never run the table saw and air compressor at the same time, they can share a circuit. When you routinely vacuum while a tool runs, those need separate circuits.
Plan for at least two 20-amp circuits serving the workbench area. One handles stationary tools (table saw, drill press, grinder). The other covers hand tools, chargers, and task lighting. Add a third circuit if you run a welder, large compressor, or dust collection system.
Optimal Outlet Placement
Outlet height depends on bench design. Standard practice puts outlets 4 inches above the benchtop, which keeps cords off the work surface but stays accessible. Wall-mounted outlets above a bench go 42 to 48 inches from the floor. This height clears most benchtop equipment while staying reachable without a step stool.
Space outlets every 4 feet along the bench. Closer is fine. You don’t want extension cords snaking across the workspace or tools stretching their factory cords to reach power. Four outlets per circuit is typical for a workbench setup, giving you enough access points without overloading the wire run.
Conduit versus Romex matters in garages. Exposed Romex (the plastic-sheathed cable common in houses) is legal in most garages but vulnerable to impact damage. A rake handle, ladder, or sheet of plywood can nick the sheathing and expose live wire. Metal conduit costs more and takes longer to install, but it’s nearly indestructible.

10 AWG Electrical Wire
Essential for longer wire runs or higher amperage circuits
GFCI Protection and When to Call an Electrician
GFCI protection is code-required for all garage outlets. These devices trip at small current leaks (as low as 5 milliamps), preventing electrocution in damp conditions. In garages, trips can be caused by moisture, cold temperatures, or brief startup surges from motor-driven tools.
You have two GFCI options. GFCI outlets protect only what’s plugged into them. A GFCI breaker at the panel protects the entire circuit. GFCI breakers cost more but they’re easier to reset (you walk to the panel instead of crawling behind the workbench) and they protect the whole wire run, not just downstream outlets.
Cold Weather Considerations
Cold weather causes nuisance tripping. GFCI devices get more sensitive as temperatures drop. An outlet that works fine in summer may trip repeatedly when the garage hits 35 degrees. When you heat the garage, this isn’t an issue. If you don’t, expect occasional trips during winter and reset as needed.
Tool startup surges trip GFCIs more than steady loads. A table saw pulling 15 amps steady might spike to 22 amps for a half-second during startup. That surge can register as a ground fault and trip the protection. It’s annoying but it’s the device doing its job.
Professional Help Indicators
Call an electrician if you’re uncomfortable working inside the main panel, if the panel has no available slots for new breakers, or if you’re adding 240V circuits. Panel work is where DIY electrical goes wrong most often. A missed neutral-ground bond or a breaker landed on the wrong bus can cause fires or electrocution, and the error isn’t obvious until something fails.
Also call a pro if your garage wiring is aluminum, if you find cloth-insulated wire, or if the existing outlets show scorch marks or melted plastic. Those are signs of deeper problems that need diagnosis before you add load.
Avoiding Daisy-Chained Power Strips for High-Draw Tools
Plugging a power strip into another power strip creates a fire hazard and violates every electrical code. Each connection point adds resistance. Resistance generates heat. Heat degrades insulation and eventually ignites nearby materials.
The math explains why it’s dangerous. A 20-amp circuit can deliver 2,400 watts. A cheap power strip uses 16 AWG wire internally, rated for 13 amps max (1,560 watts). Plug a second strip into the first and you’ve got 16 AWG wire carrying the full 20-amp load. The wire overheats inside the plastic housing where you can’t see it until the strip melts or catches fire.
Power strips work fine for low-draw devices (phone chargers, LED lights, battery tenders). They’re not a substitute for proper outlets when you’re running saws, routers, or compressors. Speaking of LED lighting, proper shop light installation can reduce electrical demands while improving workspace visibility.
Proper Solutions for More Outlets
When you need more outlets than you have circuits, the fix is adding circuits, not adding strips. A two-gang box holds four outlets (two duplex receptacles). A three-gang box holds six. Install the boxes you need during the rough-in phase and you’ll never reach for a power strip.
Extension cords have the same limitations. A 50-foot, 16 AWG cord maxes out at 13 amps. Plug a 15-amp miter saw into it and the cord heats up. Use 12 AWG cords for anything over 13 amps, and keep runs under 50 feet when possible. Better yet, install enough outlets that you rarely need an extension cord.
Running the Wire: Techniques That Matter
Map your route before you drill anything. The straightest path isn’t always the best path. Avoid running wire parallel to plumbing or HVAC ducts where possible (electromagnetic interference and heat are both issues). Cross pipes and ducts at 90-degree angles.
Drill through studs at the center, 12 inches or more above the bottom plate. Code requires a 1.25-inch setback from the stud face to protect wire from drywall screws. When you drill closer than that, you need metal nail plates over the hole.
Proper Wire Installation
Staple Romex every 4.5 feet and within 12 inches of every box. Use insulated staples, not bare metal ones that can bite into the sheathing. Don’t overdrive the staples. You want the cable snug against the framing, not compressed to half its thickness.
Leave 8 inches of wire extending into each box. That’s enough to make connections comfortably without excess wire crammed in the back. Strip 3/4 inch of insulation from each conductor. More than that and you have exposed copper outside the wire nut. Less and you don’t have enough bare wire for a solid connection.
Twist wires clockwise with pliers before adding the wire nut. The nut screws onto the twisted conductors more securely than if you just poke straight wires into it. Tug each wire after tightening. When it pulls free, redo the connection.
Critical Grounding Requirements
Grounding is non-negotiable. Every metal box, every outlet, every switch gets a ground wire bonded to it. Use green grounding screws or ground clips on metal boxes. Pigtail the ground when you have multiple cables in one box. Never rely on device screws to carry the ground through to downstream outlets.
Label every wire at the panel. Masking tape and a Sharpie work fine. “Workbench left,” “Workbench right,” “Compressor.” You’ll forget what’s what six months later, and clear labels make troubleshooting or future additions much faster.
Installing Outlets and Boxes Correctly
Surface-mount boxes save time in finished garages. They mount directly to drywall or studs without cutting holes. They’re bulkier than flush-mount boxes but easier to install after walls are up. Use metal boxes in garages rather than plastic. They’re more durable and they ground automatically when the cable clamps tighten.
Flush-mount boxes need solid backing. When you’re mounting to studs, use nails or screws (screws hold better). When you’re mounting to drywall between studs, use old-work boxes with the flip-out tabs. Those tabs grab the back of the drywall and pull the box tight to the surface.
Box Fill Calculations
Box fill calculations matter more than most DIYers realize. A single-gang box maxes out at around eight to nine conductors (depending on wire gauge and box volume). Each wire coming into the box counts as one. Each wire leaving counts as one. Ground wires count as one total no matter how many you have. Devices (outlets, switches) count as two. When you’re over the limit, use a deeper box or a two-gang box.
Proper Wiring Technique
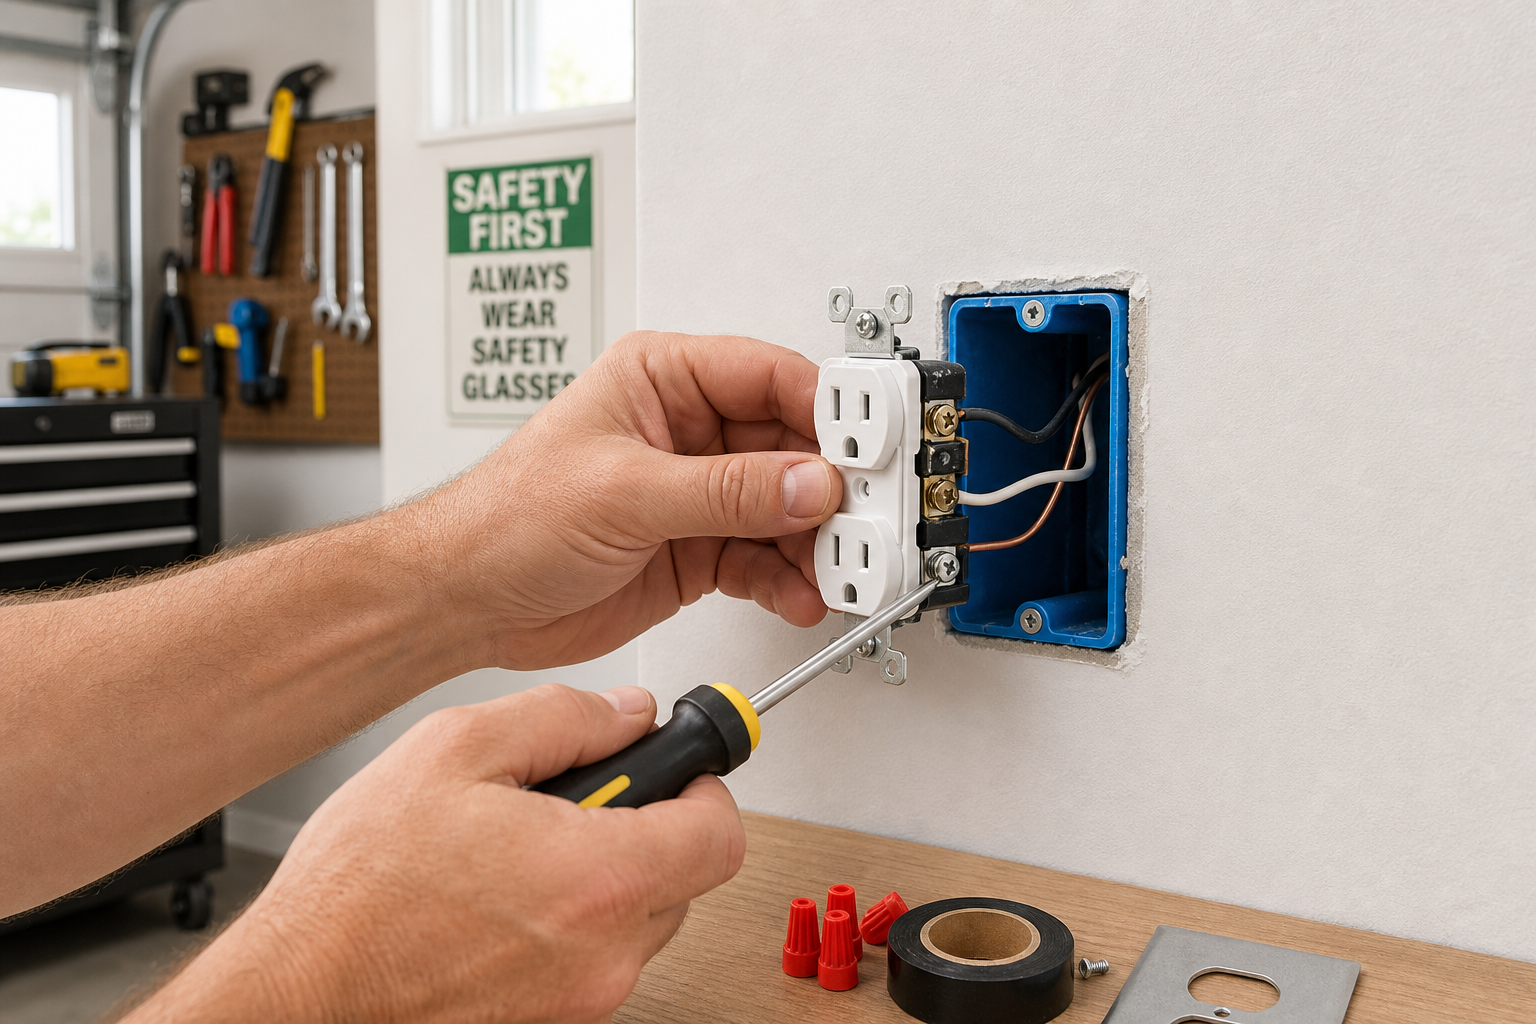
Wire the outlets correctly. Hot (black) goes to the brass screw. Neutral (white) goes to the silver screw. Ground (bare or green) goes to the green screw. When you’re backwiring (using the holes in the back of the outlet instead of the side screws), strip exactly the length shown on the strip gauge molded into the back of the device.
Tighten screws until snug, then another quarter-turn. Loose connections create resistance, heat, and eventual failure. Overtightened screws crack the outlet body or strip the threads. When you strip a screw, replace the outlet. Don’t try to work around it.
Install the outlet with the ground pin up (U-shaped hole on top). There’s debate about this, but ground-up means a falling metal object hits the ground pin first instead of the hot blade. In a garage where you set tools and parts on benches above outlets, that matters.

