

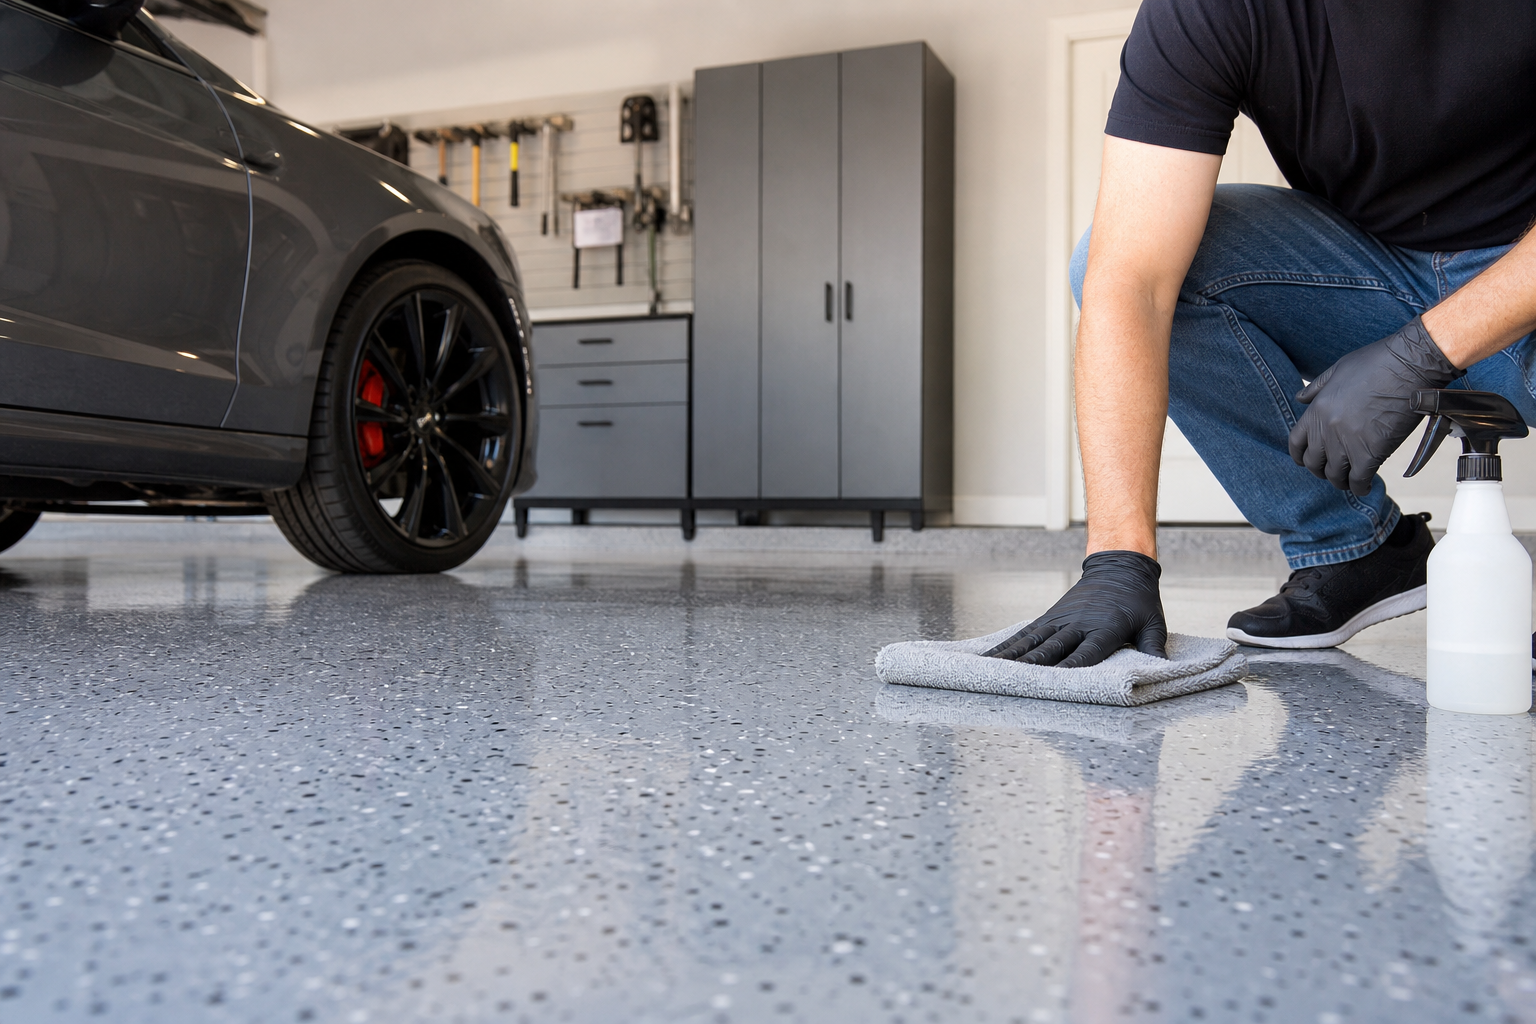
Deciding to clean and maintain a garage epoxy floor for a 10-year life protects your investment and keeps the surface looking sharp. Most homeowners can handle this maintenance themselves with the right approach and a consistent schedule. Small mistakes compound over months and years, turning a pristine floor into a stained, dull surface that looks worn out long before it should.
Here’s the complete process organized into manageable steps. Read through it entirely first, then work section by section.
Recommended Cleaners and Tools for Epoxy Floor Care
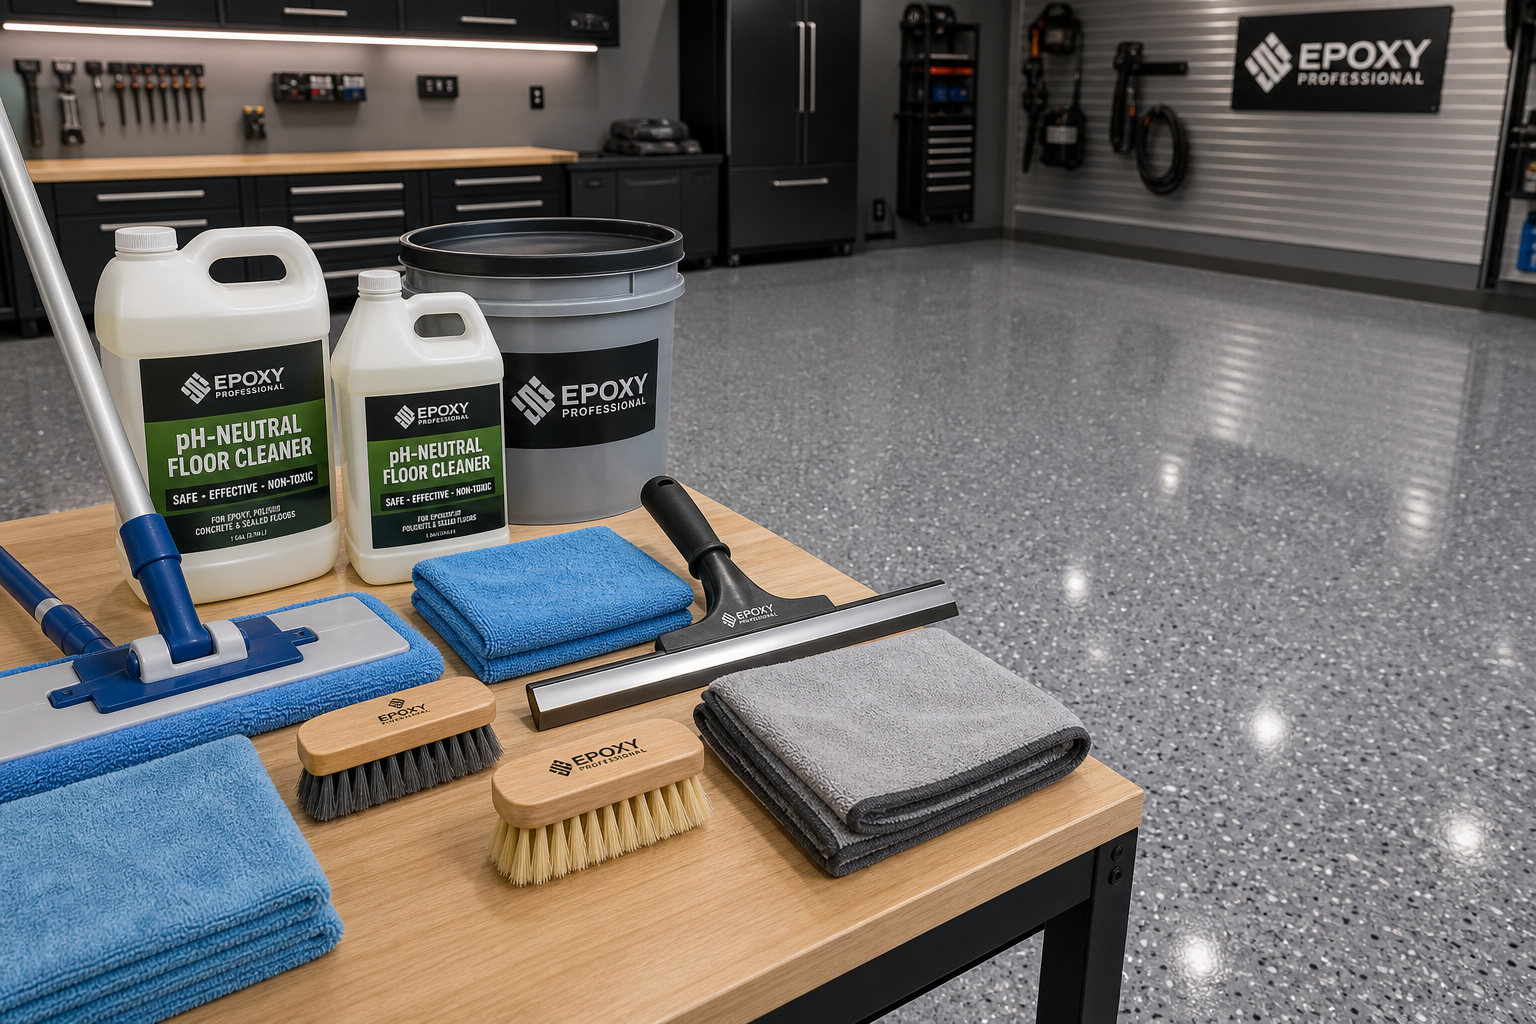
The right cleaning tools protect your epoxy surface while removing dirt, oil, and debris. A soft-bristle push broom works for daily or weekly sweeping. Stiff bristles or metal wire brushes scratch the clear coat and create dull spots that trap dirt. For wet cleaning, use a microfiber mop or a soft deck brush paired with a squeegee to push water toward the garage door or a floor drain.
Cleaners matter as much as tools. A pH-neutral floor cleaner mixed with warm water handles most situations. Simple Green diluted at 1:10 ratio works well for general mopping. For tougher grime or oil spots, a dedicated epoxy floor cleaner gives better results without damaging the finish.

pH Neutral Epoxy Floor Cleaner
Specifically formulated for epoxy surfaces, won’t damage the protective topcoat
Avoid ammonia-based cleaners like Windex or household glass cleaners. They cloud the epoxy over time and break down the protective topcoat. Citrus degreasers are too aggressive for regular use. They can soften the epoxy if left to sit.
Harsh acids and metal scrapers are off-limits. Muriatic acid, which some homeowners use on bare concrete, will etch and dull an epoxy finish. Metal scrapers and snow shovels gouge the surface. If you need to remove ice buildup in winter, use a plastic shovel or a rubber-edged squeegee.
Testing New Products and Safety Precautions
Getting this right requires matching your approach to actual conditions rather than following a generic formula. Climate, surface condition, and usage patterns all influence the best path forward. A garage in Phoenix where you park a clean daily driver needs less frequent deep cleaning than a Minnesota garage where you park a truck caked in road salt and mud four months a year.
Start with a small test area if you’re trying a new cleaner or tool. Pick a 4 by 4-foot section in an inconspicuous spot, like behind where you park or near a side wall. Test the cleaner’s dilution ratio, scrubbing pressure, and dwell time. Check the surface after it dries. If it looks dull, cloudy, or different in sheen, adjust your approach before cleaning the entire floor.
Wear appropriate protection throughout: safety glasses when scrubbing overhead or using cleaners that can splash, gloves when handling concentrated solutions, and a respirator if you’re dealing with strong fumes in an enclosed space. Ventilate when using any cleaner with a strong odor. Crack the garage door and run a box fan to push air out.
Monthly and Annual Maintenance Schedule
Monthly maintenance takes 20 minutes and prevents the buildup that requires serious elbow grease later. Sweep the floor with a soft-bristle broom to remove sand, dirt, and small debris. Sand tracked in from driveways and streets is abrasive. Left to sit, it scratches the surface every time you walk or drive over it.
After sweeping, mop with a pH-neutral cleaner mixed in warm water. Work in sections, starting at the back of the garage and moving toward the door. Rinse the mop frequently so you’re not spreading dirty water around. Squeegee excess water out the door or toward a drain. Let the floor air-dry completely before parking on it.
Spot Cleaning Spills Immediately
Spot-clean spills as soon as they happen. Oil, transmission fluid, antifreeze, and brake fluid all stain epoxy if left overnight. Blot up fresh spills with paper towels or a clean rag. Then clean the spot with your pH-neutral floor cleaner and a soft brush. For dried oil spots, apply a small amount of degreaser directly to the stain, let it sit for 2 to 3 minutes, scrub gently, and rinse thoroughly with clean water.
Annual Deep Cleaning Process
Annual maintenance goes deeper. Once a year, typically in spring after winter’s mess or in fall before snow season, do a full deep clean. Sweep thoroughly. Then mop the entire floor with a stronger dilution of your epoxy floor cleaner, or use a dedicated degreaser if the surface has built up a film from car exhaust, dust, or tracked-in contaminants.
Scrub high-traffic areas and any spots where tires sit with a soft deck brush. Rinse the floor completely with clean water, squeegee it dry, and let it air out for a few hours.
Inspect the floor during your annual clean. Look for areas where the topcoat is thinning or dulling. Check for any small chips or scratches. Epoxy is durable, but high-traffic paths near the door and under tire tracks wear faster. If you catch thinning early, you can apply a fresh topcoat to those areas before the base layer gets damaged.
Check edges and seams where the epoxy meets walls or expansion joints. Dirt and moisture accumulate in these spots. Use a stiff brush (not metal) or an old toothbrush to clean along the edges. If you see moisture seeping up at the wall line, you may have a drainage issue or groundwater problem that needs addressing before it damages the floor from below.
Organizing Your Supplies
Keep cleaning supplies organized and accessible. Store your broom, mop, squeegee, and cleaner on a wall-mounted rack or in a utility cart so they’re ready when you need them. If you wait until you can’t see the floor color anymore, you’ve waited too long.
Factor in maintenance effort when choosing a floor coating initially. Polyaspartic topcoats resist staining and UV yellowing better than standard epoxy clear coats, which means less scrubbing and longer intervals between deep cleans. The lowest-maintenance option isn’t always cheapest initially, but it usually wins over a 5 to 10-year window when you include the time and product cost of repeated deep cleans, touch-ups, and early recoating.
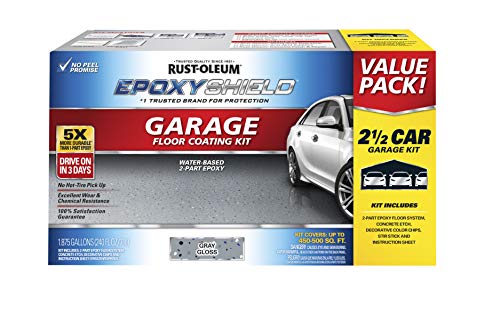
Garage Floor Epoxy Kit
Professional-grade kits with polyaspartic topcoats for maximum durability
What Shortens Epoxy Floor Lifespan
UV Exposure and Temperature Stress
Heat and UV exposure degrade epoxy faster than most homeowners expect. Direct sunlight streaming through garage windows or open doors breaks down the topcoat, causing yellowing and chalking. If your garage has windows, consider UV-blocking film or shades. Polyaspartic topcoats resist UV damage better than standard epoxy, but no coating is immune to prolonged sun exposure.
Thermal shock stresses the coating. Parking a hot vehicle directly on a cold epoxy floor in winter, or the reverse in summer, causes rapid expansion and contraction. Over time, this leads to micro-cracking. You can’t avoid parking your car, but you can minimize shock by letting the engine cool for 10 minutes before pulling into the garage after a long drive, or by using a drip mat under the car during temperature extremes.
Road Salt and Chemical Damage
Road salt is the enemy of epoxy in snow states. Calcium chloride and magnesium chloride deicers tracked in on tires and boots eat away at the topcoat and can cause surface pitting. Rinse your garage floor more frequently during winter months. A quick spray-down with a hose or a mop with clean water once a week during salt season prevents buildup.
Chemical spills left to sit cause permanent damage. Battery acid, concentrated antifreeze, paint thinner, and strong solvents all etch or discolor epoxy. Wipe up spills immediately. For harsh chemicals, neutralize the area with baking soda and water after cleaning, then rinse thoroughly.
Physical Damage Prevention
Dragging heavy equipment or sharp-edged tools across the floor gouges the surface. Workbenches, toolboxes, motorcycles, and riding mowers can all leave scratches if you drag them instead of lifting or rolling them on rubber wheels. Place furniture pads under anything you move frequently. Use a dolly or appliance mover for heavy items.
Parking on a wet or damp epoxy floor doesn’t damage the coating itself, but it can cause issues if the floor wasn’t fully cured before first use. Standard epoxy needs 7 days to cure fully. Polyaspartic cures in 24 hours. Parking or placing heavy loads on uncured epoxy can leave tire marks, impressions, or areas where the coating didn’t bond properly.
Neglecting small damage lets it spread. A tiny chip or scratch seems harmless, but it exposes the base layer to moisture and contaminants. Over months, that small spot grows into a larger delamination area. Touch up chips and scratches with a small amount of matching epoxy or a clear topcoat as soon as you spot them.
Seasonal Care Guidelines

Winter Protection Strategies
Winter brings salt, moisture, and freeze-thaw cycles. If your garage isn’t heated, melting snow and ice from your vehicle create puddles that sit on the floor. Squeegee standing water out the door or toward a drain before it refreezes. Frozen water expands, and while epoxy itself handles freezing temps fine, pooled water that freezes and thaws repeatedly can work its way into tiny surface imperfections and cause flaking over time.
Salt residue is your main winter headache. A white, chalky film builds up fast. Mop with warm water and a pH-neutral cleaner once a week during heavy salt months. You don’t need to scrub hard. The goal is to dissolve and rinse away the salt before it etches the surface.
Some homeowners lay down absorbent mats or containment mats during winter. These catch drips and slush, protecting the floor and making cleanup easier. Empty and rinse the mats outside. Choose mats with a non-slip backing that won’t trap moisture against the epoxy. Rubber-backed mats that create a seal can cause the floor underneath to stay damp and develop mold or a cloudy appearance.
Summer Maintenance Considerations
Summer heat and humidity bring different challenges. High temperatures can soften uncured or low-quality epoxy, making it tacky or causing tire marks. If your garage gets above 90°F regularly and you notice the floor feeling slightly sticky, improve ventilation. Open windows or install a vent fan.
Dust and pollen accumulate faster in summer when the garage door is open more often. A quick weekly sweep keeps the floor looking clean and prevents grit from scratching the surface.
Handling Stubborn Stains
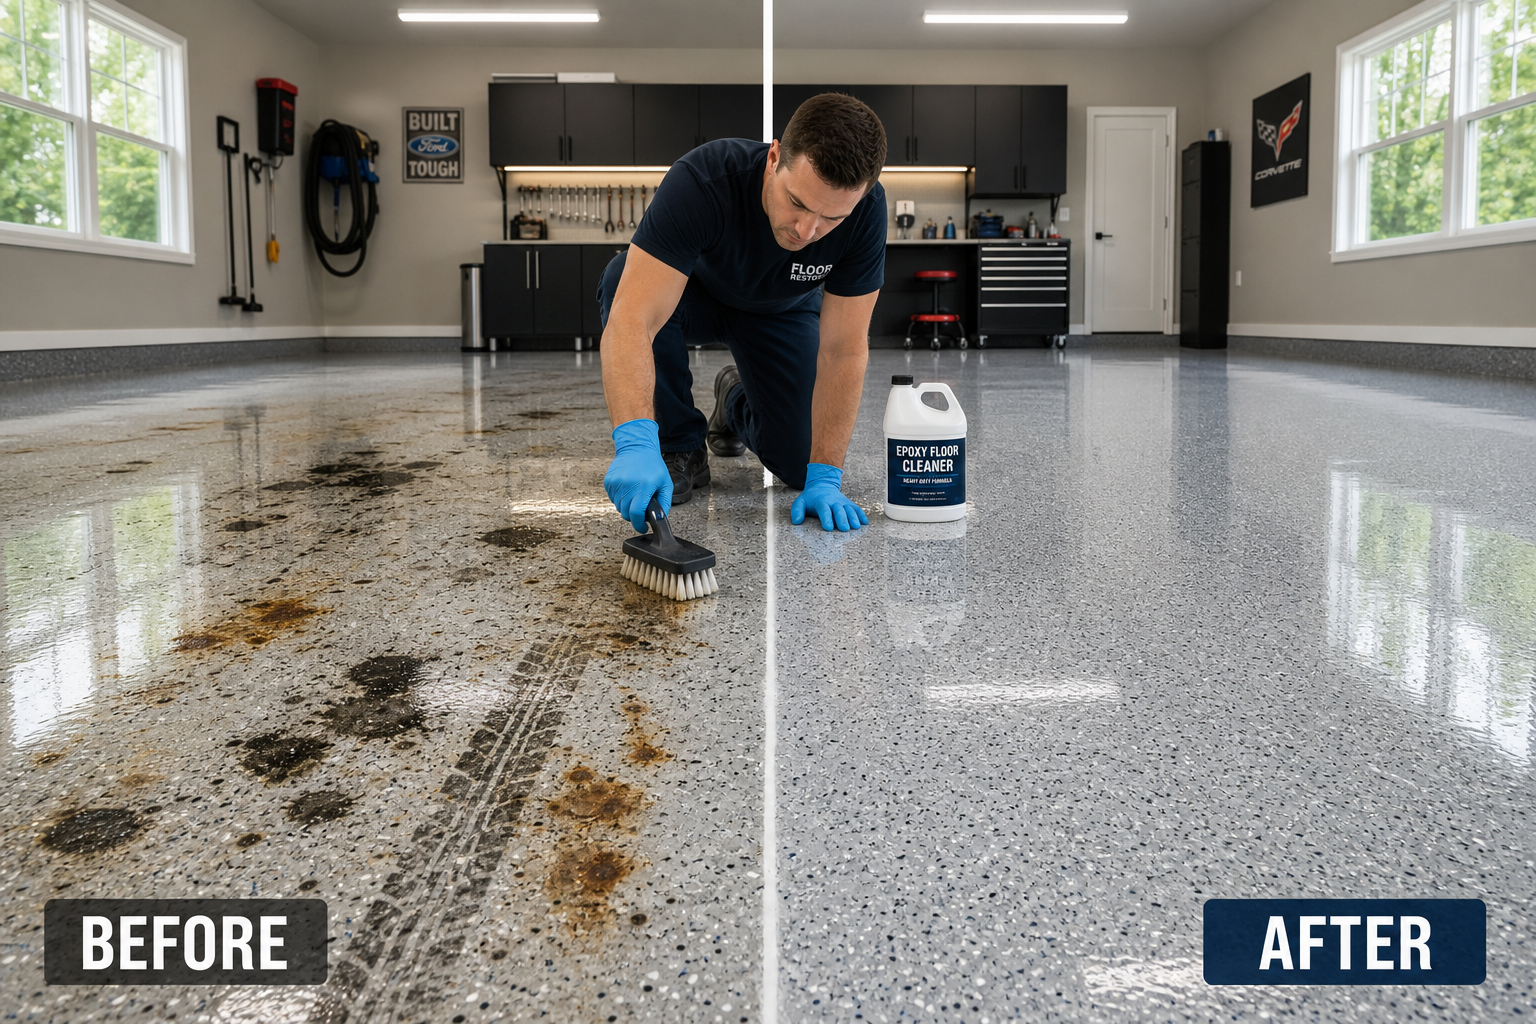
Oil stains that have set for days or weeks need a stronger approach. Apply a poultice-style cleaner or a paste of baking soda and water directly to the stain. Let it sit for 10 to 15 minutes. The paste draws oil out of micro-pores in the topcoat. Scrub gently with a soft brush, then rinse thoroughly. Repeat if needed.
For really stubborn oil stains, use a citrus-based degreaser, but limit dwell time to 5 minutes and rinse completely. Don’t use it as a regular cleaner.
Rust stains from metal shelving, tools, or lawn equipment can be tricky. A paste of baking soda and white vinegar works on light rust marks. For heavier rust, a commercial rust remover designed for sealed concrete or epoxy is safer than acidic cleaners. Test in a hidden spot first. Some rust removers are too aggressive for epoxy topcoats.
Tire marks usually come from hot tires on a new or freshly cleaned floor. They’re not always permanent. Try a pH-neutral cleaner and a soft scrub brush first. If that doesn’t work, a small amount of denatured alcohol on a rag can lift the marks. Rub gently, rinse immediately, and don’t let the alcohol sit.
Paint drips and overspray depend on the paint type. Latex paint usually scrapes off gently with a plastic putty knife once dry. Oil-based paint is tougher. Soften it with mineral spirits on a rag, then wipe clean. Minimize contact time and rinse the area afterward.
When to Recoat vs. When to Strip and Redo
A worn topcoat doesn’t always mean you need to start over. If the base epoxy layer is still solidly bonded to the concrete and only the clear coat is dull or thinning, you can scuff-sand the surface lightly with 120-grit sandpaper, clean thoroughly, and apply a fresh topcoat. This extends the floor’s life by another 3 to 5 years without the cost and mess of a full removal and reinstall.
Strip and redo when you see delamination (bubbling, peeling, or sections lifting away from the concrete), widespread cracking, or if the original install was a thin, low-quality coating that’s failed in multiple spots. Patching a bad floor rarely works long-term. The patches peel or show color differences.
Professional removal usually involves grinding or chemical stripping. DIY removal is possible but labor-intensive. Grinding kicks up a lot of dust. Chemical strippers are harsh and require serious ventilation. If the floor is in bad shape, paying a pro to remove and prep the surface, then doing the coating install yourself, can be a cost-effective middle ground.
Practical Planning Tips
Before starting any garage project, take stock of what you have and what you need. Walk the space with a tape measure and a notepad. Record dimensions, note existing electrical outlets and their amperage, check for moisture issues, and photograph anything you want to change. This baseline assessment prevents surprises mid-project and helps you budget materials accurately.
Set a realistic timeline and budget before buying anything. Most garage projects take 50% longer and cost 20% more than initial estimates, especially for first-timers. Build that buffer into your plan so unexpected discoveries don’t derail the entire project or blow the budget.
Prioritize your projects based on impact and urgency. Safety issues (faulty wiring, CO risk, structural problems) come first. Comfort improvements (insulation, lighting, climate control) come second. Cosmetic upgrades (floor coatings, paint, organization systems) come last.
Research local building codes and permit requirements for your specific project. Electrical work, structural modifications, and HVAC installations often require permits and inspections. Working without required permits can create liability issues, insurance complications, and problems when selling the home.
Tips for Better Results
- Read all product instructions before opening anything. Temperature, humidity, and timing requirements affect when and how you can work.
- Stage tools and materials within reach before starting. Mid-project supply runs interrupt time-sensitive steps.
- Clean between major steps. Tidy workspaces produce fewer errors and better-looking final results.
- Work in sections small enough to finish before material sets. Consistent technique across sections produces the most uniform results.
- Keep a cleaning log. Mark your monthly mop date and annual deep clean on a calendar. Consistent care prevents the “out of sight, out of mind” problem where you realize six months later the floor hasn’t been mopped.
