

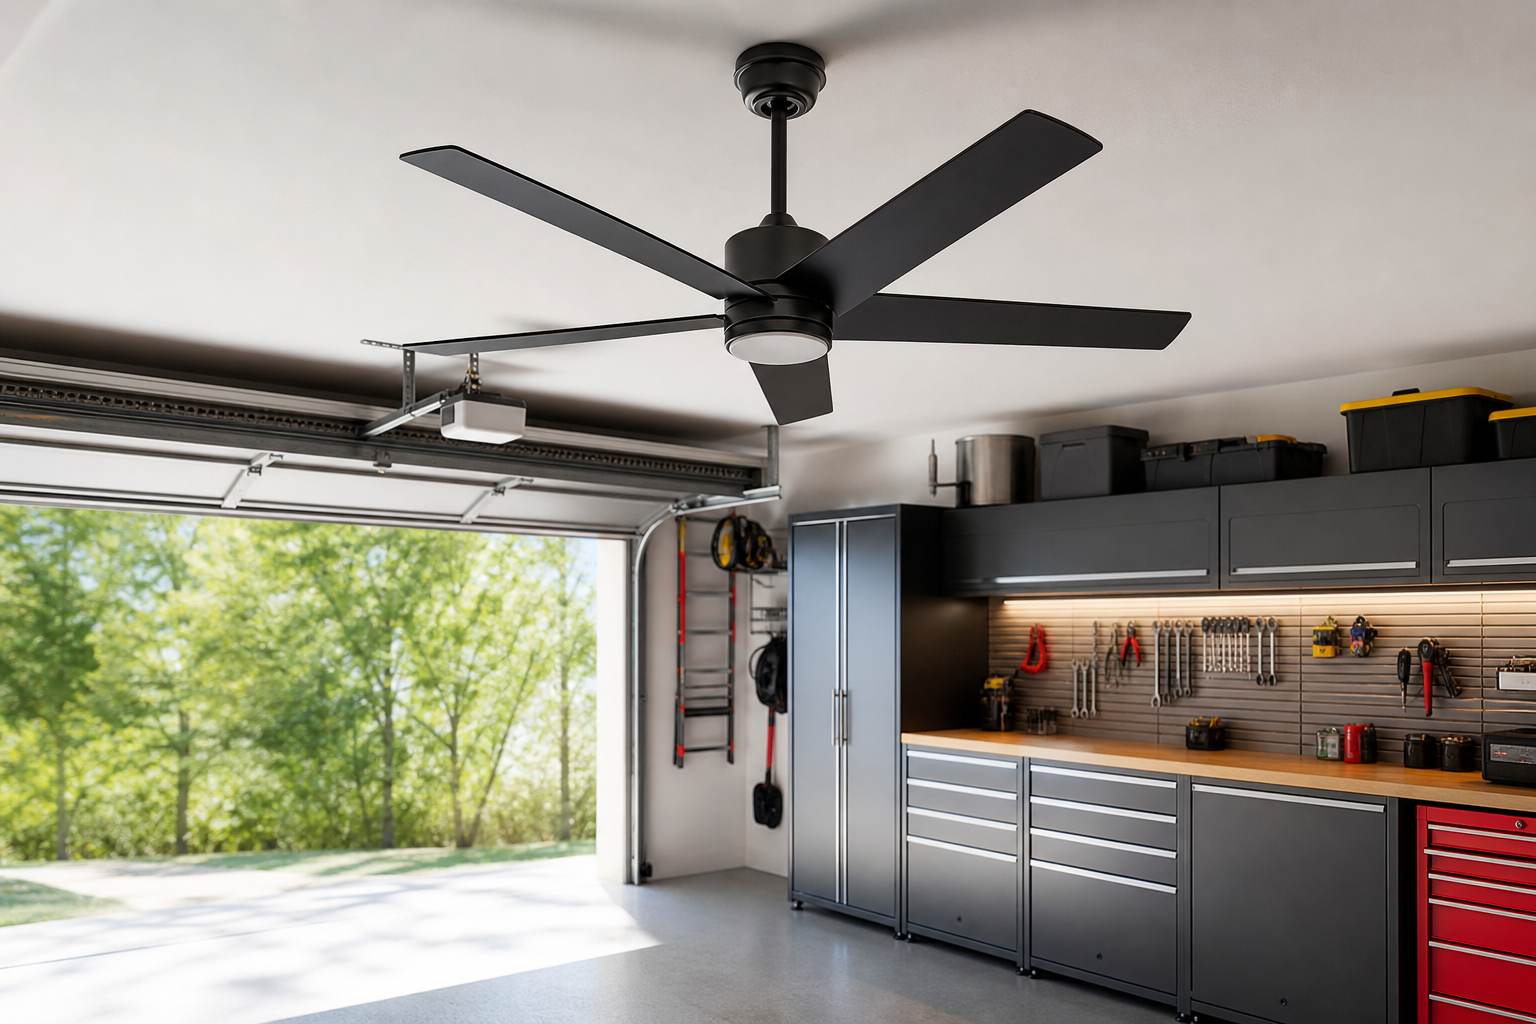
Deciding to add ceiling fans to finished garages is a smart garage upgrade that most homeowners can handle over a weekend. Details that seem minor during the process determine long-term quality.
Here’s the complete process organized into manageable steps. Read through it entirely first, then work section by section.
Understanding the Basics
Most garages were wired with one or two 20-amp circuits, enough for basic lighting and an outlet. Power tools, compressors, heaters, and EV chargers easily exceed that original capacity. Dedicated circuits for high-draw equipment are the standard solution.
Before adding a ceiling fan, you need to confirm your existing electrical capacity can handle the additional load. A typical ceiling fan draws 60 to 100 watts on high speed, modest compared to shop equipment but still part of the circuit’s total demand. If your garage circuit already powers multiple lights, an opener, and outlet-fed tools, adding a fan might push you over the safe limit.
Check your breaker panel to identify which circuit serves the garage ceiling. Most garages share lighting and outlet circuits, meaning the fan will compete with whatever else is plugged in or switched on. If you’re unsure which breaker controls what, a circuit breaker finder makes identification fast and eliminates guesswork. These tools send a signal through the circuit that a handheld receiver detects at the panel, letting you map your electrical system without flipping breakers at random.
A 20-amp, 120V circuit safely delivers about 1,920 watts continuously (80% of 2,400W max). If your table saw pulls 1,800 watts and the shop vac draws 1,200 watts, they can’t run on the same circuit simultaneously without tripping the breaker. Add a 75-watt fan to that mix and you’re operating with no safety margin. In that scenario, consider tapping a different circuit for the fan or installing a new dedicated circuit if your panel has available slots.
240V circuits (for welders, compressors, EV chargers) use thicker wire (10 AWG for 30A, 6 AWG for 50A) and double-pole breakers. Installation typically requires a permit and licensed electrician unless you have substantial electrical experience. EV charger installations often require this type of circuit. Ceiling fans run on standard 120V, but understanding your overall garage electrical load helps prevent overload issues down the line.
GFCI protection is code-required for all garage outlets. These devices trip at small current leaks, preventing electrocution in damp conditions. In garages, trips can be caused by moisture, cold temperatures, or brief startup surges from motor-driven tools. Ceiling fan circuits typically don’t require GFCI protection since they’re overhead and not near water sources, but confirming your local code prevents surprises during inspection.
Choosing the Right Fan and Location
Garage ceiling fans differ from indoor models in several ways. You need a fan rated for damp or wet locations if your garage isn’t climate-controlled. Unheated garages experience condensation, temperature swings, and humidity that corrode standard indoor fan motors within a couple seasons.
Fan diameter matters more than most people expect. A 52-inch fan moves air effectively in a two-car garage (400 to 500 square feet). Single-car garages (200 to 250 square feet) work fine with 42 to 48 inches. Larger shops or three-car garages benefit from multiple fans rather than one oversized unit, since airflow distribution beats sheer blade span.
Mounting height affects safety and performance. The National Electrical Code requires 7 feet minimum clearance from floor to blade, but 8 to 9 feet works better in garages where you might hoist materials, carry lumber, or park a truck with a roof rack. Measure your ceiling height and subtract blade length to verify clearance before buying.
Location drives how well the fan circulates air. Mount the fan centered in the space if possible, avoiding spots directly above workbenches where loose papers or sawdust become airborne hazards. If you park vehicles in the garage, position the fan offset from hood height to prevent direct airflow on cold engines (which can interfere with proper engine warm-up during winter starts). Adding pegboard organization systems to your walls helps keep tools secure and out of the fan’s airflow path.
Blade pitch and motor quality separate effective fans from noisy disappointments. Look for 12 to 15-degree blade pitch and motors rated for continuous duty. Cheaper fans use shallower pitch and residential-duty motors that overheat during extended run times. A garage fan often runs for hours during projects, so motor durability justifies the cost difference.
Confirming Structural Support
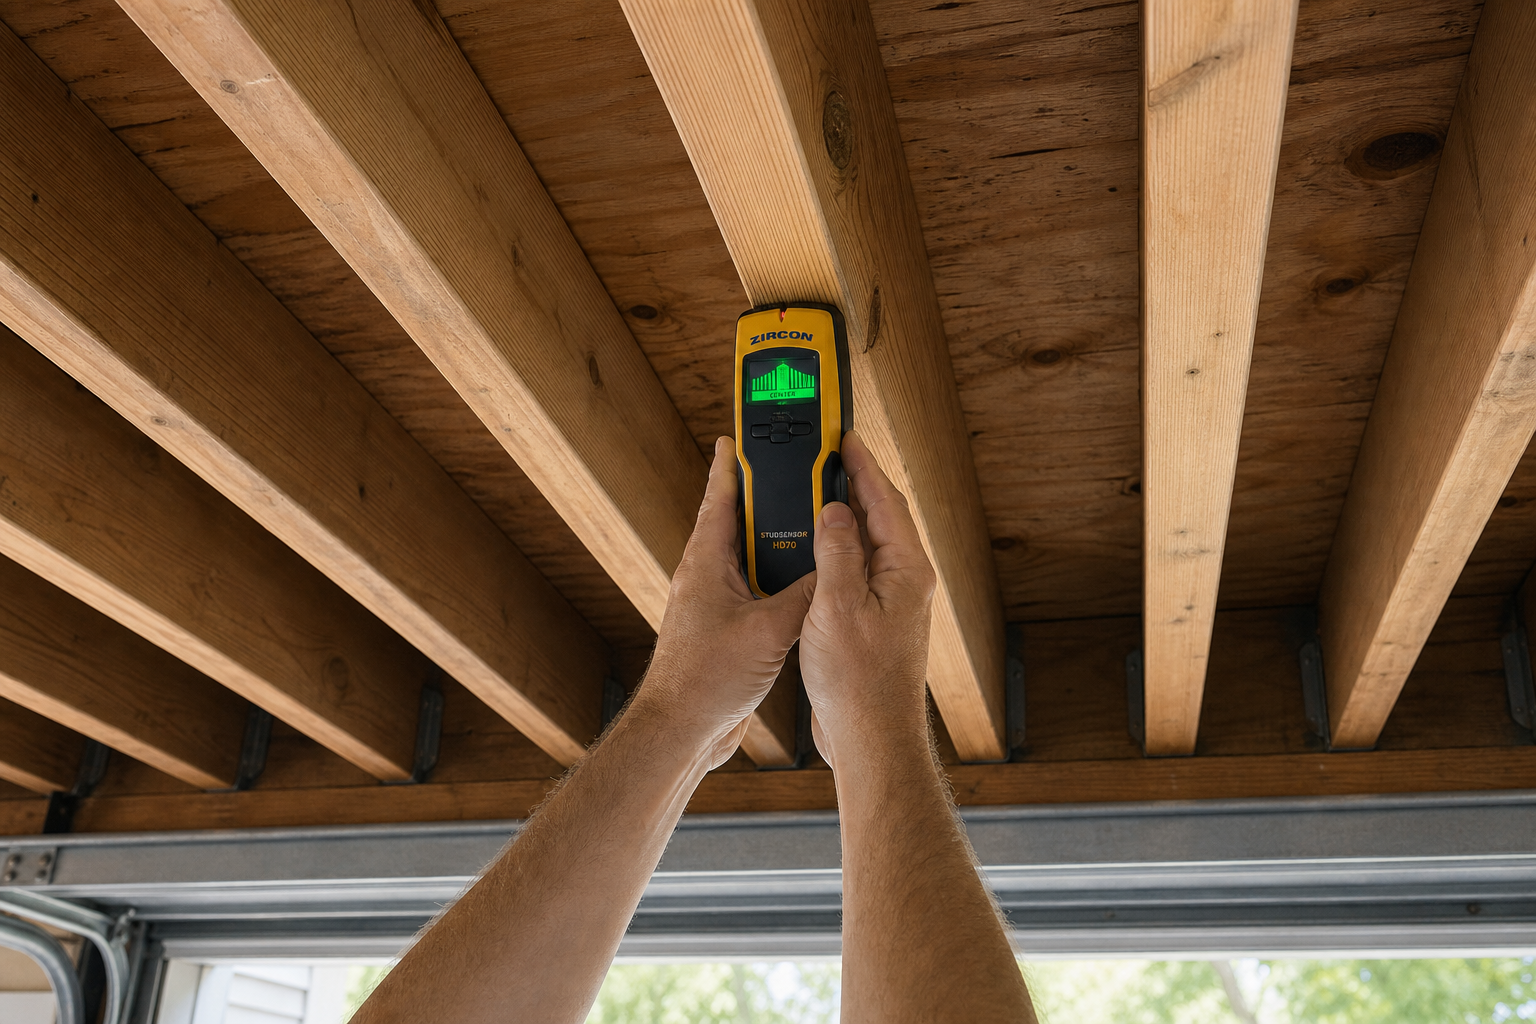
Ceiling fans create dynamic loads, vibration and rotational force that standard electrical boxes can’t handle. The National Electrical Code requires fan-rated boxes capable of supporting 50 pounds minimum. Most garage ceilings use simple octagon boxes rated for 10-pound light fixtures. Installing a fan on an undersized box leads to wobble, noise, and eventual failure. Worst case, the box tears loose from the ceiling.
If your garage has an existing ceiling light where you plan to mount the fan, inspect the box before proceeding. Remove the light fixture and check for markings on the box itself. Fan-rated boxes are labeled “For Use With Ceiling Fans” or similar text. If you see no marking, assume it’s light-duty and needs replacement.
Accessing the box depends on ceiling finish. Drywall ceilings require cutting a larger access hole to swap boxes, then patching afterward. If you’re considering finishing your garage with drywall, plan the fan installation before the finish work. Exposed joist ceilings make the job simpler since you can remove the old box and install a fan-rated version without drywall repair.
Fan-rated boxes come in several styles. Retrofit boxes attach directly to a single joist using expanding wings or heavy-duty flanges. These work when the existing box location doesn’t align with a joist. Pancake boxes mount flush against a joist and offer maximum strength but require precise joist alignment. Ceiling fan brace kits span between joists and allow positioning the fan anywhere within the bay, the most flexible option when retrofitting.
For new installations where no box exists, a ceiling fan brace is the cleanest approach. These adjustable metal bars slide into the joist bay through a small ceiling opening, expand to fit snugly between joists, and provide a threaded center stud for attaching the box. Installation takes 15 minutes and doesn’t require access from above the ceiling.
Check joist condition while you’re inspecting box mounting. Look for cracks, rot, or previous modifications that compromise strength. Garages often have notched or drilled joists from past electrical or plumbing work. If the joist where you want to mount the fan shows damage, either relocate the fan or sister a reinforcement joist alongside the damaged one before mounting the box.
Running New Wiring
If you’re adding a fan where no fixture currently exists, you’ll need to run new cable from a power source. The most common approach taps an existing junction box, light switch, or outlet box on the same circuit. This works if the circuit has capacity for the added load and if running cable between the boxes is practical given your ceiling and wall construction.
Standard ceiling fan installations use 14/2 or 14/3 Romex (non-metallic sheathed cable). Use 14/3 if you want separate control for fan and light (three-conductor cable provides hot, switched hot, neutral, and ground). Use 14/2 for fan-only installations or if you’ll control everything from a single switch. If your garage circuit uses 12-gauge wire (common on 20-amp circuits), match that gauge for consistency even though 14-gauge is code-legal for fan circuits. Mixing gauges works electrically but creates confusion during future work. For longer runs or higher-amperage needs, 10 AWG electrical wire provides extra capacity, though it’s overkill for basic fan circuits.
Determine your cable path before buying materials. Finished ceilings require fishing wire through walls and ceiling cavities, sometimes involving drilling through studs or joists. Unfinished garages simplify the job since you can surface-mount conduit or staple cable directly to joists (keeping it 1.25 inches from the edge to avoid puncture from drywall screws or nails if the ceiling ever gets finished).
Fish tape or stiff wire helps pull cable through finished spaces. Work from the new fan box location toward the power source, drilling access holes as needed. Keep holes small (0.5 to 0.75 inches) so they’re easier to patch later. Use a flexible drill bit or right-angle drill adapter to bore through framing in tight spaces.
Secure cable every 4.5 feet along its run and within 12 inches of every box using cable staples or approved straps. Don’t overtighten staples, crushing the cable jacket damages the conductors inside. Leave 6 to 8 inches of extra cable at each box for wire connections. Too little slack makes connections difficult, too much creates a tangled mess inside the box. When planning electrical upgrades, consider future needs like 240V outlet installations for higher-powered equipment.
Step-By-Step Mounting and Wiring
This is an area where cutting corners comes back to haunt you. Invest the effort upfront and you’ll save significant time and money over the next several years of use.
Start by shutting off power to the circuit at the breaker panel. Verify power is off using a non-contact voltage tester at the box where you’ll work. Test both the hot and neutral wires since miswiring in older homes sometimes energizes unexpected conductors.
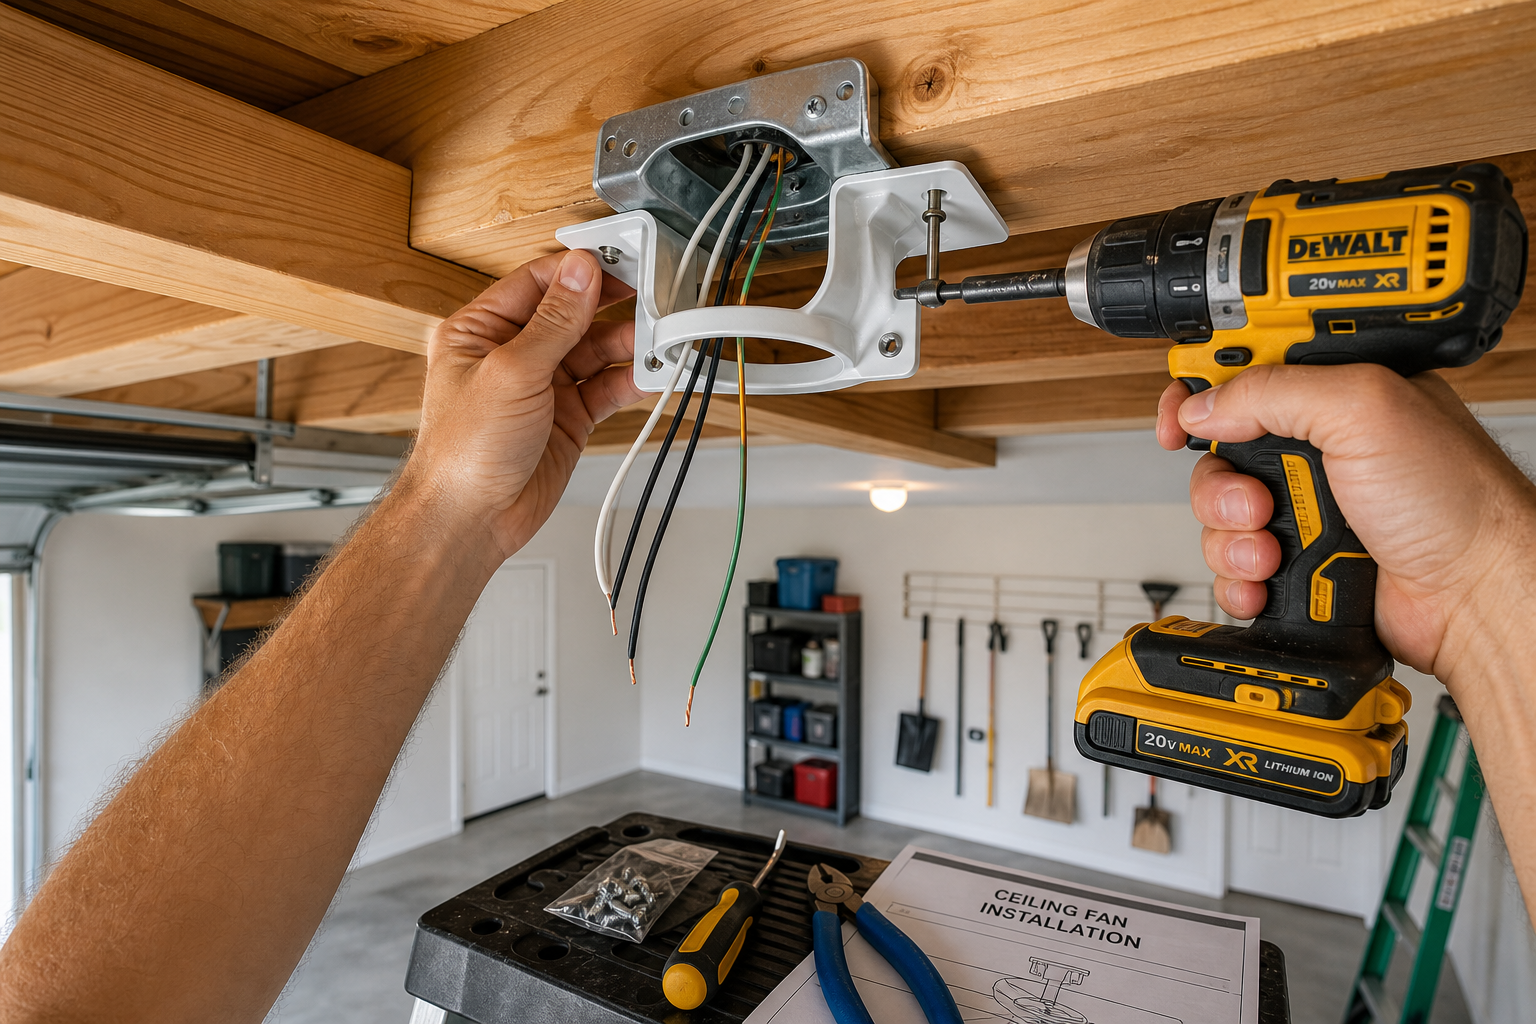
Mount the fan-rated box according to the manufacturer’s instructions. For retrofit boxes, insert the assembly through the ceiling hole, expand the support wings, and tighten the center screw until the wings grip the backside of the drywall or the joist. For brace-mounted boxes, position the brace, lock it in place between joists, and attach the box to the brace’s threaded stud. Verify the box sits flush with the ceiling surface. Recessed boxes cause fan canopy fitment issues, protruding boxes look unfinished.
Pull cable into the box and secure it using the box’s built-in clamp or an appropriate cable connector. Strip 6 inches of outer jacket from the cable, exposing the individual conductors. Strip 0.5 inches of insulation from each conductor. Avoid nicking the copper wire during stripping since nicks create weak points that fail under vibration.
Assemble the fan’s mounting bracket to the ceiling box using the provided screws. Most fans include a ball-and-socket mounting system where a downrod with a ball end seats into a bracket socket, allowing the fan to hang while you complete wiring. Follow the specific instructions for your fan model since designs vary.
Make electrical connections inside the box. Match colors: black (hot) to black, white (neutral) to white, green or bare copper (ground) to ground. Use wire nuts sized for the number and gauge of wires being joined. Twist wires together clockwise with pliers before threading on the nut, then tug each wire to confirm a solid connection. Poor connections cause arcing, heat, and eventual failure.
If your fan has a light kit and you’re using 14/3 cable for separate control, connect the second hot wire (typically red) to the fan’s light hot lead. This allows independent switching of fan and light from a dual switch at the wall. If you’re using 14/2 cable, the fan and light operate together on a single switch.
Tuck connected wires into the box carefully. Don’t force or crimp wires, damage to insulation risks shorts. Attach the fan canopy to the mounting bracket, ensuring it sits flat against the ceiling. Install fan blades according to the manual, tightening all blade screws securely. Unbalanced or loose blades cause wobble and noise.
Attach the light kit if included, following the fan’s wiring diagram. Install bulbs matching the fixture’s maximum wattage rating (usually 60 watts per socket for incandescent, higher for LED). LED bulbs reduce energy draw and heat, a smart choice in garages where ventilation is often limited.

Garage Ceiling Fan Mounting Kit
Essential for secure installation on garage ceiling joists
Wiring the Wall Switch
Single-pole switches (standard on-off) control the fan if it has a pull-chain or remote for speed adjustment. Three-way switches allow control from two locations, useful in large garages with multiple entry points. Fan/light combo switches provide separate control for each function and require 14/3 cable as discussed earlier.
Turn off power at the breaker before working on switch wiring. Remove the existing switch cover plate and switch, noting which wires connect where (take a photo for reference). If you’re replacing a single switch with a dual fan/light switch, verify the box has 14/3 cable. If only 14/2 is present, you can’t separately control fan and light without running new cable.
For dual switches, connect the incoming hot wire (usually black, coming from
