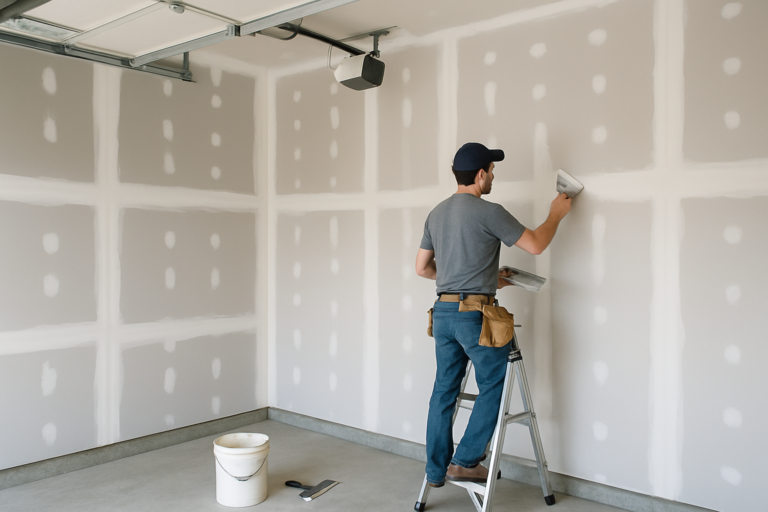
Finishing drywall in your garage is one of those projects that looks intimidating from the outside but actually makes a fantastic first drywall project. Unlike your living room where every imperfection will catch the light, garages are more forgiving spaces. You’ll have textured surfaces, tool storage, and typically less direct scrutiny of your walls. This makes it the perfect place to learn the basics of taping, mudding, and sanding without the pressure of achieving showroom perfection.
I’ve seen plenty of beginners tackle garage drywall as their first finishing project, and most of them end up with results they’re genuinely proud of. The key is understanding the basic techniques, having the right tools, and knowing which mistakes to avoid. Let’s walk through everything you need to know to get smooth, professional-looking walls in your garage.
Why Your Garage Is the Perfect Learning Space
Garages offer several advantages that make them ideal for learning drywall finishing. First, lighting conditions are typically less harsh than in living spaces. You won’t have the same direct sunlight streaming through windows that highlights every tiny ridge or imperfection.
Second, most garages will eventually have shelving, workbenches, or storage systems mounted to the walls. This means minor imperfections often get covered up anyway. You’re not aiming for glass-smooth walls like you’d want in a bedroom or hallway.
Third, the functional nature of garage spaces means you can use slightly heavier texture if needed to hide learning mistakes. A light orange peel or knockdown texture is perfectly acceptable in a garage and can save you hours of detailed finishing work. Before you begin, it’s worth considering whether drywall is the best choice for your garage walls compared to other options available.
Finally, temperature and humidity matter less in garages. While you still want reasonable conditions for drying, you don’t need to maintain perfect climate control like you would in finished living spaces. Just be mindful during winter months when cold temperatures can affect both your work and any plumbing in the space.
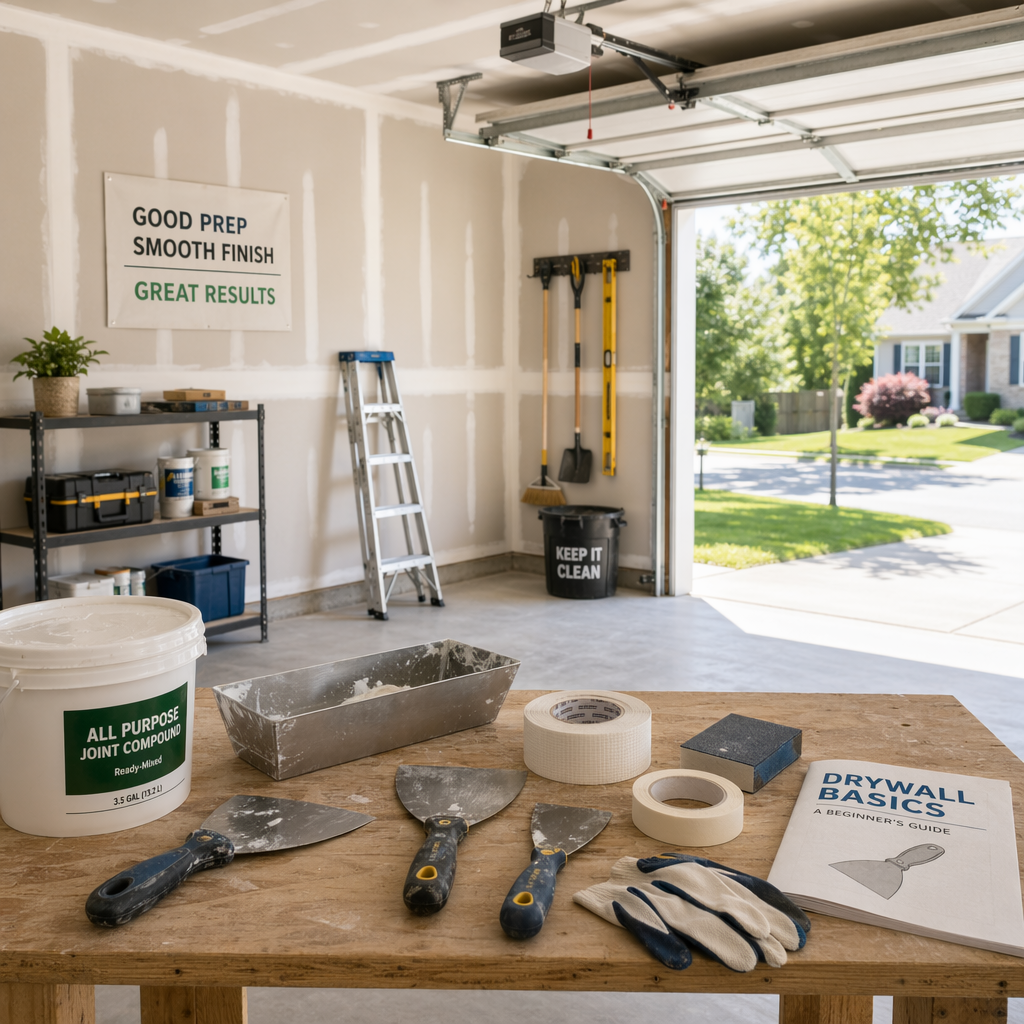
Essential Tools and Materials You’ll Actually Need
Don’t get sucked into buying every drywall tool available. For a garage project, you need a surprisingly short list of essentials. Start with a good quality 6-inch taping knife for your first coat and a 10-inch finishing knife for subsequent coats.
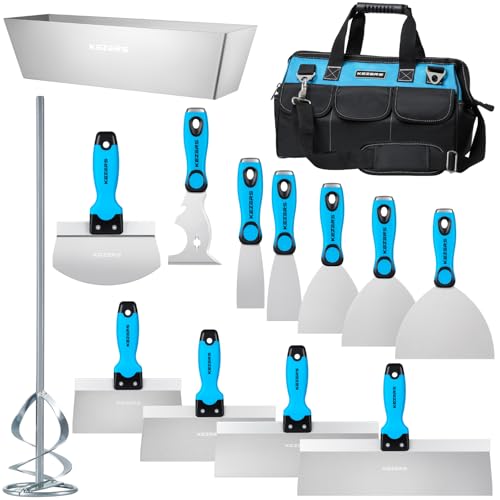
Drywall Taping Knife Set
Get a matched set so the blades have consistent flexibility, which helps with technique.
You’ll need joint compound (also called mud), paper or mesh drywall tape, a mud pan to hold your compound, and sanding supplies. For sanding, you have two main options: traditional hand sanding with a pole sander or using a drywall sanding sponge for detail work.
I recommend starting with pre-mixed all-purpose joint compound for garage projects. It’s more forgiving than setting-type compounds and gives you plenty of working time. You can always graduate to hot mud (setting-type compound) once you’re comfortable with the basics.
Don’t forget a corner trowel for inside corners and some basic safety gear. A dust mask is essential for sanding, and having a good work light helps you spot imperfections as you go.
The Three-Coat Method Explained
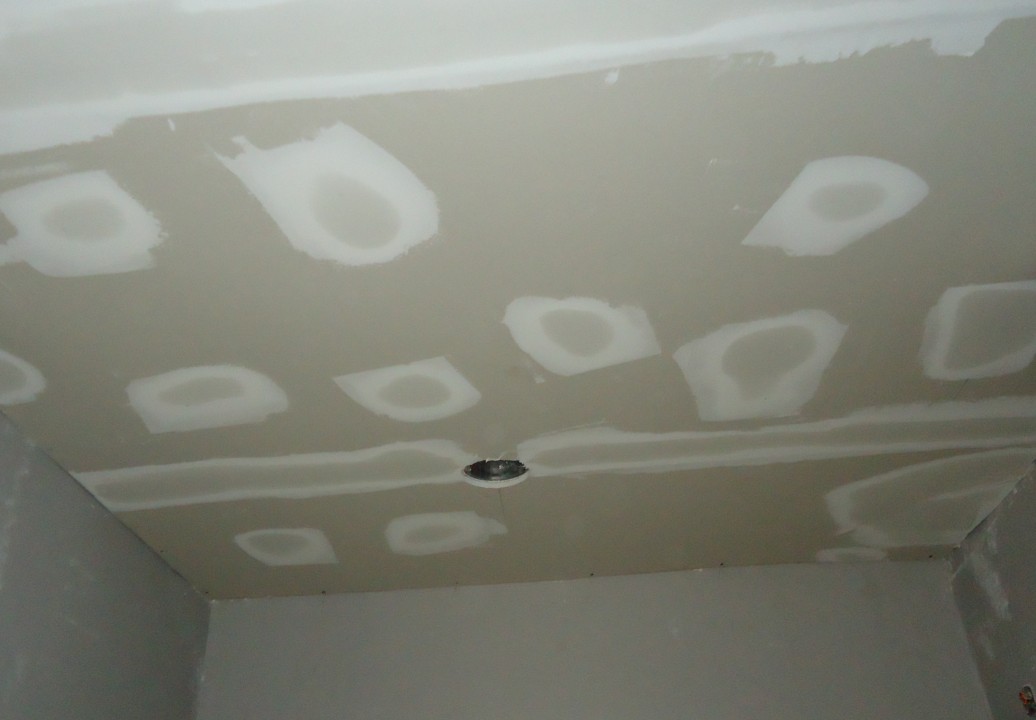
Professional drywall finishing typically involves three coats: the tape coat, the fill coat, and the finish coat. Each serves a specific purpose, and skipping steps or rushing through them is where most beginners go wrong.
Your first coat is the tape coat. This is where you embed your drywall tape into a thin layer of mud along all seams and corners. Apply a layer of mud about 1/8 inch thick along the seam, press your tape into it, then use your knife to smooth it out and remove excess compound. The goal here isn’t beauty; it’s creating a solid foundation that won’t crack or bubble later.
Let this coat dry completely, usually 24 hours. Once dry, apply your second coat (the fill coat) with a wider knife, extending about 2-3 inches beyond your first coat on each side. This coat fills in the low spots and begins to feather out the edges. You’re building up the joint area to make it flush with the surrounding wall.
Your third coat is the finish coat, applied with your widest knife. This extends even further and should be feathered out so thin at the edges that you can barely feel the transition from mud to drywall. Many beginners make this coat too thick. You want it whisper-thin at the edges.
Mudding Techniques That Actually Work
Holding your knife at the right angle makes all the difference. For applying mud, hold your knife at about a 30-degree angle to the wall. For scraping or feathering edges, increase that angle to 45 degrees or more. The steeper the angle, the more mud you’ll remove.
Load your knife from the mud pan by scooping compound onto one side of the blade. Don’t overload it or you’ll make a mess. Apply steady, even pressure as you spread the mud. Think of it like spreading frosting on a cake, except you want it thinner and more even.

Drywall Mud Pan
Stainless steel pans are easier to clean than plastic and won’t flex as you load your knife.
One common mistake is going back over your work too many times. Each pass of your knife should improve the surface, but at some point you’re just moving mud around and making things worse. Learn to recognize when to stop and let it dry.
Keep your knife clean by scraping excess mud back into your pan after each pass. Built-up dried mud on your knife edge will leave lines and ridges in your fresh work.
Sanding Without Creating a Disaster
Sanding drywall creates an enormous amount of fine dust that gets everywhere. Before you start, seal off doorways to other areas and plan for serious cleanup. A box fan in a window (blowing out) can help manage dust if you’re working in a detached garage.
Use 120-grit sandpaper for most work, switching to 150-grit for final smoothing if needed. Coarser paper cuts faster but leaves deeper scratches. Finer paper takes longer but gives a smoother finish.
Sand with light, circular motions or long sweeping strokes. You’re knocking down ridges and high spots, not grinding away large amounts of material. Shine a work light at an angle across the wall to highlight imperfections. This raking light reveals problems you won’t see with overhead lighting.
After sanding, wipe down walls with a slightly damp sponge to remove dust before priming. Dust left on the surface will create texture problems when you paint. If you’re planning to add wainscoting to your finished garage walls, this is the time to plan for any different prep requirements in those areas.
Common Beginner Mistakes to Avoid
The biggest mistake beginners make is applying mud too thick. More coats of thin mud will always look better than fewer coats of thick mud. Thick mud takes forever to dry, shrinks as it dries (creating depressions), and is harder to sand smooth.
Another common error is not letting coats dry completely before applying the next one. Touch-dry isn’t the same as ready for the next coat. If the mud feels cool to the touch or shows any darker color, it’s still damp inside. Be patient.
Many people also use mesh tape when paper tape would work better. Mesh tape is easier to apply but requires more mud to fill and creates a slightly higher profile. For flat seams, paper tape usually gives better results. Save mesh tape for repairs or situations where its self-adhesive backing really helps.
Not keeping tools clean between coats causes problems too. Dried chunks of mud on your knife or in your compound will create scratches and ridges. Clean your tools thoroughly after each session. If you find yourself making too many mistakes or feeling frustrated with the drywall process, remember there are several alternatives to drywall that might be easier for beginners to work with.
Frequently Asked Questions
How long should I wait between coats of joint compound?
Wait at least 24 hours between coats in typical conditions. Thicker coats, humid weather, or poor ventilation may require 48 hours. The compound should feel completely dry and cool to the touch. Rushing this step is a major cause of cracking and problems down the road. You can speed drying slightly with fans or a dehumidifier, but don’t use heaters directly on fresh mud.
Do I really need to prime drywall before painting?
Yes, absolutely. Unpainted joint compound absorbs paint differently than drywall paper, creating visible patches called flashing. Drywall primer seals both surfaces uniformly so your finish paint goes on evenly. PVA drywall primer is designed specifically for this and works much better than trying to use regular paint as a primer. This step is not optional if you want professional results. Once primed, you can choose from the best paint for garage walls to complete your project.
Can I use setting-type compound instead of pre-mixed for faster results?
You can, but I don’t recommend it for beginners. Setting-type compound (hot mud) hardens through a chemical reaction rather than drying, so you can apply multiple coats in one day. However, it’s less forgiving to work with, harder to sand, and you can’t save leftover mixed compound. Learn the techniques with pre-mixed all-purpose compound first. Once you’re comfortable with the basic skills, then experiment with setting compounds for specific applications.
This article contains affiliate links. We may earn a small commission at no extra cost to you.