Before upgrading your garage flooring, you need to fix or repair any issues with your existing floor. That usually means fixing concrete cracks, pitting, or spalling.
We’ll cover the three types of damage you may encounter and how each occurs. Then we’ll detail how to repair and resurface your concrete garage floor.
This article aims to help you decide whether repairing your concrete floor is something you want to tackle yourself or hire a professional.
Let’s get started.
Pitting, Spalling, and Cracking: The Three Types of Concrete Damage
We typically see three types of damage on concrete floors: cracking, pitting, and spalling.
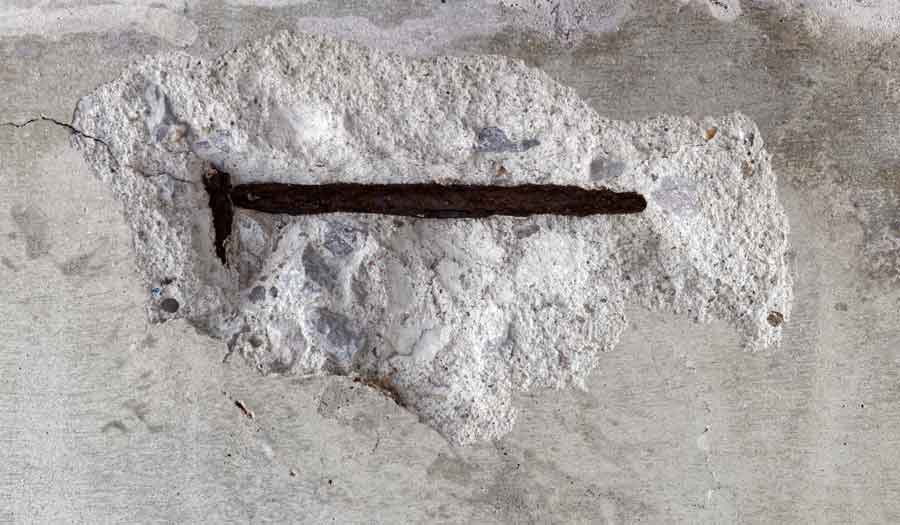
You’ve probably already seen some concrete cracks in your garage floor. They can be very narrow (hairline) or a few inches in width.
Cracking commonly occurs because of flaws in the concrete application or simply age. It is essential to assess the cause of the cracking and whether the repair is required to be structural or decorative.
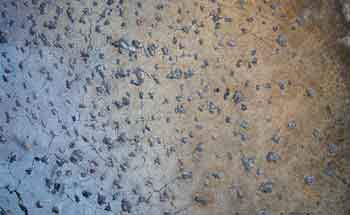
Concrete pitting is when the concrete develops small but deep holes, giving it a distinctly cratered appearance. It’s common for pitting and cracking to occur together because they have the same causes: age or flaws in the initial application.
Localized pitting can also occur from road salts or snow melt. During winter, ice and snow melt, dripping corrosive fluids off your car, which attack the concrete floor and create extensive pitting.
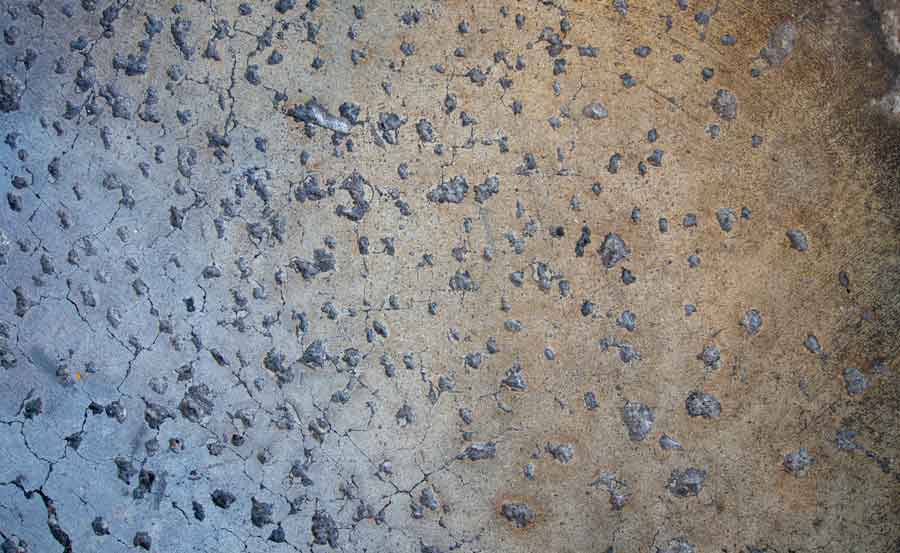
By contrast, concrete spalling appears as if the top surface of the concrete garage floor is crumbling or separating into thin layers.
Spalling is often caused when concrete is exposed to below-freezing temperatures and the subsequent thawing cycles.
When liquid comes into contact with the concrete garage floor, it’s absorbed by the upper layer of concrete. When temperatures drop below freezing, the moisture expands, causing damage to the surrounding concrete.
Over repeated freeze/thaw cycles, the surface of the concrete garage floor weakens, ultimately separating the different layers into sheets and crumbling off.
How To Fix & Resurface A Pitted or Spalled Concrete Garage Floor
Fixing pitting and spalling on a concrete floor is a multi-step process. You’ll first need to remove the damaged concrete before you can repair and resurface it.
These steps will give you an overview of how to fix and resurface a pitted, cracked, or spalling concrete garage floor.
Step 1: Garage Floor Preparation
Obviously, you’ll need to get everything off your garage floor before you repair and resurface it. This is an excellent time to clean out your garage if you haven’t already.
Before starting, you’ll want to move any workbenches or freestanding shelving units out of your garage so you can access the entire floor.
I recommend renting a portable storage container that you can leave in your driveway for a few days. You want to relocate everything that’s not at least 30 inches off the ground to allow room for a commercial floor grinder.
If any gasoline, grease, or oil stains are on your garage floor, you’ll want to address them now.
Step 2: Grinding Your Concrete Floor
In this step, we’ll remove any loose, damaged concrete to get down to a solid layer of undamaged concrete.
This involves carefully inspecting your floor for broken or loose bits of concrete. This includes the areas along large cracks. For cracks larger than 1/4″, you may need to use a hammer and chisel to open up the gaps to get to stable concrete.
If you have areas where spalling has occurred, identified by the concrete surface layer “peeling” or becoming dislodged, use a hammer to break the loose layers away.
We also recommend tapping the hammer around, listening for a hollow sound. This detects any structural weakness that hasn’t yet risen to the surface.
If you discover a hollow area, use the hammer and chisel to break into the area and remove the dislodged layers.
Once you’ve cleaned off any major damaged areas, it’s time to grind the entire floor. You can rent a commercial floor grinder at most big-box hardware stores.
Run the floor grinder across the entire floor. This will remove any surface damage and level off any surface pitting. Again, the goal is to get to a layer of solid, stable concrete so we can build off that.
Once you have finished hammering and grinding, sweep the area to remove any large bits of broken concrete you may have missed. Then, use a pressure washer or hose to clean off the remaining surface dust and debris.
Step 3: Repair the Worst Damage
In this step, we’ll tackle your garage floor’s worst areas before resurfacing it.
You’ll get off easy in this step if your concrete floor is in good shape, with only a few minor cracks. You can use a crack filler or masonry caulk to spot-fill the trouble areas and then move on to the next step.
This step becomes a bit harder if you needed to grind down large sections of your floor due to widespread pitting or spalling.
What you use depends on what you plan to do with your garage floor after.
If you intend to use an epoxy floor coating in the next step, you should use an epoxy concrete patch product here. I recommend using something like Rust-Oleum EpoxyShield Concrete Patch.
However, if you plan to paint or seal your concrete floor or add interlocking floor tiles down the road, you have other options.
If that’s the case, I recommend using Quikrete concrete repair. It’s fast-setting, taking only twenty minutes to harden completely. But what I like most about it is that it lets you mold it as it begins to dry.
Whether you’re resurfacing a small area or the entire floor, there’s a product specifically designed for it.
Step 4: Resurface Your Garage Floor
Resurfacing your concrete floor removes any imperfections and prepares it for paint or sealant. Once again, there are several categories of materials and products that you can choose from.
The most popular choices are a high-solid epoxy coating or a polymer-modified cement.
High Solids Epoxy Flooring
Epoxies designed for industrial purposes or garage floors offer several advantages.
Epoxy Coatings:
- Are resistant to chemicals such as solvents and acids.
- Can be tinted to any color or add color flakes for a marble-like design.
- Can be installed quickly, often within 24-48 hours.
- Are watertight, stain resistant, and very easy to maintain.
- Can support substantial loads without being compromised.
- Have a very long life expectancy.
Epoxy flooring is straightforward to install, but I still recommend having it done by a professional.
Polymer-Modified Cement
Polymer cement is conventional OPC concrete impregnated with various chemical compounds (Methyl Methacrylate monomer) and polymerized by gamma radiation.
Polymer cement:
- Can withstand high impact forces and has considerable compressive strength.
- Is considered very durable and long-lasting.
- Is suitable for use in colder climates and can handle regular freezing and thawing cycles.
- Can withstand and is resistant to chemical spills and abrasion.
- Does not absorb moisture which makes it resistant to concrete spalling.
Applying the Polymer-Modified Cement only requires water. It can then be used to patch concrete or resurface the garage floor.
Some manufacturers have products for deeper pitting and may need a priming liquid for preparation.
The Verdict
If left unchecked, pitting or spalling in your concrete garage floor will cause further damage, possibly weakening your home’s foundation. Repairing the damage and resurfacing it will help protect your garage floor for years to come.
Once repaired, add an epoxy coating or concrete seal to protect the repair, which may require the whole garage floor resurfacing.