Picking the right garage epoxy kits for DIY isn’t about finding the highest star rating. It’s about matching product strengths to your needs: durability, ease of installation, or budget constraints.
Below, you’ll find honest assessments of top contenders, what separates them, and which ones fall short of their marketing promises. We’ll help you choose the right system for your specific situation.
Understanding the Basics: One-Part vs. Two-Part Systems
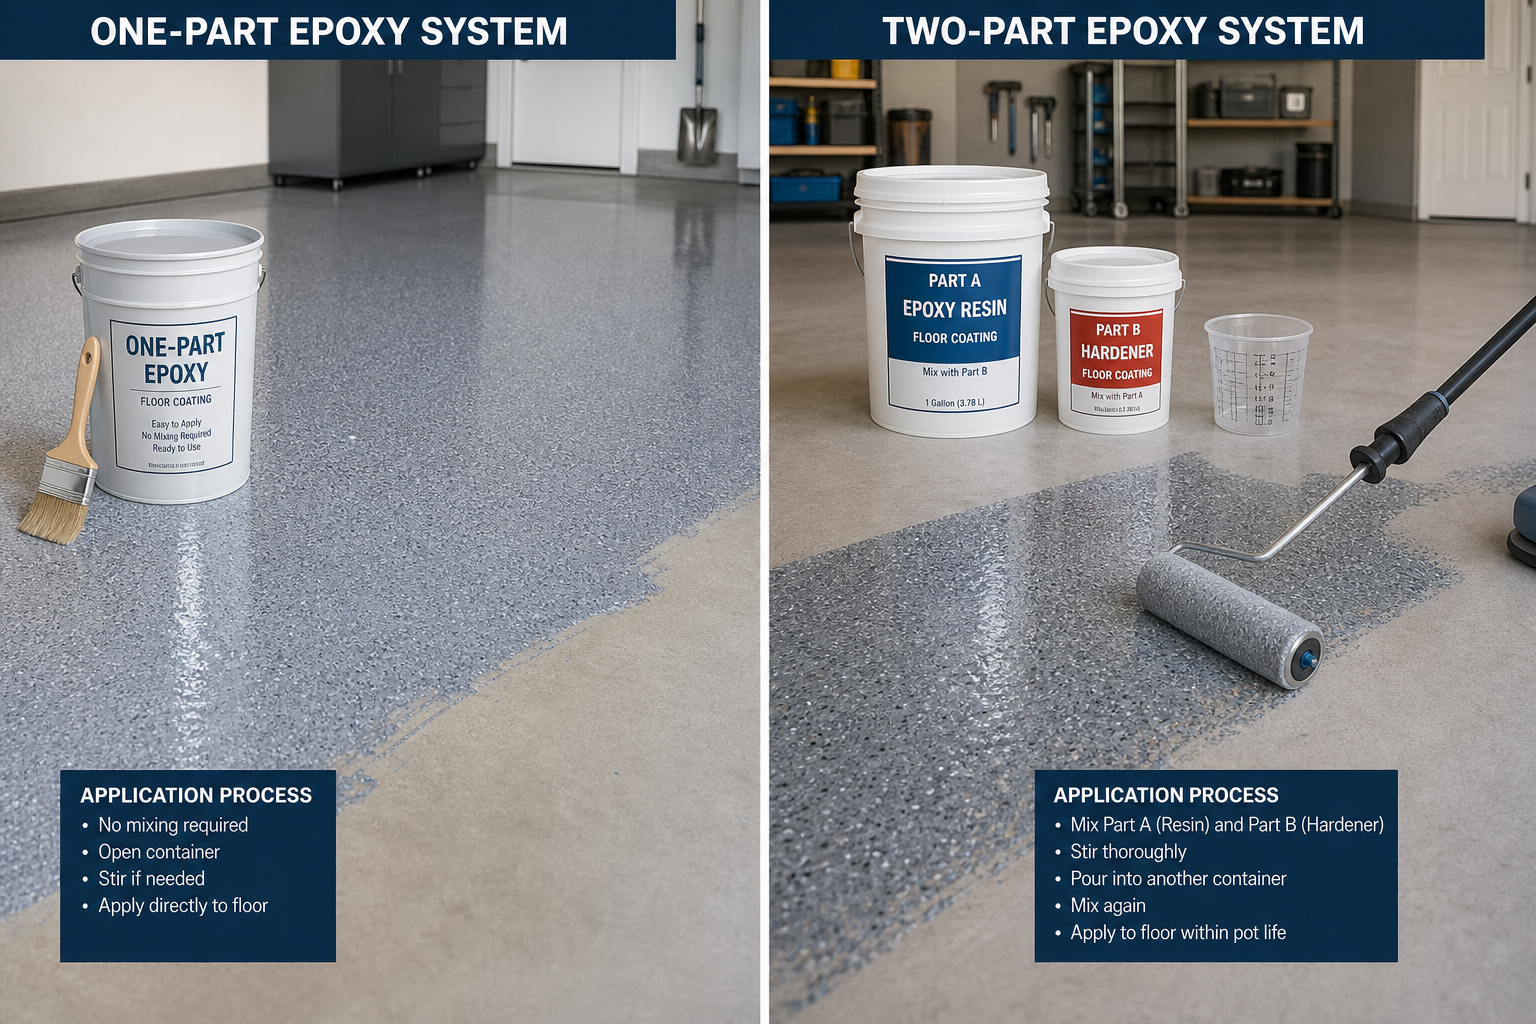
True two-part systems create a cross-linked film that’s dramatically harder and more chemical-resistant. Application demands more prep and timing attention, but the durability gap is enormous and visible within the first year of use.
Latex garage paint and one-part “epoxy” paint are fundamentally different from true two-part systems. One-part products are acrylic paint with a small amount of epoxy resin added for marketing. They go on easily but wear through in high-traffic spots within 6 to 12 months.
Two-part epoxy creates a chemical bond far stronger than any single-can product. When resin and hardener mix, cross-linking produces a dense, chemical-resistant surface. This reaction is sensitive to temperature, humidity, and mixing ratios, making adherence to the data sheet critical.
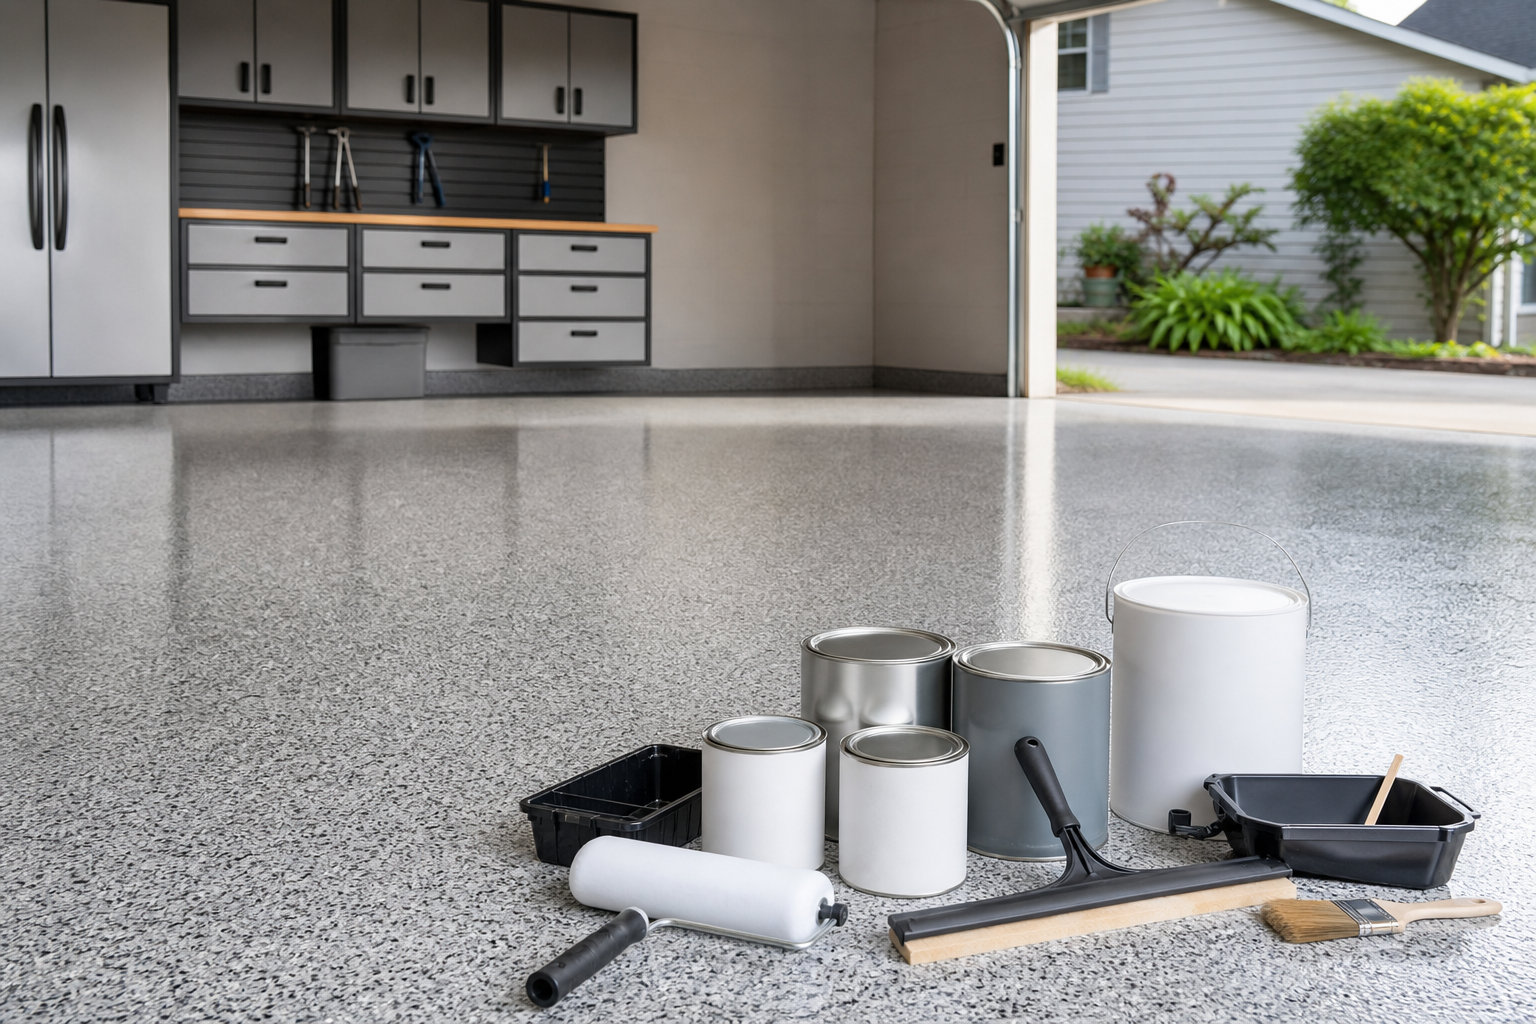
Top-Selling DIY Epoxy Systems
The top-selling DIY epoxy and polyaspartic kits are Rust-Oleum RockSolid and Rust-Oleum EpoxyShield. Understanding the specifics of your situation helps you choose the right approach. Your garage’s age, construction type, and local climate all influence what works best and what to avoid.
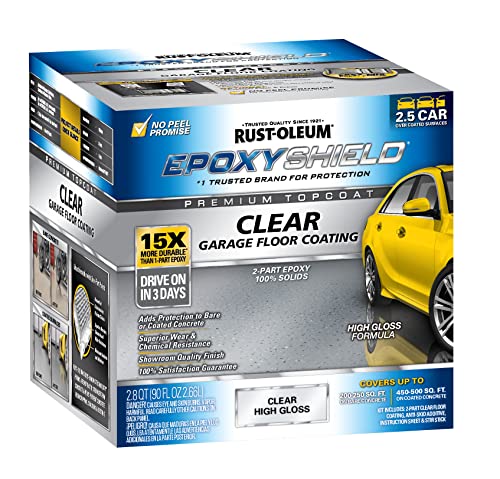
Rust-Oleum EpoxyShield
Balances performance and value well with readily available accessories
Measure twice and commit once. A tape measure and five minutes of verification prevent the mistakes that take hours to fix. This applies doubly to cuts, holes, and any irreversible step.
Rust-Oleum products have a solid reputation among homeowners. Check current selection and pricing on Amazon, and read recent reviews from buyers with conditions similar to yours.
Expect at least one surprise during the project. Hidden moisture, non-standard dimensions, or outdated wiring are common discoveries. Having backup materials and a flexible timeline reduces the stress when they appear.
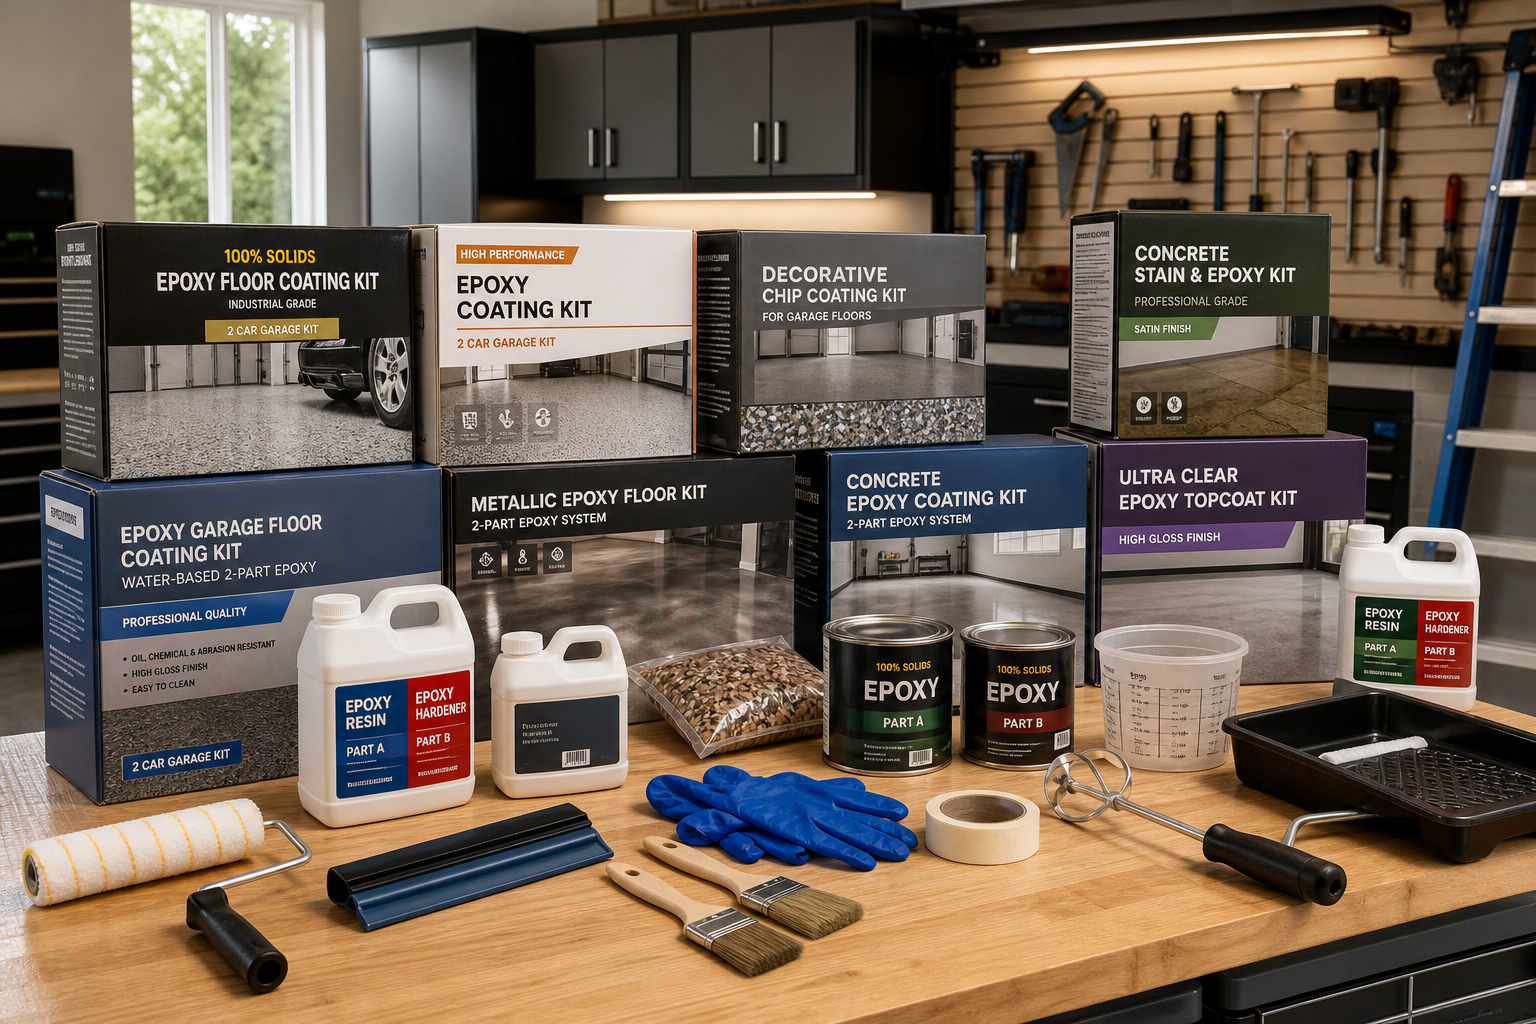
Premium Options: ArmorPoxy and Versatile Building Products
ArmorPoxy and Versatile Building Products offer higher-grade systems. The details here make the difference between a result that lasts and one that needs redoing within a year. Take the time to assess your conditions before committing to a method or product.
Follow manufacturer instructions exactly, even when online tutorials suggest shortcuts. Formulations differ between brands; what works for one product can cause failure with another. If the data sheet says 4 hours between coats at 60 degrees minimum, those numbers aren’t suggestions.
Wear appropriate protection throughout: safety glasses, gloves, respirator when working with chemicals or dust. Ventilate when using adhesives, paints, or solvents. These aren’t optional precautions.
Key Specifications to Consider
Coverage per Gallon and Pot Life
Coverage rates and working time matter more than marketing claims. Check specific requirements before purchasing materials. Measure the area, note unusual conditions (extreme temps, high humidity, uneven surfaces), and read product specs carefully. A mismatch between your conditions and the product’s rated range is the most common cause of unexpected failures.
Consider how this change fits the larger garage picture. If you’re planning a complete workshop transformation, better flooring affects everything from tool storage to heating efficiency.
UV Resistance and Decorative Flakes
UV resistance and included flakes vary widely between products. Getting this right requires matching your approach to actual conditions rather than following a generic formula. Climate, surface condition, and usage patterns all influence the best path forward.
Start with a small test area if you’re uncertain. A 4 by 4-foot section in an inconspicuous spot lets you evaluate adhesion, appearance, and workability without committing to the full project. Troubleshooting a small test area is far easier than redoing everything.

Factor in maintenance when choosing your approach. The lowest-maintenance option isn’t always cheapest initially, but it usually wins over a 5 to 10-year window when you include touch-ups, repairs, and replacements.
What to Skip: One-Part “Epoxy” Paints
Skip one-part paints marketed as epoxy. This is an area where cutting corners comes back to haunt you. Invest the effort upfront and you’ll save significant time and money over the next several years of use.
Document every product you use: brand, color, batch number, application date. Future touch-ups need exact material matches. Tape the info inside a cabinet door or take a quick phone photo for your records.
If this is your first project of this type, budget 50% more time than guides suggest. The learning curve is real, and careful work produces better results than rushing to meet an estimated timeline.
Application Best Practices
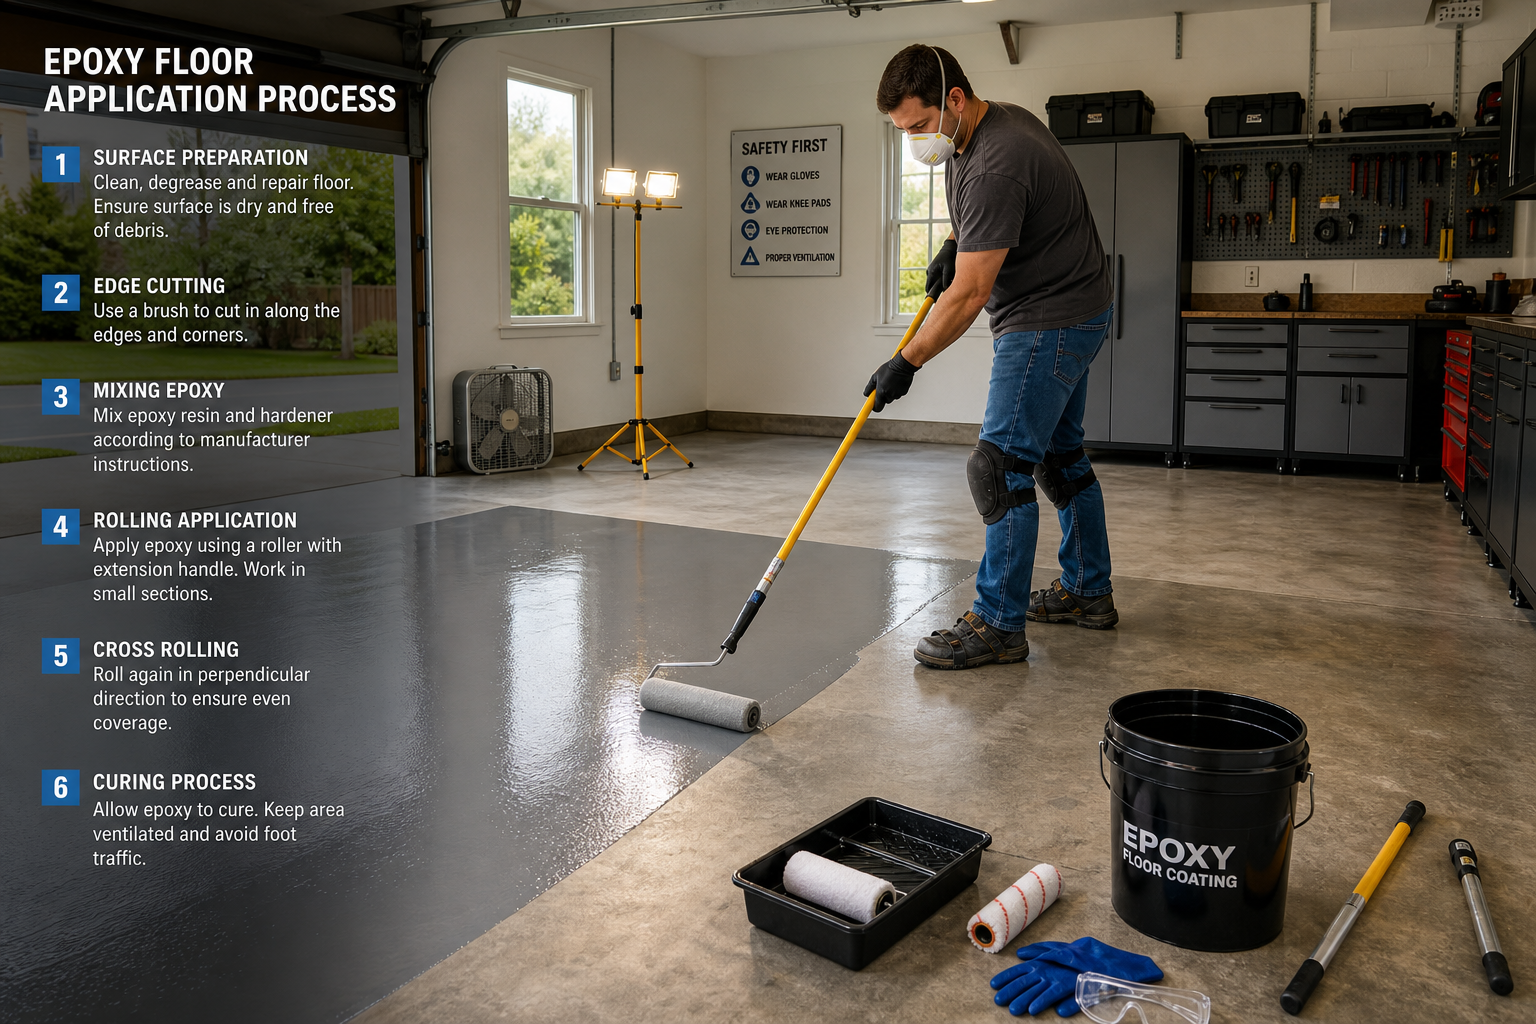
Before you start, ensure your garage floor is properly prepared. Sealing the floor before epoxy application creates the foundation for a long-lasting finish. Poor preparation is the number one cause of coating failure.
Apply coatings when temperatures are falling, not rising. Warming concrete expels trapped air through the wet coating (outgassing), creating bubbles. Evening application avoids this. Most epoxies perform best between 55 and 85 degrees Fahrenheit with the slab surface in the same range.
Never shortcut cure time. Most two-part epoxies need 24 hours for foot traffic, 72 hours for heavy use, and 7 days before vehicle parking. Polyaspartic systems cure faster, often allowing vehicles within 24 hours. Parking too early causes tire marks, soft spots, or full sheet delamination.
What to Avoid
Knowing what to skip prevents expensive mistakes:
- Products with vague specs or missing data sheets. If a manufacturer won’t publish details, that’s a red flag.
- “Universal” products claiming to work everywhere. Specialized products consistently outperform generalists.
- Suspiciously cheap deals from unauthorized sellers. Counterfeit products are a real issue on major platforms.
Frequently Asked Questions
What temperature is best for floor coating application?
Between 50 and 85 degrees Fahrenheit with humidity below 85%. Apply in the evening when temperatures are falling to avoid outgassing bubbles.
Can I coat over an existing floor finish?
If the old coating is well-adhered and just worn thin, scuff-sand it and apply a new topcoat. If it’s peeling or bubbling, strip it completely first. You may also need to remove rust stains before applying any new coating.
How long does a garage floor coating last?
A properly applied two-part epoxy lasts 5 to 10 years. Polyaspartic coatings can go 15+ years. Surface prep quality is the biggest factor in how long the coating holds up.
Do I need primer for all garage floor coatings?
Most two-part epoxies include primer in the system. However, understanding when and how to use garage floor primer can make the difference between a coating that lasts decades and one that fails within months.
This article contains affiliate links. We may earn a small commission at no extra cost to you.