

Understanding garage floor moisture problems: test, diagnose, and fix in detail gives you a real advantage, whether you’re planning a project, troubleshooting, or making smarter decisions about your space. The specifics matter more than most people expect.
Moisture is the single biggest reason floor coatings fail, and diagnosing it wrong costs you both time and money on fixes that don’t address the actual problem. This guide covers everything you need to know in practical terms, with actionable takeaways you can use right away.
Understanding the Basics
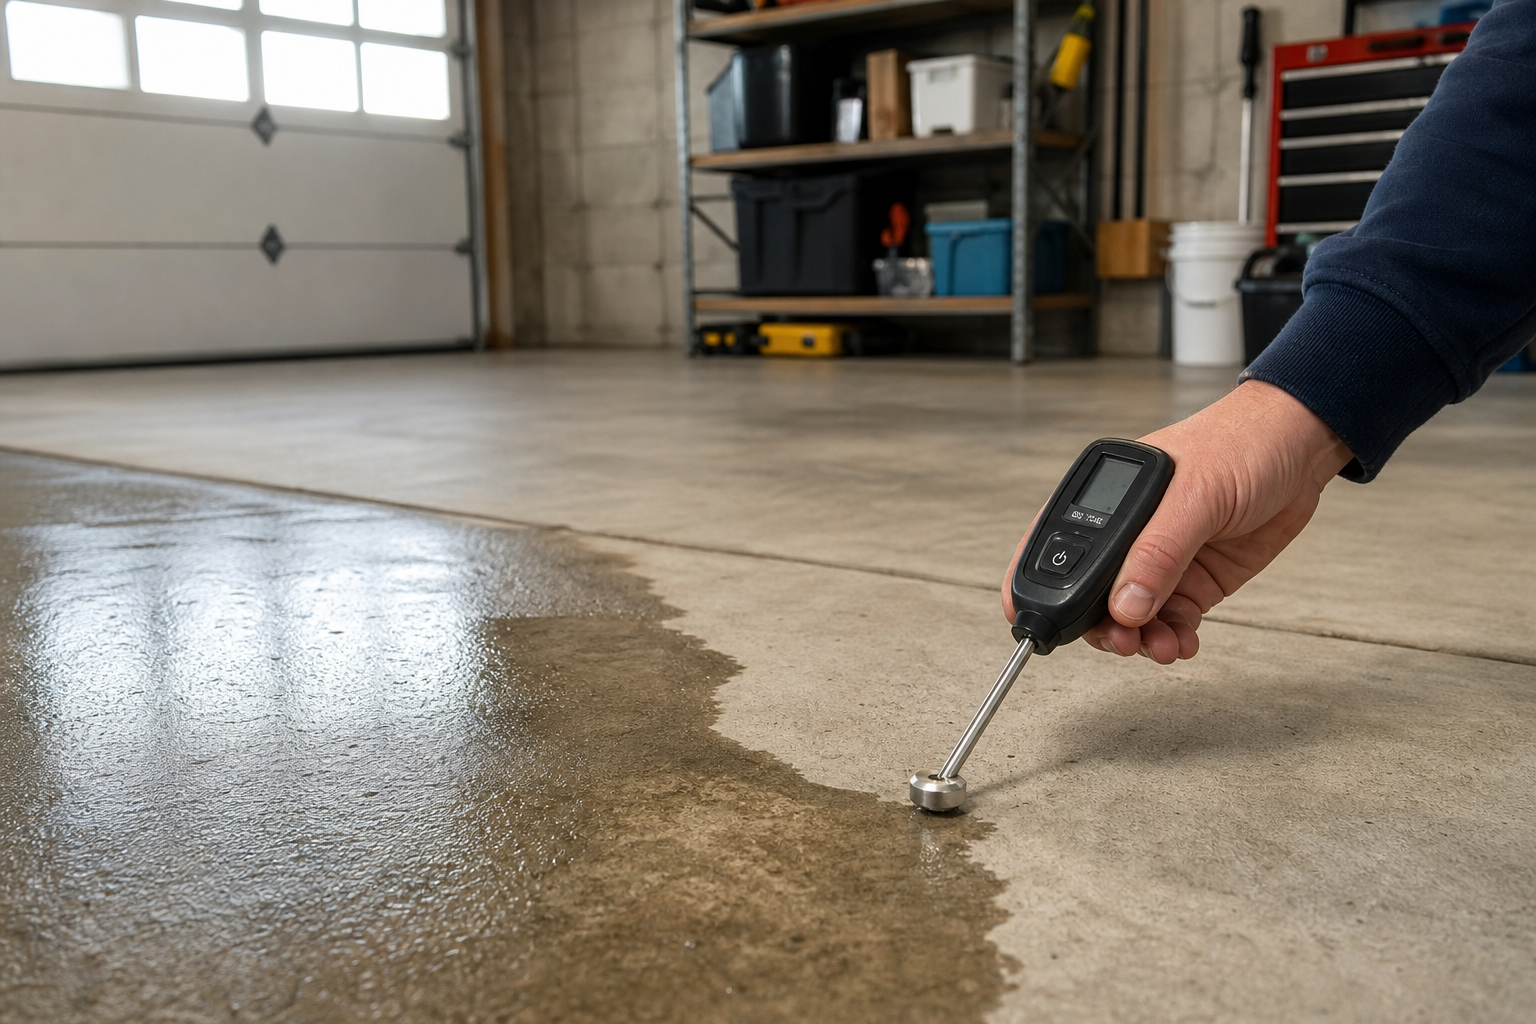
Moisture in a garage comes from two primary sources. Vapor transmission moves water through the concrete slab from soil below. Condensation forms when warm humid air contacts the cooler slab surface. Each requires a different solution, and treating the wrong one wastes time and money.
A simple plastic sheet test identifies which type you have. Tape a 2-foot square of plastic flat on the floor, seal all edges with duct tape or painter’s tape, and leave it undisturbed for 48 hours. Moisture on top of the plastic means condensation (humidity issue). Moisture underneath the plastic means vapor transmission (slab issue). Different root cause, different fix.

Calcium Chloride Moisture Test Kit
Provides accurate numerical moisture readings before coating projects
Vapor transmission requires a penetrating concrete sealer (silane or siloxane based) that blocks moisture migration through the slab. Apply to clean, dry concrete and allow full cure time per manufacturer specs, typically 24 to 72 hours. Severe cases may need a dedicated vapor barrier coating or membrane system before any decorative finish.
You’ll know you have a severe case if the plastic sheet test shows standing water underneath within 24 hours, or if the slab stays visibly damp even after weeks without rain.
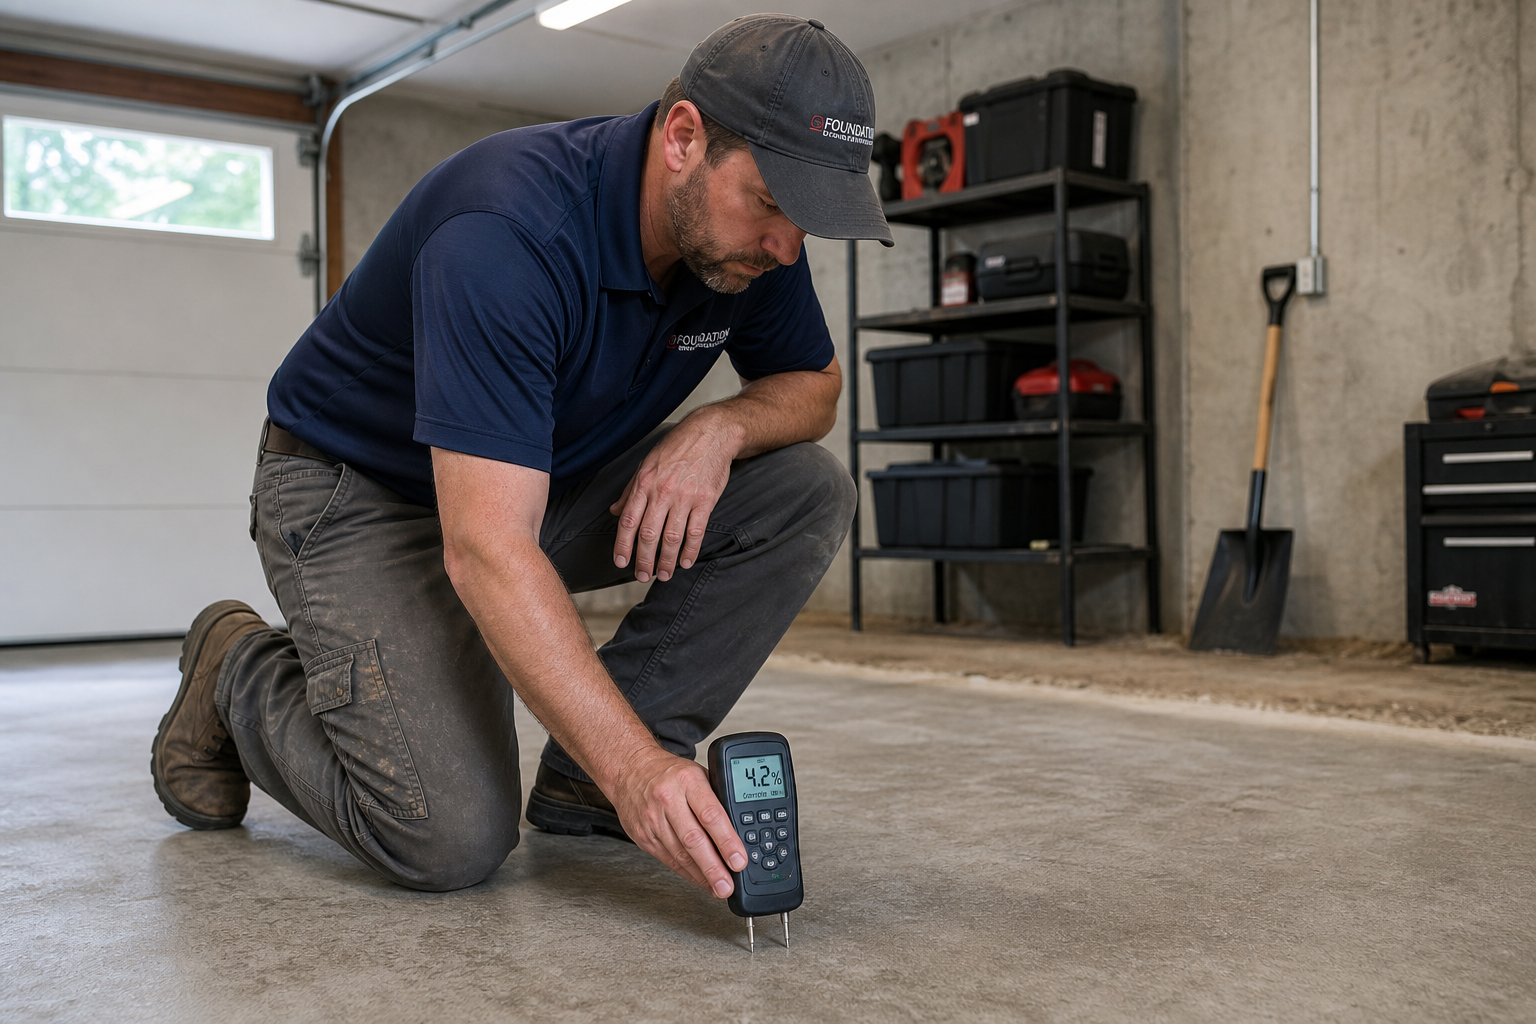
The plastic sheet test is fast and cheap, but it doesn’t give you numerical moisture levels. For that, you need a calcium chloride test. These kits measure moisture vapor emission rate (MVER) in pounds per 1,000 square feet over 24 hours.
Most epoxy and polyaspartic coatings require MVER under 3 pounds. If your slab tests at 5 or 6 pounds, a standard coating will fail. You need a moisture-mitigating primer or vapor barrier membrane first. Calcium chloride kits are budget-friendly, and you should test multiple spots in the garage since moisture levels vary across the slab.
Diagnosing More Complex Moisture Issues
Hydrostatic pressure is a third moisture source that’s less common but more destructive. It happens when groundwater builds up under the slab and pushes moisture upward with enough force to break coating adhesion or even crack the concrete.
You’ll see this in garages at the base of hills, in high water table areas, or where drainage around the foundation is poor. Signs include persistent dampness even after sealing, white mineral deposits (efflorescence) that keep reappearing, or small pop-offs in floor coatings that look like blisters.
Efflorescence is those white, powdery or crystalline deposits on concrete. They form when water moves through the slab and pulls salts to the surface. The water evaporates, the salts stay. Efflorescence itself won’t hurt a coating, but it’s a symptom of active moisture transmission.
If you see fresh efflorescence forming regularly, you have vapor transmission that needs addressing. Clean it off with a stiff brush and white vinegar before sealing or coating. TSP (trisodium phosphate) also works, but rinse thoroughly afterward.
Climate and Usage Patterns
Climate and usage patterns influence how moisture shows up. A Midwestern garage goes through freeze-thaw cycles that can crack the slab and create new pathways for moisture. Summer humidity pushes condensation issues. If you park wet cars in winter, snowmelt adds moisture load.
If the garage isn’t climate-controlled and you live somewhere humid, condensation will form on the slab during warm months even if vapor transmission isn’t a problem.
Test in the conditions you’ll actually use the garage. If you plan to park wet cars in winter, do your plastic sheet test after parking a snowy car overnight. If summer humidity is your concern, test in July or August. Don’t test in ideal spring weather and assume that tells you anything about the extremes.
Solutions for Vapor Transmission
For confirmed vapor transmission, a penetrating sealer is the first defense. Silane and siloxane sealers soak into the concrete and chemically block moisture pathways. They don’t change the surface appearance or create a film that can peel. Brands like Ghostshield Lithi-Tek 9500 or Foundation Armor SX5000 are well-regarded.
Application is simple: sweep and clean the slab, apply with a pump sprayer or roller, keep the surface wet for 30 minutes so the sealer penetrates fully, then let cure. For detailed guidance on proper sealing techniques, check out our guide to sealing garage floors before epoxy.

Concrete Penetrating Sealer
Blocks moisture from below without changing surface appearance
If the calcium chloride test shows MVER above 3 pounds, you need more than a penetrating sealer. Moisture-mitigating epoxy primers are designed to tolerate higher moisture levels and act as a barrier before your topcoat. Products like Rust-Oleum moisture control primer or similar moisture-vapor-barrier epoxies are rated for MVER up to 10 or 12 pounds.
Apply them according to the manufacturer’s mil thickness spec. Too thin and they won’t block moisture. Too thick and you waste product.
Severe hydrostatic pressure requires exterior drainage fixes, not just coatings. Install or repair foundation drains, regrade soil away from the garage, extend downspouts farther from the foundation, or add a French drain along the low side. Interior coatings and sealers can’t overcome constant groundwater pressure. They’ll fail. Fix the water source first.
A quality garage floor drain makes a noticeable difference in results. Our installation guide covers everything you need to know about adding proper drainage to your garage.
Solutions for Condensation
For condensation, a dehumidifier and improved ventilation are the most effective solutions. A 50-pint unit keeps relative humidity below 60% in most two-car garages. Choose a model with auto-defrost if your garage drops below 65 degrees, since standard units ice up in cool conditions.
Run it year-round in humid climates. In drier climates, you might only need it during summer months.
Ventilation means moving air, not just cracking a window. Install an exhaust fan on a timer or humidity sensor. A bathroom-style fan rated for 100 to 150 CFM works in a two-car garage. Position it opposite the entry door so air flows across the slab. If you park wet cars regularly, run the fan for an hour after parking to clear moisture.
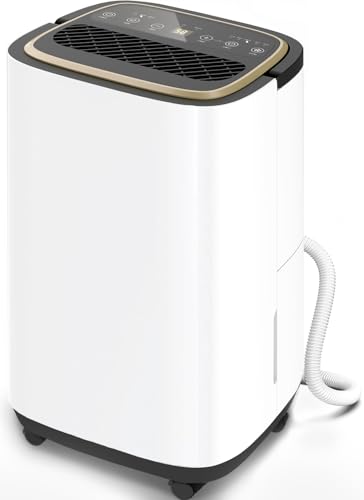
Garage Dehumidifier 50 Pint
Right size for most two-car garages with auto-defrost feature
Insulating the garage door and walls reduces condensation by keeping the slab closer to ambient air temperature. An uninsulated slab in a cold garage will condense moisture from humid outdoor air in summer. Insulation evens out temperature swings. It also makes the garage more comfortable if you’re working in there.
Avoid “solutions” that don’t address root causes. Portable heaters warm the air but don’t remove humidity. A fan without a dehumidifier just moves humid air around. Coating over an actively condensing slab without fixing the humidity traps moisture under the coating and causes delamination.
Preparing the Slab After Diagnosing Moisture
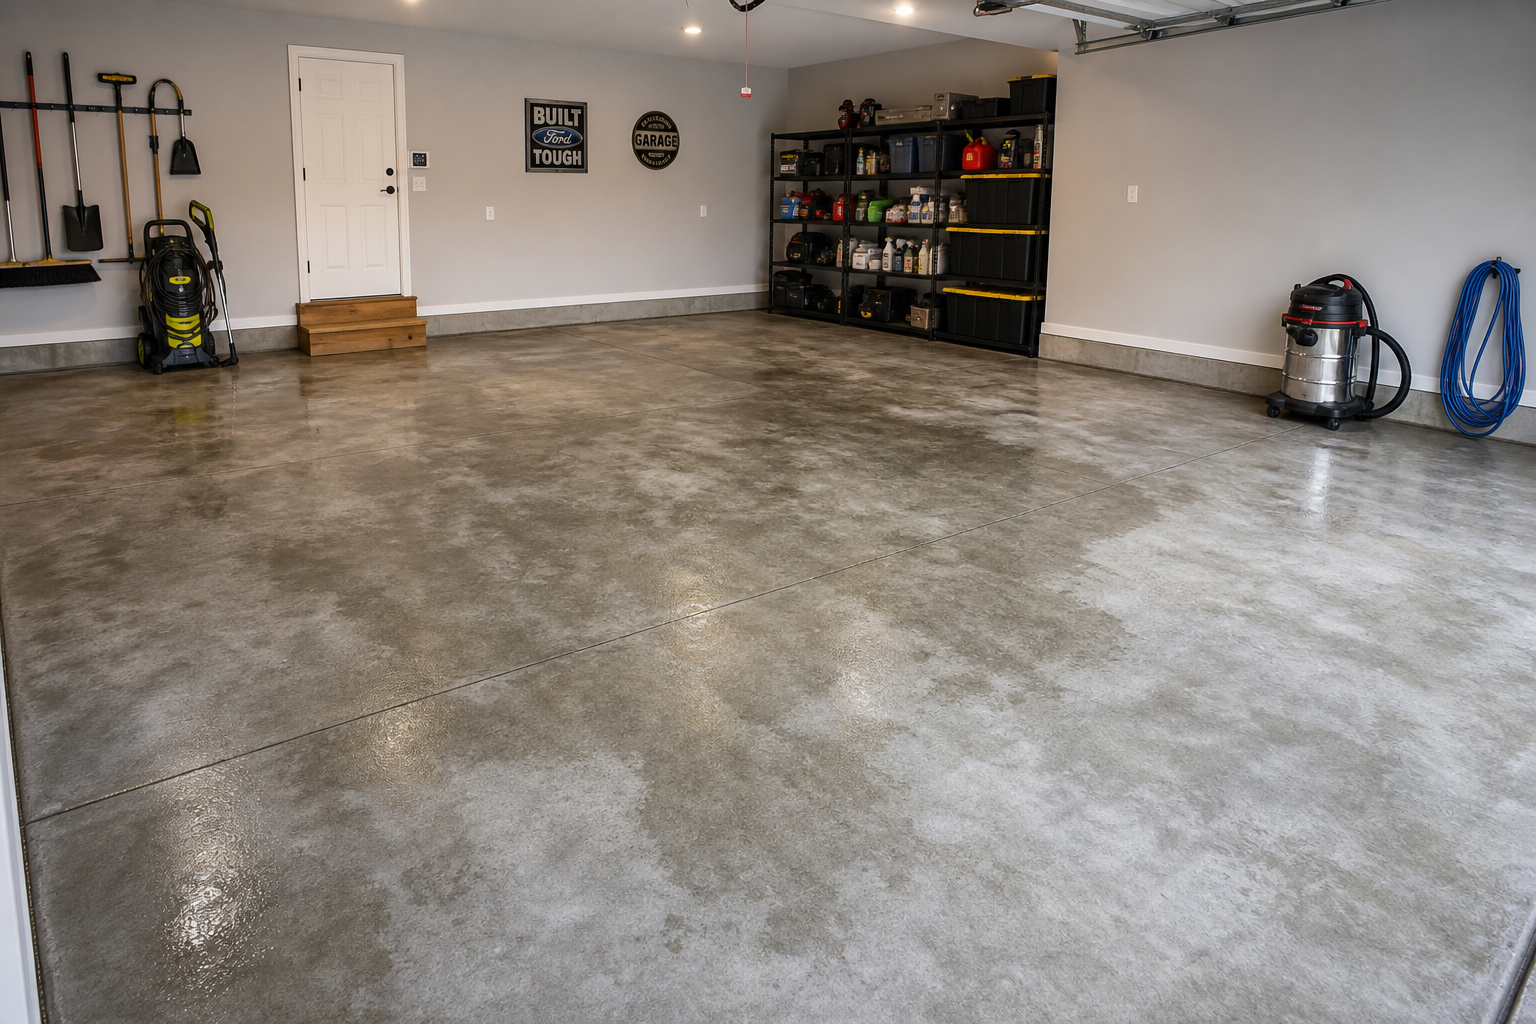
Surface prep quality is the biggest factor in how long any sealer or coating holds up. Clean concrete first. Sweep, then degrease with a concrete degreaser or TSP. Rinse thoroughly. Let the slab dry completely, which can take several days in humid weather.
Etch or grind to open the concrete’s pores. Acid etching with muriatic acid is cheaper and faster for DIY. Mix 1 part acid to 3 parts water (always add acid to water, not the other way). Apply with a watering can, scrub with a stiff broom, rinse multiple times until pH strips show neutral.
Grinding with a concrete grinder creates a better profile for coatings but requires renting equipment. If you’re doing a high-end polyaspartic system, grinding is worth it.
Never shortcut cure time. Most two-part epoxies need 24 hours for foot traffic, 72 hours for heavy use, and 7 days before vehicle parking. Polyaspartic systems cure faster, often allowing vehicles within 24 hours. Parking too early causes tire marks, soft spots, or full sheet delamination. The coating might look dry, but the chemical cure continues for days.
For detailed information on primers that help with moisture issues, our garage floor primer guide covers when and how to use different primer types.
When Moisture Levels Are Borderline
If your calcium chloride test shows MVER between 3 and 5 pounds, you’re in a gray zone. Some coatings will hold, some won’t. The safer play is to treat it as if you have a moisture problem: use a moisture-mitigating primer, improve ventilation, run a dehumidifier before and after coating.
Borderline moisture is where most DIY coating failures happen because people take the risk and skip mitigation.
Retest after fixing drainage or running a dehumidifier for a month. Moisture levels can drop. If you fix exterior grading and retest two months later, you might find MVER has dropped from 4 pounds to 2 pounds. That changes your coating options and saves money on mitigation products.
Don’t assume that because the slab looks dry, it is dry. Concrete can hold significant moisture and still appear dry to the eye. That’s why numerical tests matter.
Selecting the Right Products for Your Situation
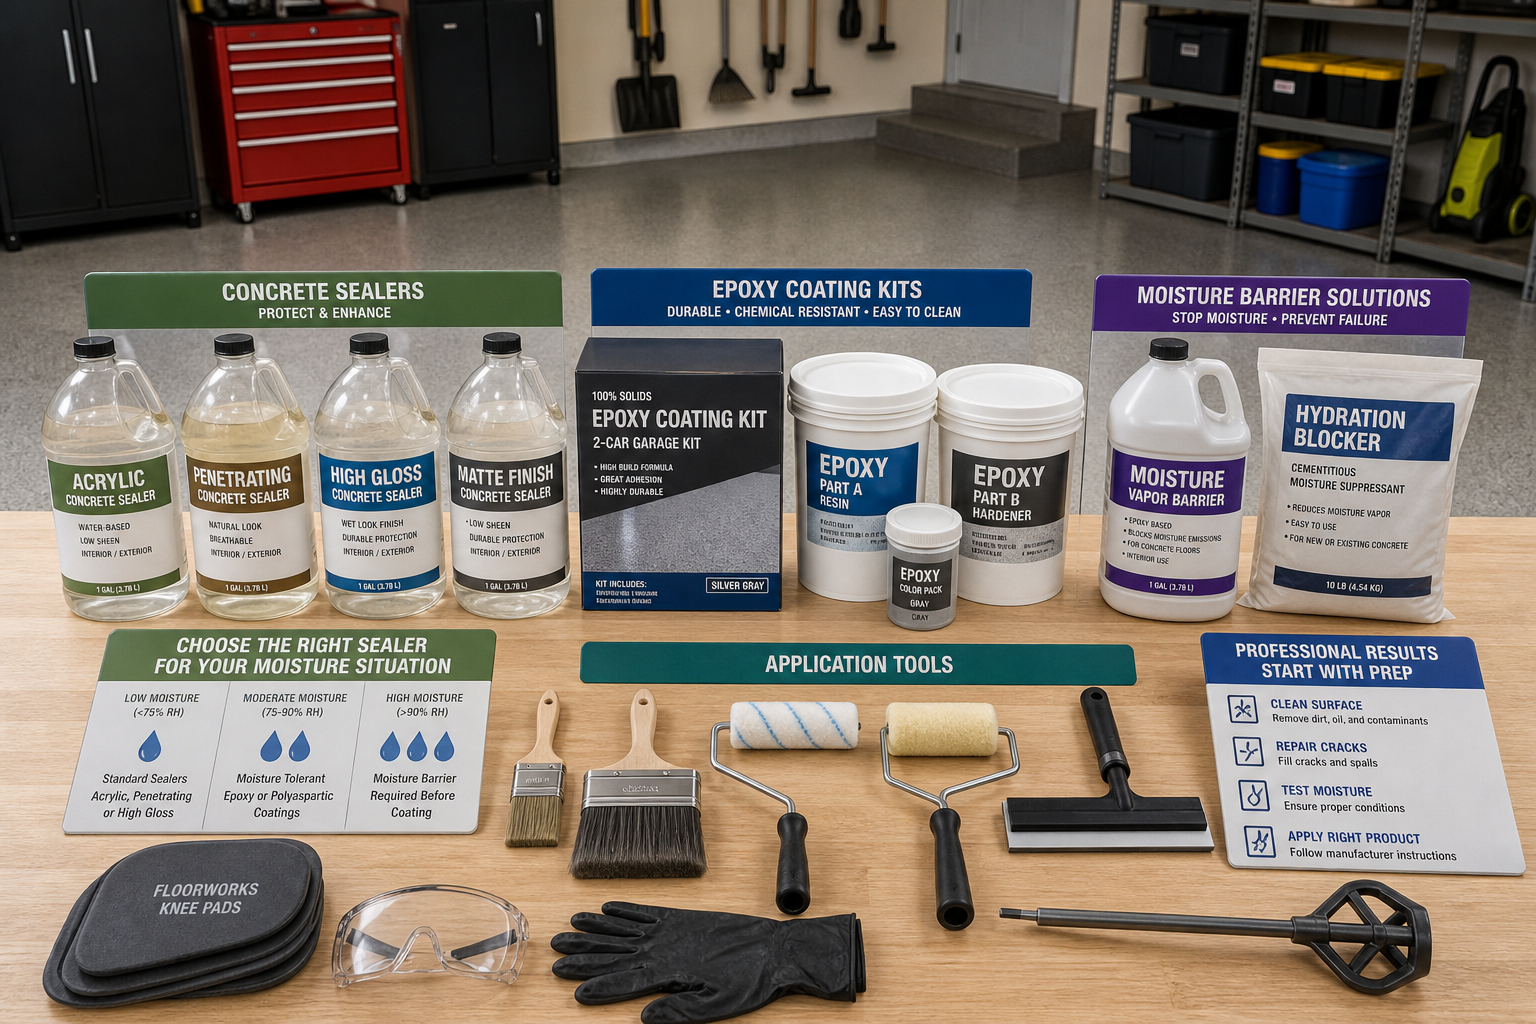
For penetrating sealers, look for products that specify silane or siloxane chemistry and list concrete moisture blocking as a primary feature. Avoid “concrete sealers” that are just acrylic topcoats. They sit on the surface and peel. You want something that soaks in.
For moisture-mitigating primers, check the product’s maximum MVER tolerance. Some are rated to 5 pounds, others to 12 pounds. Match the product to your test results. Don’t use a 5-pound-rated primer on an 8-pound slab and hope for the best.
For dehumidifiers, capacity matters. A 30-pint unit struggles in a humid two-car garage. A 50-pint unit keeps up. A 70-pint unit is overkill unless you’re in coastal Florida or the garage is enormous. Check the unit’s coverage area rating and compare it to your garage square footage.
Drainage products depend on your specific issue. Perforated drain tile, filter fabric, gravel, and a sump pump are standard for a French drain. Pre-sloped shower pans work for interior catch basins if you’re adding a floor drain. Extension kits for downspouts are cheap insurance to keep roof runoff away from the foundation.
If you’re shopping for supplies, penetrating concrete sealers are a reliable choice that’s well-reviewed by garage owners.
Common Mistakes and How to Avoid Them
Coating over an unsealed slab with active vapor transmission is the top DIY mistake. The coating might look fine for weeks or months, then it bubbles, delaminates, or peels in sheets. Test first. If you have vapor transmission, seal or mitigate before coating.
Using the wrong sealer chemistry is another common error. Topical acrylic sealers are sold as “concrete sealers,” but they don’t block moisture from below. They create a surface film. That film traps moisture, which then pushes the film off the concrete. Use penetrating sealers (silane/siloxane) for moisture blocking.
Skipping the degreasing step leaves oil residue that prevents adhesion. Even if the floor looks clean, automotive fluids soak into concrete. A degreaser pulls them out. TSP, commercial concrete degreasers, or even Dawn dish soap with hot water and serious scrubbing will work. Rinse thoroughly afterward.
Applying sealers or coatings in temperatures outside the manufacturer’s range causes failures. Too cold and the product won’t cure properly. Too hot and it cures too fast, trapping bubbles or preventing proper flow. Follow the temperature windows on the label.
Not running a dehumidifier before coating in humid weather means you’re sealing in moisture. Even if the slab doesn’t have vapor transmission, surface moisture from humidity will interfere with adhesion. Run a dehumidifier for 48 hours before coating if humidity is above 70%.
Practical Planning Tips
Consider the seasonal timing of your project. Floor coatings apply best in mild weather (50 to 85 degrees). Insulation projects are most motivating (and noticeable) before extreme weather hits. Moisture testing should happen in the conditions that represent your worst-case scenario: humid summer for condensation, wet spring for vapor transmission.
Set a realistic timeline and budget before buying anything. Most garage projects take 50% longer and cost 20% more than initial estimates, especially for first-timers. Build that buffer into your plan so unexpected discoveries don’t derail the entire project or blow the budget. A moisture issue you didn’t plan for can add significant costs in sealer and dehumidifier expenses.
Research local building codes and permit requirements for your specific project. Electrical work, structural modifications, and HVAC installations often require permits and inspections. Adding a floor drain usually requires a permit because it ties into plumbing or drainage systems. Working without required permits can create liability issues, insurance complications, and problems when selling the home.
If you’re hiring out part of the work, get multiple quotes and check references. A contractor experienced in moisture mitigation will know to test first and recommend the right fix. A coating-only contractor might just slap product on the slab and hope. Ask what moisture testing they do and what their process is for slabs that fail the test.
DIY vs. Hiring a Pro
Plastic sheet testing and applying penetrating sealers are solid DIY tasks. The plastic sheet test costs next to nothing in materials and takes 5 minutes of your time. Penetrating sealers apply with basic tools (pump sprayer or roller) and don’t require precision.
Calcium chloride testing is also DIY-friendly. The kits come with instructions. Follow them. If you can tape down plastic and wait 24 hours, you can run a calcium chloride test.
Moisture-mitigating primers and epoxy systems are DIYable if you’re comfortable with two-part coatings, but the margin for error is smaller. Mixing ratios must be exact. Pot life is limited. Application needs to happen fast and evenly. If
