

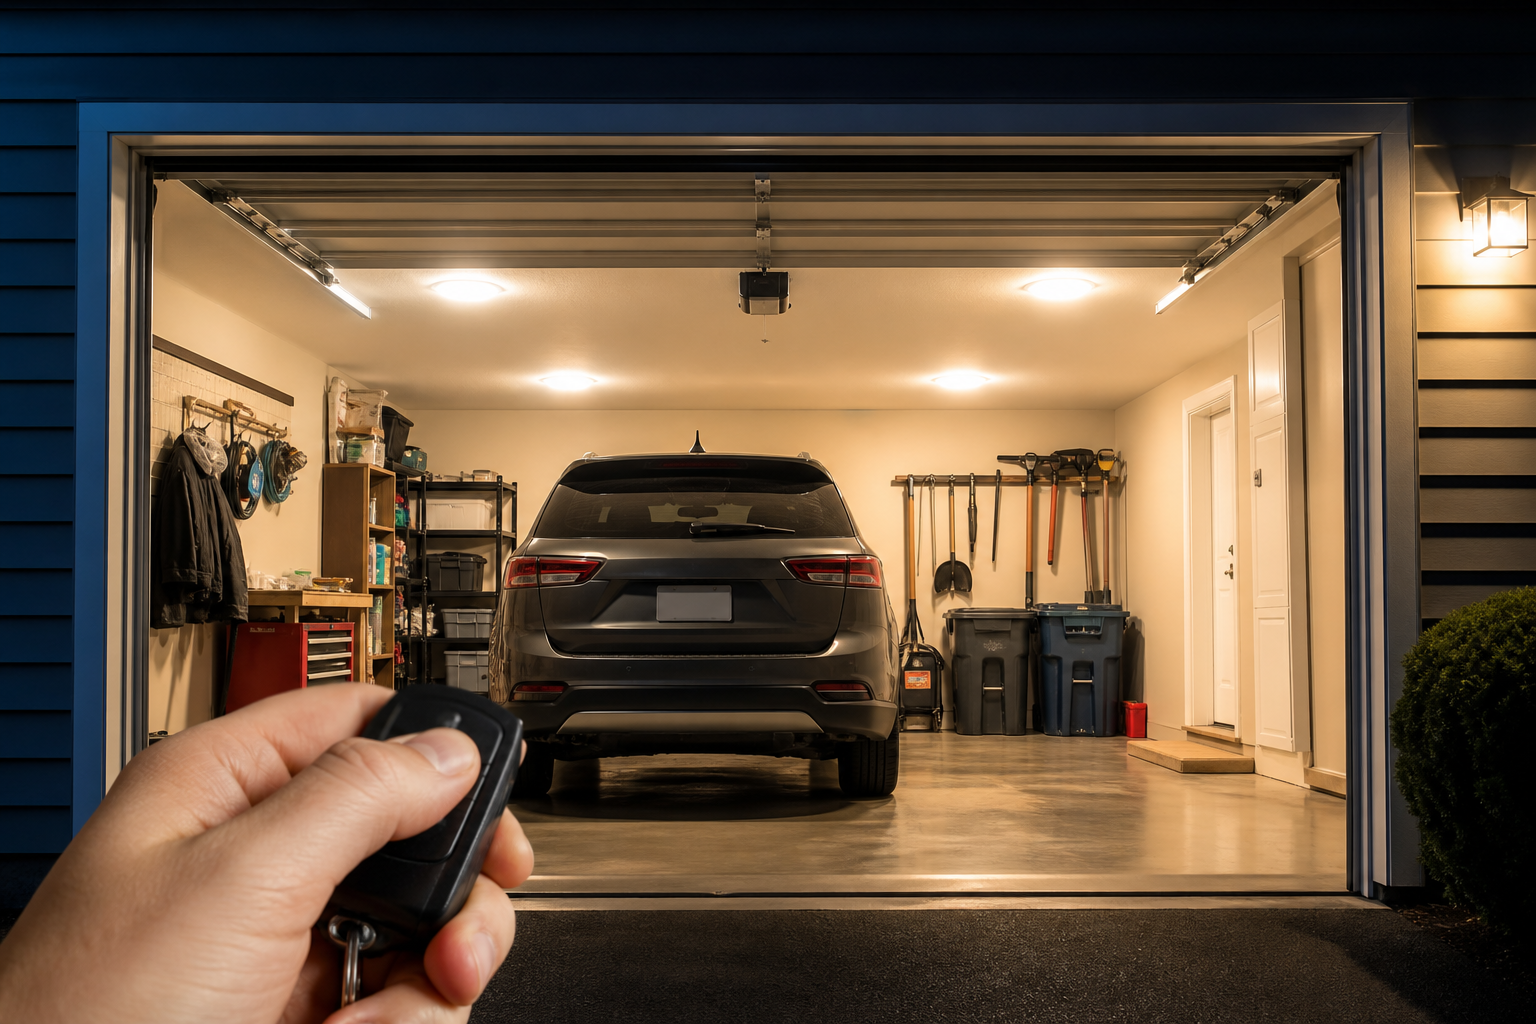
If your garage lights turn on by themselves, you’re dealing with one of the most reported garage issues. Climate, age, and usage all play a role, but the root causes fall into a surprisingly short list.
This troubleshooting guide covers each possibility with clear explanations and actionable fixes. By the end, you’ll have the problem solved or know exactly what to tell a technician.
Understanding the Basics
Garage lighting systems operate through several control mechanisms: manual switches, motion sensors, photocells, timers, and smart home integrations. When lights activate without input, the fault lies in one of these control layers. Most causes are fixable without rewiring the entire garage.
Start by identifying what type of control system you have. Walk into your garage and locate the light switch. Is there a small adjustment dial nearby? That’s likely sensitivity or timer control for a motion sensor. Check the fixture itself for a dome-shaped sensor or a small cylindrical photocell. Smart bulbs and switches add another layer, controllable through apps or voice commands.
Knowing your system helps you target the right fix. A motion sensor behaving erratically needs different troubleshooting than a malfunctioning photocell. Similarly, a smart switch responding to phantom commands requires a different approach than a traditional toggle switch with loose wiring.
Temperature swings affect electronic components. Garages experience wider temperature ranges than living spaces, especially in four-season climates. A sensor calibrated during mild weather may act up when temps drop below freezing or climb above 90 degrees. Electronics expand and contract, connections loosen, and moisture condenses on circuit boards.
Motion Sensor Sensitivity Settings
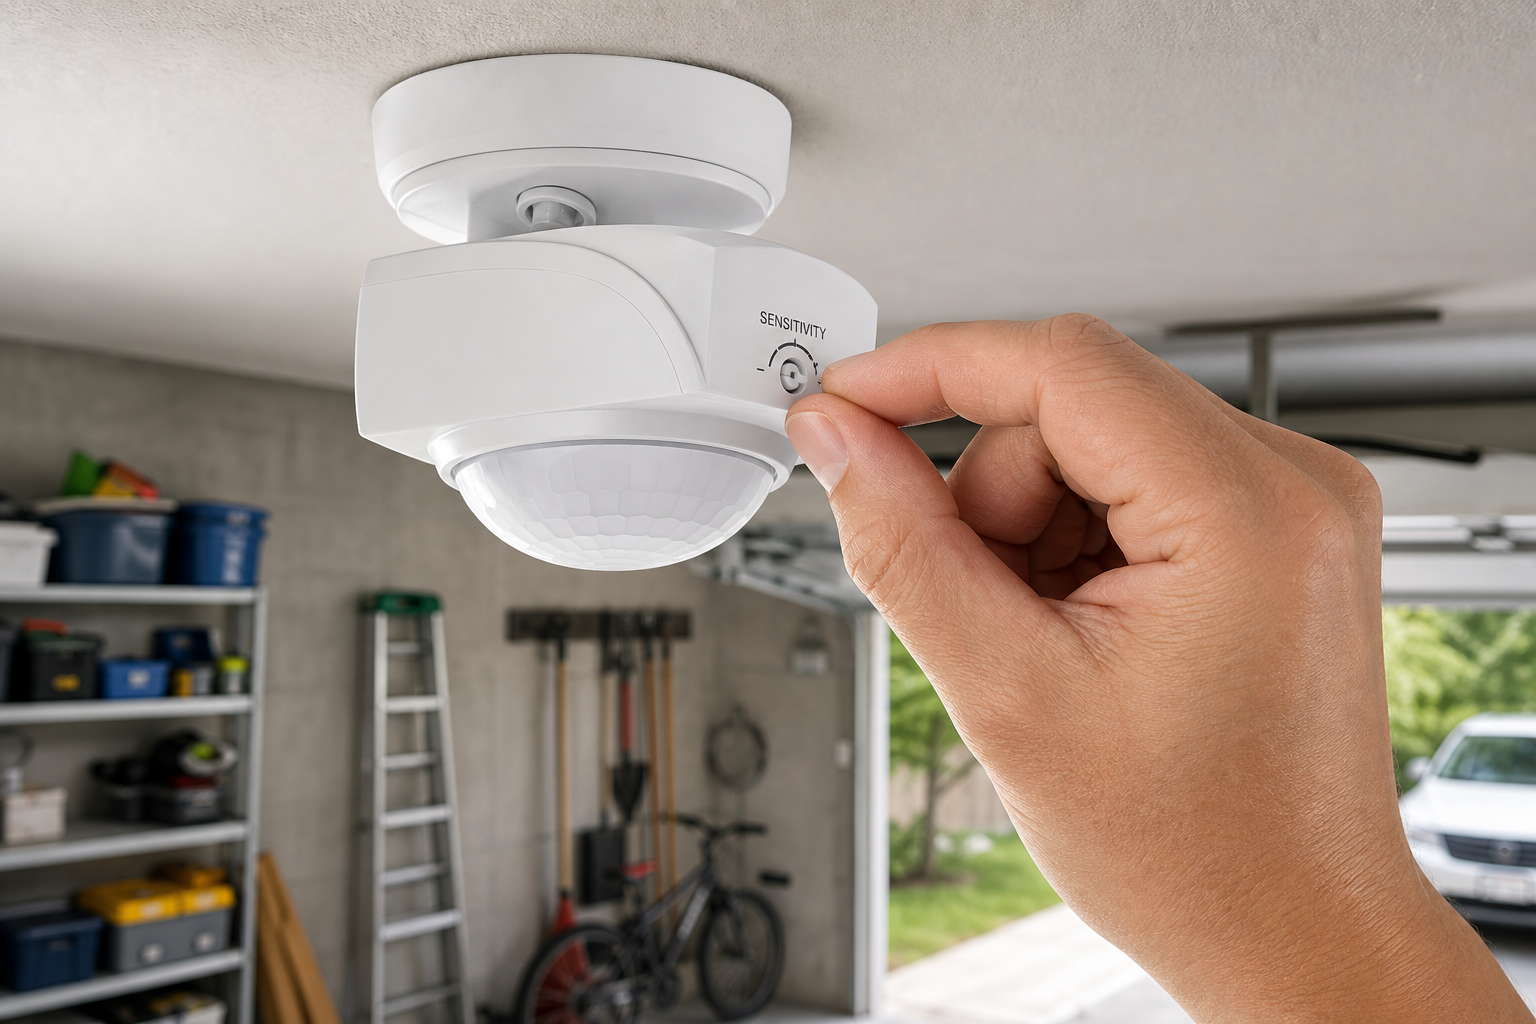
Motion sensors detect infrared heat signatures and movement within their field of view. When sensitivity is set too high, they trigger from sources you don’t intend: car headlights passing on the street, tree branches swaying in wind, animals walking by, even heat rising from the ground on sunny days.

Motion Sensor Garage Lights
Top-rated options with adjustable sensitivity settings
Most motion sensor fixtures have an adjustment dial labeled “Sensitivity” or “Range.” It’s usually a small knob on the sensor housing or inside a control panel. Turn it counterclockwise to reduce sensitivity. Make small adjustments, test for a day or two, then adjust again if needed. There’s no universal setting because every garage faces different conditions.
Vibration is another trigger. Heavy traffic on your street, a neighbor’s garage door opening, or even your own HVAC system kicking on can send vibrations through walls and ceilings. If your sensor mounts to a shared wall or a flexible ceiling joist, these vibrations mimic motion. Repositioning the sensor to a more stable surface often solves the problem.
The detection zone matters as much as sensitivity. Sensors have adjustable heads that pivot and tilt. Point the sensor down and inward toward your garage interior, not out toward the driveway or street. A sensor aimed at your garage door picks up every car driving past. Narrowing the field of view eliminates false triggers.
Check the timer setting while you’re adjusting sensitivity. Most motion sensors have a duration control that keeps lights on for a set period after detecting motion. If it’s set to 10 or 15 minutes, lights stay on long enough that you might not notice what triggered them initially. Shortening the duration to 1 or 2 minutes makes it easier to identify the actual trigger.
Dust and cobwebs on the sensor lens cause erratic behavior. The sensor reads these obstructions as constant low-level motion. Wipe the lens with a dry microfiber cloth monthly. If you’re in a dusty area or do a lot of woodworking, clean it more often.
Faulty Photocells
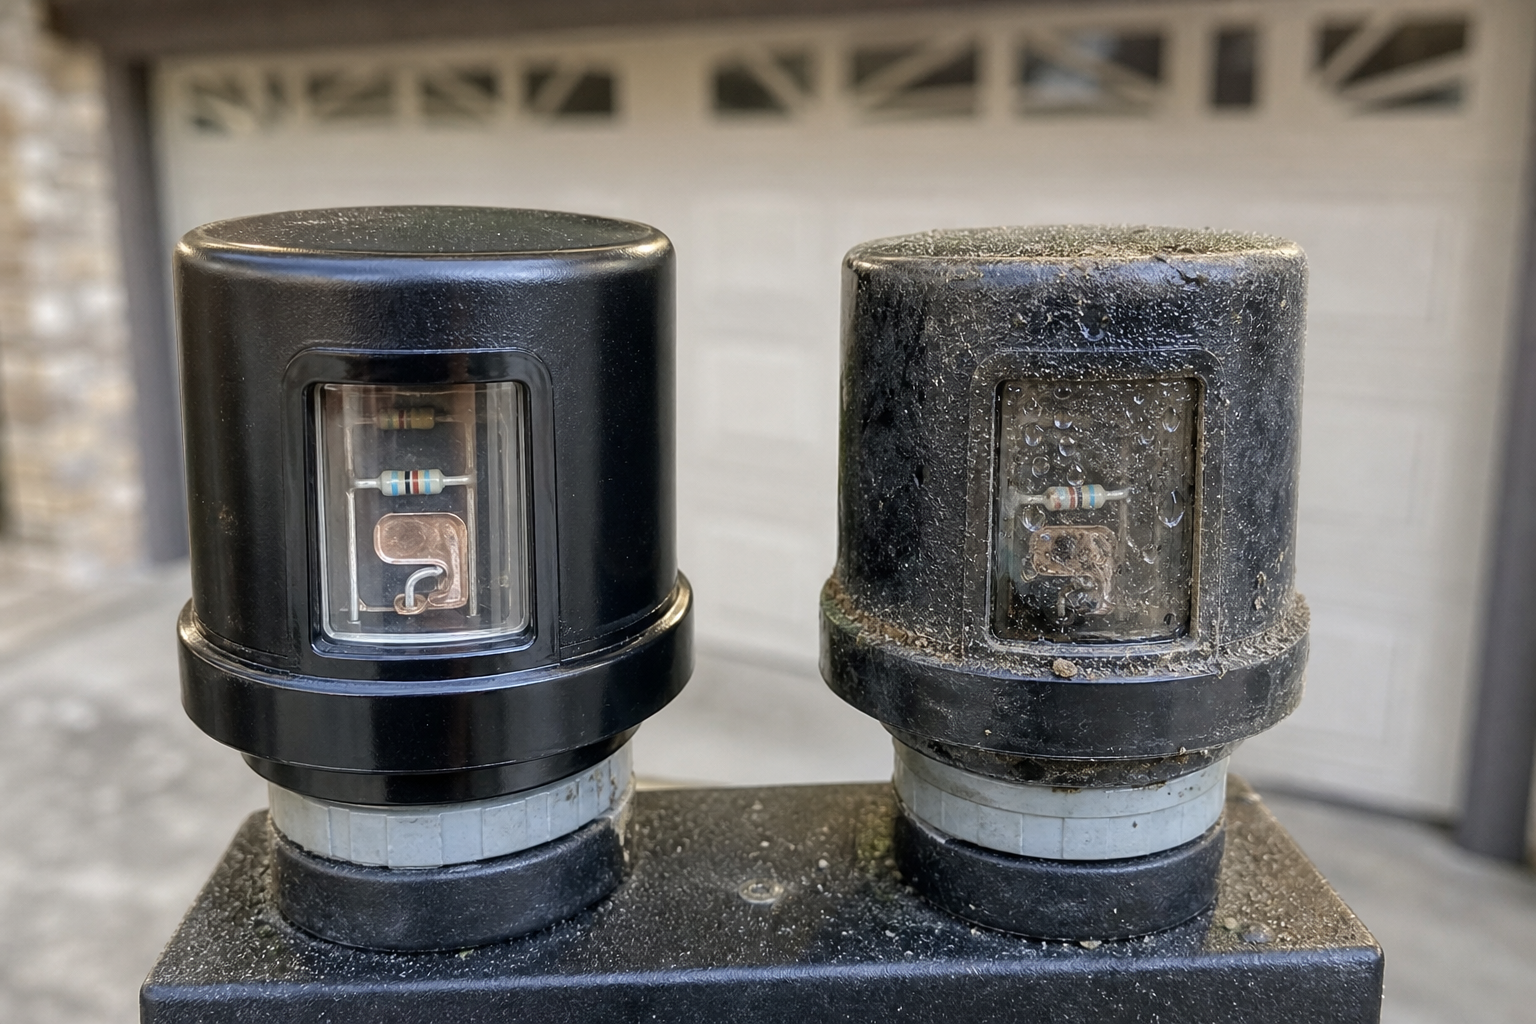
Photocells turn lights on when ambient light drops below a threshold and off when it rises above it. They’re common in outdoor and garage lighting because they automate the day/night cycle. When they fail or malfunction, lights flicker on and off unpredictably.
Photocells degrade over time. UV exposure, temperature cycling, and moisture all shorten their lifespan. A photocell rated for 10 years might last 5 in a garage that sees full afternoon sun and winter temps below zero. Signs of a failing photocell include lights that turn on during the day, turn off at dusk, or cycle on and off every few minutes.
Test the photocell by covering it completely with electrical tape during daylight. If the lights turn on immediately, the photocell is working but may need recalibration or replacement. If nothing happens, check whether the photocell is actually controlling that fixture or if there’s a wiring issue.
Most photocells screw into a base mounted on the fixture or junction box. They’re inexpensive and easy to replace. Turn off power at the breaker, unscrew the old photocell, and screw in a new one rated for the same voltage. Models rated for outdoor use handle garage conditions better than indoor-only versions.
Placement affects performance. A photocell mounted where car headlights, streetlights, or even reflections from windows hit it will cycle erratically. Reposition it to a spot that receives natural light without direct glare. If repositioning isn’t possible, replace it with a model that has a longer delay before switching states, which filters out brief light changes.
Moisture intrusion is a common killer. Check the photocell housing for cracks or gaps where water can enter. If the photocell base shows corrosion, replace both the photocell and the base. Apply a thin bead of silicone sealant around the base threads to keep moisture out.
Some photocells have adjustable sensitivity. A small dial or screw on the housing lets you set the light threshold. If your garage gets indirect daylight that confuses the sensor, lowering the threshold makes it less reactive to minor light changes.
Wiring Issues and Smart Switch Glitches
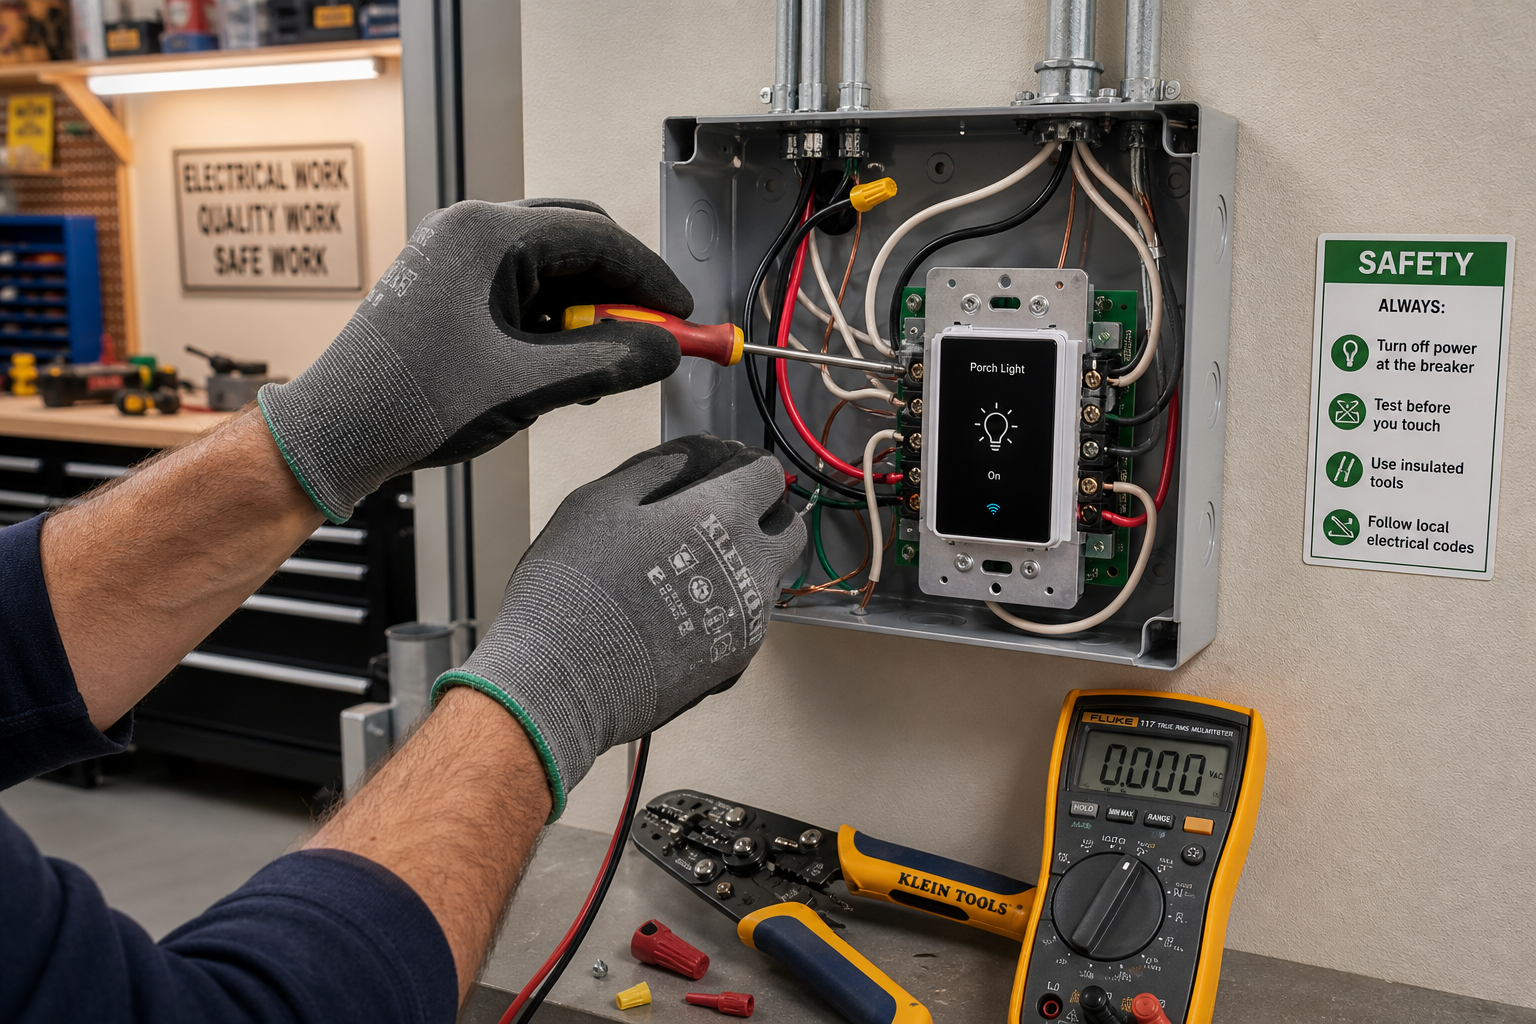
Loose wiring causes intermittent contact that can send random power to fixtures. This shows up as lights that flicker, turn on briefly, or cycle unpredictably. It’s more common in older garages where wiring has been added over the years without updating the original circuits.
Turn off the breaker and remove the light switch cover plate. Check wire connections at the switch. Wires should be tightly wrapped around terminal screws or fully inserted into push-in connectors. If you see blackened insulation, burn marks, or loose strands, that connection is arcing. Trim the damaged section, strip fresh insulation, and reconnect properly.
Wire nuts inside junction boxes loosen over time, especially in garages subject to vibration. Open the junction box at the fixture and inspect every connection. Twist the wire nut firmly to ensure all conductors are gripping. If the wire nut feels loose or the wires pull out easily, replace it with a new one sized correctly for the number and gauge of wires.
Aluminum wiring, common in homes built during the 1960s and 1970s, expands and contracts more than copper. Connections loosen, creating resistance and heat. If you have aluminum wiring, use anti-oxidant paste and connectors rated for aluminum-to-copper transitions. This isn’t a DIY fix unless you’re experienced with electrical work.
Smart Switch Troubleshooting
Smart switches and bulbs add another failure mode. They rely on a stable Wi-Fi connection and cloud servers that occasionally push updates or experience outages. If your lights turn on at odd hours, check the app for scheduled routines you may have forgotten about. Some smart switches have default automations that activate unless you disable them.
Voice assistants sometimes misinterpret commands. If you have Alexa or Google Assistant integrated, they might trigger lights based on routine patterns they’ve learned or commands they think they heard. Review your routines and disable any you don’t actively use. Check the app’s activity log to see what triggered the last activation.
Power surges and voltage fluctuations confuse smart switches. Garages often share circuits with other high-draw devices like refrigerators, power tools, or electric vehicle chargers. When these devices cycle on, they cause brief voltage dips that smart switches interpret as commands. Installing a whole-home surge protector or adding a dedicated circuit for lighting reduces these phantom triggers.
Firmware updates occasionally introduce bugs. If the problem started right after an update, check the manufacturer’s forum or support page for known issues. Sometimes rolling back to a previous firmware version or waiting for a patch is the only fix.
Advanced Troubleshooting and Sensor Positioning
If basic adjustments don’t solve the problem, dig deeper. Map out exactly when the lights activate. Keep a log for a week: date, time, weather conditions, and what else was happening (car pulling in, garage door operating, appliances running). Patterns emerge that point to specific triggers.
Infrared sensors can pick up heat sources you wouldn’t expect. Water heaters, furnaces, and even sun-warmed garage doors radiate enough heat to trigger sensitive units. If the log shows activations correlating with appliance cycles or afternoon sun hitting the door, reposition the sensor or add a physical shield to block that heat source.
Repositioning the sensor takes trial and error. Mount it higher to reduce ground-level triggers like small animals. Angle it away from windows and doors where external movement is visible. Some sensors allow you to mask off portions of the detection zone with tape, narrowing the field without losing coverage of the areas you care about.

Dual Technology Motion Sensors
Combines infrared and microwave detection for fewer false triggers
Dual-technology sensors combine passive infrared with microwave detection. Both technologies must detect motion before triggering the light. This drastically reduces false positives. If you’ve tried everything else and still have issues, upgrading to a dual-tech sensor is worth the cost.
Consider separate zones if your garage has distinct areas. A motion sensor for the main workspace, a manual switch for overhead storage access, and a photocell for exterior entry lighting give you granular control. You eliminate the frustration of lights turning on when you’re working quietly in one corner.
Interference from other electronics is rare but real. LED drivers, inverters, and even some power tools generate electromagnetic noise that confuses sensors. If lights activate when specific tools run, add a ferrite core to the tool’s power cord or move the sensor farther from the work area.
Replacing Versus Repairing
Sometimes the fix is replacing the entire fixture. If you’ve adjusted settings, cleaned sensors, checked wiring, and the problem persists, the internal components are likely failing. A fixture that’s 10 or 15 years old has served its lifespan.
Motion sensor fixtures range from budget-friendly to premium depending on features and build quality. Higher-end models have better detection algorithms, longer warranties, and weatherproof housings that hold up in unheated garages. Buying cheap often means replacing again in a few years.
Photocell replacements are affordable and readily available. If the rest of the fixture works fine, swapping the photocell is a 10-minute job that extends the fixture’s life by years. Keep a spare on hand if you rely on photocell automation.
Smart bulbs and switches vary widely in price and features. Before replacing, factory reset the device and set it up fresh. Corrupted settings or pairing issues often resolve with a clean start. If that doesn’t work, contact support, especially if the device is under warranty.
Hiring an electrician makes sense when you’ve exhausted DIY options or when the issue involves panel-level problems. Intermittent power to an entire circuit, frequent breaker trips, or voltage irregularities need professional diagnosis. Expect to pay for a service call and troubleshooting, plus parts and labor for repairs.
Preventive Measures
Once you’ve solved the problem, prevent it from returning. Schedule a quarterly check: clean sensor lenses, verify wire connections are tight, test photocells by covering them, and review any smart home routines that might have changed.
Label your breaker panel clearly. Knowing which breaker controls garage lighting saves time during troubleshooting and prevents accidentally working on live circuits. Use a label maker and test each circuit to confirm it matches the label.
Upgrade to commercial-grade components in garages that see heavy use or extreme temps. Industrial sensors and photocells rated for wider temperature ranges and higher cycle counts last longer. The upfront cost is higher, but you replace them half as often.
Install a manual override switch even if you prefer automated lighting. A simple toggle switch wired in parallel with the sensor or photocell gives you instant control when automation fails or when you need guaranteed off (like when storing a car long-term or doing electrical work).
Practical Planning Tips
Before starting any garage project, take stock of what you have and what you need. Walk the space with a tape measure and a notepad. Record dimensions, note existing electrical outlets and their amperage, check for moisture issues, and photograph anything you want to change. This baseline assessment prevents surprises mid-project and helps you budget materials accurately.
Invest in quality tools for tasks you’ll repeat. A reliable stud finder, a good level, a quality tape measure, and proper safety gear (eye protection, hearing protection, respirator) make every project easier and safer. These tools pay for themselves across multiple projects over the years.
Research local building codes and permit requirements for your specific project. Electrical work, structural modifications, and HVAC installations often require permits and inspections. Working without required permits can create liability issues, insurance complications, and problems when selling the home.
Document everything with photos and notes. If you open a junction box and find a wiring configuration that works, photograph it before making changes. Label wires before disconnecting them. This documentation saves hours when reassembling or troubleshooting later.
When to Call a Professional
DIY covers most of what’s listed above, but some situations need professional help. High-voltage electrical work, garage door spring replacement, structural modifications, and commercial-grade coatings requiring specialized equipment are all worth outsourcing. A botched repair often costs more to fix than hiring the right person from the start.
Get two to three quotes, verify licensing and insurance, and ask for recent references. A reputable contractor explains the process clearly, provides a written estimate, and backs the work with a written warranty.
Electrical troubleshooting that involves the main panel, upgrading service capacity, or diagnosing intermittent faults across multiple circuits is professional territory. Electricians have diagnostic tools (multimeters, circuit tracers, thermal cameras) that pinpoint problems faster and more safely than guesswork.
For workshop lighting and other electrical upgrades, working with a qualified electrician ensures safety and code compliance. They can also recommend the best fixtures for your specific garage layout and usage patterns.
Frequently Asked Questions
How often should I service my garage door?
Every 6 months: lubricate moving parts, tighten hardware, test auto-reverse, and visually inspect springs and cables. Takes about 20 minutes. If you notice unusual noises or the door stops partway, check out our guide on common garage door problems.
Why does my GFCI keep tripping?
Common causes: overloaded circuit, moisture on the outlet, cold temps affecting electronics, or ground faults in connected equipment. Isolate devices one at a time to find the trigger.
Do I need a permit for garage electrical work?
Most areas require permits for new circuits, panel upgrades, and 240V installs. Check with your building department. Unpermitted work creates problems when selling.
