

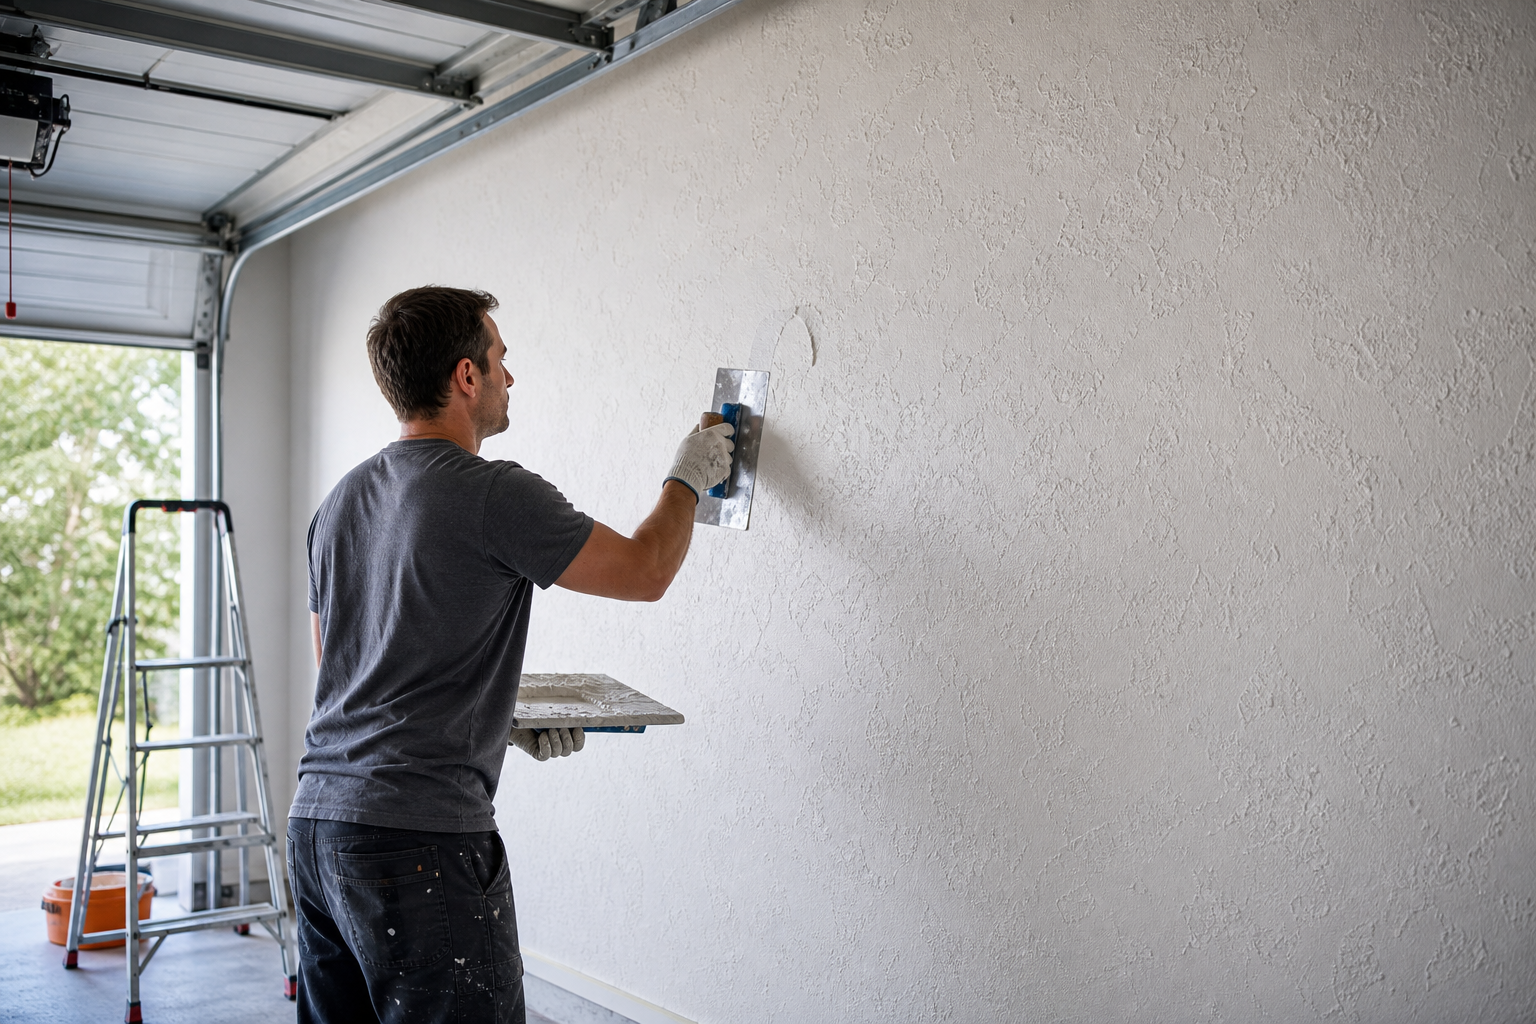
Taking on the project to apply texture to garage walls rewards careful planning and patience. Rushed work leads to results that need redoing within a year. A methodical approach delivers results that hold up for years.
This guide covers every stage from preparation to completion, with specific details on materials, tools, measurements, and techniques. Follow the sequence for the best outcome.
Why Texture Your Garage Walls
Textured walls serve multiple practical purposes in a garage. They hide drywall imperfections better than flat paint, which shows every tape line and joint compound ridge under bright LED lighting. Texture also adds a degree of sound dampening. Not a lot, but enough that impacts and tool noise don’t echo as harshly off bare walls.
If you’ve finished your garage with drywall and plan to spend time working in there, texture makes the space noticeably more comfortable. For those creating a dedicated workshop space, textured walls provide both functional and aesthetic benefits.
Texture provides better paint adhesion over the long term. The peaks and valleys give paint more surface area to grip, which matters in a garage where temperature swings cause expansion and contraction cycles that can stress a paint bond. A textured surface also hides minor dings and scratches better than smooth walls.
The two most common textures for garage application are knockdown and orange peel. Knockdown produces a flattened, random pattern with subtle peaks. Orange peel creates a finer, more uniform stippled surface. Both work well in garages. Knockdown tends to hide imperfections slightly better. Orange peel is easier to apply consistently if you’re new to texture work.
Step-by-Step Knockdown Application
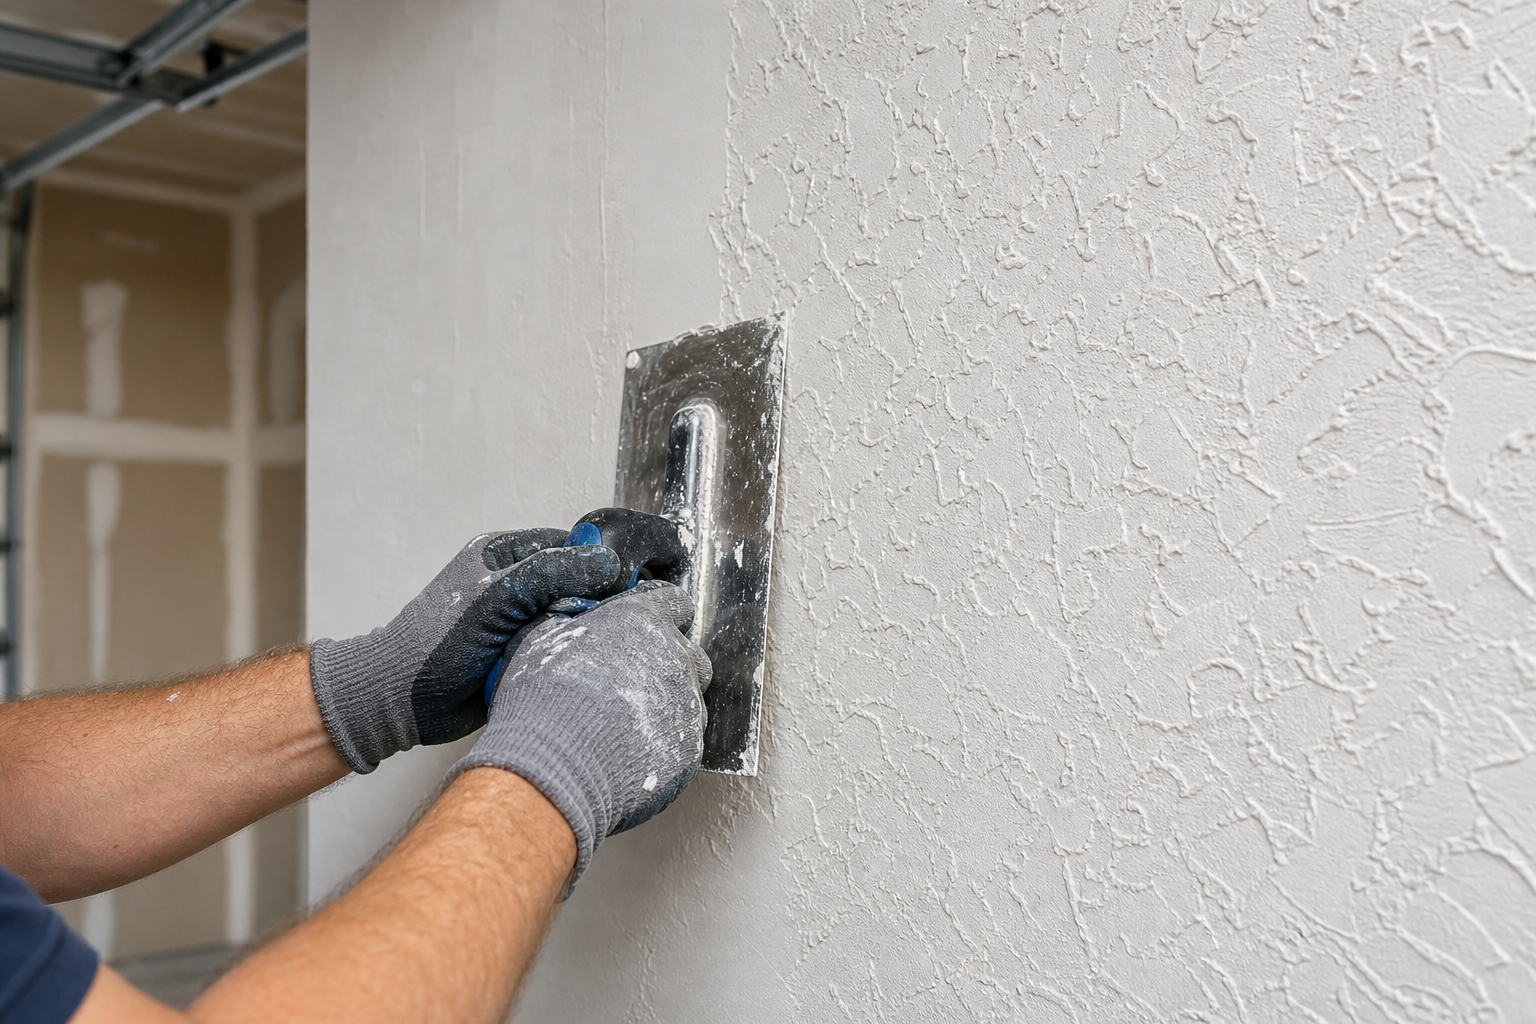
Knockdown texture requires joint compound (also called mud), a hopper gun or spray texture machine, and a knockdown knife. The compound gets thinned to a sprayable consistency, then sprayed onto the wall in random splatters. After a brief setup period (usually 10 to 20 minutes depending on temperature and humidity), you drag a wide knockdown knife across the surface to flatten the peaks.
Start with a small test area if you’re uncertain. A 4 by 4-foot section in an inconspicuous spot lets you evaluate adhesion, appearance, and workability without committing to the full project. Troubleshooting a small test area is far easier than redoing everything.
Mixing and Preparation
Mix your compound to the consistency of thick pancake batter. Too thin and it runs. Too thick and it clogs the hopper or comes out in heavy globs instead of fine splatter. Add water gradually and mix thoroughly. Most pros aim for a consistency where the compound drips slowly off a stir stick but doesn’t run like water.
Load the hopper gun and adjust air pressure. Most hopper guns run between 60 and 90 PSI. Lower pressure produces larger splatter with more defined peaks. Higher pressure creates finer texture. Test on scrap cardboard or in your test area to dial in the pattern before spraying the full wall.
Spraying Technique
Spray the wall in overlapping passes, holding the gun 18 to 24 inches from the surface. Work continuously across the section without stopping mid-pass. Stopping creates heavy spots where compound builds up. Keep the gun moving at a steady pace. You want even coverage with visible peaks but not so heavy that compound drips.
Work in manageable sections. A standard garage wall might be 20 feet long by 8 feet tall. Break that into three or four vertical sections so you can spray and knock down each section while the compound is in the proper setup window. Trying to spray a whole wall at once means the first section will be too dry by the time you finish spraying the last section.
Knockdown Timing
Wait for the compound to set. This is the critical timing window. Touch the texture lightly with your fingertip. If it’s still wet and sticky, wait longer. If it’s dry to the touch, you’ve waited too long and the knockdown knife will drag instead of flatten.
The sweet spot is when the surface feels slightly tacky but doesn’t stick to your finger. In typical garage conditions (60 to 75 degrees, moderate humidity), this takes 10 to 15 minutes.
Run the knockdown knife across the texture in long, smooth strokes. Hold the knife at a shallow angle, around 15 to 20 degrees from the wall surface. Too steep and you’ll scrape the texture off instead of flattening it. Wipe the blade clean after every two or three passes to prevent buildup.
Orange Peel Application
Orange peel texture is simpler than knockdown because it doesn’t require a second step. You spray the compound and you’re done. The texture comes entirely from how the material atomizes when it leaves the spray gun.
Use a texture sprayer designed for orange peel or a hopper gun with the right nozzle. Orange peel requires finer atomization than knockdown. The compound should be thinner, closer to the consistency of latex paint than pancake batter. Test on scrap material to get the right mix and air pressure.
Spray Settings and Technique
Most orange peel applications run between 25 and 40 PSI, lower than knockdown. The goal is small, uniform droplets that create a consistent stippled surface. Higher pressure creates finer texture. Lower pressure produces a coarser orange peel with larger bumps.
Spray in overlapping passes, maintaining consistent distance and speed. Orange peel shows inconsistency more obviously than knockdown because there’s no knockdown step to blend everything together. Practice maintaining a steady rhythm.
Apply orange peel in two light coats rather than one heavy coat. The first coat establishes the base texture. Let it dry completely (usually 30 minutes to an hour). The second coat fills in any thin spots and creates a more uniform final appearance.
Surface Preparation
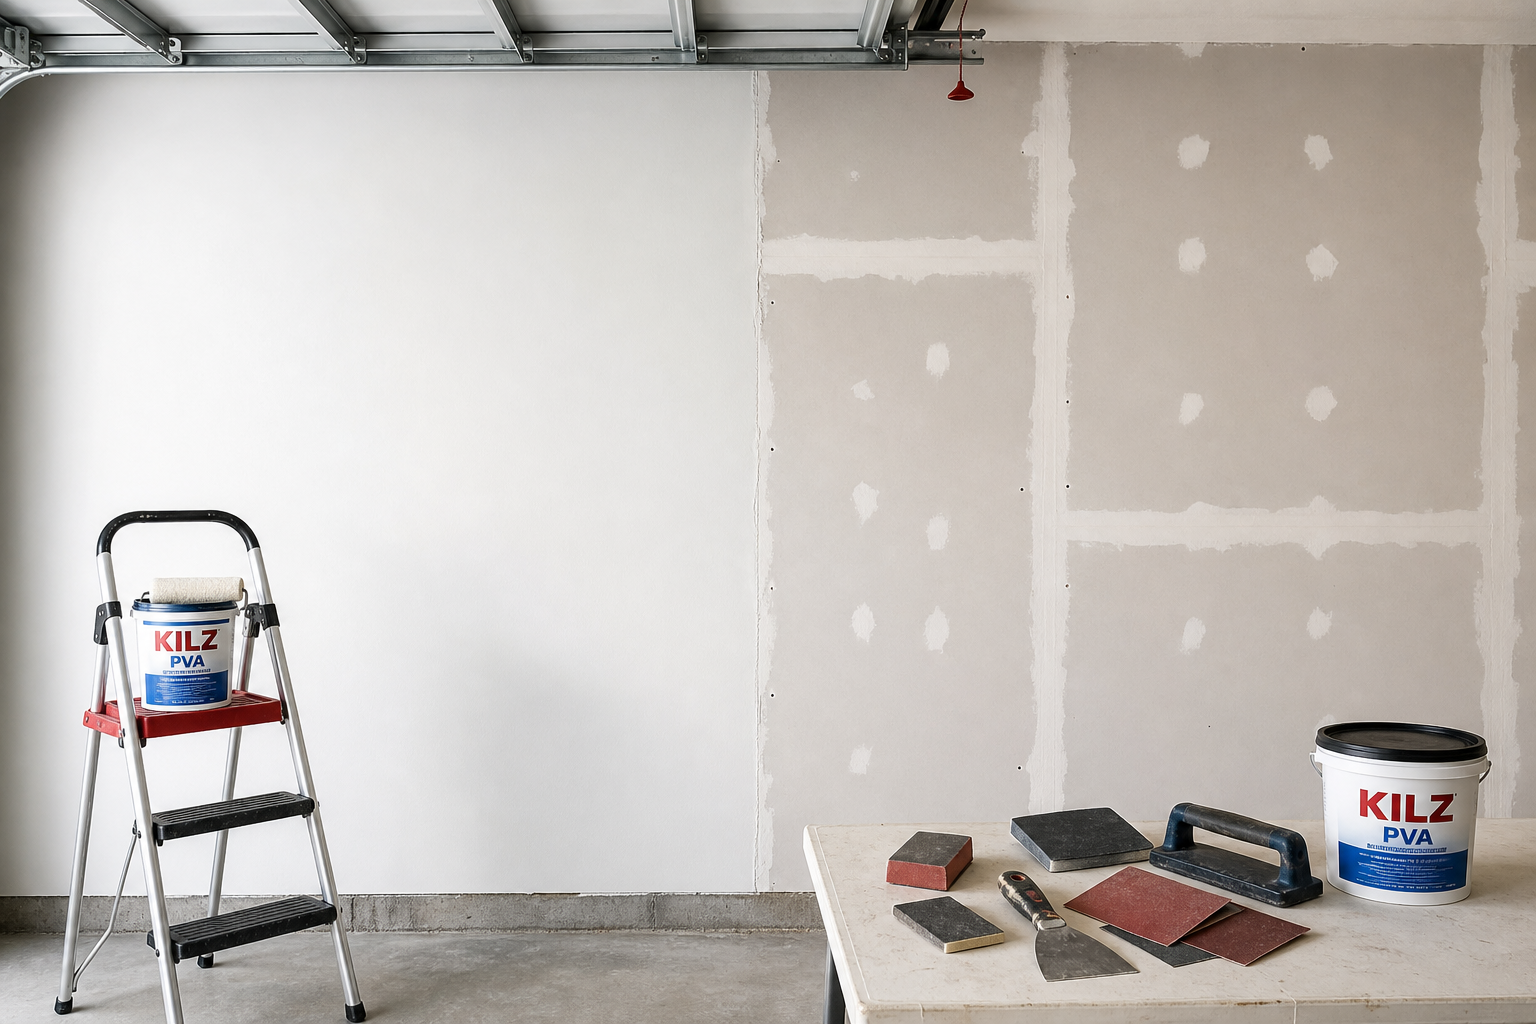
Surface prep determines whether your texture adheres properly and lasts. Start with clean, dry drywall. Wipe down walls to remove dust, cobwebs, and any oil or grease. Garage walls often have overspray from projects, dust from cutting materials, or hand oils from moving things around. All of that interferes with adhesion.
Check for loose tape or poorly finished joints. Run your hand along every joint and corner. If anything feels raised, rough, or loose, address it before texturing. For guidance on proper drywall finishing techniques, check our garage drywall finishing tips for beginners.
Sand high spots smooth. Reapply joint compound to gaps or depressions and let it dry completely. If you’re dealing with significant damage, you might need to tackle patching large holes in garage drywall before proceeding with texture.
Priming and Protection
Prime the walls with a PVA drywall primer. This seals the paper face and creates a uniform surface for the texture compound to bond to. Bare drywall absorbs moisture from wet compound at different rates depending on whether you’re spraying over paper, joint compound, or cut edges. Primer equalizes that absorption and prevents the texture from drying unevenly.
Mask off areas you don’t want textured. Use painter’s tape and plastic sheeting to protect electrical boxes, outlets, light fixtures, and adjacent surfaces. Texture overspray travels farther than you expect. Cover floors within 6 feet of the wall you’re spraying.
Temperature and humidity matter. Joint compound sets faster in warm, dry conditions and slower in cool, humid conditions. Ideal working conditions are 60 to 80 degrees with moderate humidity. Plan your project timing around the forecast.
Tools and Materials
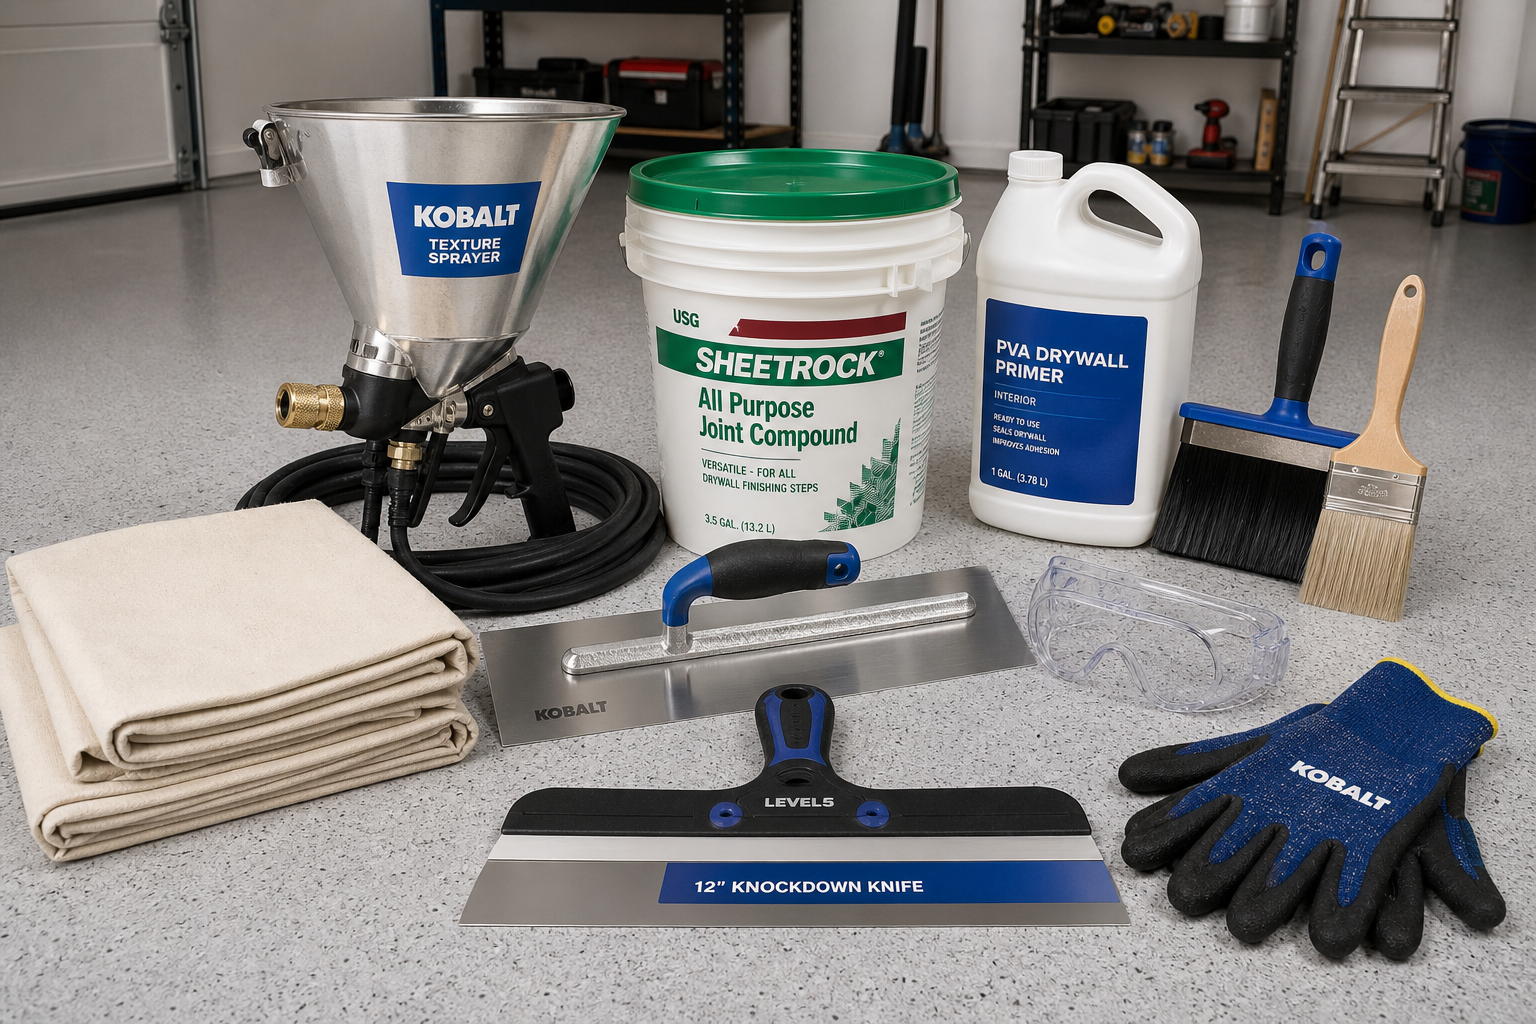
A basic knockdown or orange peel texture project requires a hopper gun or texture sprayer, an air compressor capable of sustained pressure, pre-mixed joint compound or bags of dry compound for mixing, a knockdown knife (for knockdown texture), mixing bucket, drill with paddle mixer attachment, drop cloths, painter’s tape, and safety gear.
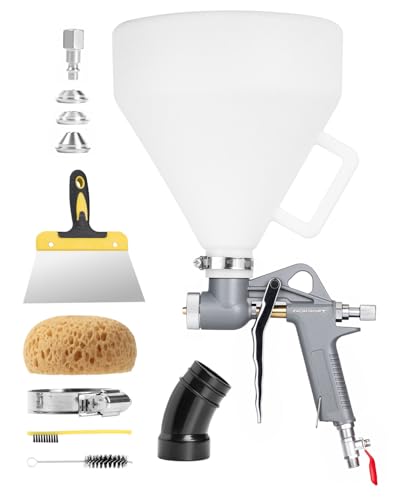
Hopper Gun Texture Sprayer
Essential tool for consistent texture application with adjustable spray patterns
Choosing the Right Equipment
Hopper guns range from budget models to professional-grade versions. The difference is durability and consistency. A basic hopper gun works fine for a one-time garage project. Mid-range models offer good performance without pro-level cost.
Your air compressor needs adequate capacity. A 6-gallon pancake compressor will run a hopper gun but will cycle frequently, which interrupts workflow. A 20-gallon or larger tank maintains steadier pressure and lets you work longer between cycles.
A knockdown knife should be at least 18 inches wide. Wider knives (24 inches) produce smoother results with fewer visible lines but are harder to control if you’re new to the technique. Stainless steel blades hold up better than plain steel and are easier to clean.

Portable LED Work Light
Quality lighting reveals texture coverage and inconsistencies as you work
Material Calculations
Pre-mixed joint compound is convenient but expensive for large areas. A 5-gallon bucket of pre-mixed all-purpose joint compound covers roughly 200 to 300 square feet of knockdown texture depending on how heavily you apply it. A standard two-car garage with four walls might need three to four buckets.
Dry compound costs less and stores longer but requires mixing. Calculate your wall square footage before buying materials. Check current pricing on Amazon for joint compound options to compare costs.
Common Mistakes to Avoid
Mixing compound too thick or too thin causes most application problems. Too thick and the hopper clogs or the spray pattern is heavy and uneven. Too thin and the texture runs or doesn’t have enough body to create proper peaks. Mix small batches when you’re learning so you can adjust without wasting a full bucket.
Inconsistent spray distance changes the texture pattern. Hold the hopper gun the same distance from the wall throughout each section. Use your elbow position as a reference to maintain consistent distance.
Waiting too long to knock down creates problems. Once the compound starts to crust over, the knockdown knife drags and tears instead of flattening. If you miss the window on a section, let it dry completely, sand it smooth, and reapply.
Inadequate ventilation extends drying time and creates moisture issues. Open garage doors and run a fan to move air while texture dries. Still air keeps moisture trapped against the wall surface.
Skipping primer leads to inconsistent texture appearance and adhesion failures. The cost of primer is minimal compared to redoing the entire job when texture starts peeling off.
Painting Over Texture
Texture needs to dry completely before painting, typically 24 hours minimum. In humid conditions or thick applications, wait 48 hours. The surface should be completely dry to the touch with no cool spots indicating residual moisture.
Prime textured walls before painting. Texture is porous and absorbs paint unevenly. A coat of primer seals the texture and provides a uniform base. Use a roller with a thick nap (3/4 inch or thicker) to get into all the texture valleys.
Two coats of paint produce the best results over texture. Semi-gloss or satin finishes work better than flat paint in garages. They’re easier to clean and more resistant to scuffing. For those converting their garage into a home office space or guest room, proper paint selection becomes even more important.
Tips for Better Results
- Read all product instructions before opening anything. Temperature, humidity, and timing requirements affect when and how you can work.
- Clean between major steps. Tidy workspaces produce fewer errors and better-looking final results.
- Work in sections small enough to finish before material sets. Consistent technique across sections produces the most uniform results.
- Take photos at each stage. Visual documentation helps troubleshoot later and provides reference for future projects.
- Practice on scrap drywall or cardboard before spraying your walls. The muscle memory of maintaining consistent distance and speed makes the actual work much easier.
- Have extra compound mixed and ready. Running out mid-section forces you to stop, which creates visible seams and inconsistency.
- Clean your hopper gun thoroughly immediately after use. Dried compound inside the gun is difficult to remove and will clog the next time you use it.
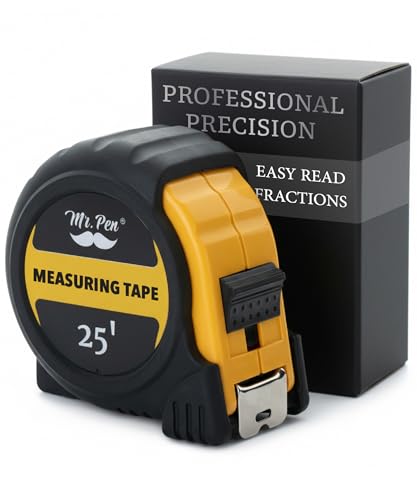
25-Foot Tape Measure
Reliable measurement tool well-reviewed by garage owners for accurate project planning
Planning and Budget Considerations
A typical two-car garage with four walls (roughly 640 square feet of wall area, assuming 8-foot ceilings and 20 by 20-foot interior dimensions) requires materials for texture application. This includes joint compound, primer, paint, tape, and plastic sheeting. Tool rental (if you don’t own an air compressor and hopper gun) may be necessary for a weekend rental.
DIY saves substantially on labor but requires time and a learning curve. Budget a full weekend for a two-car garage if you’re working alone and new to texture application. An experienced DIYer can finish the same project in a day.
Consider how this change fits the larger garage picture. Improvements in one area can shift dynamics elsewhere. Better insulation changes humidity patterns. If you’re texturing walls as part of finishing an unfinished garage, plan the sequence carefully. Insulation goes in first, then drywall, then texture, then paint.
Once you’ve finished texturing, consider adding baseboards and trim for a polished look. The textured walls will provide an excellent backdrop for these finishing touches.
Frequently Asked Questions
Can I texture over painted walls?
Yes, but surface prep becomes more critical. Painted walls need thorough cleaning to remove dirt, grease, and any contaminants that prevent adhesion. Lightly sand glossy paint to create tooth for the texture compound to grip. Prime before texturing. Texture over paint works fine as long as the existing paint is well-bonded and the surface is clean.
What’s the difference between knockdown and orange peel texture?
Knockdown produces a flattened, random pattern with subtle peaks and requires a second step to flatten the sprayed compound. Orange peel creates a finer, more uniform stippled surface and is complete after spraying. Knockdown tends to hide imperfections slightly better, while orange peel is easier to apply consistently for beginners.
How long should I wait before painting over texture?
Texture needs to dry completely before painting, typically 24 hours minimum. In humid conditions or thick applications, wait 48 hours. The surface should be completely dry to the touch with no cool spots indicating residual moisture. Always prime textured walls before painting for the best results.
Do I need to move everything out of the garage before texturing?
Not necessarily, but you need clear access to walls and protection for anything staying in the space. Move items at least 6 feet away from walls you’re texturing. Cover everything with plastic sheeting or drop cloths. Texture overspray is fine and travels on air currents, settling on everything within 10 to 15 feet of the spray area.
