The market for garage pegboard systems for tool storage keeps growing, giving you more options and more chances to pick wrong. Understanding what separates quality from marketing hype saves real money and frustration.
This guide compares the leading products across the specs that actually matter, with clear recommendations at different price points.
Understanding the Basics
Standard height runs 34 to 36 inches for general tasks. Over 6 feet tall? Try 38 inches. Detail work needs an extra 4 inches. Heavy tasks like planing work better 2 to 4 inches lower. An adjustable workbench eliminates the compromise if you do varied work.
Budget build requires a 2×4 frame, 3/4-inch plywood top, and 1/4-inch hardboard surface layer. The hardboard stays smooth, replaceable, and cheap to swap every few years. A lower shelf between the legs doubles as storage and a frame brace.
Depth needs 24 inches minimum, with 30 inches hitting the sweet spot. Beyond 36 inches, the back becomes hard to reach. Mount a shelf or pegboard on the wall behind the bench to keep tools close without using work surface area. If you’re planning a complete workshop setup, check out our garage workshop ideas for comprehensive layout strategies.
Standard Hardboard Pegboard
Standard hardboard and heavy-duty 1/4 inch tempered hardboard differ significantly in performance. This decision affects your storage system for years. Cutting corners here creates problems down the road.
Check specific requirements before purchasing materials. Measure the area, note unusual conditions like extreme temperatures, high humidity, or uneven surfaces. Read product specs carefully. A mismatch between your conditions and the product’s rated range causes most unexpected failures.

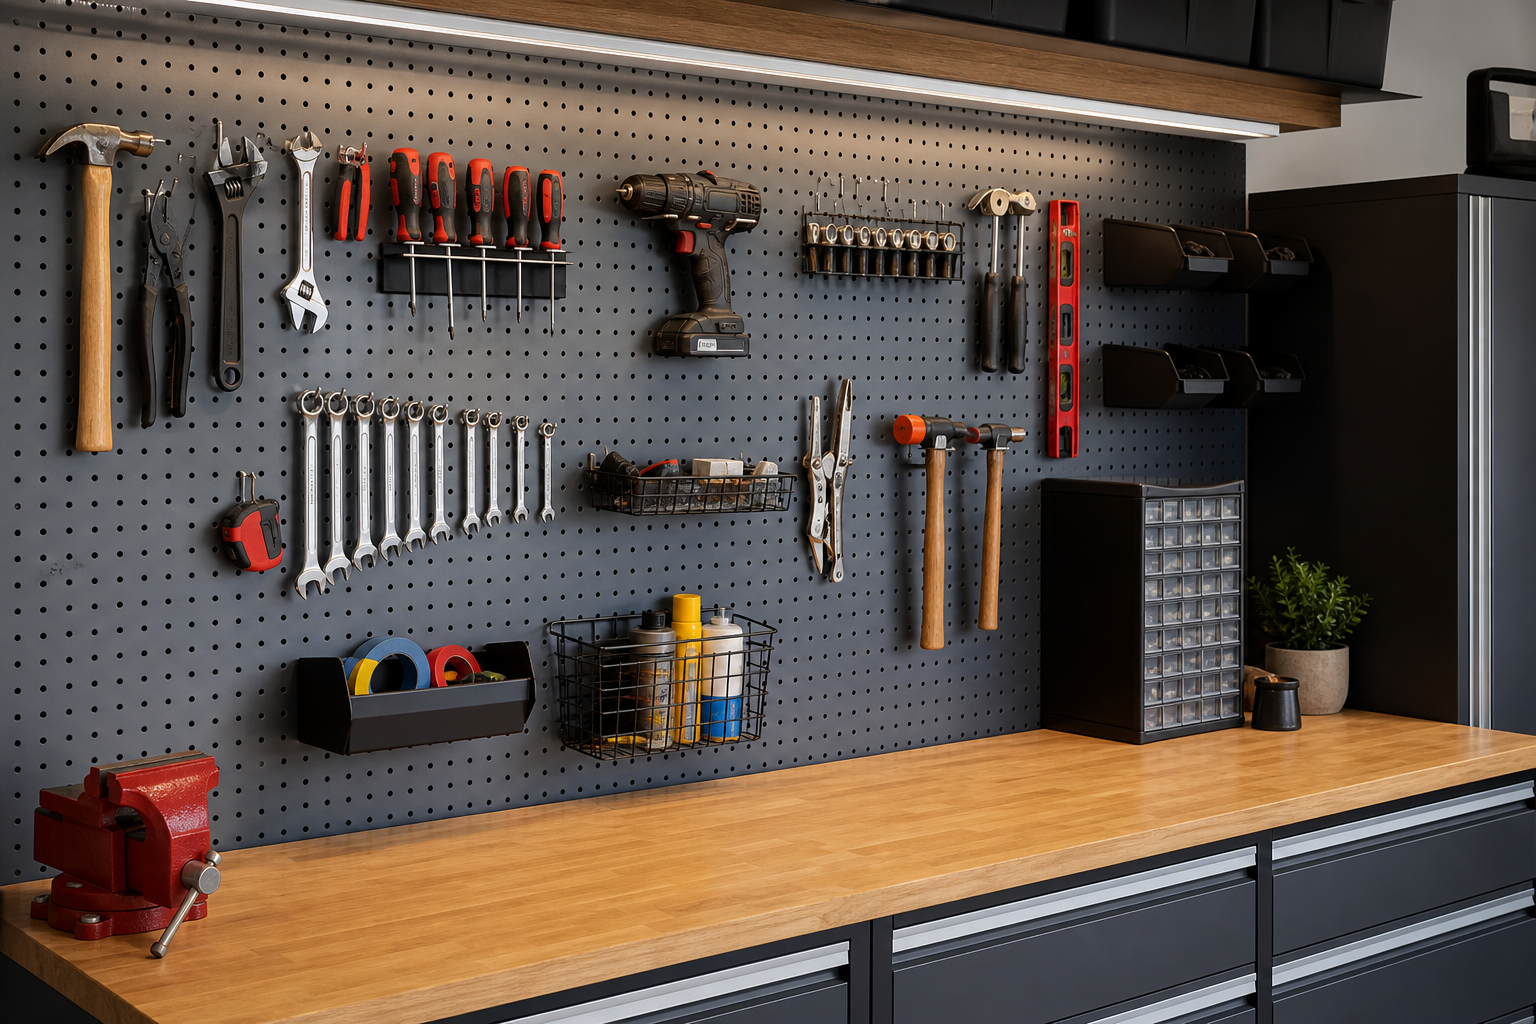
Garage Wall Storage System
Reliable option for standard pegboard installations with good hook compatibility
Consider how this change fits the larger garage picture. Improvements in one area shift dynamics elsewhere. Better insulation changes humidity patterns. Heavy storage affects the floor underneath. Think about these interactions during planning.
Metal Pegboard Systems
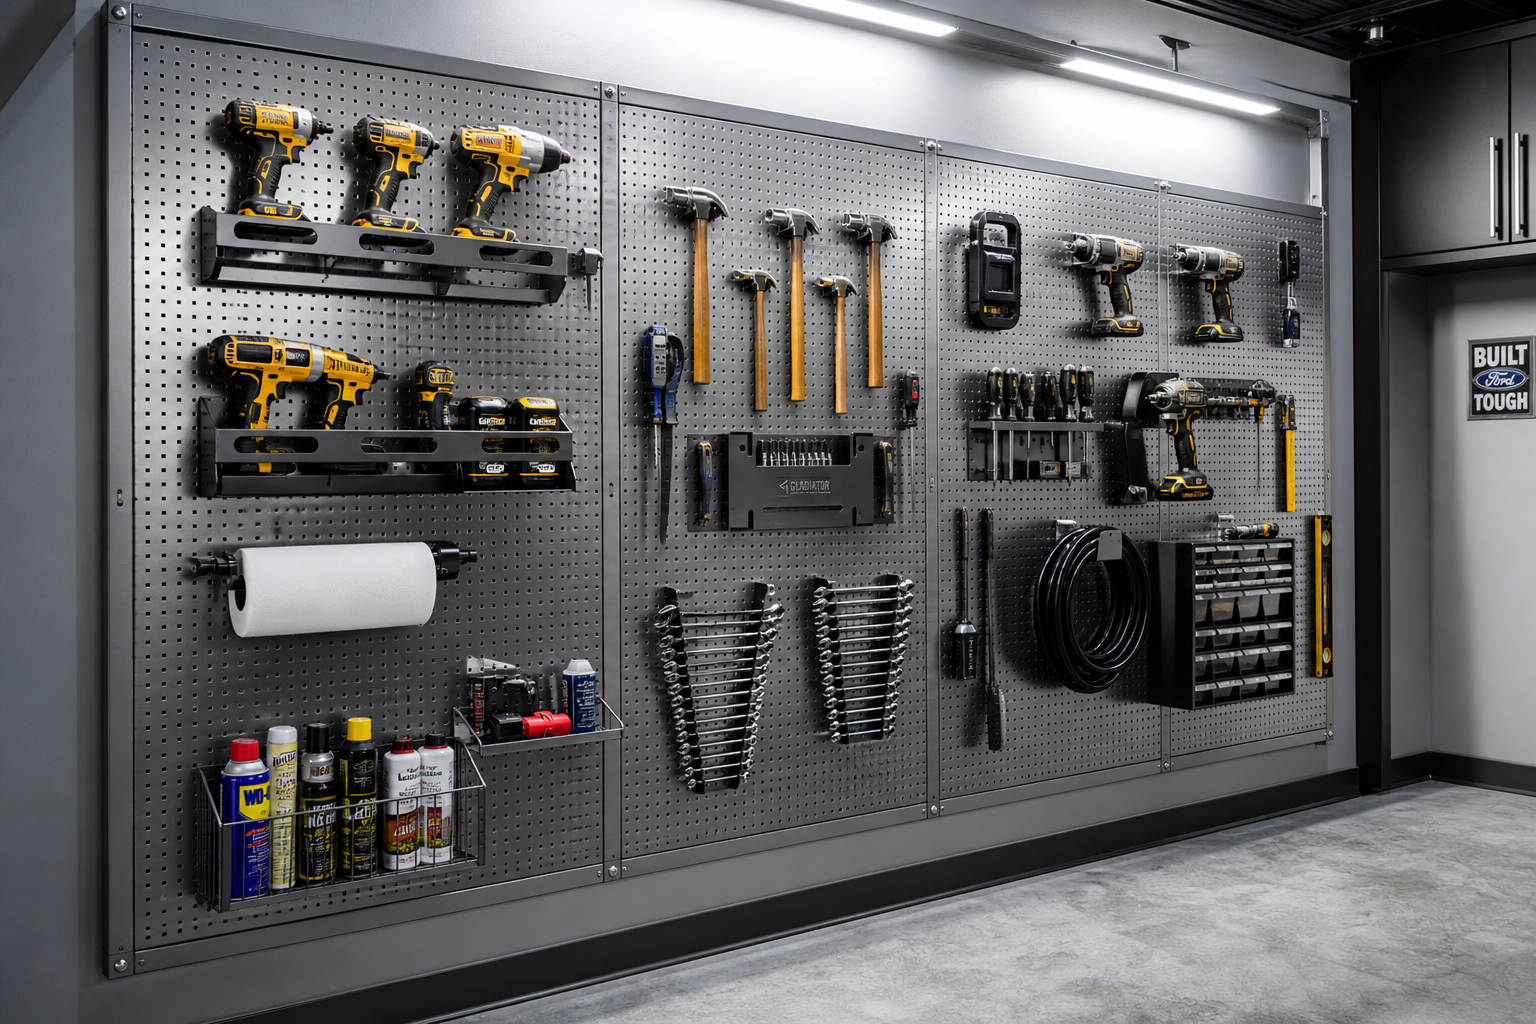
Metal pegboard options like
Follow manufacturer instructions exactly, even when online tutorials suggest shortcuts. Formulations differ between brands. What works for one product can cause failure with another. If the data sheet specifies 4 hours between coats at 60 degrees minimum, those numbers aren’t suggestions.
For garages doubling as workshop spaces, metal pegboard integrates well with other professional storage solutions covered in our power tool organizer guide.
Hook Compatibility and Weight Capacity
Hook compatibility and weight capacity require matching your approach to actual conditions rather than following generic formulas. Climate, surface condition, and usage patterns all influence the best path forward.
Measure twice and commit once. A tape measure and five minutes of verification prevent mistakes that take hours to fix. This applies especially to cuts, holes, and any irreversible step.
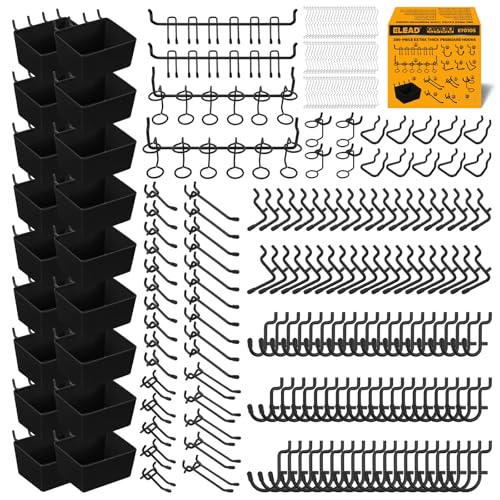
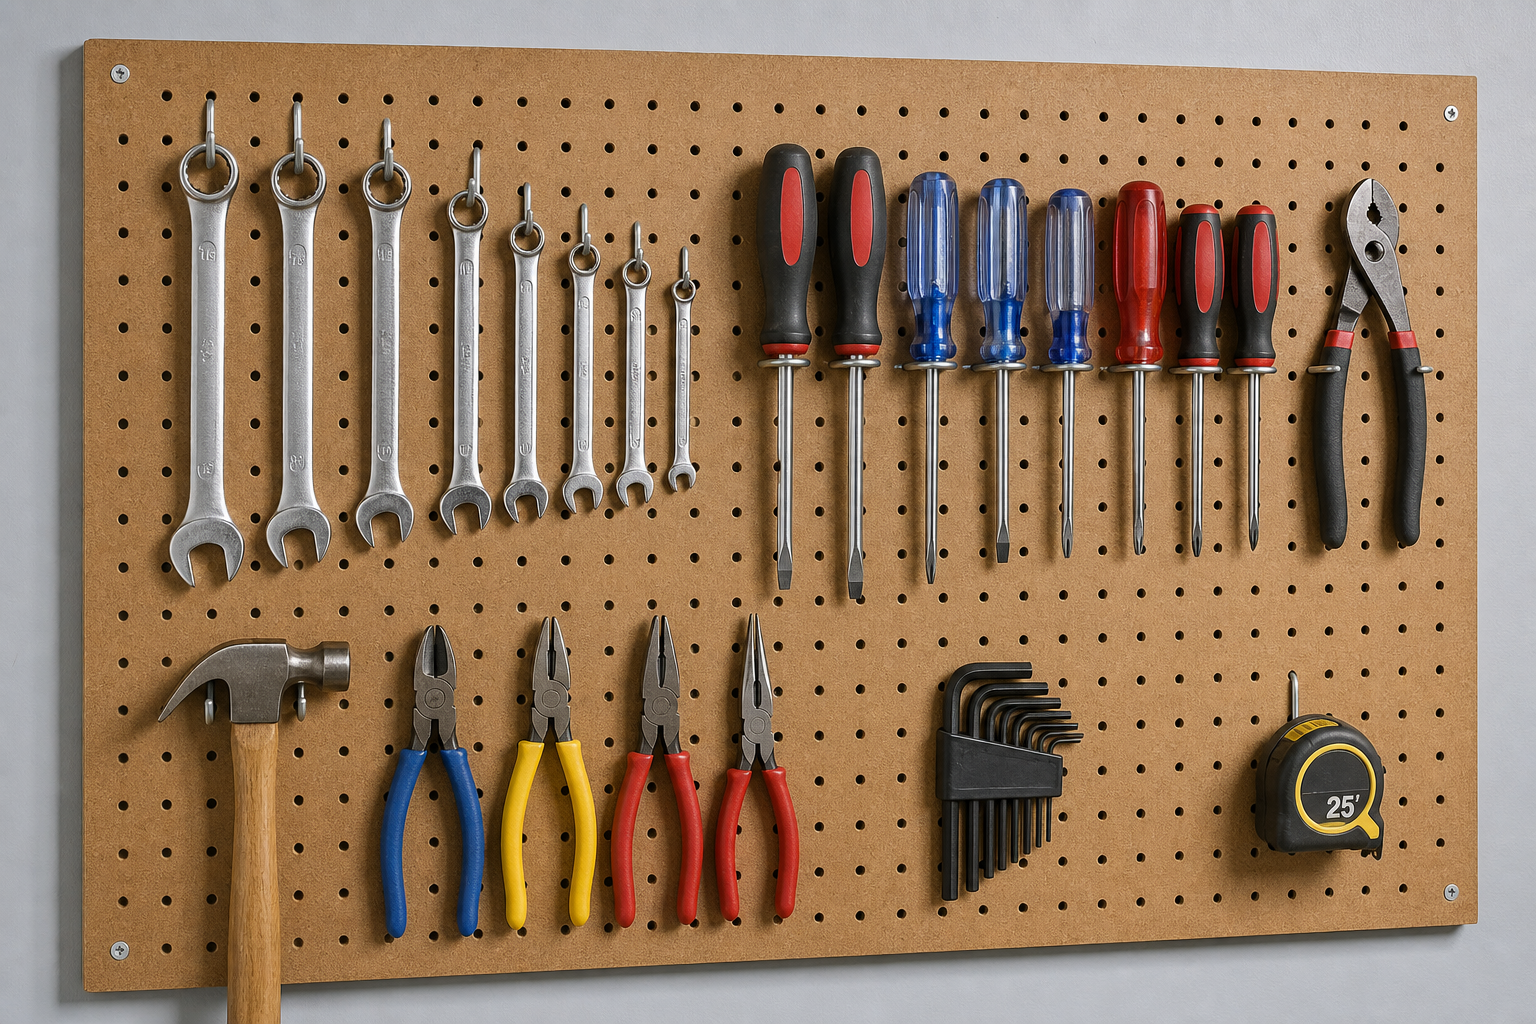
Pegboard Hooks Set
Heavy-duty hooks that work with both standard and metal pegboard systems
Budget 50% more time than guides suggest for your first project of this type. The learning curve exists, and careful work produces better results than rushing to meet an estimated timeline.
Hook Retention Solutions
For existing thin pegboard, several fixes work well. Lock-in clips snap behind the board. Hot glue on the hook dowel adds friction. Zip ties through the hook and an adjacent hole provide security. All options are inexpensive and effective.
Standard 1/8-inch hardboard pegboard flexes under load, letting hooks work loose and fall. Upgrading to 1/4-inch or metal pegboard solves this permanently because the stiffer material holds hooks securely.
Rust Resistance in Damp Garages
Rust resistance in damp garages determines which system pairs best with a workbench setup. The details make the difference between a result that lasts and one requiring redoing within a year. Take time to assess your conditions before committing to a method or product.
Start with a small test area if you’re uncertain. A 4 by 4-foot section in an inconspicuous spot lets you evaluate adhesion, appearance, and workability without committing to the full project. Troubleshooting a small test area beats redoing everything.
Wear appropriate protection throughout: safety glasses, gloves, and respirator when working with chemicals or dust. Ventilate when using adhesives, paints, or solvents. These aren’t optional precautions.
Proper ventilation becomes critical in converted garage spaces. Our roof vent installation guide covers ventilation solutions for moisture control.
Practical Planning Tips
Before starting any garage project, take stock of what you have and what you need. Walk the space with a tape measure and notepad. Record dimensions, note existing electrical outlets and their amperage, check for moisture issues, and photograph anything you want to change.
This baseline assessment prevents surprises mid-project and helps you budget materials accurately. The time spent planning saves hours of rework later.
Research local building codes and permit requirements for your specific project. Electrical work, structural modifications, and HVAC installations often require permits and inspections. Working without required permits creates liability issues, insurance complications, and problems when selling the home.
Invest in quality tools for tasks you’ll repeat. A reliable stud finder, good level, quality tape measure, and proper safety gear make every project easier and safer. These tools pay for themselves across multiple projects over the years.
What to Avoid
Knowing what to skip prevents expensive mistakes:
- Suspiciously cheap deals from unauthorized sellers. Counterfeit products are a real issue on major platforms.
- “Universal” products claiming to work everywhere. Specialized products consistently outperform generalists.
- Products with vague specs or missing data sheets. If a manufacturer won’t publish details, that’s a red flag.

Clear Garage Storage Bins
Perfect complement to pegboard systems for organizing small parts and hardware
Quality storage solutions work together as a system. Pegboard handles frequently used tools while ceiling storage lifts manage seasonal items overhead.
Slatwall vs Pegboard Comparison
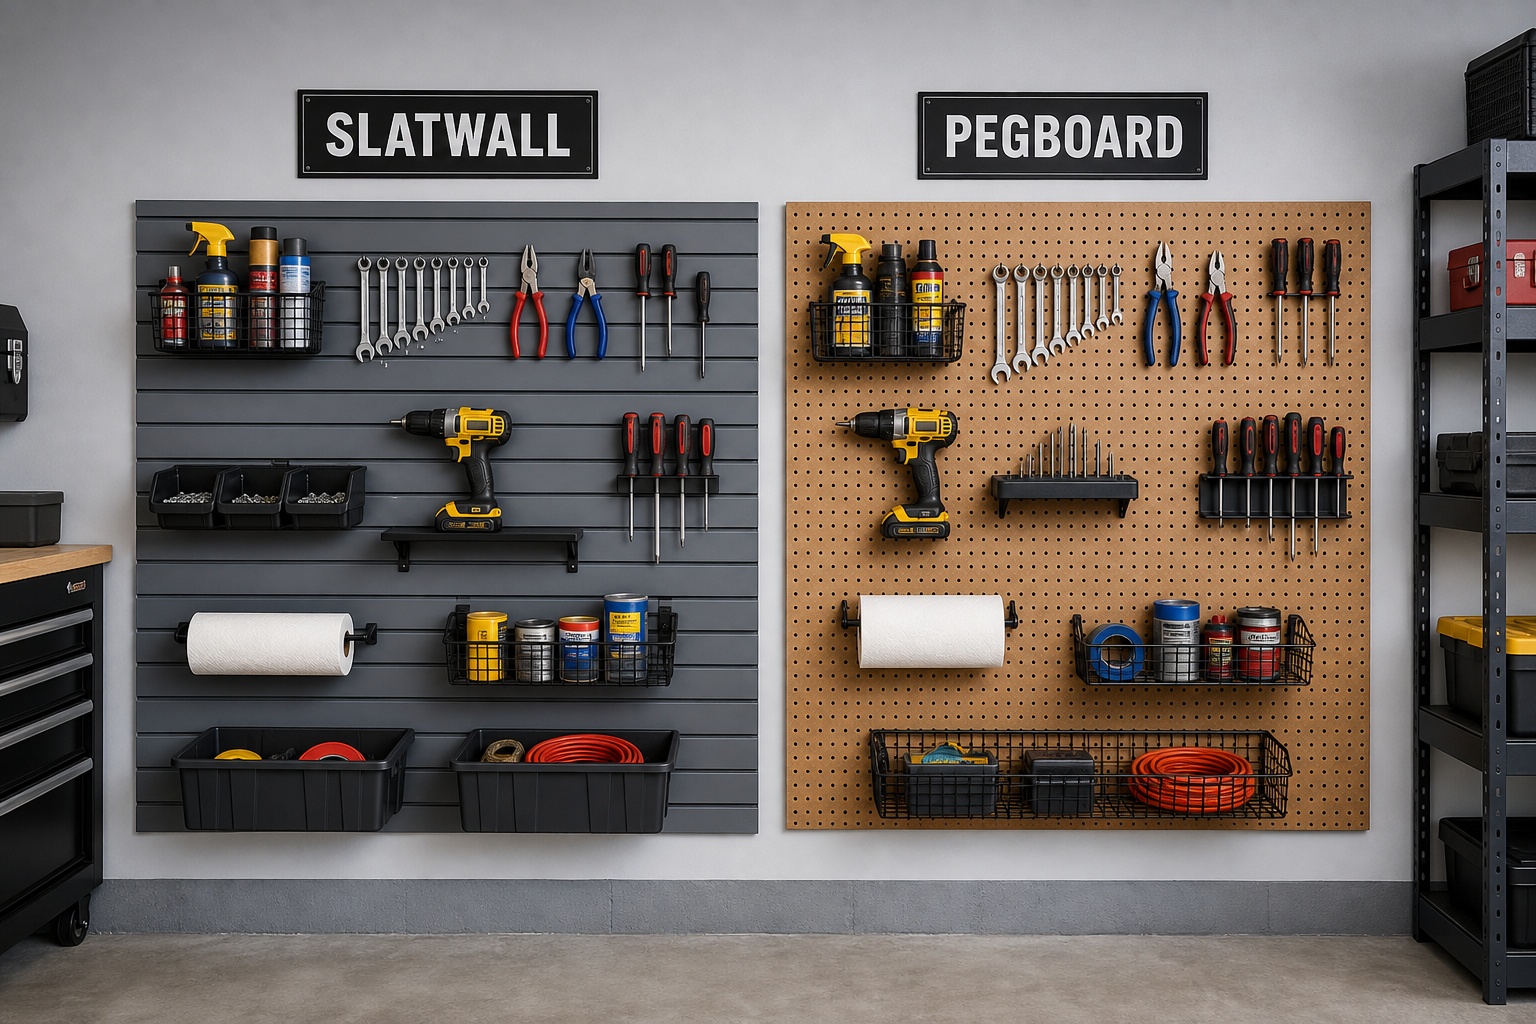
Slatwall holds more weight, looks cleaner, and accepts more accessories. Pegboard costs less upfront. For heavy workshop tools, slatwall provides the better long-term investment.
Slatwall systems integrate well with other professional storage options. Our guide on installing slatwall accessories covers the complete process.
Pegboard works well for lighter tools and craft supplies. The lower cost makes sense for casual users or budget-conscious builds.
Frequently Asked Questions
How much weight can wall-mounted pegboard storage hold?
Expect 50 to 75 pounds per linear foot when anchored into studs. Drywall-only mounting fails above 15 to 25 pounds. Always use studs for heavy storage. Metal pegboard handles more weight than standard hardboard versions.
How do I maintain garage organization long-term?
Designated zones, clearly labeled bins, and the discipline to return items to their zone after each use. The system only works if you maintain it consistently. Start with a simple system and build complexity gradually.
Should I choose standard hardboard or metal pegboard?
Metal pegboard costs more upfront but handles heavier tools, resists moisture damage, and lasts longer. Standard hardboard works fine for light tools and dry conditions. Consider your tool weight and garage climate when deciding.
What’s the best pegboard hole spacing?
Standard 1-inch spacing on center provides the most hook options and flexibility. Some systems use 1/4-inch spacing for smaller hooks, but 1-inch remains the most versatile choice for general tool storage.
This article contains affiliate links. We may earn a small commission at no extra cost to you.