

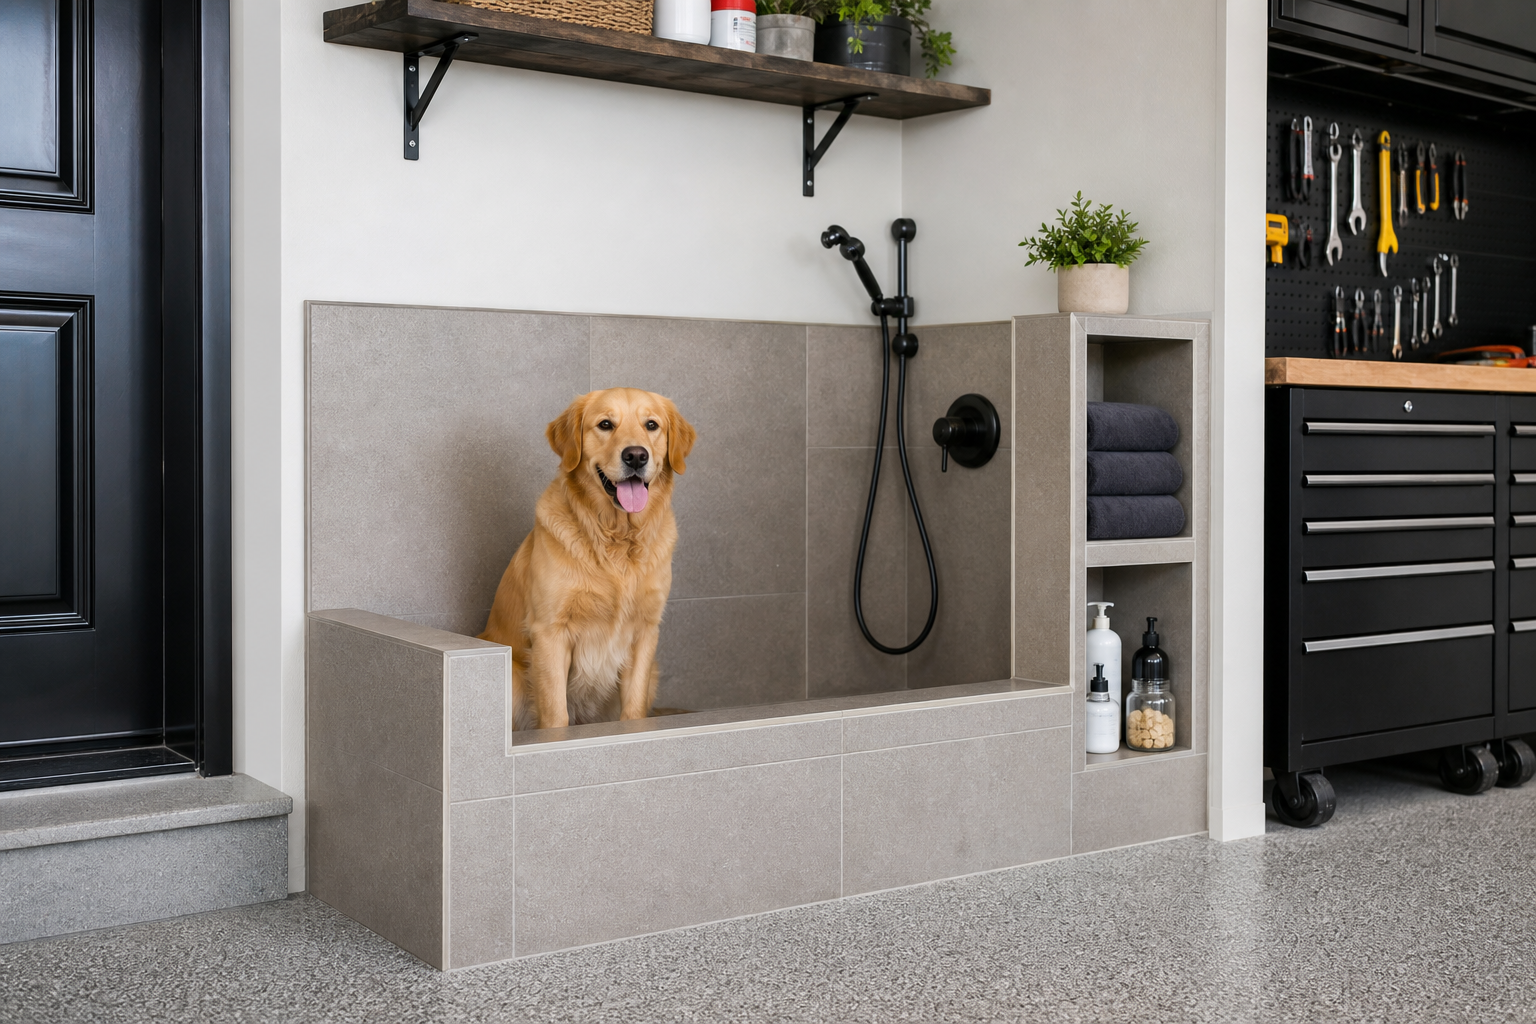
Whether you’ve been planning to build a DIY garage dog wash station for months or decided to tackle it this weekend, a clear roadmap makes all the difference. Preparation accounts for about 80% of the success in projects like this. The difference between a functional wash station you’ll use for years and one that becomes a leaky headache comes down to choosing the right location, running water lines correctly, and waterproofing surfaces that’ll face constant splash.
Everything you need is below: tools, materials, step-by-step instructions, and the common pitfalls to avoid.
Planning Your Layout and Location
Start by measuring your garage and identifying where a wash station makes sense. You need at least 4 feet by 4 feet of floor space for a small to medium dog, and 5 feet by 5 feet if you’re washing larger breeds. The station needs to sit close enough to existing plumbing to keep costs reasonable but far enough from electrical panels and outlets to maintain safe clearances.
Most garage wash stations work best along an exterior wall where you can tap into existing water supply lines with minimal disruption. Proximity to a floor drain or sump pump saves significant effort. If your garage doesn’t have floor drainage, you’ll need to factor in either cutting concrete to install a drain line or setting up a raised platform with a drain pan that connects to a utility sink or exterior drainage.
Temperature matters. In four-season climates, pipes along exterior walls freeze unless properly insulated or equipped with heat tape. Consider running lines through interior walls when possible, or plan to blow out the system before winter if you’re only using it seasonally.
Lighting should land directly overhead without creating shadows. A wet dog squirms, and you need clear visibility to check for ticks, injuries, or missed soap. Add a dedicated work light on a swivel mount if your existing garage lighting leaves the area dim.
Required Tools and Materials
You’ll need basic plumbing tools: pipe wrench, tube cutter, adjustable wrench, Teflon tape, PEX cutter if you’re using PEX lines, and a bucket for catching water during test fits. A cordless drill with hole saw bits handles any wall penetrations for supply lines.
For waterproofing and finishing, have a utility knife, caulk gun, trowel, notched spreader for adhesive, level, tape measure, and safety glasses. Knee pads save your joints during the install.
Essential Materials
Materials vary by your chosen setup. At minimum, expect to purchase:
- Water supply lines (PEX or copper, typically 1/2-inch diameter)
- Shutoff valves (at least one, preferably two for hot and cold lines)
- Mixing valve or handheld sprayer with temperature control
- Drain components: P-trap, drain pipe, fittings
- Waterproof membrane or cement board for wall protection
- Tile, FRP panels, or vinyl wall covering rated for wet areas
- Silicone caulk (100% silicone, not acrylic)
- Backing board or plywood for mounting fixtures
- Optional: shower pan or dog tub insert, non-slip mat, grooming arm
Budget materials range from basic setups with PEX lines and vinyl wall panels to more elaborate installations with pre-fabricated dog tubs, ceramic tile walls, and new drain lines through concrete. Check current pricing on Amazon for accurate estimates.
Step-by-Step Plumbing and Drain Install
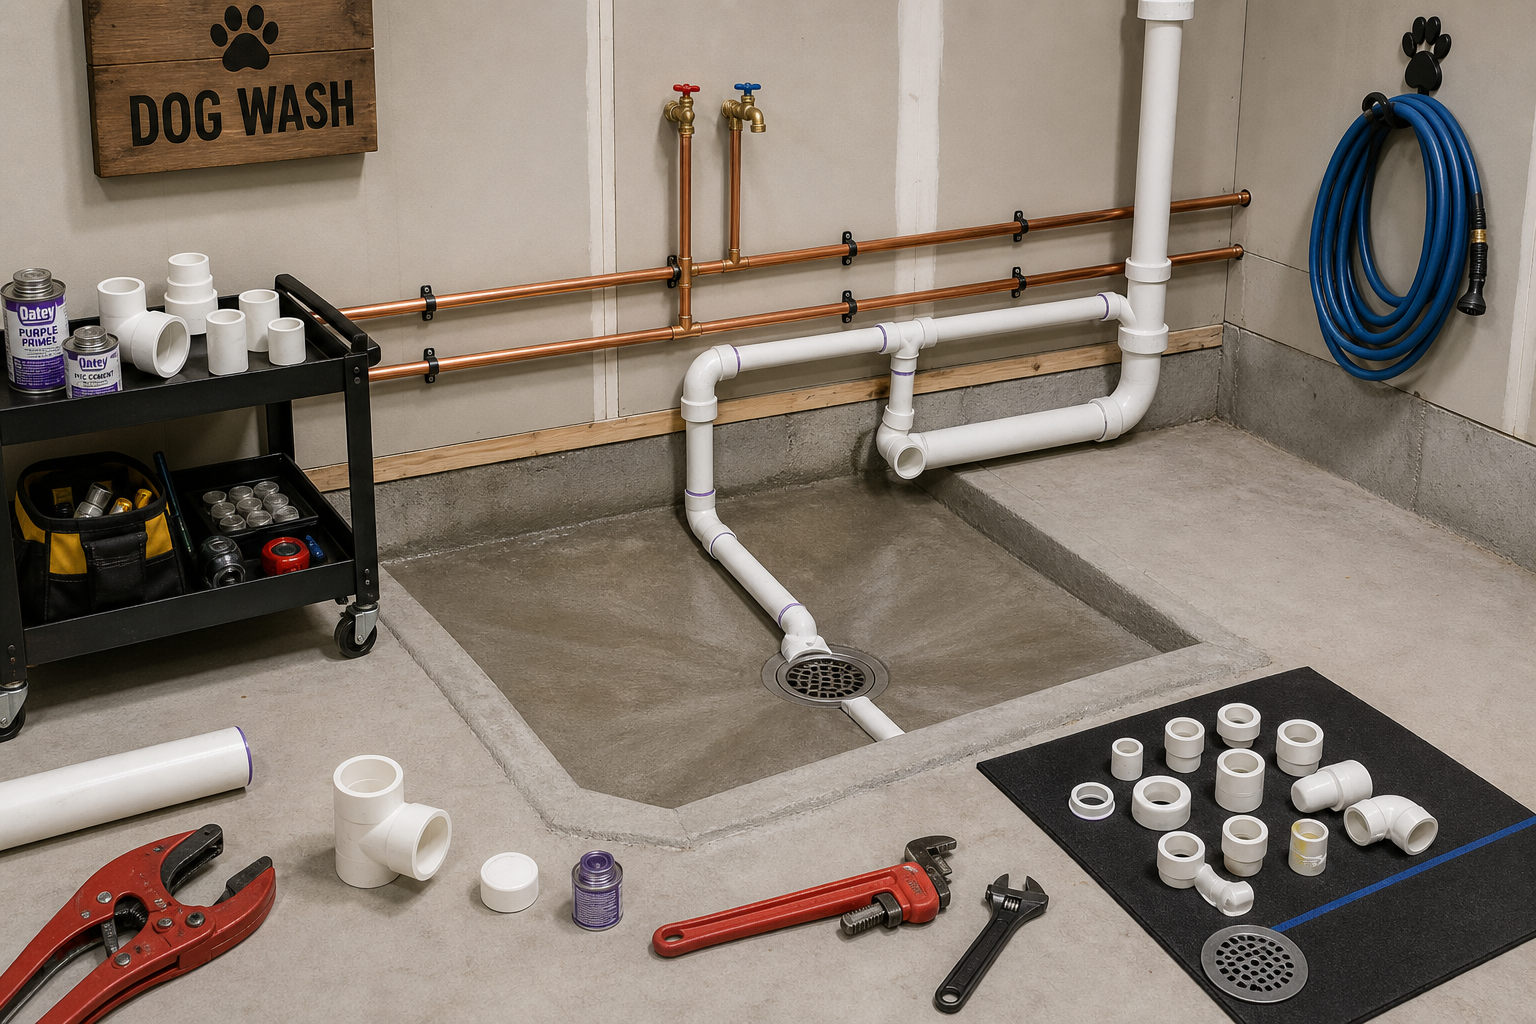
Shut off water at the main before cutting into any supply line. Locate your nearest accessible water source, whether that’s a utility sink, water heater, or washing machine hookup. Hot and cold lines both matter if you want temperature control. Washing a dog in cold water works, but lukewarm reduces stress and rinses soap faster.
Installing Water Lines
For PEX installations, measure your run and add 10% for fittings and adjustments. Cut PEX with a dedicated cutter for clean, square ends. Crimp or clamp fittings according to your chosen connection method. SharkBite push-fit connectors cost more but eliminate the need for crimping tools and work well for small projects. Install shutoff valves on both hot and cold lines within easy reach so you can isolate the wash station for repairs without killing water to the whole garage.
Mount your mixing valve or sprayer holder at a comfortable height. For most people that’s 36 to 42 inches off the floor, low enough to reach a dog’s back without stretching but high enough to avoid constant bending. Use backing board behind drywall or directly into studs to support the fixture. A loose mount wobbles during use and eventually leaks.
Test all connections before sealing walls. Turn water back on slowly and check every joint for drips. Tighten as needed. Run hot and cold water through the system for several minutes to flush debris and verify temperature mixing works correctly.
Drain Installation Options
Drainage comes next. If you’re tapping into an existing floor drain, a simple rubber drain hose from the wash area to the drain works for occasional use. Secure it so it doesn’t kink or shift when the dog steps on it. For permanent setups, hard pipe the drain line using PVC. A 2-inch drain handles the flow from a handheld sprayer without backing up.
When cutting concrete for a new drain, rent a concrete saw and mark your line carefully. Slope the drain pipe at least 1/4 inch per foot toward the outlet. Less slope causes standing water and slow drainage. More slope is fine. Install a P-trap to block sewer gases. Even garage drains connected to the main sewer line need traps.
For garages without floor drains and no option to cut concrete, consider a shower pan on a raised platform. The platform sits 6 to 8 inches off the floor, giving enough drop for the drain line to run horizontally to an exterior wall or utility sink. Frame the platform with 2×6 lumber, sheath with plywood, and waterproof before installing the pan. This approach works but adds height, which some dogs hesitate to step up onto.
The details here make the difference between a result that lasts and one that needs redoing within a year. Take the time to assess your conditions before committing to a method or product.
Follow manufacturer instructions exactly, even when online tutorials suggest shortcuts. Formulations differ between brands. What works for one product can cause failure with another. If the data sheet says 4 hours between coats at 60 degrees minimum, those numbers aren’t suggestions.
Waterproof Walls and Easy-Clean Surfaces
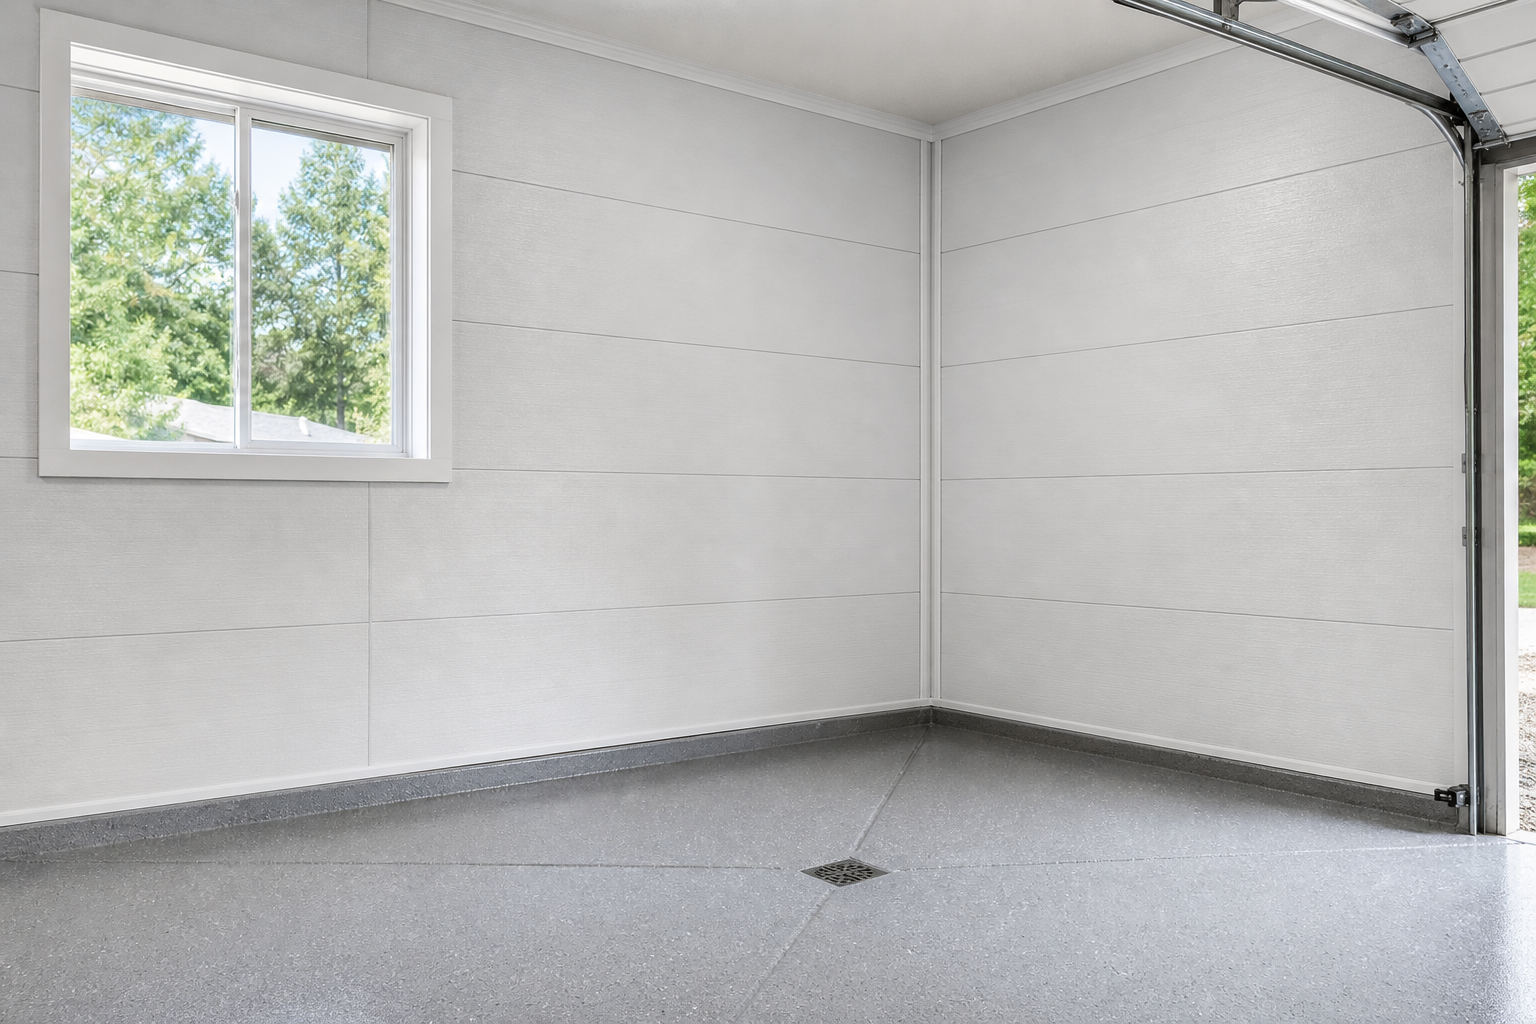
Water sprays everywhere when washing a dog. Protect walls within a 6-foot radius of the wash station. Standard drywall with paint fails quickly in high-splash zones. Moisture soaks through, encouraging mold growth behind the surface where you won’t see it until it’s a problem.
Wall Protection Options
Cement board (like Hardie or Durock) provides a waterproof substrate for tile. Install it over studs with corrosion-resistant screws spaced 8 inches apart. Tape seams with fiberglass mesh tape and thin-set mortar. Once the substrate is solid, tile installs just like a shower surround. Use epoxy grout in wet areas instead of standard cement grout. Epoxy costs more and takes longer to apply, but it doesn’t absorb water and resists staining from shampoo and mud.
Tile delivers the most durable surface but takes time and skill to install correctly. For a faster option, consider FRP (fiberglass-reinforced plastic) panels. These 4-foot by 8-foot sheets install with panel adhesive, creating a seamless washable surface. Seams get FRP trim strips and silicone caulk. The result looks utilitarian but holds up to years of spray and scrubbing.
Vinyl wall panels designed for bathrooms work well for dog wash stations. They’re lighter than FRP, available in more finishes, and install with similar adhesive methods. Make sure any product you choose is rated for continuous wet exposure, not just occasional splash.
Seal every seam and corner with 100% silicone caulk. Acrylic caulk looks similar but breaks down faster in wet conditions. Apply caulk in a continuous bead, tool it smooth with a wet finger, and let it cure fully before using the station. Expect to recaulk seams every few years as part of routine maintenance.
Floor Considerations
For floors, existing garage flooring usually handles the water load if you have proper drainage. Epoxy and polyaspartic coatings are waterproof and easy to squeegee dry. Bare concrete absorbs water slowly and stays damp longer, which isn’t ideal but won’t cause immediate damage if the garage has decent airflow. Add a non-slip rubber mat in the wash zone for the dog’s traction. Wet concrete or coated floors get slippery, and a nervous dog scrambling for footing makes the job harder.
Installing Fixtures and Accessories
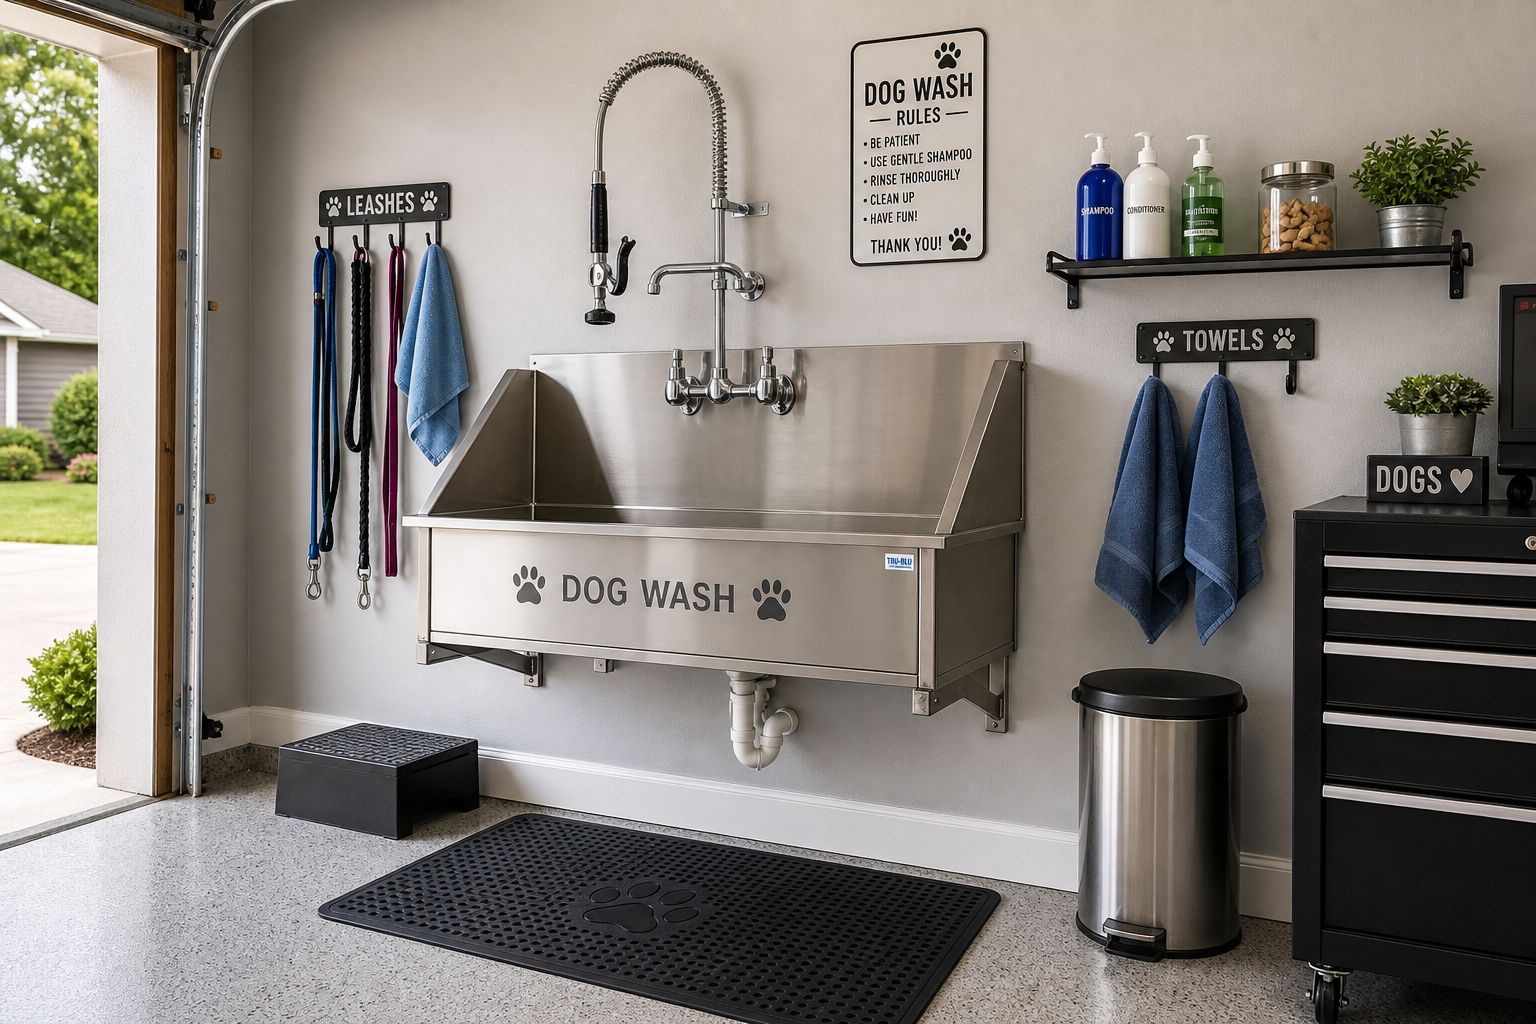
Once plumbing and waterproofing are complete, add the fixtures that make the station functional. A handheld sprayer with a long hose (at least 6 feet) gives you reach and control. Models with variable spray patterns let you switch from a gentle rinse for the face to a stronger stream for muddy paws.

Dog Wash Station Kit
Complete kits with sprayer, hose, and mounting hardware save time on sourcing individual components
Sprayers with built-in soap dispensers save time but require refilling and cleaning to prevent clogs. A separate bottle for shampoo works just as well and costs less to replace if it breaks. Mount a small shelf or use ceiling storage for shampoo, conditioner, towels, and grooming tools so everything stays within reach.
Grooming Equipment
Grooming arms or tethers keep the dog positioned while you work. A simple overhead hook works, but a freestanding grooming arm with an adjustable height clamp gives more control and adjusts for different dog sizes. Never leave a tethered dog unattended. The restraint is for positioning during active grooming, not confinement.
Consider adding a handheld brush attachment that connects inline with the sprayer. These combo tools scrub and rinse simultaneously, cutting wash time and making it easier to work through thick coats.
Winter Preparation
If your garage sees freezing temperatures, install a blowout valve on the water line. Before winter, shut off the supply, open the blowout valve, and let air pressure push remaining water out of the lines. This prevents burst pipes when temperatures drop. Heat tape wrapped around exposed pipes adds another layer of protection but requires a nearby outlet and adds to your electric bill.
Managing Moisture and Humidity
A dog wash station introduces moisture and humidity into your garage. Without proper ventilation, that moisture condenses on tools, encourages rust, and creates conditions for mold. Humidity in a garage comes from two primary sources. Vapor transmission moves water through the concrete slab from soil below. Condensation forms when warm humid air contacts the cooler slab surface. Each requires a different solution, and treating the wrong one wastes time and money.
Identifying Your Moisture Problem
A simple plastic sheet test identifies which type you have. Tape a 2-foot square of plastic flat on the floor, seal all edges, and leave it 48 hours. Moisture on top means condensation (humidity issue). Moisture underneath means vapor transmission (slab issue). Different root cause, different fix.
For condensation, a dehumidifier and improved ventilation are the most effective solutions. A 50-pint unit keeps relative humidity below 60% in most two-car garages. Choose a model with auto-defrost if your garage drops below 65 degrees, since standard units ice up in cool conditions.
Run the dehumidifier during and after washing sessions. Open the garage door or install an exhaust fan to push humid air outside. Passive ventilation through vents helps but doesn’t move air fast enough after a wash session. An inexpensive bathroom exhaust fan (200 CFM or higher) mounted near the wash station pulls moisture out before it spreads.
Vapor transmission requires a penetrating concrete sealer (silane or siloxane based) that blocks moisture migration through the slab. Apply to clean, dry concrete and allow full cure. Severe cases may need a dedicated vapor barrier coating or membrane system before any decorative finish.
Common Mistakes to Avoid
Undersizing the drain causes slow drainage and standing water. Use 2-inch pipe minimum. Smaller drains clog faster with dog hair.
Skipping the P-trap on the drain line allows sewer gas into the garage. That smell doesn’t go away until you fix the trap.
Using standard drywall in the splash zone instead of waterproof materials leads to hidden mold and eventual wall damage. You won’t see the problem until paint bubbles or drywall crumbles.
Mounting fixtures without proper backing results in loose connections that leak. Toggle bolts in drywall don’t hold up to the pull and twist of a sprayer hose under pressure.
Forgetting shutoff valves means you can’t isolate the wash station for repairs without shutting off water to the whole garage or house. Install them during the initial build. Adding them later requires draining lines and cutting into finished walls.
Not testing for leaks before closing up walls guarantees you’ll find the leak later when it’s harder and more expensive to access.
Keep the workspace organized throughout. Debris and clutter cause errors and safety issues. Clear tools and waste between major steps rather than letting mess accumulate to the end.
Maintenance and Longevity
Inspect caulk seams twice a year. Re-caulk any areas showing gaps or pulling away from surfaces. Catching small separation early prevents water intrusion behind walls.
Clean the sprayer and hose after every few uses. Hair and soap residue build up in the nozzle and reduce spray pressure. Soak the nozzle in white vinegar to dissolve mineral deposits if you have hard water.
Check drain flow monthly. Pour a bucket of water down the drain and watch how fast it clears. Slow drainage signals a developing clog. Clear it with a drain snake or enzyme cleaner before it backs up completely.
Flush supply lines if the station sits unused for weeks. Stagnant water in pipes picks up metallic taste and odor. Run hot and cold water for a minute to refresh the lines before washing your dog.
Wipe down walls and fixtures after each use. Soap scum and mineral deposits are easier to remove when fresh. A spray bottle of diluted vinegar and a microfiber cloth handle most buildup.
Factor in maintenance when choosing your approach. The lowest-maintenance option isn’t always cheapest initially, but it usually wins over a 5 to 10-year window when you include touch-ups, repairs, and replacements.
Additional Considerations
Consider how this change fits the larger garage picture. Improvements in one area can shift dynamics elsewhere. Better insulation changes humidity patterns. Heavy storage affects the floor underneath. Think about interactions.
If your garage doubles as a workshop or storage area, designate a specific zone for the wash station and keep it defined. Water overspray damages cardboard boxes, wood projects, and power tools. A simple vinyl curtain on a track creates a temporary barrier during wash sessions and tucks away when not needed.
Electrical Safety
Electrical outlets near the wash station should be GFCI protected. Water and electricity don’t mix. If you’re adding outlets, install weatherproof boxes and covers rated for d
