

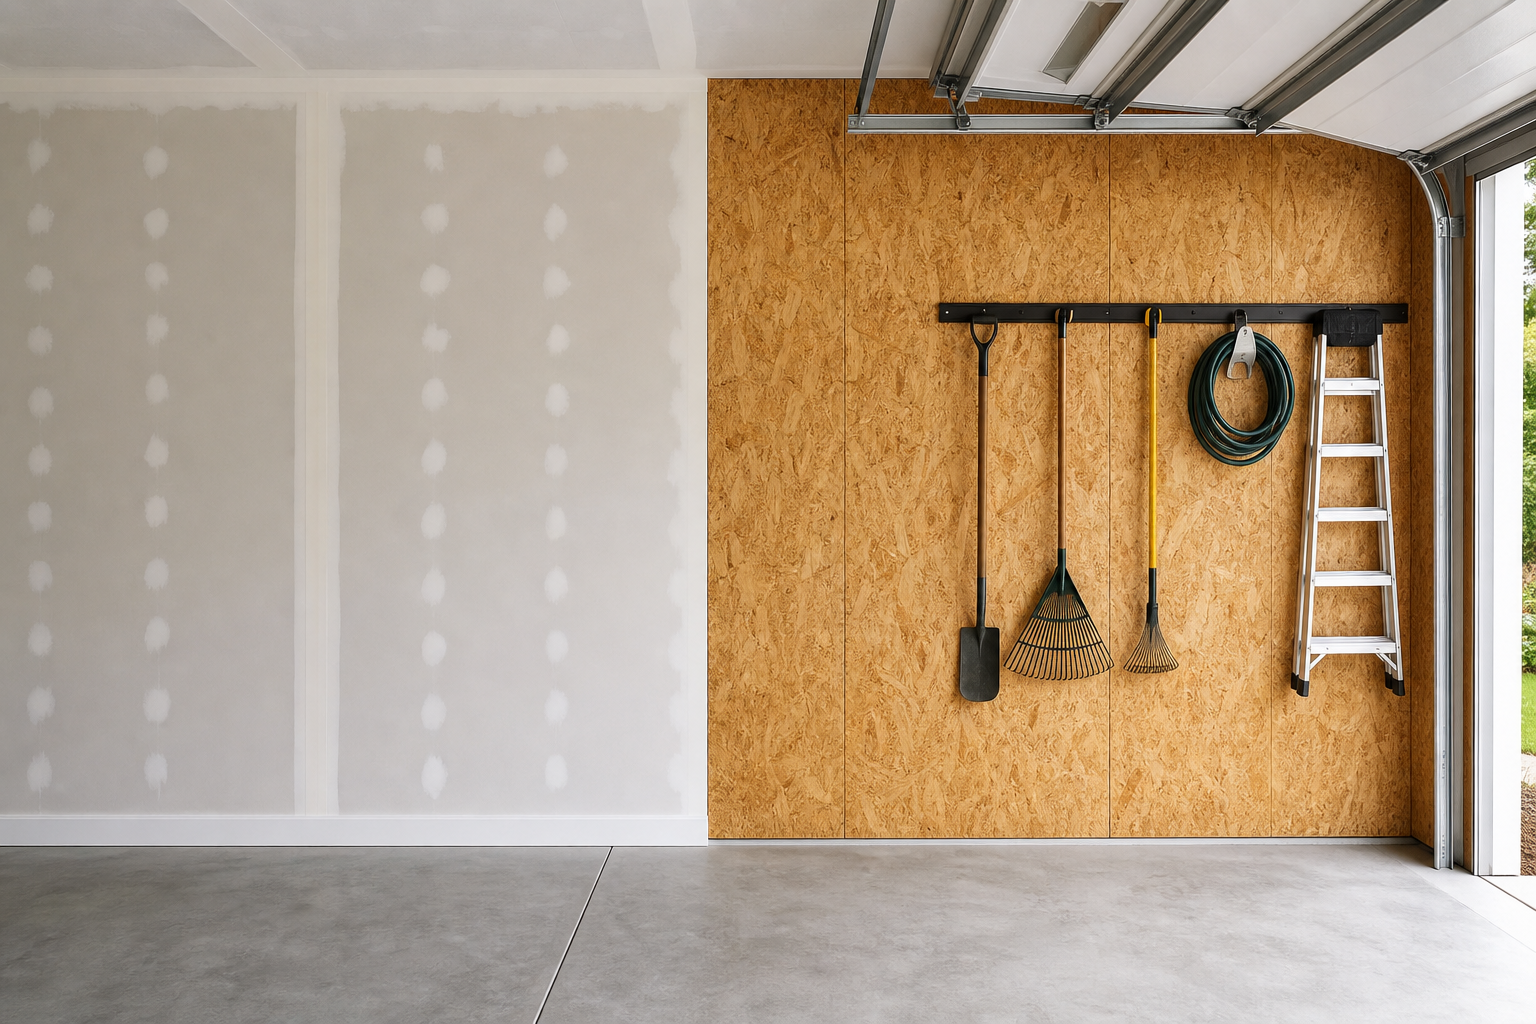
The garage drywall vs. OSB wall finishes decision comes up constantly, and both sides have passionate advocates. Marketing claims from each camp are hard to verify without hands-on experience.
This comparison cuts through the noise with a side-by-side look at what actually matters: performance, cost, durability, installation, and maintenance. The right choice for your situation should be clear by the end.
Understanding the Basics
Drywall and OSB serve the same functional role but deliver different experiences in garage environments. Drywall provides a smooth, paintable surface that matches interior living spaces. OSB offers a rugged, textured surface that tolerates impacts and moisture better than standard drywall.
Drywall consists of gypsum plaster pressed between two sheets of heavy paper. It’s the default wall finish in residential construction because it’s smooth, fire-resistant, and takes paint beautifully. Standard half-inch drywall costs roughly competitively priced to competitively priced per 4-by-8 sheet. Moisture-resistant “green board” runs competitively priced to competitively priced per sheet and handles humidity better than standard drywall, though it’s not waterproof.
OSB (oriented strand board) is engineered wood made from compressed wood strands bonded with resin. A typical 7/16-inch OSB panel runs competitively priced to competitively priced per 4-by-8 sheet. It’s significantly tougher than drywall when it comes to impacts from ladders, equipment, or accidental bumps. The textured surface holds screws and hooks better than drywall, making it popular in workshops where tool storage matters.
Climate plays a bigger role than most realize. In four-season regions with freeze-thaw cycles, moisture is the enemy. Unheated garages see condensation, occasional leaks from snow melt, and humidity swings that punish both materials differently. Drywall fails dramatically when soaked, crumbling and losing structural integrity. OSB swells and degrades over repeated wet-dry cycles but typically stays structurally intact longer than saturated drywall.
Fire codes sometimes dictate your choice. Many jurisdictions require fire-rated drywall between an attached garage and living spaces. Standard half-inch drywall offers 30 minutes of fire resistance. Type X drywall (5/8-inch, fire-rated) provides one hour of protection and competitively priced to competitively priced per sheet. Check your local building code before committing to OSB in areas where fire separation matters.
Direct Comparison for Paintability, Durability, Cost
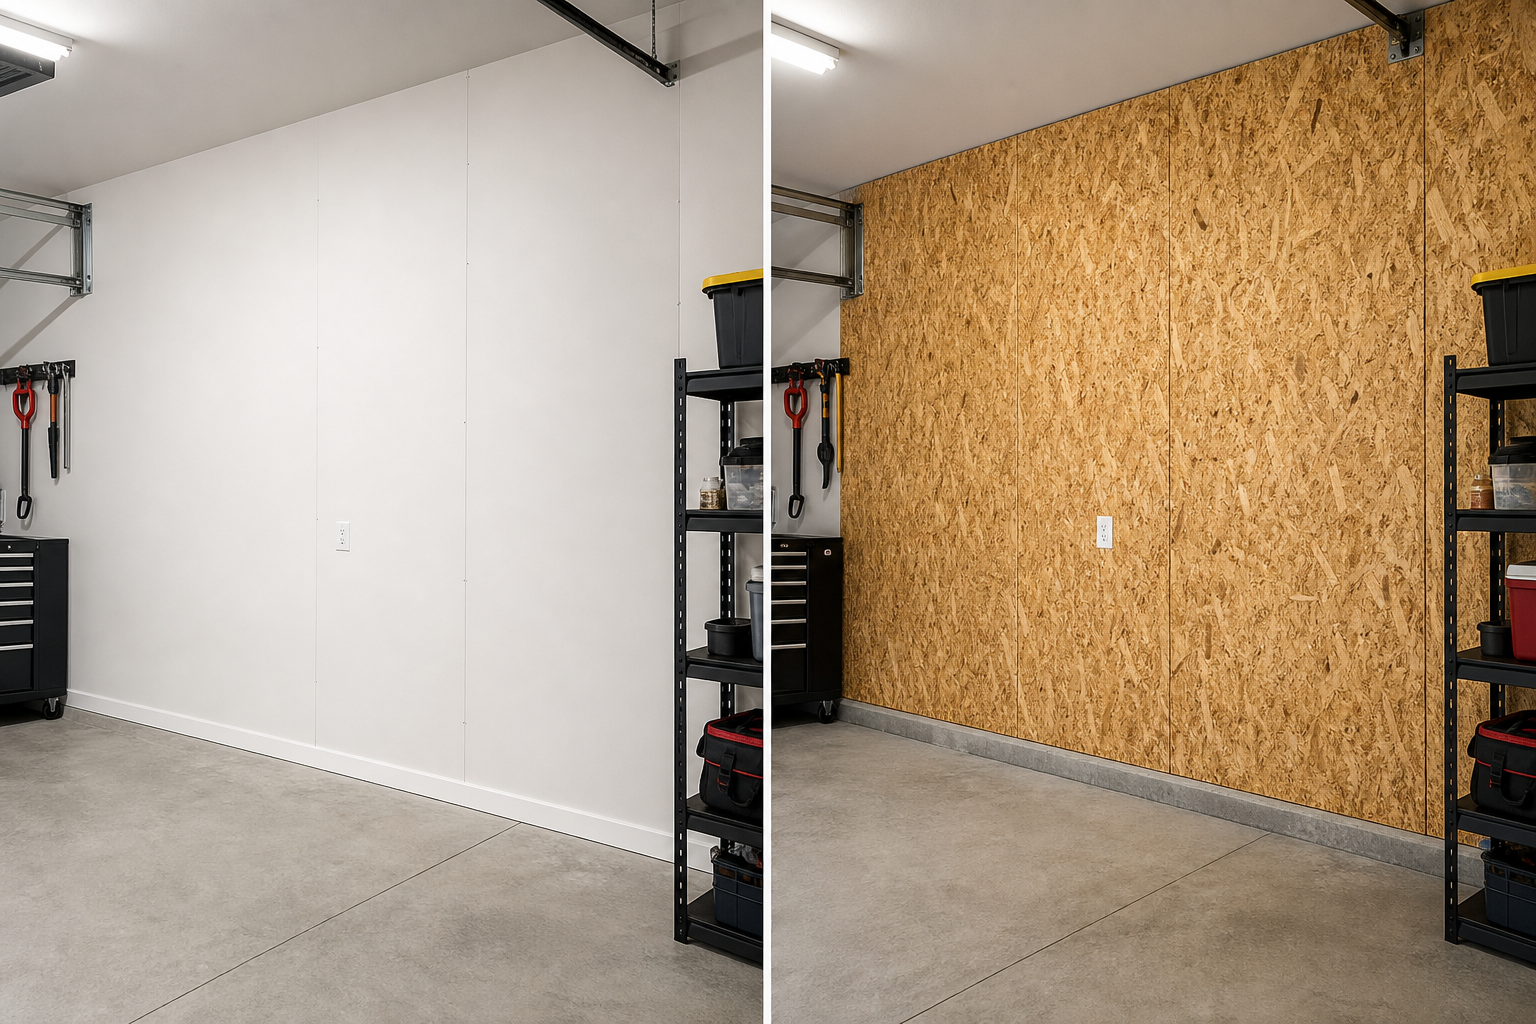
Paintability strongly favors drywall. The smooth gypsum surface takes primer and paint evenly with minimal prep. Two coats of quality latex paint create a clean, finished look that matches interior rooms. Total paint cost for a two-car garage typically runs competitively priced to competitively priced depending on paint quality and whether you prime.
OSB’s textured surface doesn’t hide. Even with primer and multiple paint coats, the wood grain and strand pattern show through. Some homeowners like the industrial look. Others find it unfinished-looking no matter how many coats they apply. Priming OSB properly requires an oil-based or shellac-based primer to seal the resin and prevent bleed-through. That adds competitively priced to competitively priced in primer cost alone for a typical two-car garage.
Durability in Garage Conditions
Durability in garage conditions splits by threat type. For impact resistance, OSB wins clearly. A stray ladder corner or rolling toolbox dents drywall easily, often requiring patching and repainting. The same impact barely marks OSB. Screws and anchors hold much better in OSB, with typical withdrawal resistance two to three times higher than drywall. Heavy shelving, bike hooks, and tool racks stay put in OSB with less reinforcement needed.
Moisture durability tilts toward drywall only when you factor in replacement cost and ease. Drywall fails faster when wet, but replacing a damaged 4-by-8 section is simple and cheap. Cut out the damaged area, screw in a new panel, tape and mud the seams, prime, and paint. Total material cost: under competitively priced for most repairs. OSB survives longer in damp conditions but swells permanently once moisture penetrates. Swollen OSB creates uneven wall surfaces that complicate any finish work.
Installation Cost and Labor
Installation cost and labor vary significantly. Drywall finishing requires taping, mudding, sanding, and painting. Even experienced DIYers spend 15 to 20 hours finishing drywall in a two-car garage properly. Hiring out the work competitively priced to competitively priced per square foot installed and finished. A 400-square-foot two-car garage runs competitively priced to competitively priced in labor alone.
OSB installation is faster. Screw the panels to studs, caulk the seams if desired, prime, and paint. No taping or mudding. A confident DIYer can hang and prime OSB in a two-car garage over a long weekend. Professional installation competitively priced to competitively priced per square foot since finishing labor is minimal. The same 400-square-foot garage competitively priced to competitively priced in labor.
Material cost comparison for a standard 20-by-20-foot two-car garage (approximately 400 square feet of wall area):
Drywall: 12 to 14 sheets competitively priced to competitively priced each = competitively priced to competitively priced for panels, plus competitively priced to competitively priced in joint compound, tape, screws, and corner bead. Total materials: competitively priced to competitively priced.
OSB: 12 to 14 sheets competitively priced to competitively priced each = competitively priced to competitively priced for panels, plus competitively priced to competitively priced in screws and primer. Total materials: competitively priced to competitively priced.
Factor in your own labor value. If your time is worth competitively priced per hour and drywall finishing adds 10 hours compared to OSB, that’s competitively priced in opportunity cost even on a DIY project.
When to Use Each
Choose drywall when the garage functions as an extension of living space. Heated garages, home gyms, workshops with climate control, and spaces used daily benefit from drywall’s finished appearance. The smooth surface makes cleaning easier. Dust and dirt wipe off painted drywall more readily than textured OSB.
Drywall makes sense when resale appearance matters. Buyers expect finished drywall in attached garages, especially in neighborhoods where garage upgrades are common. An OSB-finished garage reads as unfinished or budget-tier to many buyers, even when functionally superior.
Go with OSB when the garage sees heavy use, frequent impacts, or serves primarily as workspace. Automotive work, woodworking, metalworking, and heavy equipment storage all favor OSB’s durability. The ability to mount shelving, pegboard, slatwall, and tool racks anywhere without searching for studs or adding blocking is a genuine workflow advantage.
Unheated garages in humid or coastal climates benefit from OSB’s moisture tolerance, provided you seal it properly. Use a high-quality oil-based primer on all surfaces and edges before installation. This prevents moisture absorption at the vulnerable edges where OSB typically fails first.
Hybrid Solutions
Hybrid solutions work well in tool-heavy workshops. Run drywall on walls shared with living spaces to meet fire code and maintain a finished look. Use OSB on exterior walls and the back wall where tool storage, workbenches, and heavy shelving concentrate. This approach balances code compliance, appearance, and functionality without compromise.
Consider moisture-resistant drywall (purple board or green board) for the lower four feet of wall in unheated garages. Standard drywall or OSB above that height handles normal conditions fine. This hybrid captures drywall’s paintability while protecting the splash zone where snow melt, water tracked in from vehicles, and floor cleaning create the most moisture exposure.
Some workshops run OSB over drywall for the best of both setups. Install and finish drywall first for fire protection and a smooth base. Then install 3/8-inch or 1/2-inch OSB over the drywall on walls where tool storage matters. This costs more upfront but delivers full fire protection, a finished ceiling line where OSB stops, and maximum mounting strength where you need it.
Practical Planning Tips
Before starting any garage project, take stock of what you have and what you need. Walk the space with a tape measure and a notepad. Record dimensions, note existing electrical outlets and their amperage, check for moisture issues, and photograph anything you want to change. This baseline assessment prevents surprises mid-project and helps you budget materials accurately.
Calculate your actual material needs with waste factored in. Measure wall height and length for each wall section. Divide total square footage by 32 (the coverage of one 4-by-8 panel) and add 10 percent for cuts, mistakes, and odd corners. Ordering short means extra trips to the supply house. Ordering 15 percent over means you have spare panels for future repairs.
Prioritize your projects based on impact and urgency. Safety issues (faulty wiring, CO risk, structural problems) come first. Comfort improvements (insulation, lighting, climate control) come second. Cosmetic upgrades (floor coatings, paint, organization systems) come last. Following this order ensures you’re building each improvement on a solid foundation.
Inspect framing before covering it. Look for damaged studs, missing blocking where you plan to mount heavy items, and electrical boxes that need relocating. Adding blocking for future shelving or workbench mounting costs almost nothing before the walls go up and saves serious aggravation later. Mark stud locations on the floor before covering walls so you can find them easily when mounting hardware.
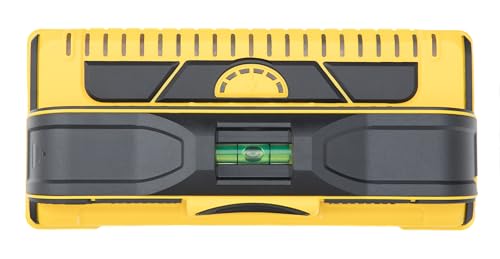
Professional Stud Finder
Essential for finding studs after walls are installed and for accurate framing inspection
Invest in quality tools for tasks you’ll repeat. A reliable stud finder, a good level, a quality tape measure, and proper safety gear (eye protection, hearing protection, respirator) make every project easier and safer. These tools pay for themselves across multiple projects over the years. A decent screw gun speeds drywall or OSB installation dramatically compared to a standard drill.
Research local building codes and permit requirements for your specific project. Electrical work, structural modifications, and HVAC installations often require permits and inspections. Working without required permits can create liability issues, insurance complications, and problems when selling the home. Most jurisdictions allow homeowners to install drywall or OSB without permits, but verify before starting.
Account for insulation before hanging wall panels. Insulating after walls are up is difficult and often incomplete. Fiberglass batts, spray foam, or rigid foam board all install easier with open stud bays. Insulation also affects your material choice. Moisture-sensitive insulation types like fiberglass perform better behind drywall’s vapor barrier. Closed-cell spray foam pairs well with OSB since both tolerate moisture exposure better.
Plan your electrical and data runs before closing walls. Conduit for future wiring, additional outlet boxes for tool charging stations, and network drops for security cameras or smart garage systems cost little to install during rough-in. Adding them after walls are finished requires cutting, patching, and refinishing.
Installation Details That Matter
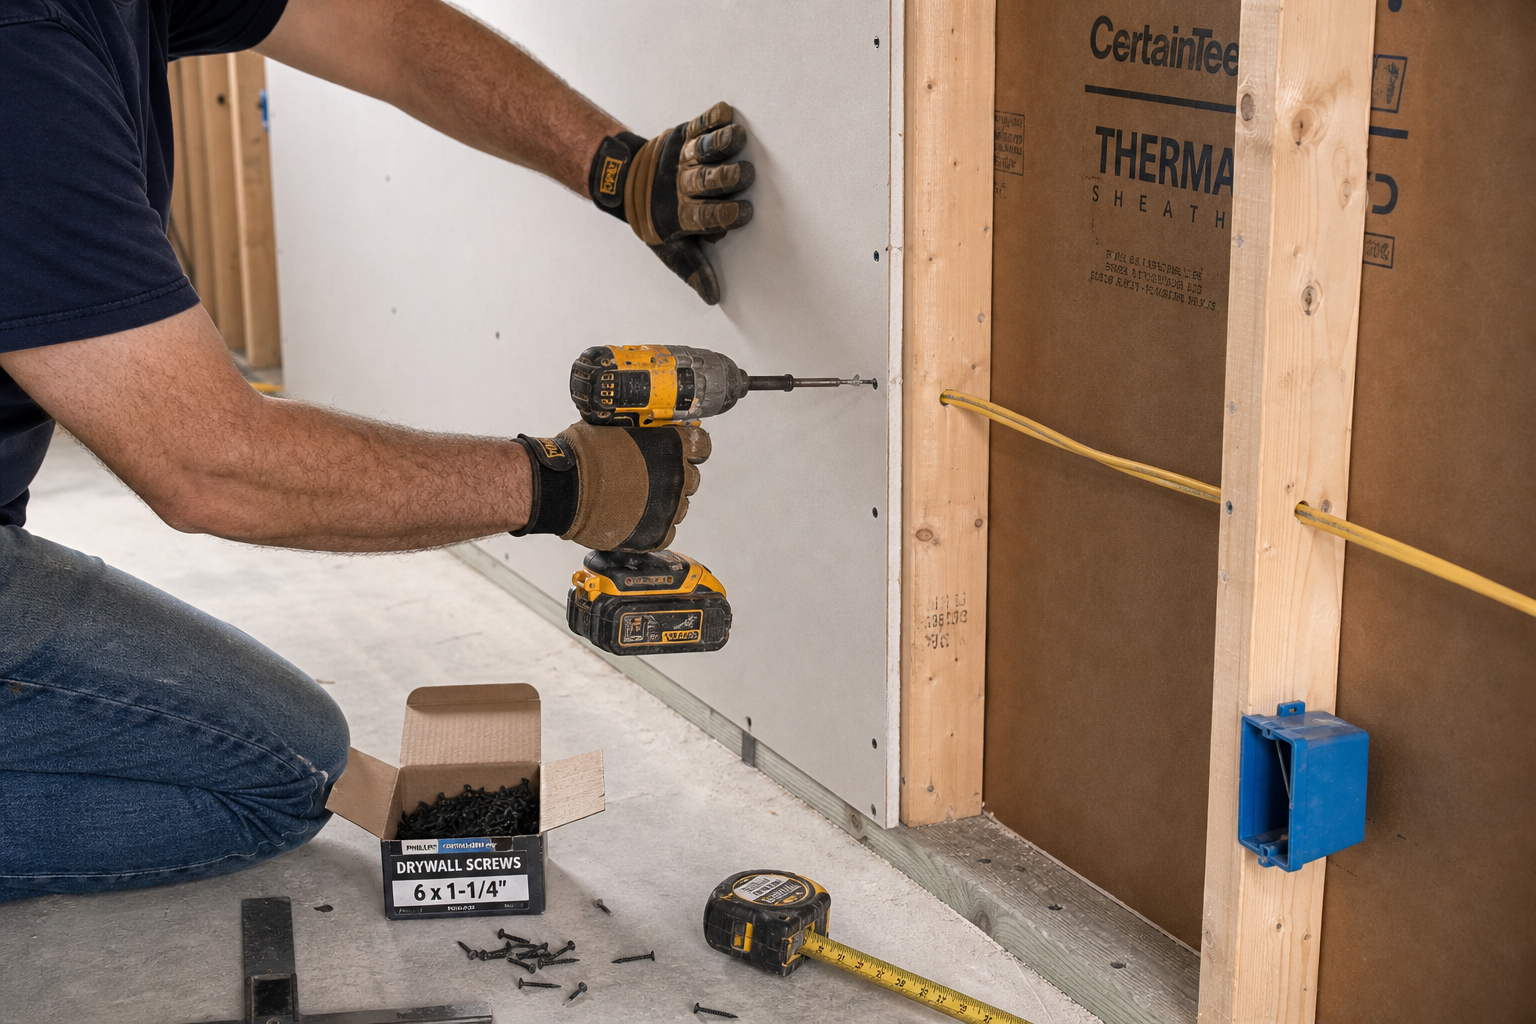
Drywall installation demands attention to fastener spacing and edge support. Screws should penetrate studs by at least 5/8 inch and space 12 inches apart on walls, 8 inches on ceilings. Edges must land on framing or blocking. Floating edges crack and telegraph through finish coats no matter how carefully you mud them.
Set screws just below the surface without breaking the paper face. Overdriven screws compromise holding strength and create dimples that require extra mud. Underdriven screws leave bumps that show through paint. A drywall screw gun with an adjustable depth collar solves this problem and speeds installation.
Taping and mudding technique separates acceptable drywall from invisible seams. Apply joint compound in thin coats, feathering edges 8 to 12 inches beyond the tape. Three coats minimum: tape coat, fill coat, and finish coat. Sand between coats with 120-grit paper once fully dry. Rushing this process guarantees visible seams and texture differences under paint.

Drywall Screw Gun
Adjustable depth collar ensures consistent screw depth without breaking paper face
OSB installation is more forgiving but still benefits from care. Leave 1/8-inch gaps between panels for expansion. Humid summer air causes slight swelling. Tight-butted panels buckle and create ridges. Drive screws every 12 inches into studs, keeping fasteners at least 3/8 inch from panel edges to prevent splitting.
Prime OSB edges before installation. Cut edges expose raw wood strands that wick moisture aggressively. A quick brush coat of oil-based primer on each cut edge before mounting prevents edge swell and extends panel life significantly. This step adds maybe 30 minutes to a full garage but prevents problems that take hours to fix later.
Seal all seams and penetrations regardless of material choice. Gaps around electrical boxes, along top and bottom plates, and at inside corners let air and moisture through. A bead of paintable caulk closes these gaps and improves energy efficiency in climate-controlled garages. This matters less in unheated spaces but still reduces dust infiltration.
Consider texture options if drywall’s smooth finish feels too formal for a garage. Orange peel or knockdown texture hides minor imperfections and gives walls a subtle pattern that camouflages dings better than flat paint. Texture also reduces the sanding and finishing precision required since small irregularities disappear under texture coat.
Maintenance and Longevity
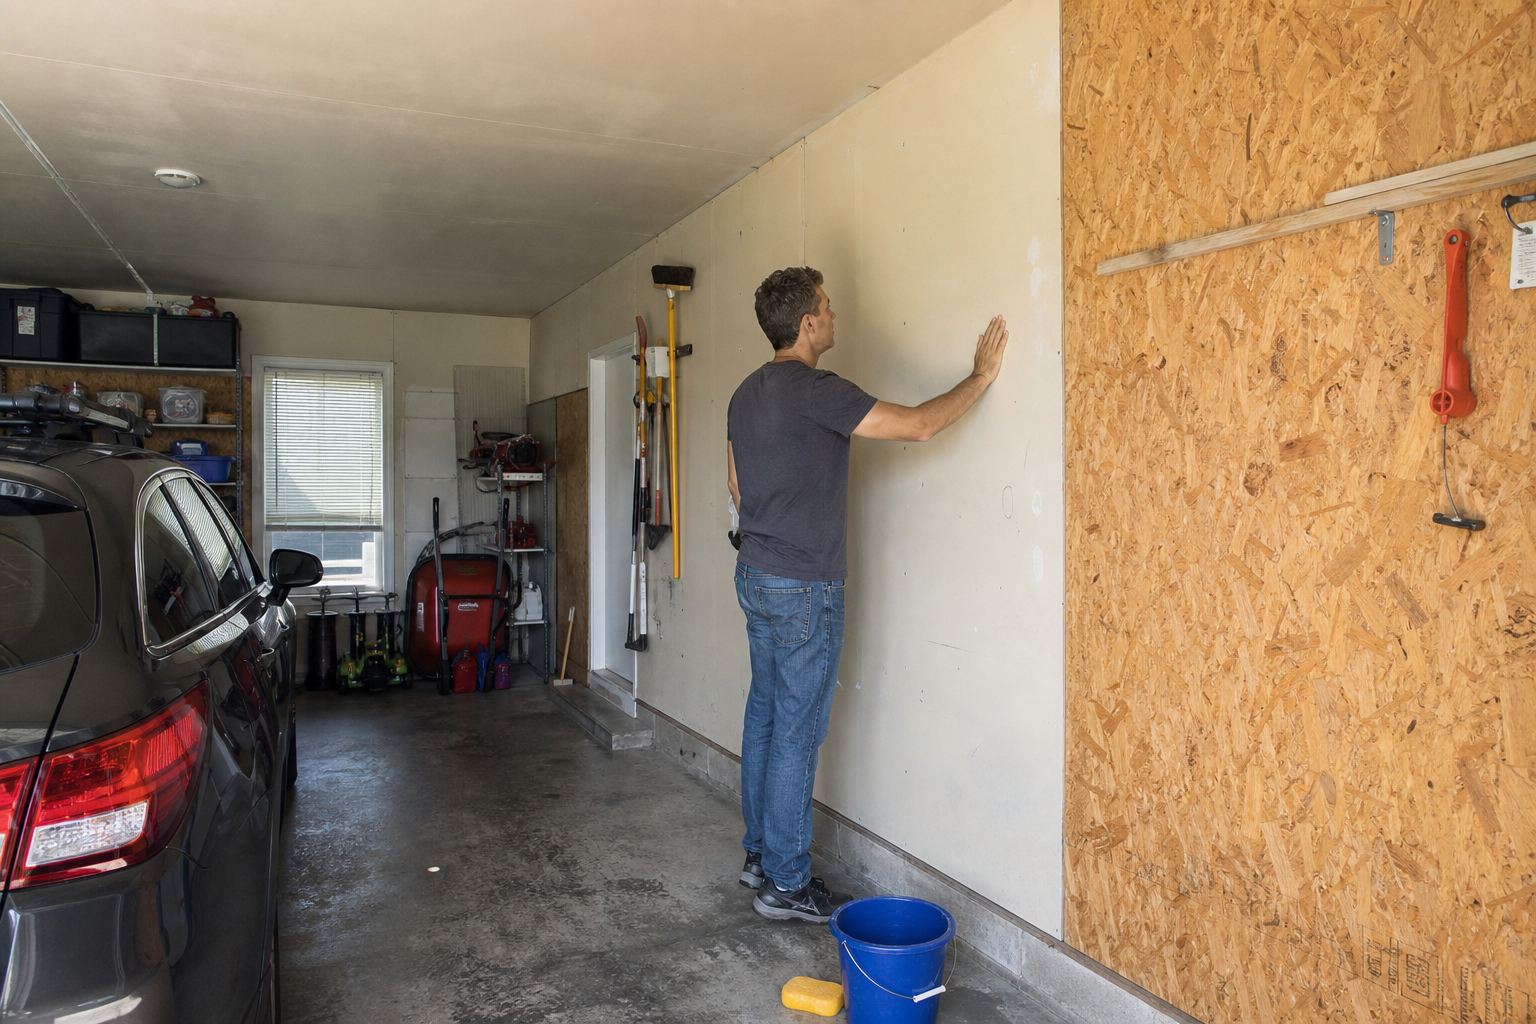
Drywall requires minimal maintenance when protected from moisture. Expect to touch up paint every few years in high-traffic areas. Patch small holes with lightweight spackling compound and a putty knife. Larger holes need backing material and joint compound but remain manageable for most homeowners. Properly installed and finished drywall lasts decades in dry, protected environments.
Watch for water stains on drywall. Brown or yellow staining indicates a leak that needs immediate attention. Drywall damaged by water must be cut out and replaced. Trying to dry and reuse water-damaged drywall leaves you with crumbling, mold-prone material that fails again within months.
OSB maintenance focuses on preserving the primer and paint seal. Inspect annually for areas where paint has worn through or chipped away. Touch up bare spots promptly to prevent moisture from penetrating the wood. Once moisture gets into OSB, swelling and deterioration accelerate quickly.
Check OSB edges and seams closely. These spots see the most wear and the highest moisture exposure. A small split or separated seam lets moisture behind the paint film where it does damage you won’t see until the panel swells noticeably. Caulk and repaint any compromised areas as soon as you spot them.
Both materials benefit from controlling garage humidity. A dehumidifier in summer months or during extended wet periods keeps moisture levels low and extends material life. Garages without climate control see humidity swings from below 20 percent in winter to above 70 percent in summer. Those extremes stress both drywall and OSB over time.
Consider your attachment needs over the garage’s lifespan. Drywall requires hollow-wall anchors for anything beyond picture-hanging weight. OSB accepts screws directly for most loads.
