

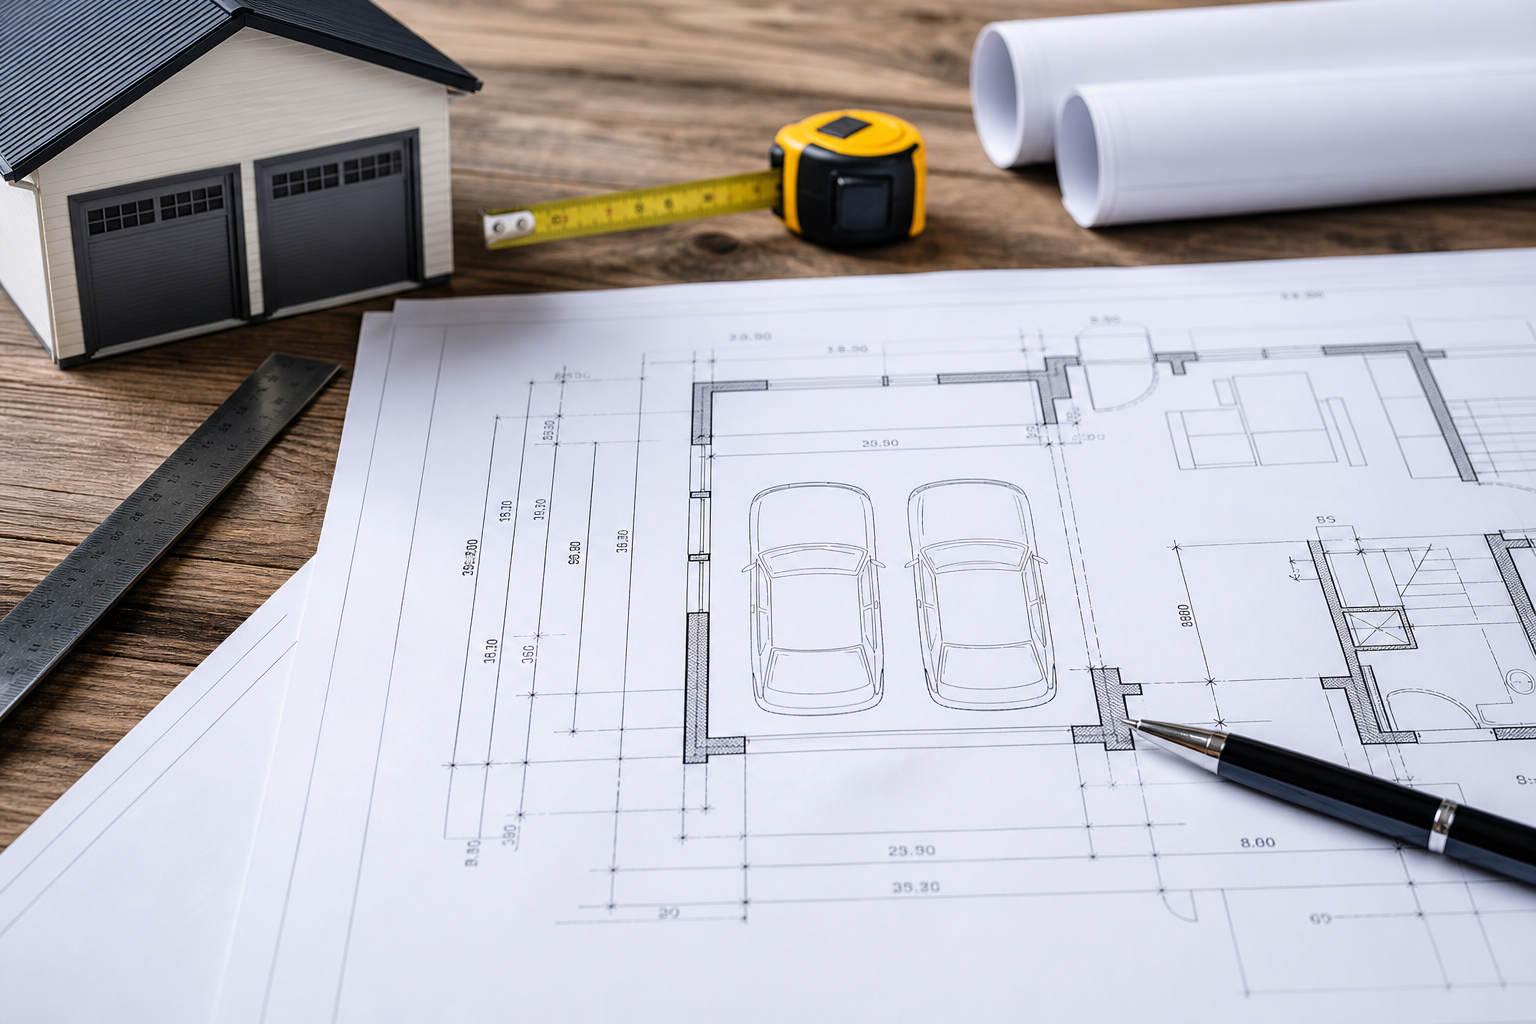
Understanding garage floor plans and dimensions in detail gives you a real advantage, whether you’re planning a project, troubleshooting, or making smarter decisions about your space. The specifics matter more than most people expect. A garage that’s six inches too narrow for comfortable door clearance, or a layout that forces you to shuffle cars every morning, creates daily frustration that compounds over years of ownership.
This guide covers everything you need to know in practical terms, with actionable takeaways you can use right away.
Understanding Standard Garage Dimensions
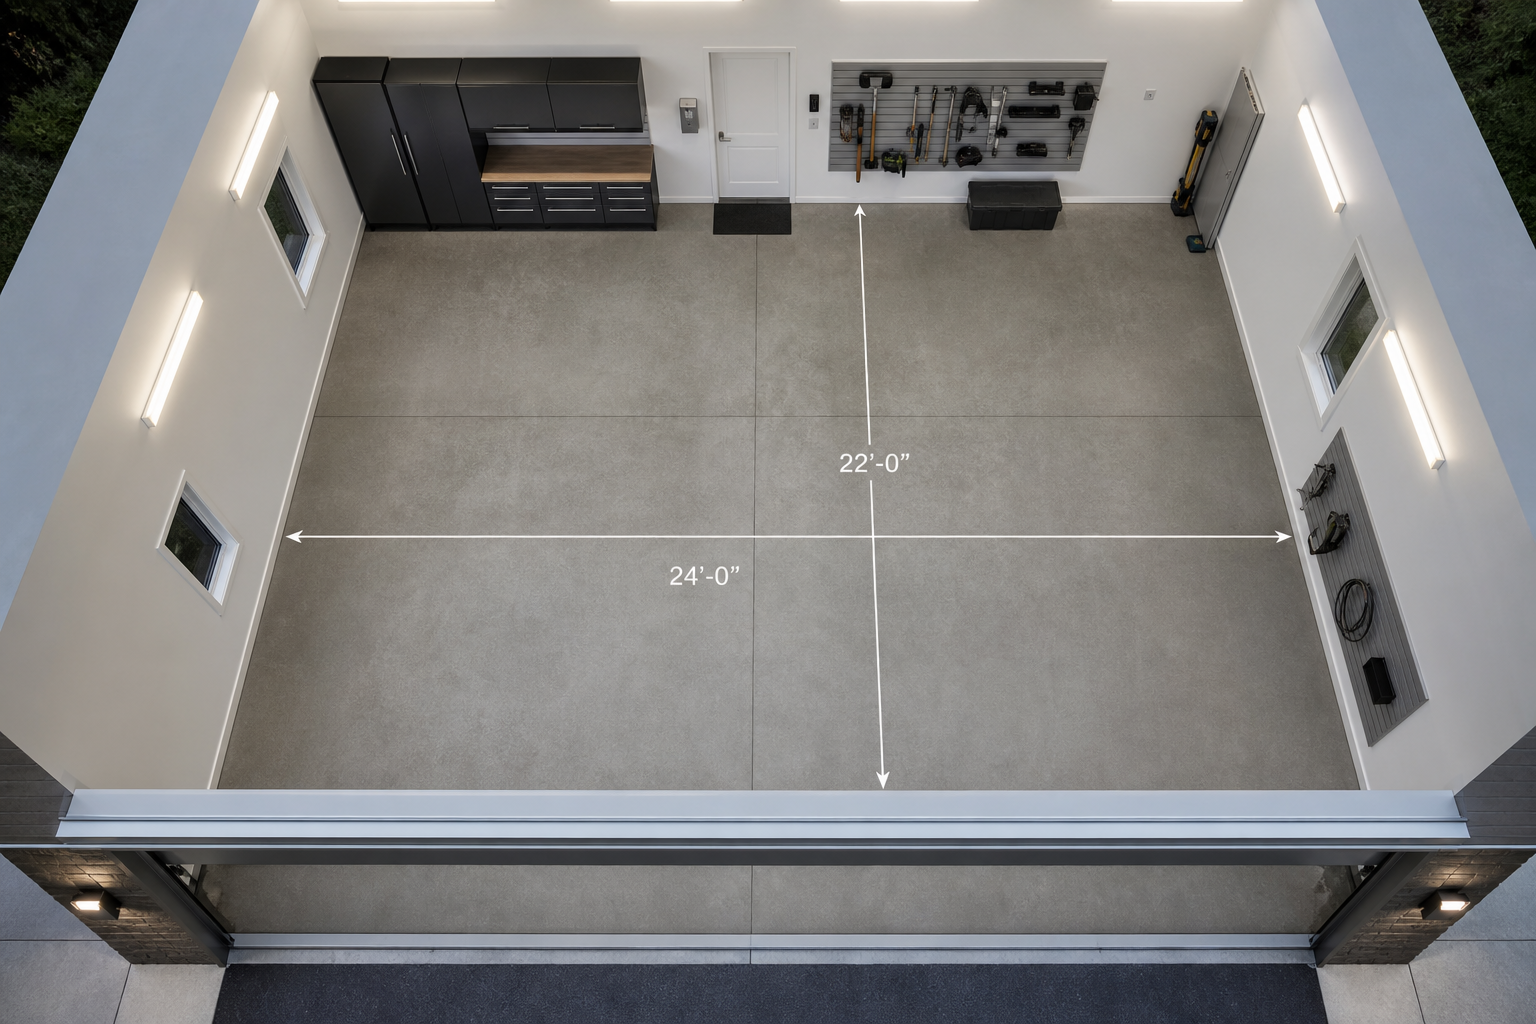
Single-car garages typically measure 12 feet wide by 20 to 24 feet deep. That’s the bare minimum. If you’re building new or have a choice, go 14 feet wide. Those extra two feet make the difference between squeezing out of your car door and stepping out comfortably. Depth matters too: 24 feet gives you room for a workbench or storage shelves at the front without cramping the vehicle.
Two-car garages run 20 to 24 feet wide by 20 to 24 feet deep. The 20-by-20 footprint is common in older homes and feels tight with modern vehicles. Trucks and SUVs have grown. A crew-cab pickup can exceed 20 feet in length, and many SUVs push 17 to 19 feet. Add mirrors, and you’re leaving minimal clearance front and back.
If you’re planning new construction, 24-by-24 is the comfortable standard. Some builders push to 24-by-26 or 24-by-28 for garage workshops or side storage bays.
Door height runs 7 feet for standard garage doors, 8 feet for taller openings that accommodate lifted trucks or roof cargo boxes. When considering a garage door opener upgrade, ensure your dimensions accommodate both the door size and opener assembly.
Ceiling height is typically 8 feet in older garages, 9 to 10 feet in newer builds. That extra ceiling height unlocks overhead storage options that can reclaim 50 to 100 square feet of usable space without touching the floor.
Wall thickness eats into interior dimensions. A standard framed wall is 4 to 6 inches thick once you account for studs, insulation, and drywall. Measure interior dimensions wall-to-wall when planning layouts, not exterior foundation dimensions.
Planning Vehicle Clearances
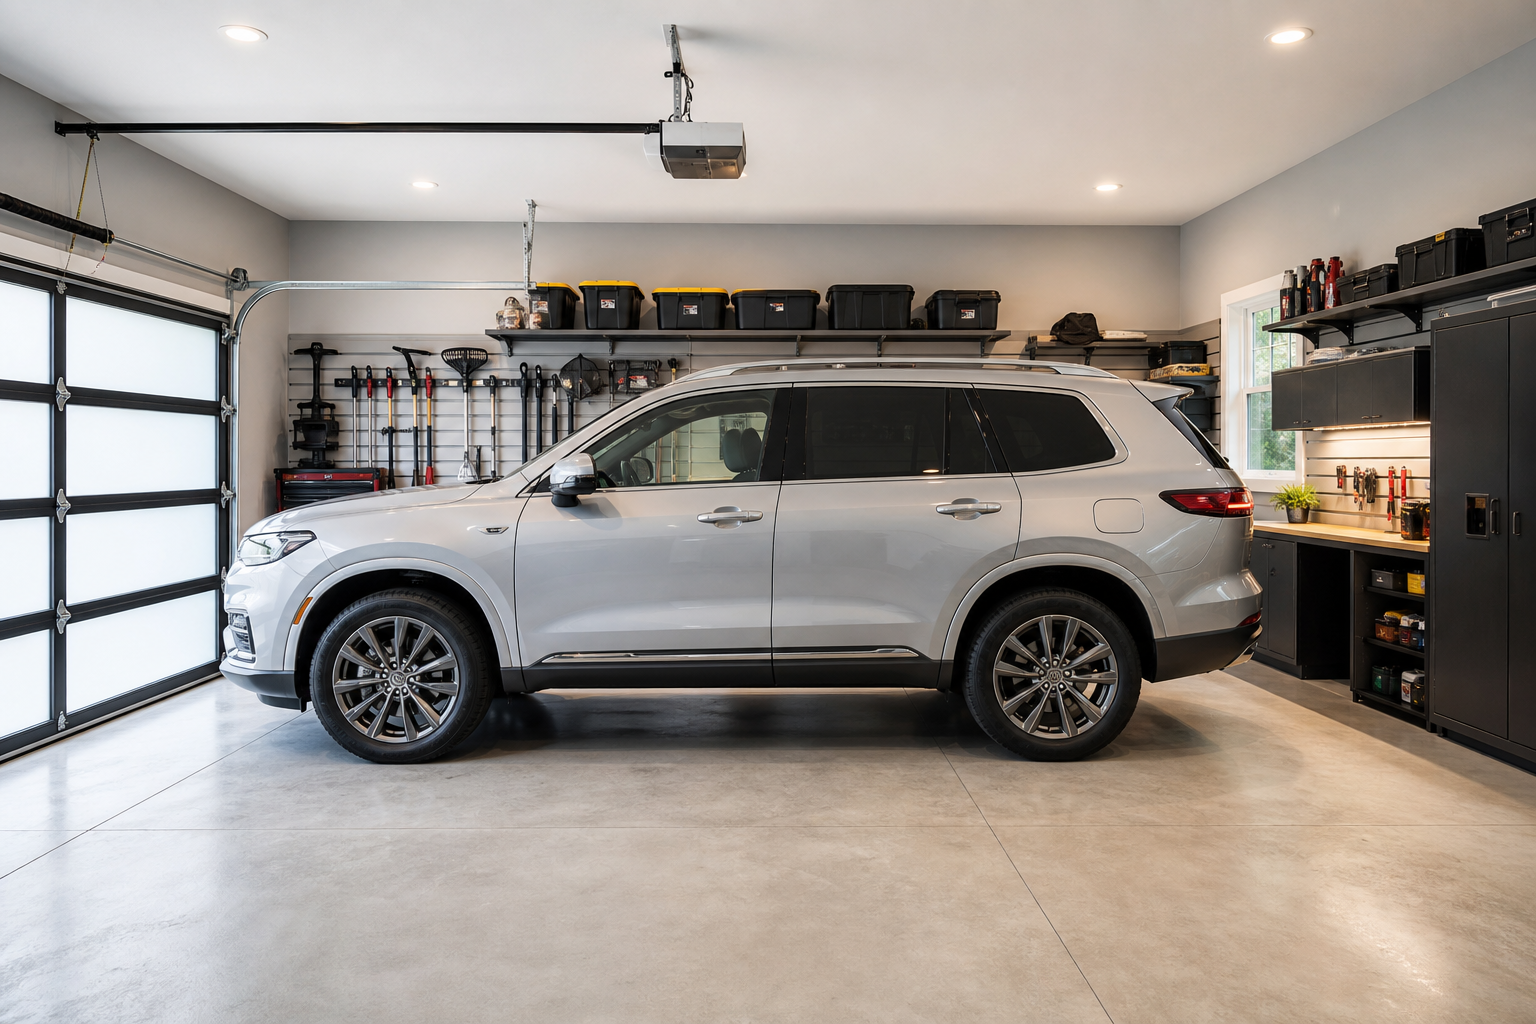
Parking a car isn’t the same as parking a car you can actually use. You need clearance on all sides. Plan 3 feet of clearance on the driver’s side for comfortable door opening. Two feet works if you’re willing to squeeze. Passenger side can go tighter if that side rarely gets used, but 18 inches minimum prevents door dings against the wall.
Front and rear clearance depends on what you’re doing in those zones. If the front of the garage holds a workbench or storage, you need 2 to 3 feet between the vehicle nose and the bench so you can still access drawers and walk past. If the rear wall is just a wall, 12 to 18 inches of bumper clearance works fine.
Turning radius matters for driveways that require sharp approaches. Most passenger vehicles need a 20- to 25-foot turning radius for comfortable maneuvering. Longer trucks and vans can require 30 feet or more. A driveway that forces a multi-point turn every time you park gets old fast.
If you’re designing a new driveway or adding a garage to an existing property, mock up the turn with cones or chalk before pouring concrete. Consider using a laser parking guide to help with precise positioning once your garage is complete.
Vehicle dimensions vary more than people realize. A Honda Civic is roughly 15 feet long and 6 feet wide. A Ford F-150 crew cab runs 20 to 22 feet long and 6.5 to 7 feet wide (mirrors add another foot). A Chevy Suburban pushes 19 feet long and 7 feet wide. Measure your actual vehicles, or look up specs online, before finalizing a floor plan.
3-Car Garage Layouts
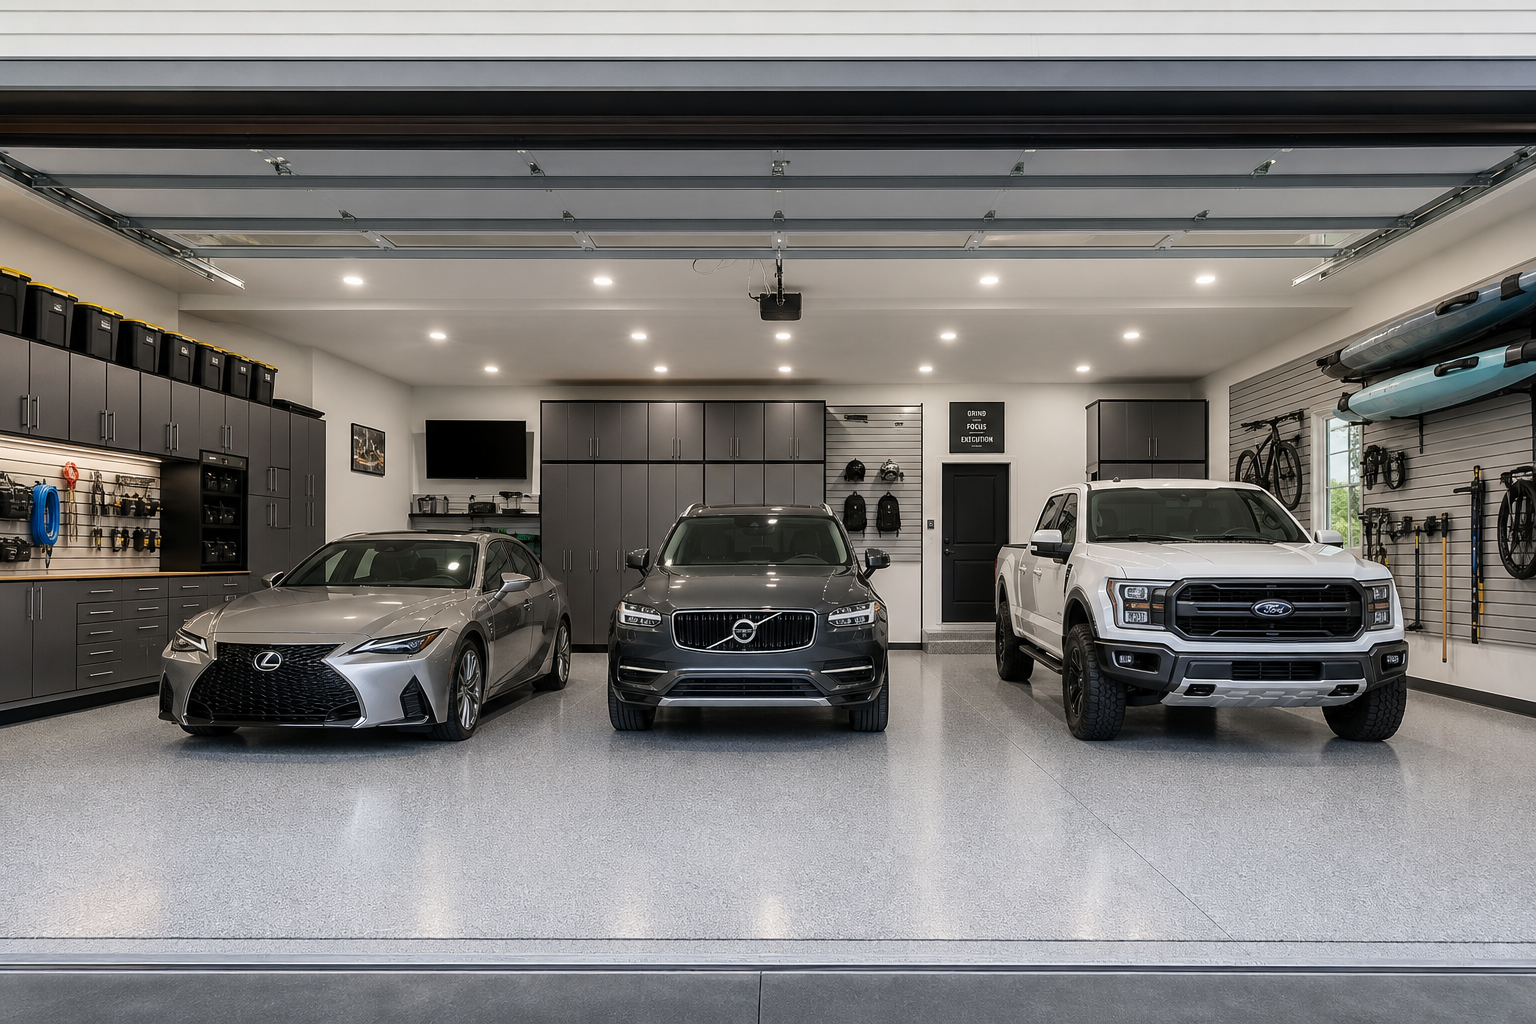
Three-car garages offer flexibility but require planning to use the space well. The most common layout is three bays side-by-side, typically 30 to 36 feet wide by 20 to 24 feet deep. This layout works when you have the lot width and want maximum convenience: pull straight in, pull straight out, no shuffling vehicles.
Tandem layouts stack two vehicles deep in one bay, with a third vehicle in a standard single bay alongside. This cuts the required width to 20 to 24 feet but extends depth to 36 to 44 feet. Tandem layouts only work if one vehicle rarely moves. If both cars in the tandem bay are daily drivers, you’ll shuffle constantly.
Tandem bays make sense for a daily driver in front and a project car, classic car, or seasonal vehicle in back.
L-shaped and T-shaped layouts fit odd lot shapes or properties with setback restrictions. These configurations require custom planning and often cost more to build due to additional corners and roofing complexity, but they can be the only way to fit three vehicles on a narrow or irregularly shaped lot.
Turning Radius Considerations
Minimum turning radii become critical in three-car setups. Pulling into the center bay of a side-by-side layout requires precise alignment if the driveway is narrow. A driveway width of 24 to 30 feet gives enough room to angle in without repeated adjustments. Narrow driveways force sharper turns that increase the risk of clipping a mirror or scraping a fender on the door frame.
Storage Zone Planning
Storage zones in a three-car garage should stay consolidated rather than scattered. One common approach: dedicate one full bay to workshop and storage, park two vehicles in the other bays. Another option: use the rear 4 to 6 feet of all three bays for wall-mounted and overhead storage, keeping the front two-thirds clear for vehicles.
Mixing storage into active parking zones creates clutter and limits access.
Storage Zone Clearances and ADA-Compliant Designs
Storage zones need access clearance or they become decorative dead space. Wall-mounted cabinets and slatwall systems require 3 to 4 feet of clear floor space in front for comfortable access to hooks, shelves, and cabinet doors. Overhead racks need vertical clearance: if a rack hangs 7 feet off the ground and stores bins 18 inches tall, you need 8.5 feet of ceiling height minimum.

Garage Ceiling Storage Lifts
Perfect for maximizing overhead space while maintaining easy access to stored items
In an 8-foot garage, that doesn’t work. Check out our guide to garage ceiling storage lifts for solutions that work in lower-ceiling spaces.
Workbench height runs 34 to 38 inches for most users. Depth is typically 24 to 30 inches. A 6-foot workbench along one wall requires 6 feet of wall length plus 3 to 4 feet of clearance in front, consuming roughly 24 to 30 square feet of floor area when you account for the footprint and usable space around it.
ADA Compliance Requirements
ADA-compliant garage designs require wider clearances and accessible storage heights. Doorways need 32 inches of clear width minimum. Maneuvering space for wheelchairs requires 5-foot turning radii in key areas. Storage and controls must be reachable from a seated position: 15 to 48 inches off the floor is the accessible range for shelves, switches, and cabinet pulls.
If you’re building or renovating a garage that needs ADA compliance, consult local codes early. Requirements vary by jurisdiction and by whether the garage is attached to the primary dwelling.
Vertical Storage Zones
Vertical zoning maximizes storage in tight spaces. Low zones (floor to 3 feet) work for heavy, bulky items: bags of salt, cases of oil, toolboxes. Mid zones (3 to 6.5 feet) are prime real estate: everyday tools, frequently used bins, workbench surfaces. High zones (6.5 feet to ceiling) handle lightweight, infrequently accessed items: holiday decorations, seasonal gear, archive boxes.
Don’t waste mid-zone height on things you touch twice a year.
Clear plastic bins beat cardboard for garage storage in every way: moisture resistance, pest resistance, visibility, and stackability. Label each bin on the front for easy identification. A label maker and 20 minutes of work saves hours of searching over the coming years.
Zone your garage before buying products. Common zones: tools/workbench, automotive, seasonal items, sports gear, lawn/garden, and household overflow. Each zone stays self-contained so everything for a given task lives in one spot.
Effective garage storage uses walls and ceiling as primary surfaces, keeping the floor clear for vehicles and work. Wall-mounted track systems, overhead ceiling racks, and sturdy cabinets provide organized access without eating into parking or workspace.
Free Downloadable PDF Templates and Planning Tools
Free PDF templates for garage floor plans are available from several sources. Search for “garage floor plan template PDF” and you’ll find gridded layouts, dimensioned diagrams, and printable worksheets. These templates let you sketch vehicle positions, storage zones, and workbench locations before moving anything physical.
Print at scale (1/4 inch equals 1 foot is common) and you can cut out scaled shapes representing your vehicles, then move them around the template to test different configurations.
Graph paper works just as well if you don’t want to print templates. Use a scale of 1 square equals 1 foot. Mark walls, doors, windows, and utilities (water heater, electrical panel, HVAC) first. Then sketch in vehicles and major storage pieces. This low-tech method is fast and flexible.
Online garage planning tools offer drag-and-drop interfaces and 3D visualization. Some are free, some require signup or subscription. These tools let you see how a layout will look from different angles and can flag clearance issues you might miss on paper. The downside is they take longer to learn and can be overkill for simple layouts.
Regardless of tool, measure twice before finalizing anything. Walk the space with a tape measure and note actual dimensions, not assumed dimensions. Walls aren’t always square. Floors aren’t always level. An out-of-square corner or a sloped floor can throw off a plan that looked perfect on paper.
Before You Buy Materials
Check specific requirements before purchasing materials. Measure the area, note unusual conditions (extreme temps, high humidity, uneven surfaces), and read product specs carefully. A mismatch between your conditions and the product’s rated range is the most common cause of unexpected failures.
Consider how changes fit the larger garage picture. Improvements in one area can shift dynamics elsewhere. Better insulation changes humidity patterns. Heavy storage affects the floor underneath. Adding a workbench might block access to an electrical panel or water shutoff. Think about interactions before committing to a layout.
Weight Capacity and Load Distribution
Weight capacity is critical and often misunderstood. Wall systems anchored in studs hold 50 to 75 pounds per linear foot. On drywall alone, that drops to 15 to 25 pounds before failure. Ceiling racks rated for 600 pounds assume even distribution; concentrating weight in one area can cause failure well under the total limit.
Finding and Using Studs
Stud spacing is typically 16 or 24 inches on center. Find studs with a stud finder or by tapping the wall and listening for the solid sound versus the hollow sound. Mark stud locations before installing anything. A slatwall panel or track system that hits studs every 16 inches can carry serious weight. One that only catches studs at the ends is a failure waiting to happen.
For those considering slatwall installation, our complete installation guide covers proper stud mounting techniques.
Overhead Storage Mounting
Overhead storage racks mount to ceiling joists, which also run 16 or 24 inches on center. Joist direction matters: joists typically run perpendicular to the garage door, but not always. Check before buying a rack. Some racks require joists running a specific direction. Installing a rack across joists (perpendicular) spreads the load better than installing along joists (parallel).
Dynamic vs. Static Loads
Dynamic loads versus static loads: a shelf holding 200 pounds of stationary bins experiences static load. Someone climbing a ladder and yanking a 40-pound bin off that shelf creates dynamic load, which momentarily spikes higher than the bin’s weight. Anchor systems need margin for dynamic loads, especially in workshops where tools get pulled and pushed frequently.
Concrete Floor Anchoring
Concrete floors handle enormous weight, but anchor points in concrete are only as strong as the anchors themselves. Expansion anchors and concrete screws work for moderate loads (under 100 pounds per anchor). Heavy-duty applications (floor-mounted lift posts, anchored workbenches) require epoxy-set anchors or wedge anchors that won’t pull out under stress.
Practical Planning Tips
Research local building codes and permit requirements for your specific project. Electrical work, structural modifications, and HVAC installations often require permits and inspections. Working without required permits can create liability issues, insurance complications, and problems when selling the home.
Set a realistic timeline and budget before buying anything. Most garage projects take 50% longer and cost 20% more than initial estimates, especially for first-timers. Build that buffer into your plan so unexpected discoveries don’t derail the entire project or blow the budget.
Essential Tools
Invest in quality tools for tasks you’ll repeat. A reliable stud finder, a good level, a quality tape measure, and proper safety gear (eye protection, hearing protection, respirator) make every project easier and safer. These tools pay for themselves across multiple projects over the years.
Start with a small test area if you’re uncertain. A 4-by-4-foot section in an inconspicuous spot lets you evaluate adhesion, appearance, and workability without committing to the full project. Troubleshooting a small test area is far easier than redoing everything.
Safety First
Wear appropriate protection throughout: safety glasses, gloves, respirator when working with chemicals or dust. Ventilate when using adhesives, paints, or solvents. These aren’t optional precautions.
Keep the workspace organized throughout. Debris and clutter cause errors and safety issues. Clear tools and waste between major steps rather than letting mess accumulate to the end.
If this is your first project of this type, budget 50% more time than guides suggest. The learning curve is real, and careful work produces better results than rushing to meet an estimated timeline.
Common Mistakes to Avoid
Underestimating vehicle size is the most frequent mistake. Measure your actual vehicles, including mirrors and roof racks, before finalizing dimensions. A garage that fits your current sedan might not fit the truck you buy in three years.
Ignoring door swing is another common error. Entry doors, overhead garage doors, and cabinet doors all need clearance. A cabinet door that hits a parked car mirror, or an entry door that scrapes a bike hanging
