

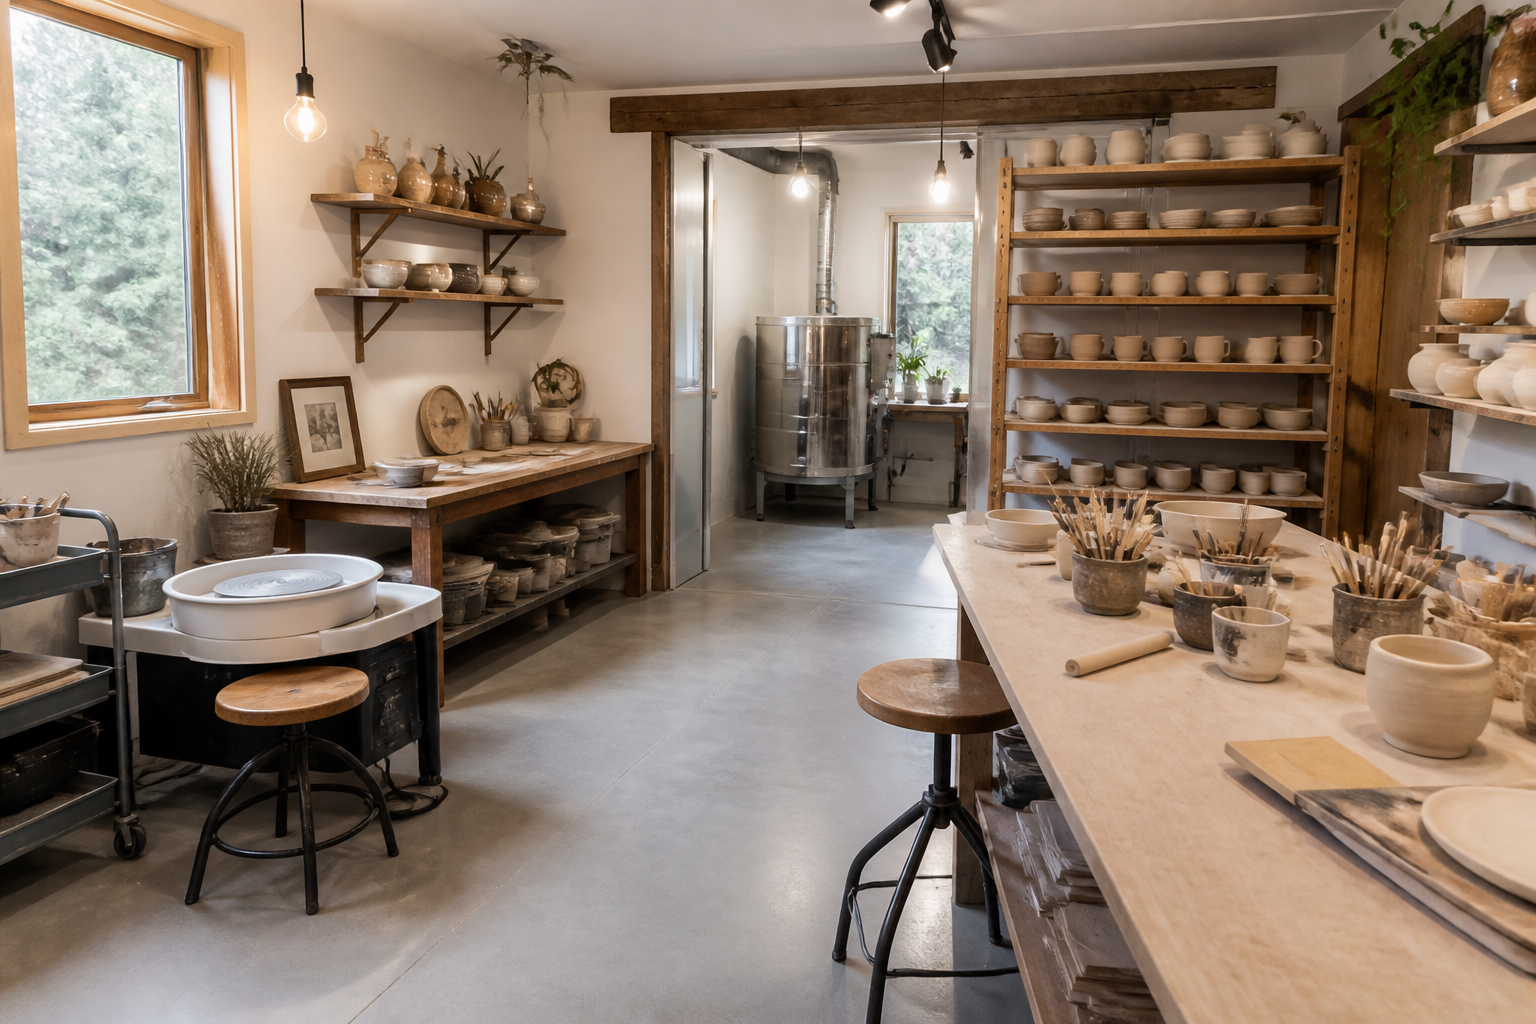
Transforming a garage into a pottery studio gives ceramic artists a dedicated space to create without sacrificing home living areas. I’ve seen dozens of garage pottery studios come together, and the key is balancing functional work zones with proper ventilation and dust control. This guide covers wheel and workbench setups, kiln areas, glazing and finishing stations, drying shelves and storage, plus display and sales corners.
Wheel and Workbench Setups
The pottery wheel is the heart of any ceramic studio, and your garage offers the space to create an ergonomic throwing station. Most potters pair their wheel with a sturdy workbench for hand-building, wedging clay, and tool storage. Good lighting and comfortable seating make long studio sessions possible. If you’re building your own work surfaces, a DIY garage workbench with storage can hold heavy clay bags and tools while keeping everything organized. The best setups position the wheel near natural light when possible and include easy-to-clean surfaces.
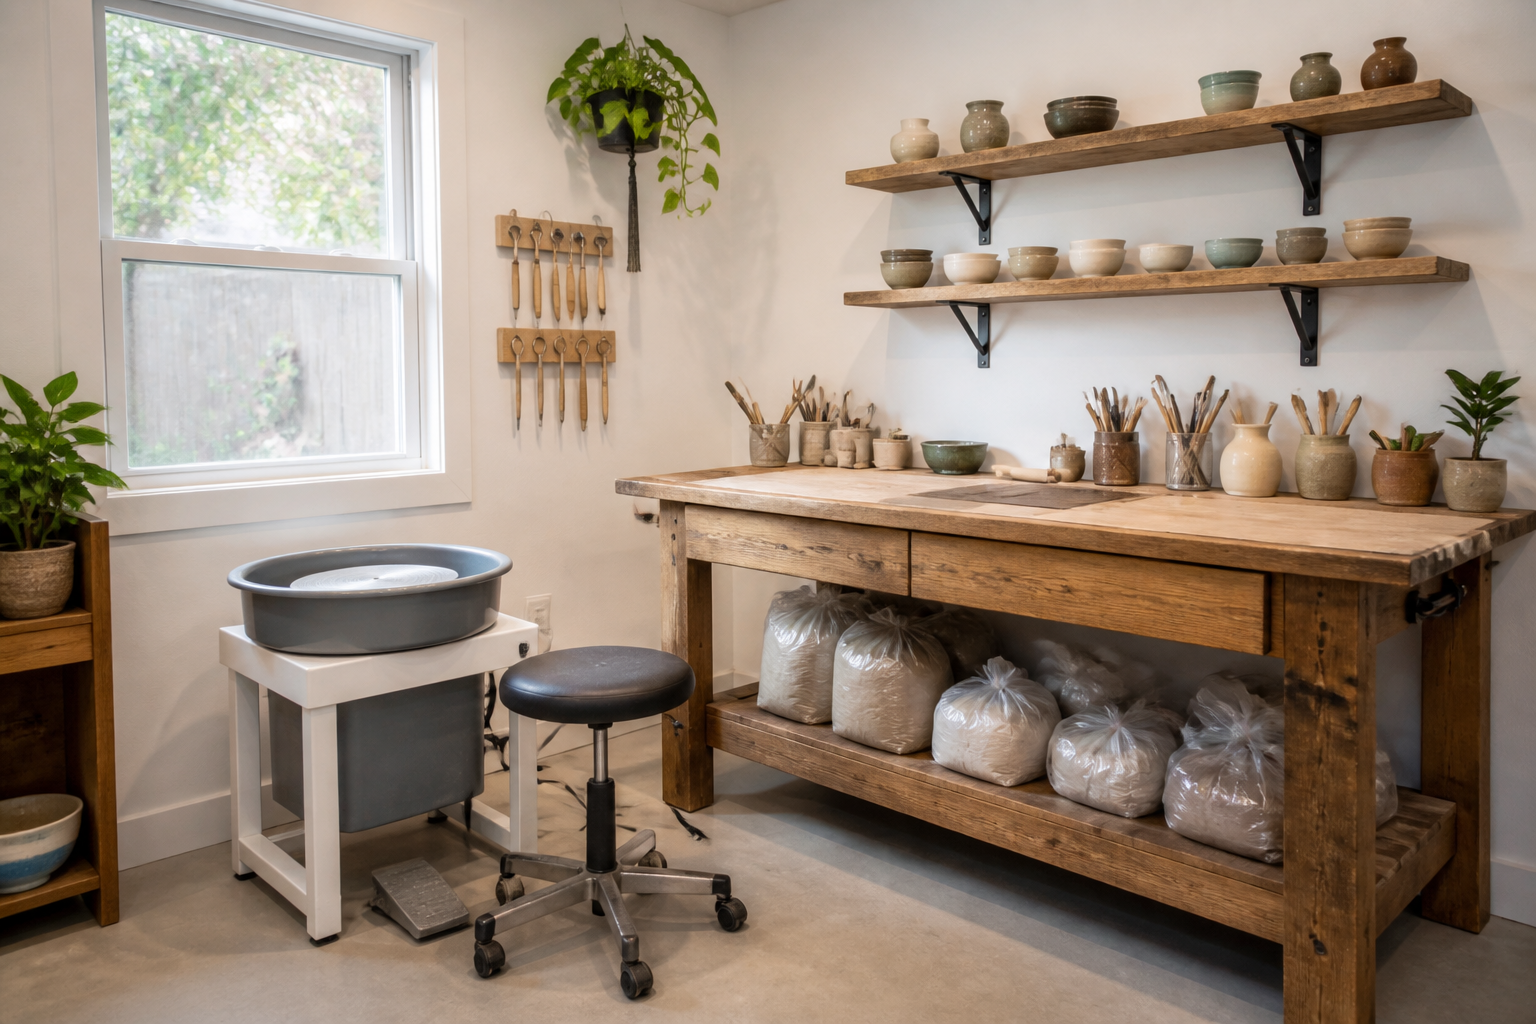
This setup takes advantage of a window for natural light while the wheel is working, reducing eye strain during long throwing sessions. The wooden workbench provides a solid surface for wedging clay and assembling pieces. Storing clay bags directly under the bench keeps weight low and materials within arm’s reach.
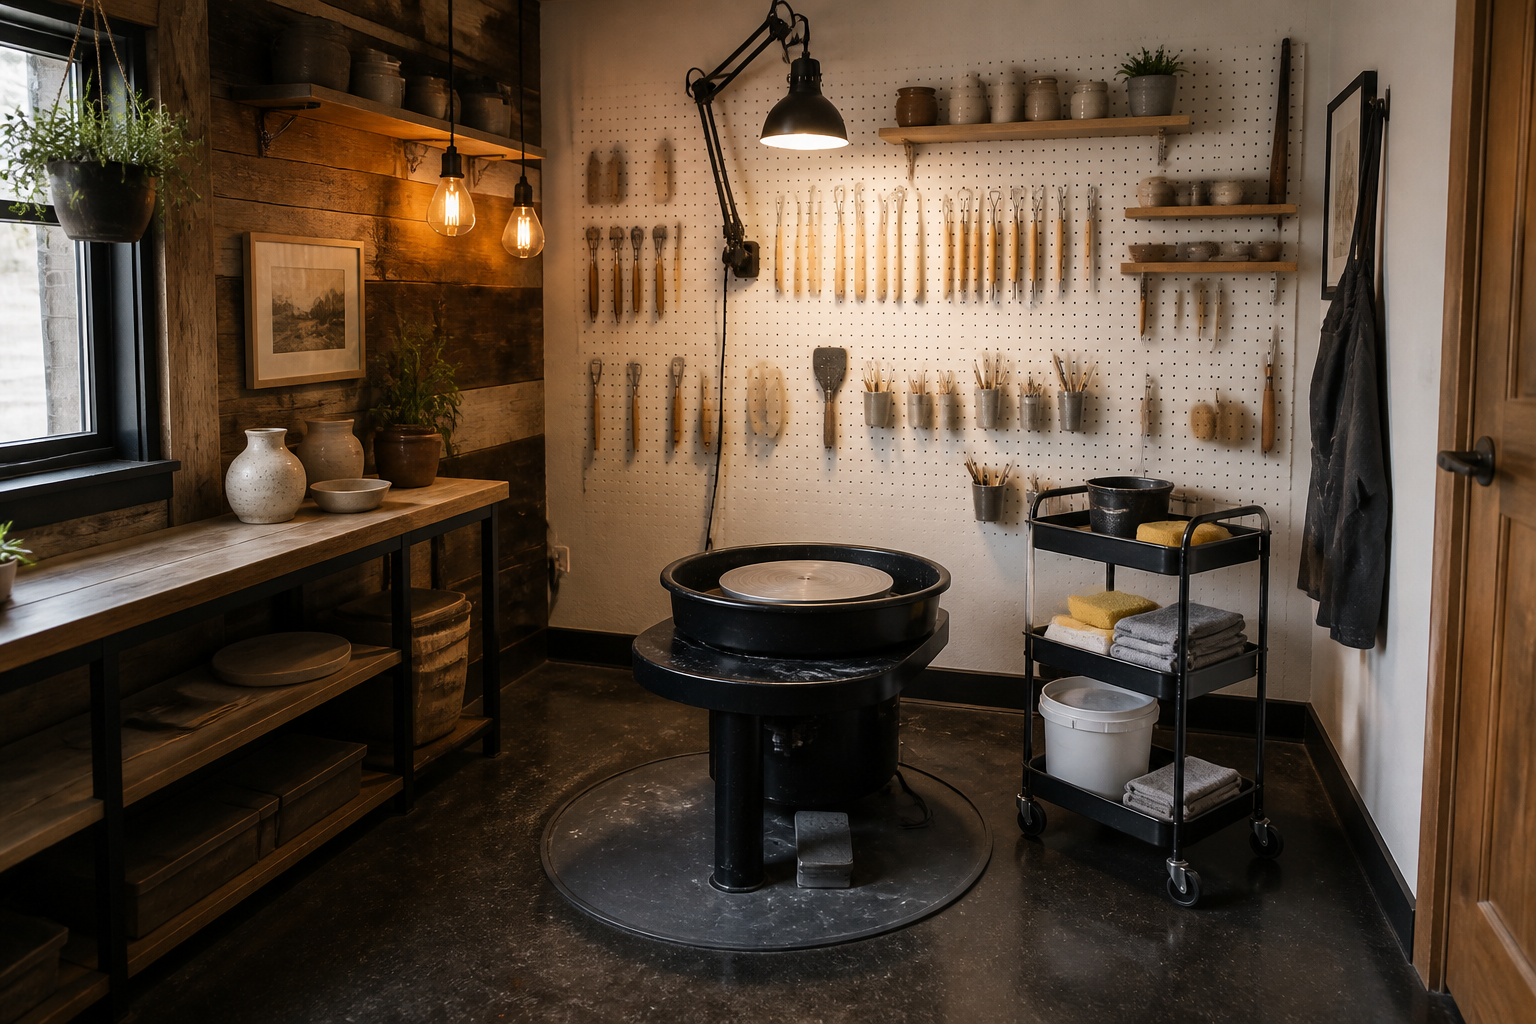
Wall-mounted pegboard ideas for tool organization work beautifully in pottery studios, keeping ribs, trimming tools, and needles visible and accessible. The rolling cart lets you move water and cleanup supplies wherever needed. This tight layout fits in smaller garage spaces without sacrificing functionality.
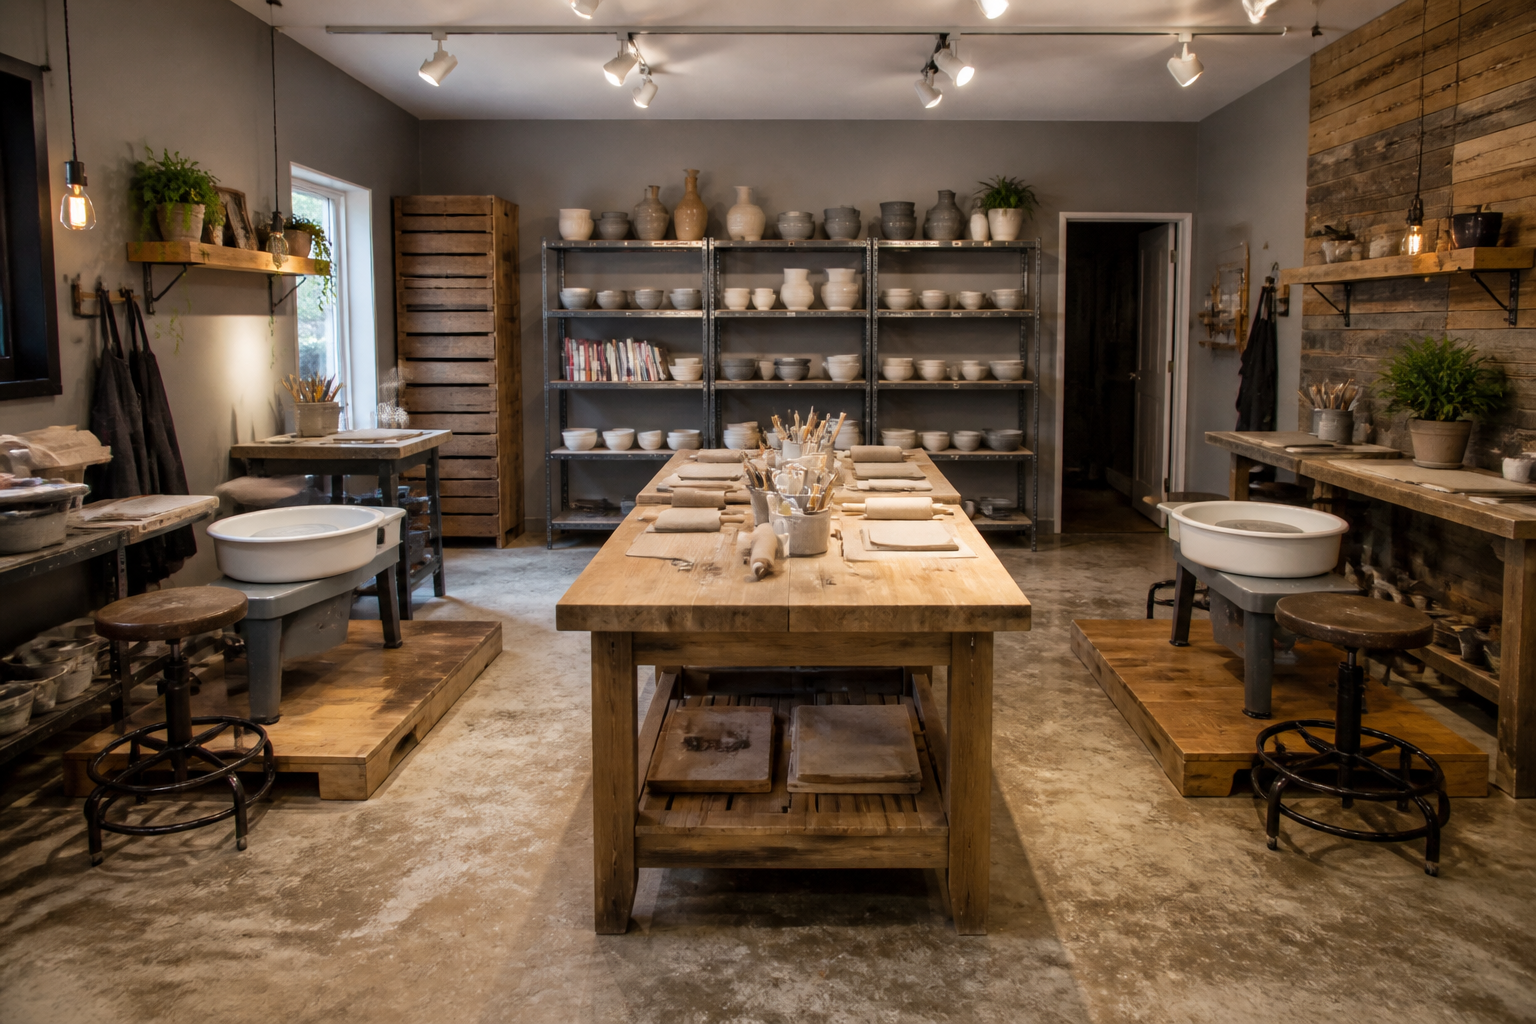
Setting up multiple wheels makes sense if you teach classes or work with a partner in your garage studio. The central butcher block workbench creates a shared hand-building zone where you can roll slabs and assemble larger pieces. Garage wall panels provide a smooth, cleanable surface that holds up well in dusty pottery environments.
Kiln Areas
The kiln is the most critical piece of equipment in your garage pottery studio, and it requires careful planning for safety and ventilation. Electric kilns need dedicated circuits and clearance from walls and flammable materials. Proper ventilation prevents fume buildup during firing, and a fireproof floor surface protects your garage. Most ceramic artists position their kiln away from work areas to manage heat and create a safe firing zone. Adding electrical work for your kiln might require professional help, similar to adding electrical outlets to a garage workbench safely.
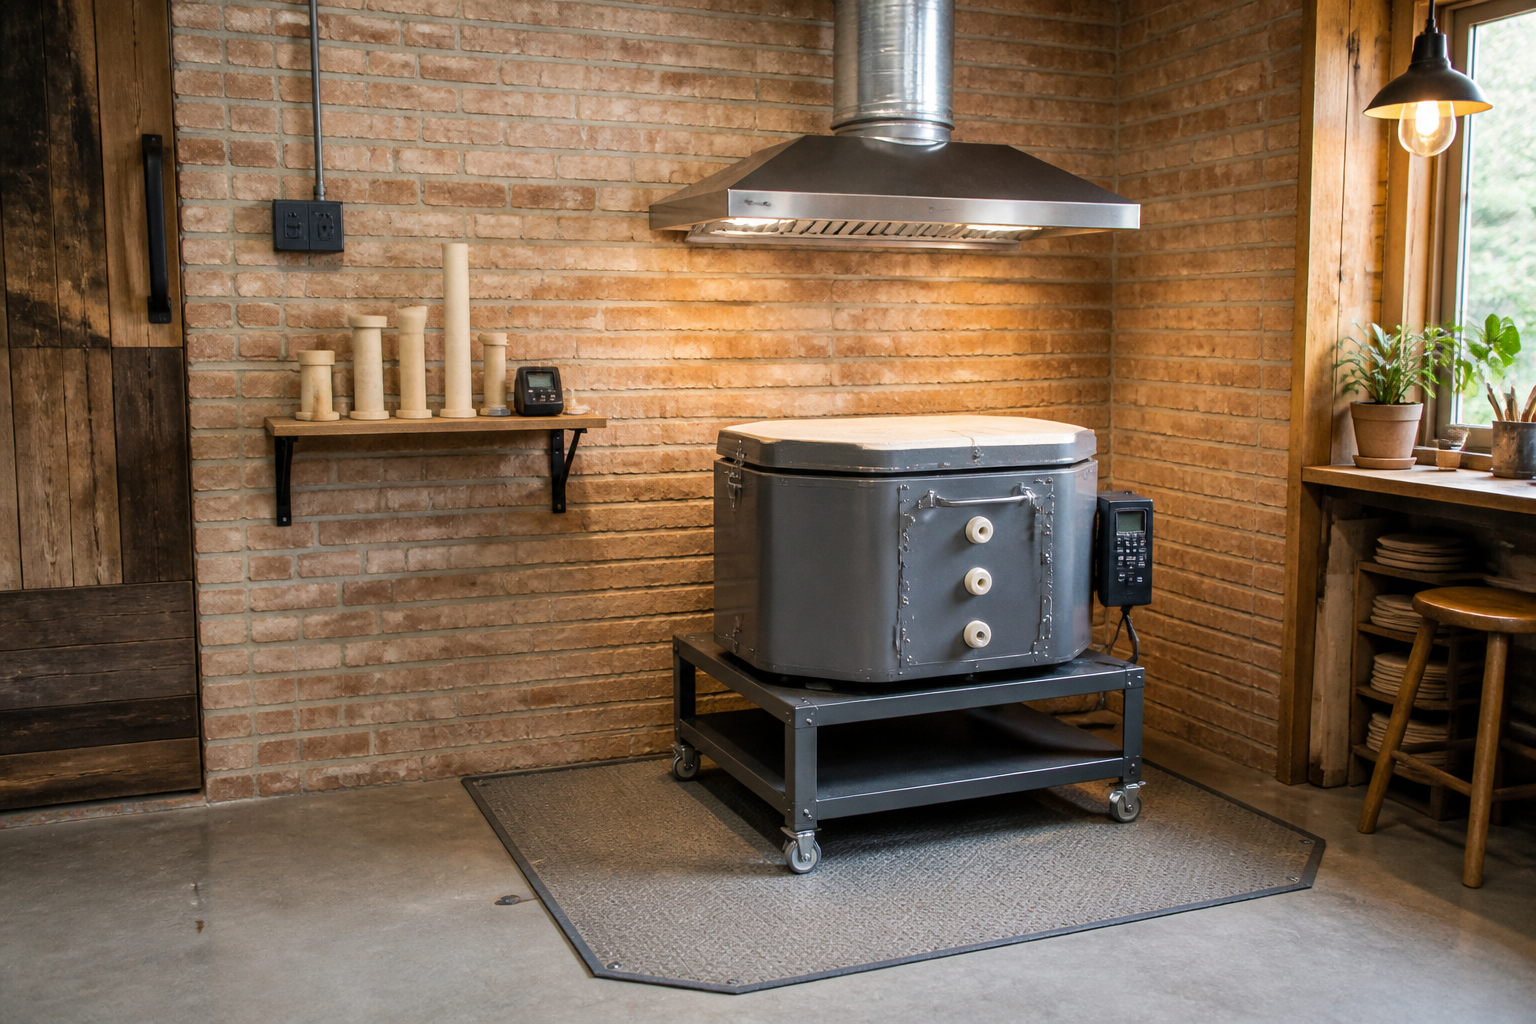
Proper kiln ventilation is not optional in a garage studio where airflow might be limited. This setup uses a downdraft ventilation system that pulls fumes away during firing. The wheeled stand makes it easy to move the kiln for maintenance while maintaining safe clearances during operation.
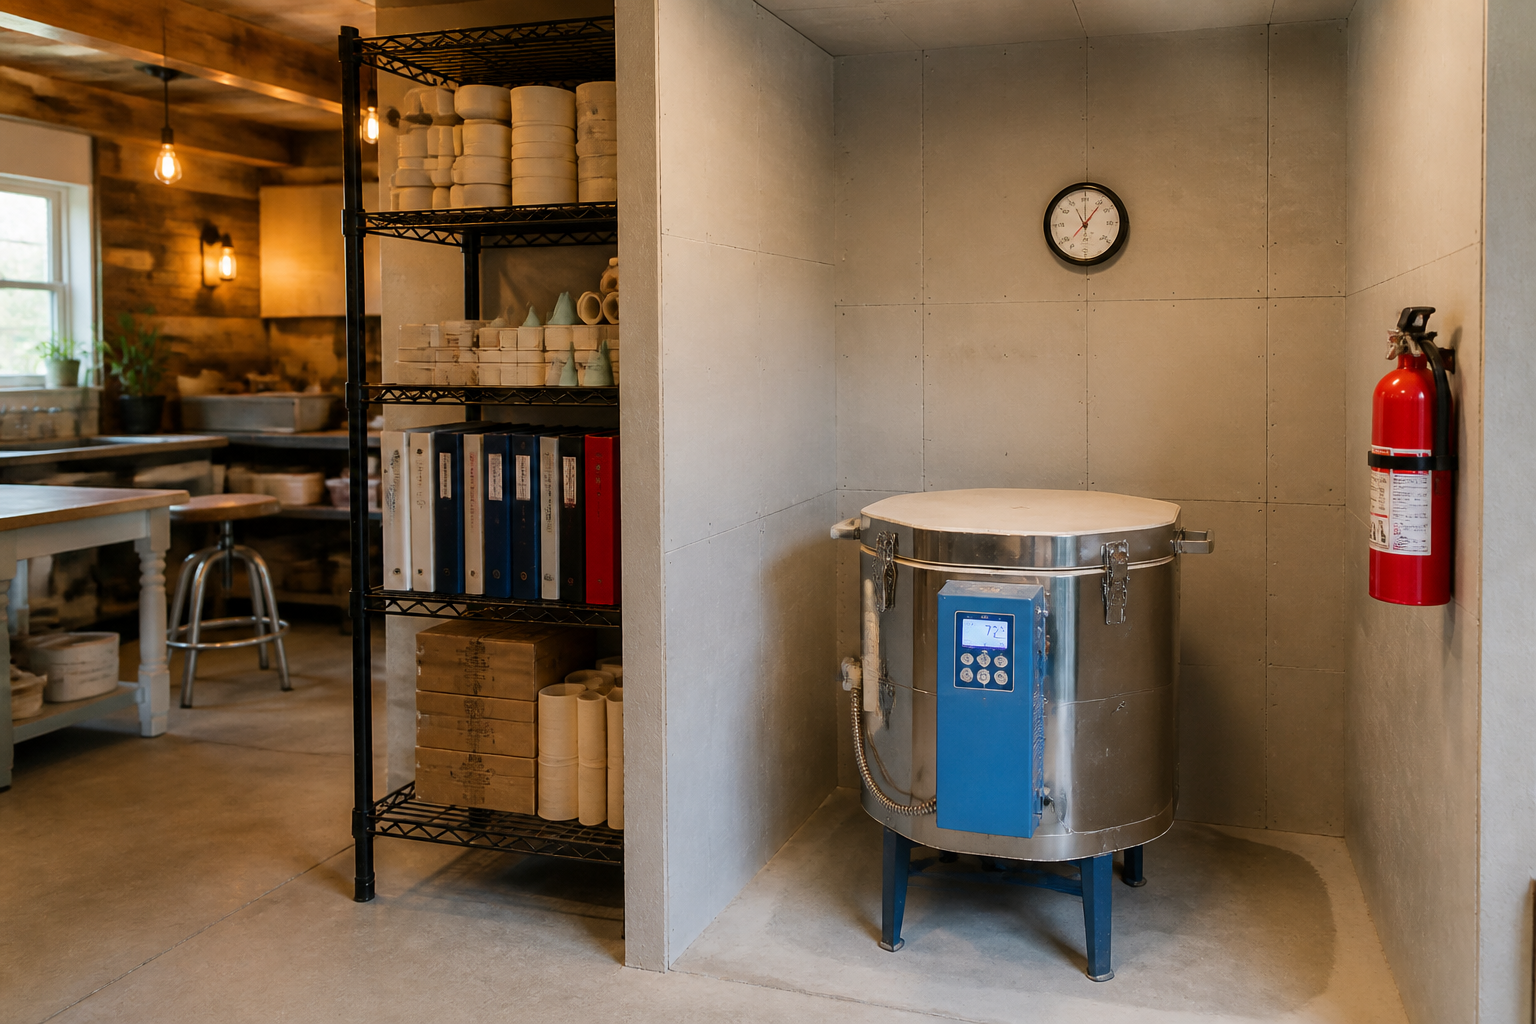
Creating a fireproof alcove with cement board gives you peace of mind during high-temperature firings. Keeping kiln furniture and pyrometric cones on nearby shelving means you can load efficiently without crossing the studio. The fire extinguisher placement shows this potter takes safety seriously.
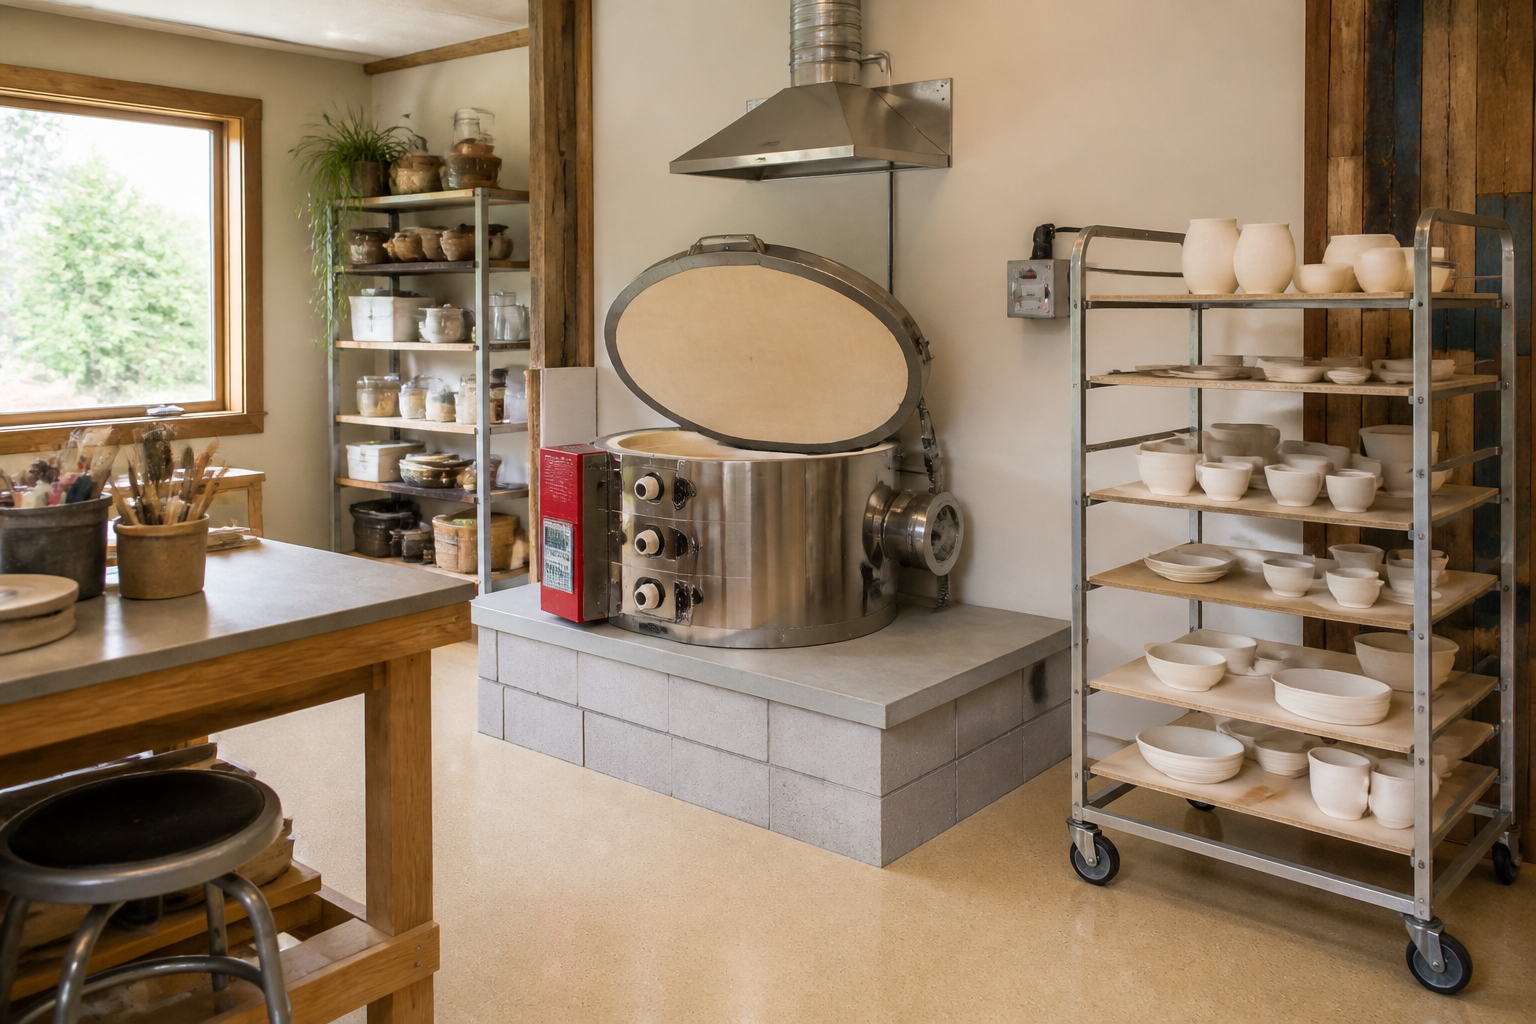
Building a permanent platform from concrete blocks creates a stable, fireproof base for larger kilns. The rolling cart system lets you move bisque ware from firing to glazing without carrying fragile pieces across the studio. A clean epoxy garage floor makes sweeping up clay dust quick and easy.
Glazing and Finishing Stations
Glazing requires a dedicated work area separate from your throwing and hand-building zones to prevent contamination. A good glazing station includes counter space for mixing glazes, shelving for glaze buckets, and easy access to water. Many potters add a small sink or use large buckets for cleanup. Proper organization of glazes by color and type speeds up your workflow and prevents mistakes. The finishing area should have excellent lighting so you can inspect pieces before firing.
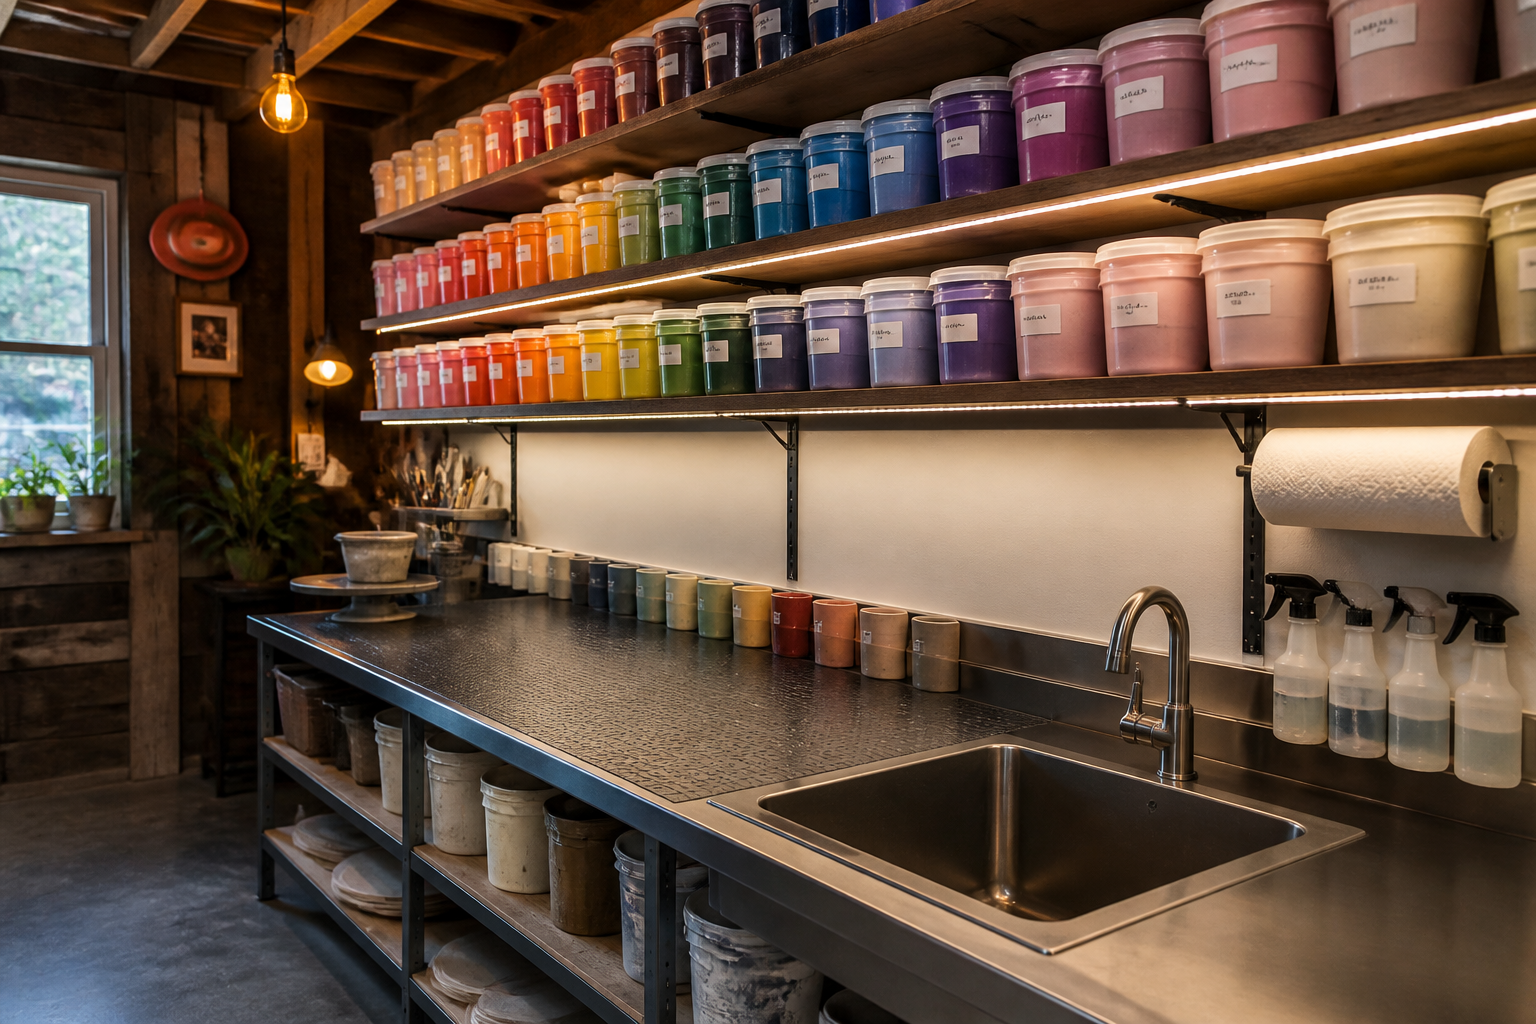
Installing a utility sink in your garage glazing area makes cleanup infinitely easier and prevents you from tracking glaze materials into your house. The color-coded glaze organization system helps you grab what you need quickly. Stainless steel counters wipe clean and resist staining from ceramic colorants.
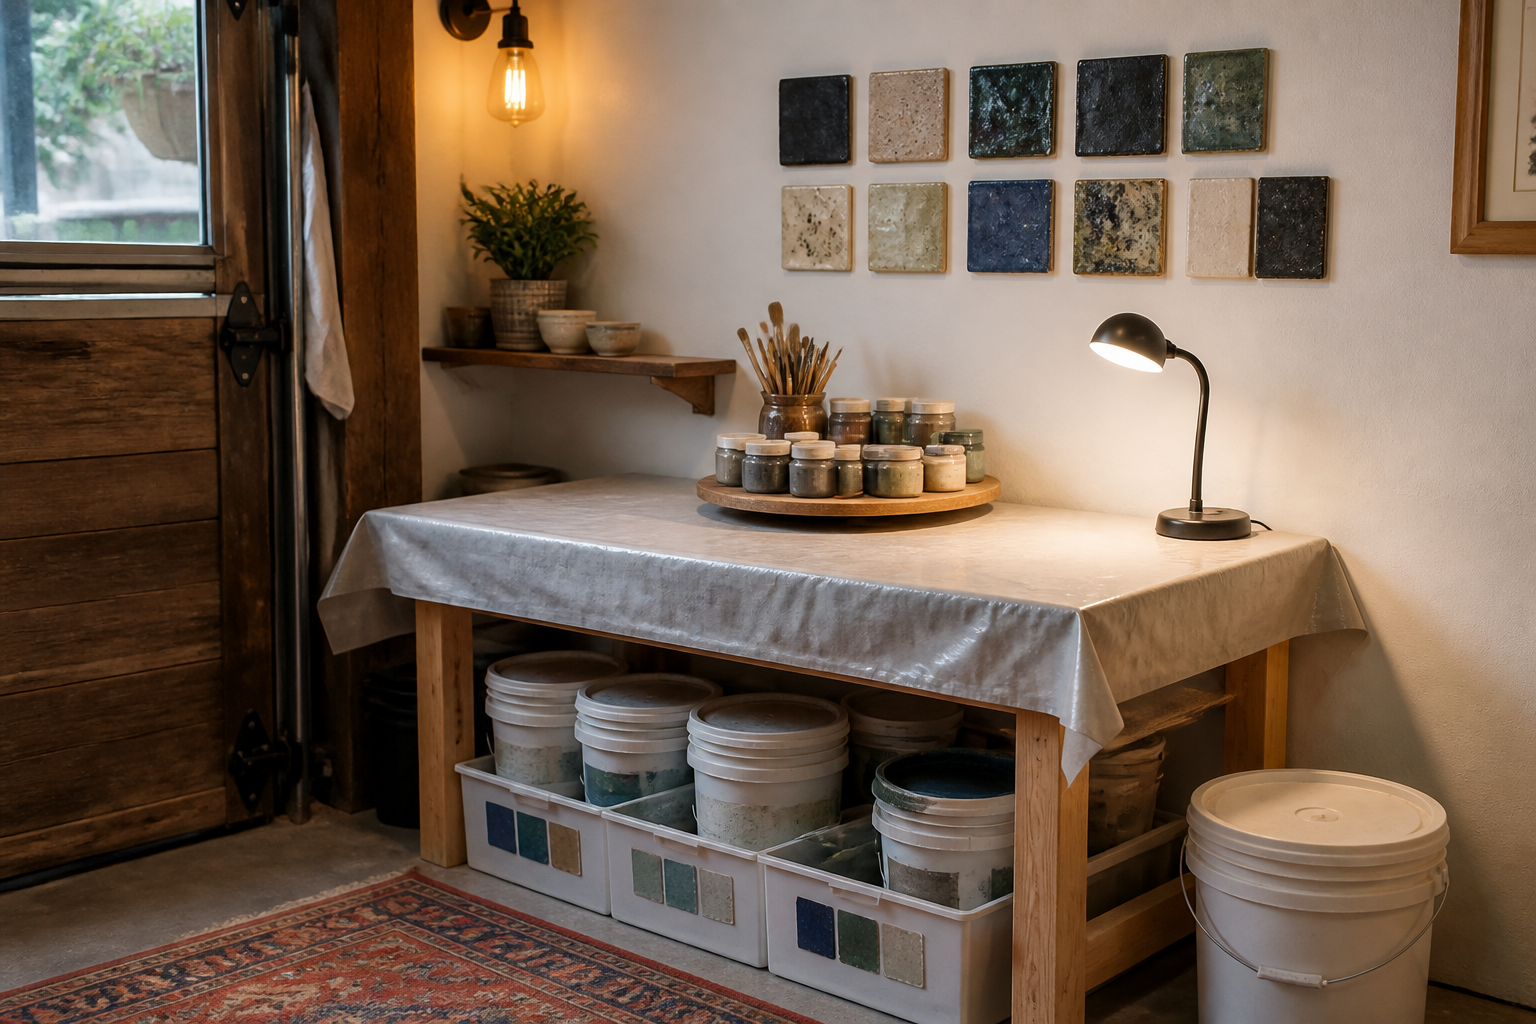
You don’t need expensive equipment to create an effective glazing station in your garage studio. This simple table setup with vinyl covering makes cleanup easy and protects the surface. Test tiles mounted on the wall help you choose glazes confidently without mixing up results.
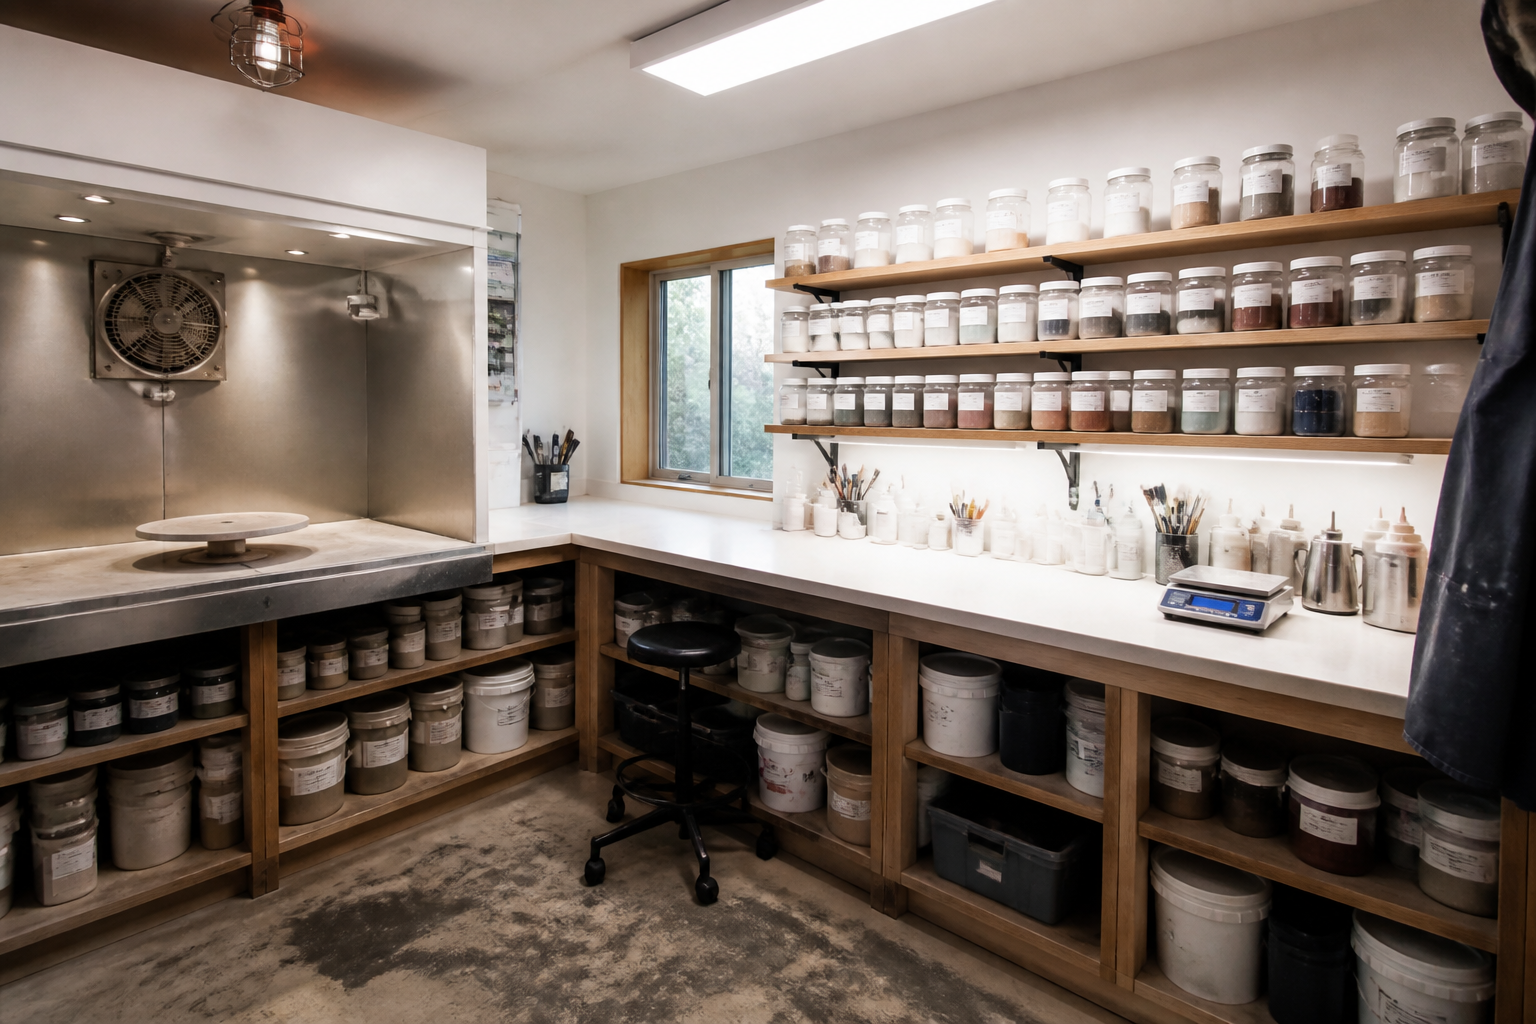
Adding a spray booth to your garage pottery studio opens up new glazing techniques and produces professional results. The separate mixing area keeps dry chemicals organized and prevents cross-contamination. This setup treats glazing with the same care and organization you’d find in a commercial studio.
Drying Shelves and Storage
Greenware needs time to dry slowly and evenly before firing, which means you need plenty of shelf space in your garage studio. Open wire shelving allows air circulation while keeping pieces organized by project or drying stage. Many potters use plastic sheeting to slow drying for larger pieces or cover shelves overnight. Clay storage is equally important, with heavy bags best kept on low shelves or under workbenches. If you’re building custom shelving for heavy clay storage, check out guides on DIY garage shelving for heavy storage to ensure your setup can handle the weight.
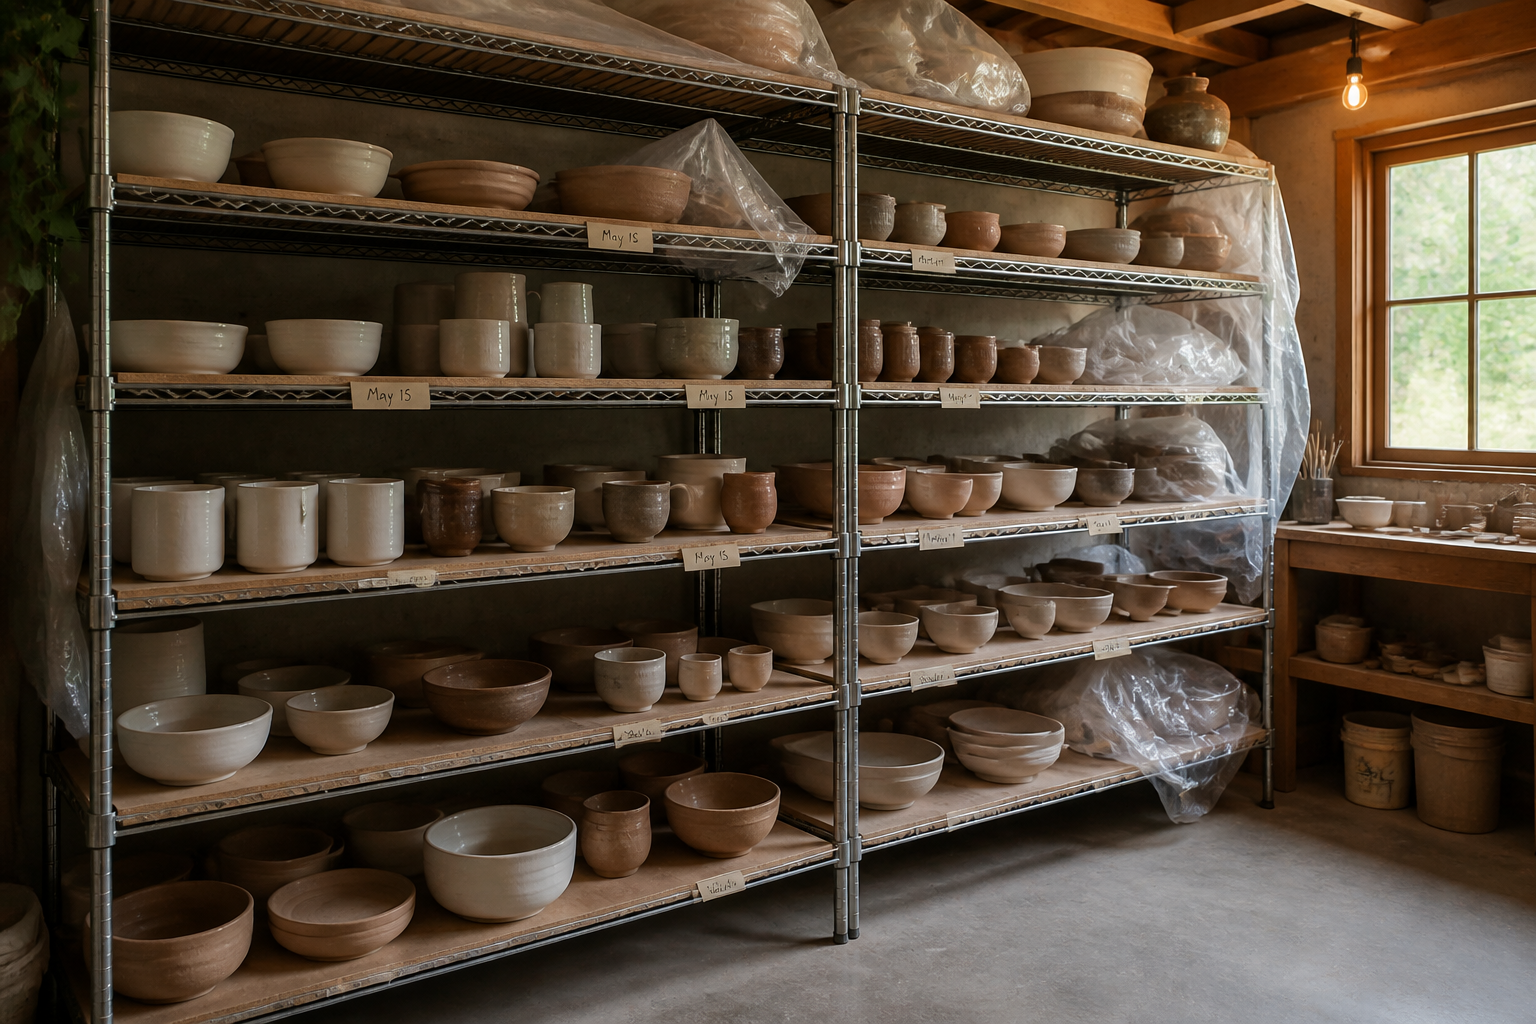
Wire shelving designed for garage storage works perfectly for drying pottery because air can circulate on all sides. Adding wooden boards creates smooth surfaces that won’t leave marks on soft clay. The labeling system helps you track drying time and know when pieces are ready for bisque firing.
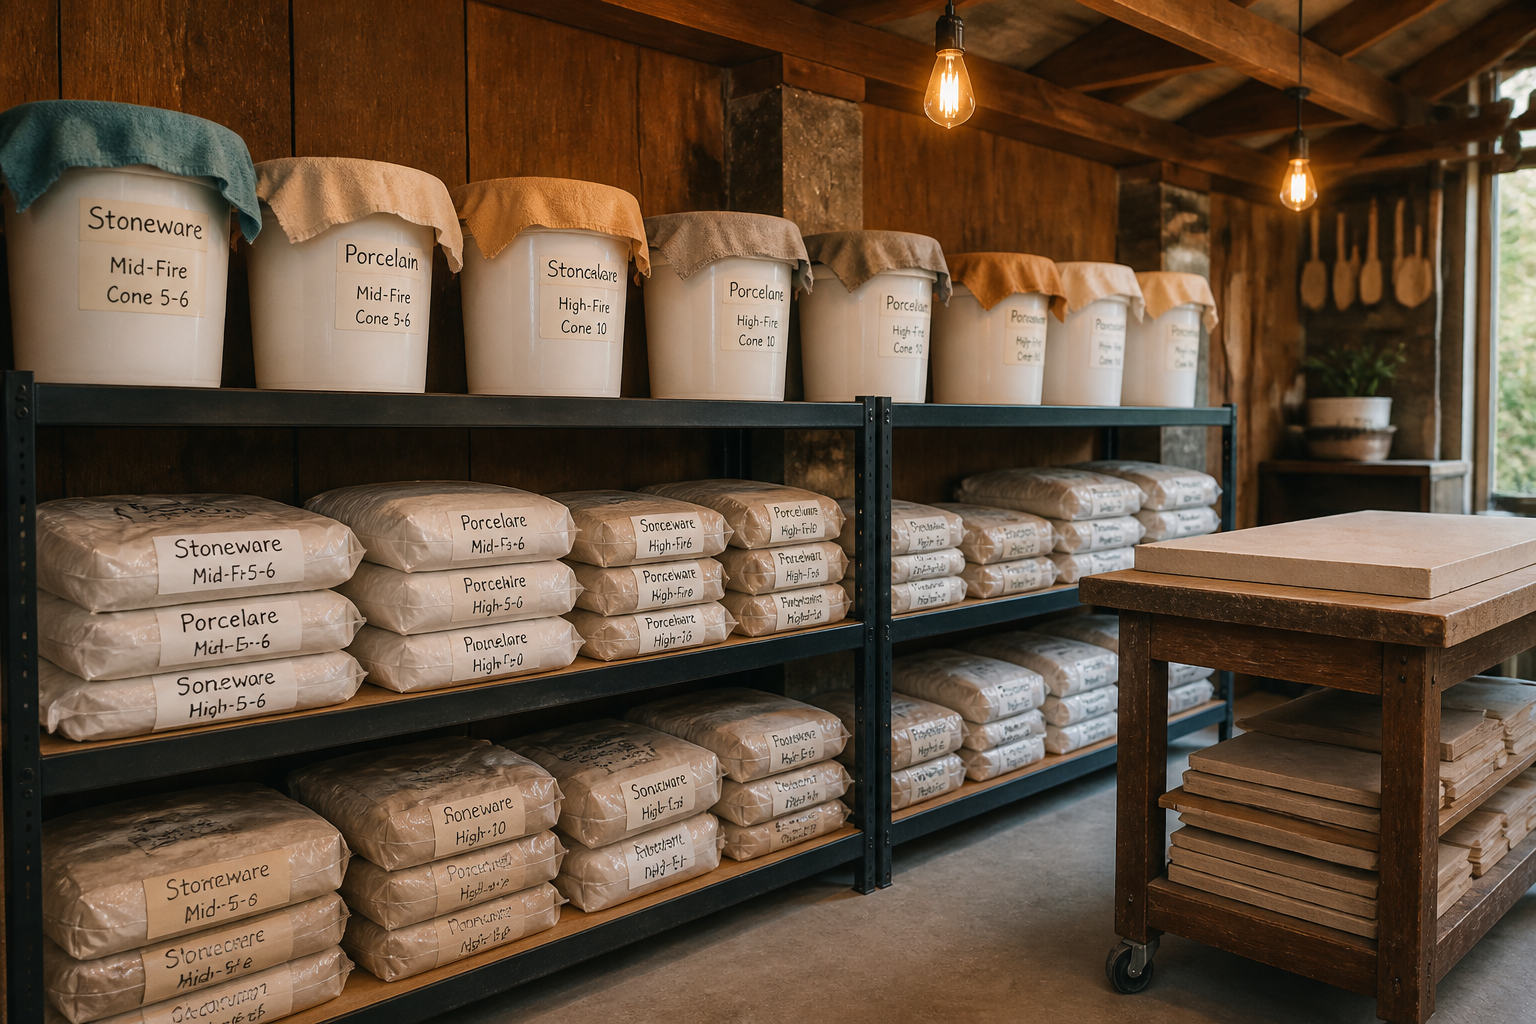
Keeping clay bags on lower shelves prevents back strain when lifting heavy materials and creates a stable storage system. The recycling station for reclaiming clay turns scraps into usable material again. This organized approach to clay management saves money and reduces waste in your garage studio.
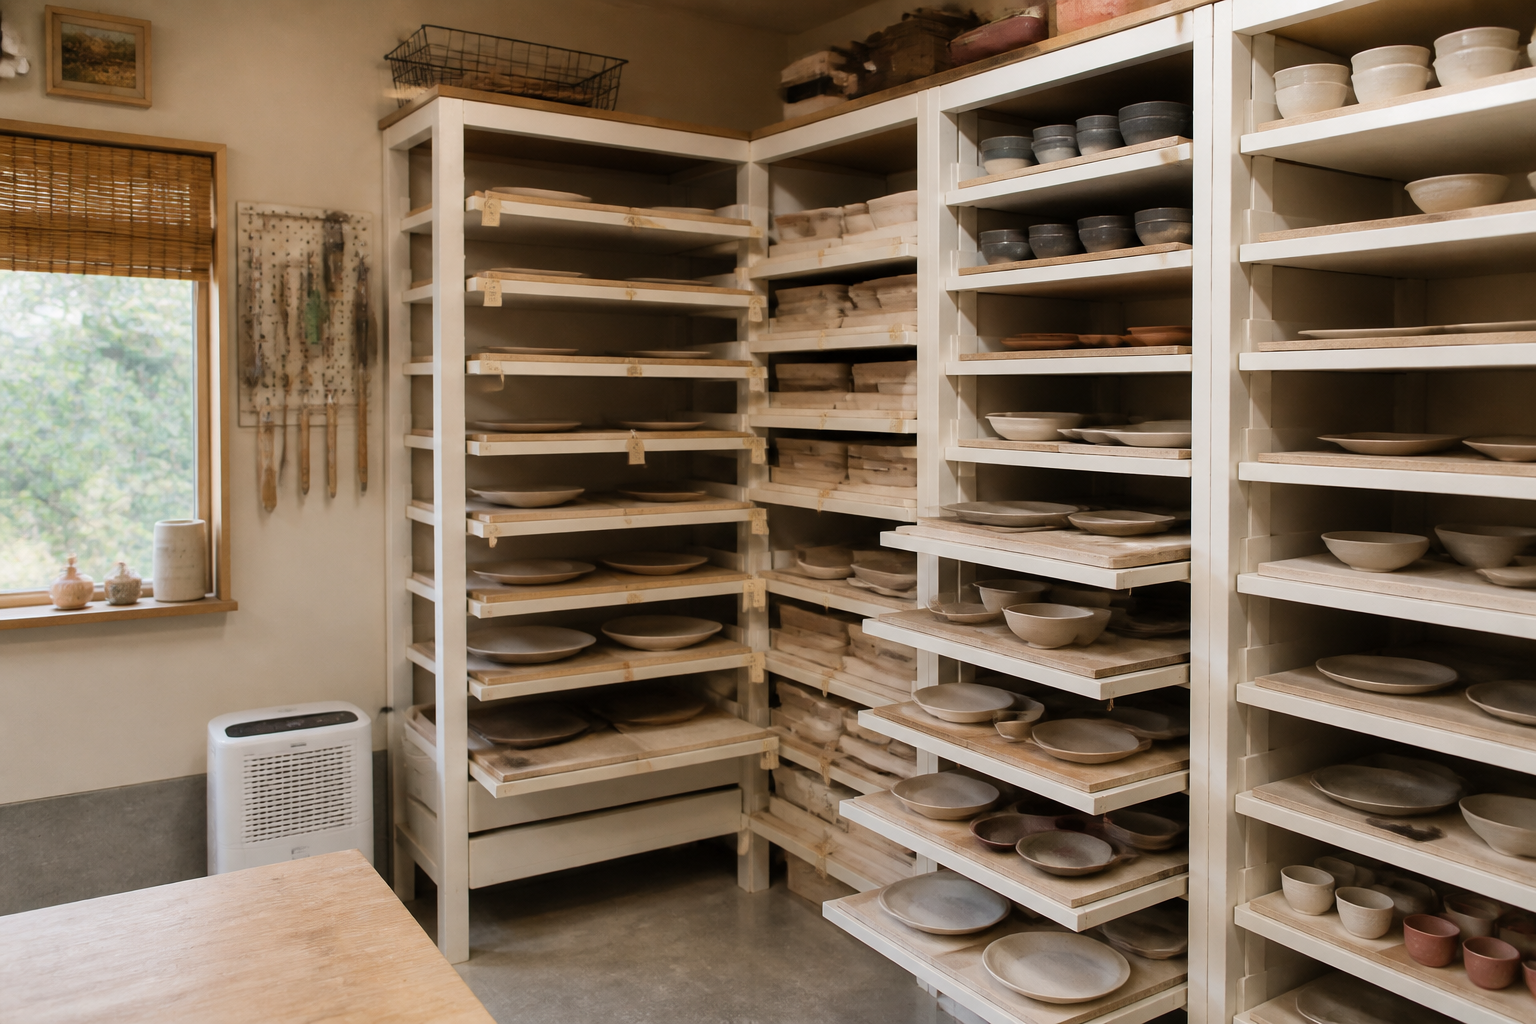
Sliding pottery boards make it easy to check pieces during drying without moving everything on the shelf. The adjustable system lets you modify shelf heights based on what you’re making, from small cups to large platters. Adding a dehumidifier gives you control over drying speed, which matters in humid climates like Florida.
Display and Sales Corners
If you sell your pottery or host studio sales, creating an attractive display area in your garage studio serves double duty. A dedicated sales corner shows customers finished work while keeping it separate from works in progress. Good lighting and simple shelving let your pottery shine without cluttering your workspace. Some potters use their garage studio for open house events, so having a welcoming display area makes these events run smoothly. The right setup can transform part of your working garage into a small gallery space when needed.
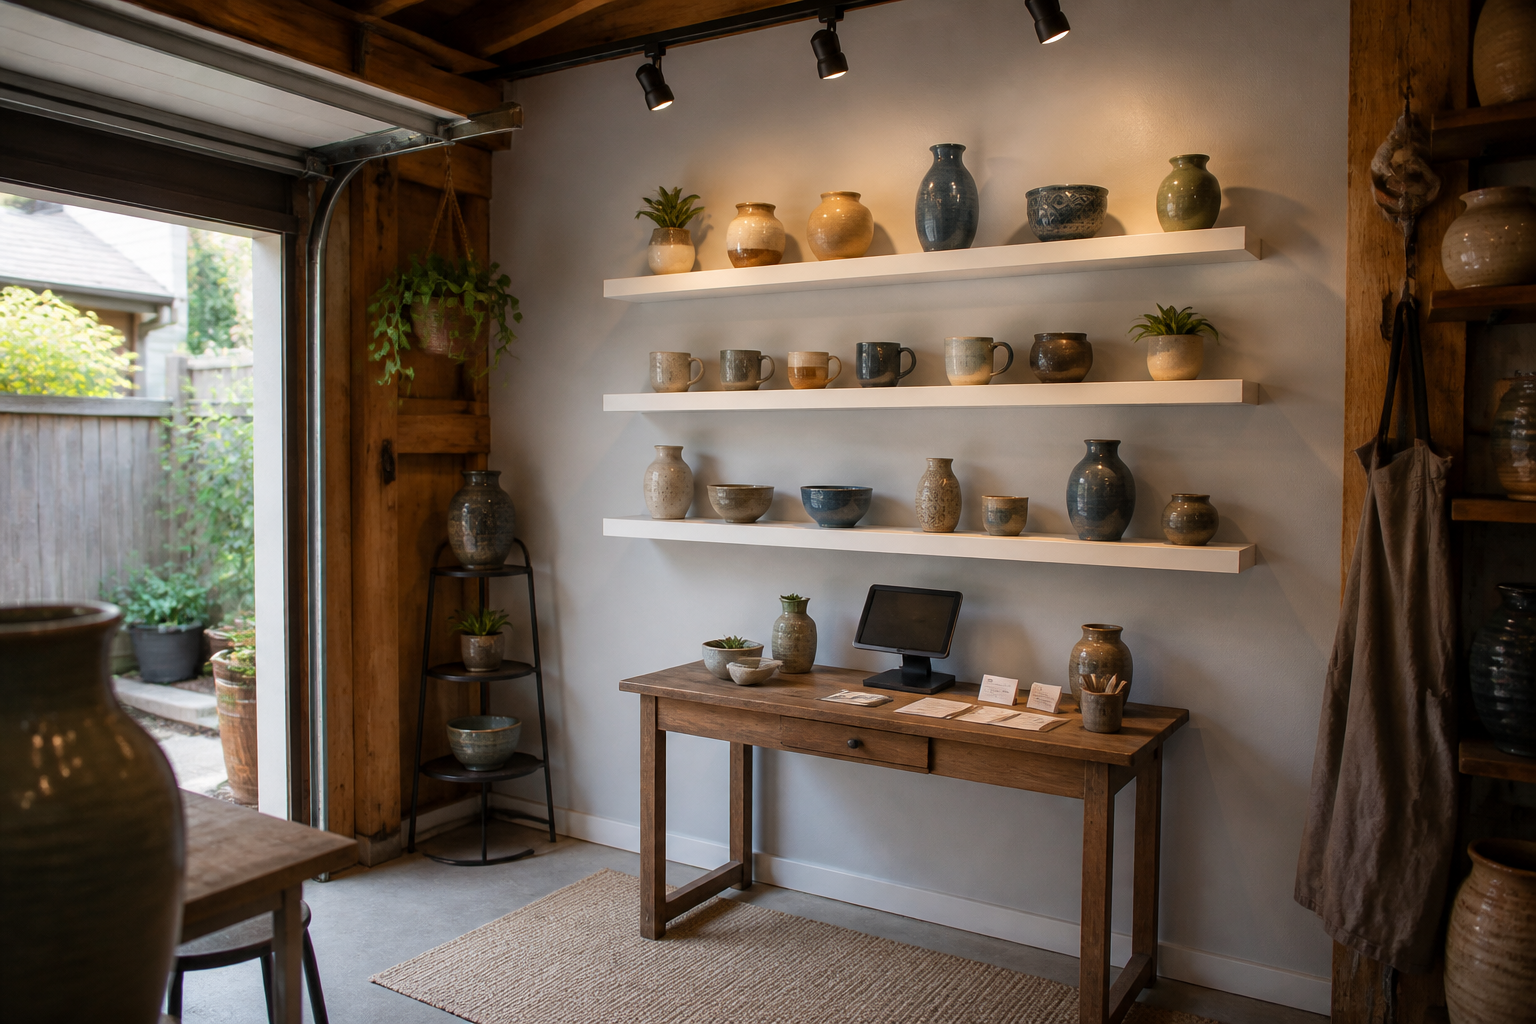
White floating shelves create a clean gallery aesthetic that makes your pottery the focal point. The dedicated sales table with business cards and digital payment options makes purchasing easy during studio visits. Track lighting adds a professional touch that elevates your garage space into a legitimate sales environment.
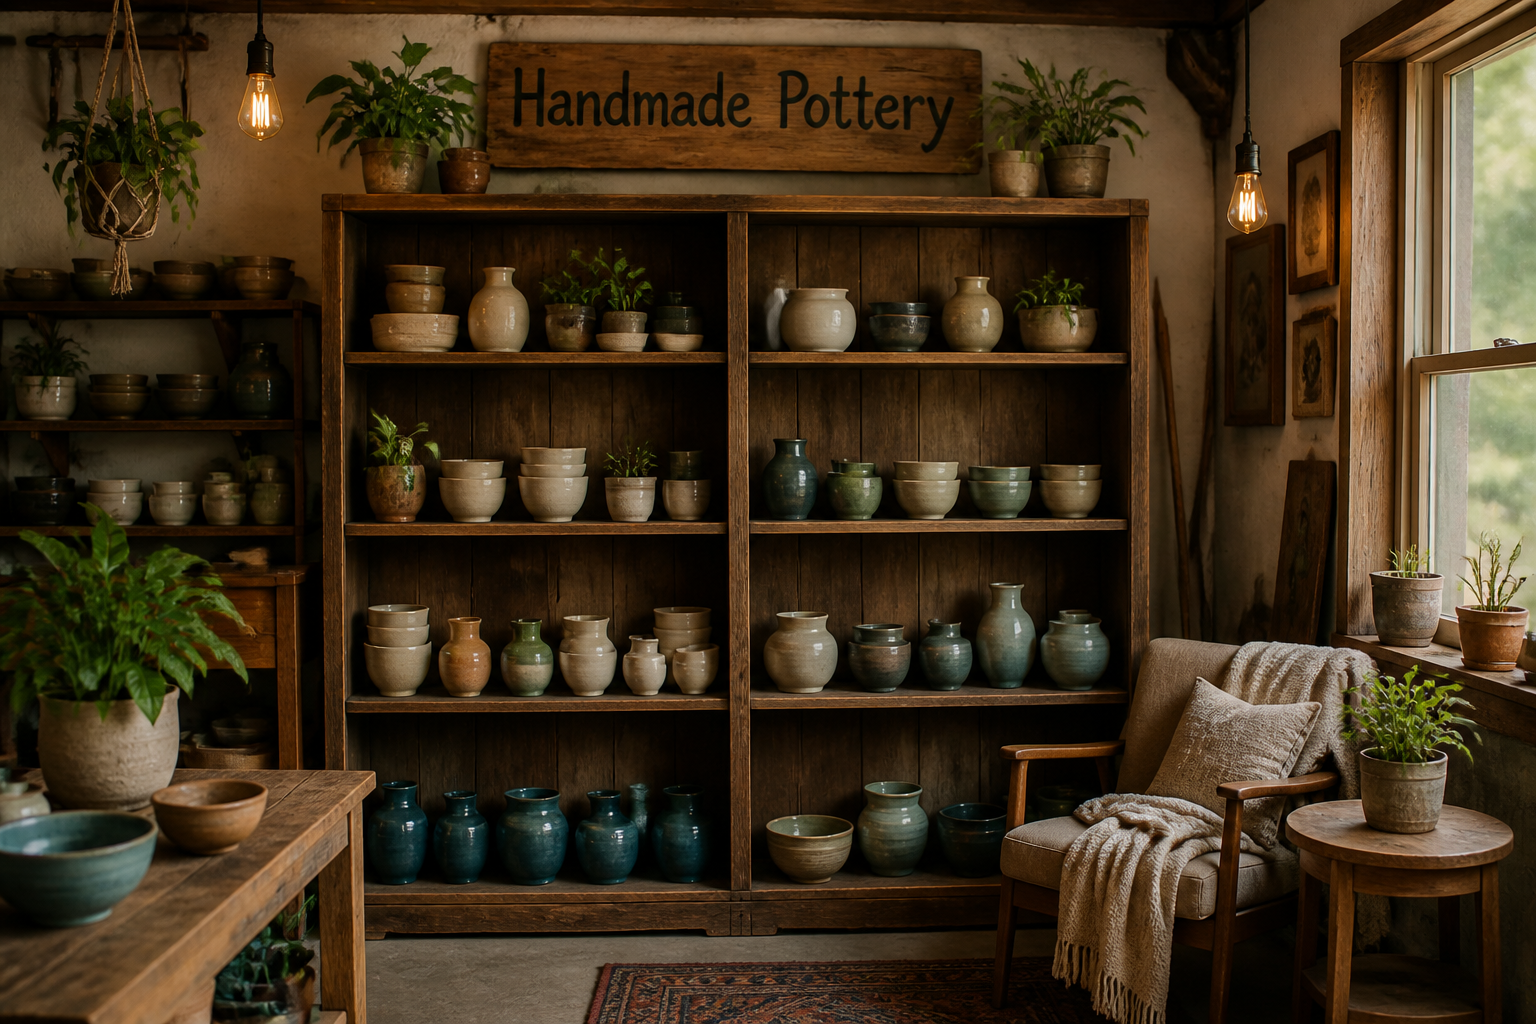
Repurposing furniture for displays adds character to your garage studio and creates a welcoming sales environment. The seating area invites customers to linger and appreciate your work. This approach works well if you host studio sales or open house events where people want to browse comfortably.
