Think of your garage door as a giant frying pan. As the sun beats down on it, the air inside your garage gets hotter and hotter. In the winter, it works in reverse, sucking what little heat you have outside.
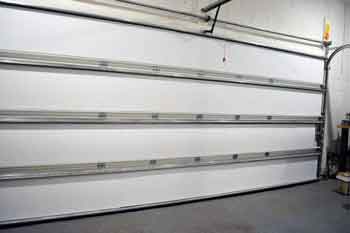
Your garage door is the single largest non-insulated surface in your home. One of the simplest (and cheapest) ways to make your garage door more comfortable is to add some insulation panels to your door.
After a good bit of research, I bought the Matador Garage Door Insulation Kit. In this review, I’ll explain why I chose the Matador insulation kit and show you how to install it.

Why I Chose Matador Garage Door Insulation Kits
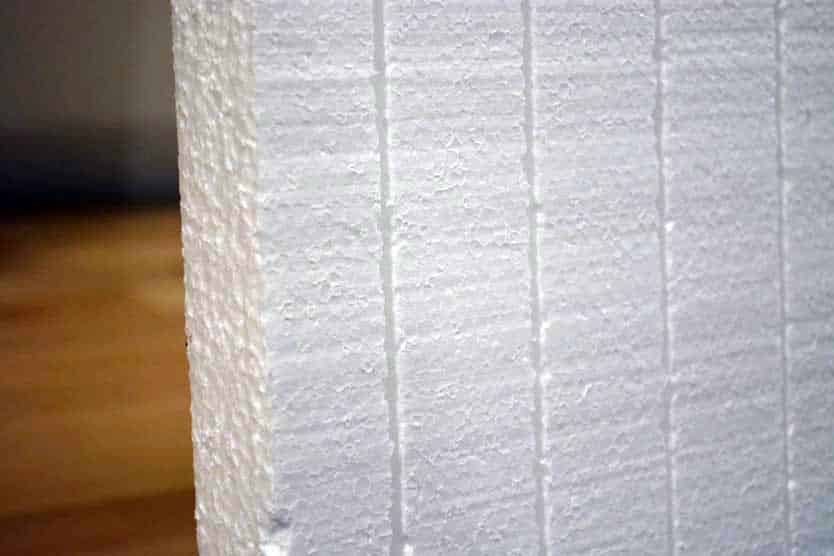
The Matador Garage Door Installation Kit includes eight polystyrene foam insulation panels and adds about 10 lbs. to the weight of your door.
The kits are designed for either 8 or 9-foot-tall garage doors. So, check the height of your garage door before purchasing.
Quick Facts:
- Panels are made from high-impact polystyrene laminate
- Each panel is 1.25″ thick and has an R-value of 4.8.
- 8-foot door panels measure 20.25″ x 54″.
- 9-foot door panels measure 23.25″ x 54″.
Rigid foam is much better than the cheaper radiant barrier insulation kits when adding insulation to your garage door.
When comparing radiant barriers to standard insulation, radiant barriers are excellent at reflecting heat but need an air gap to work.
Installing a radiant barrier directly against your garage door is all but useless.
By contrast, foam insulation can be placed right up against the garage door, keeping the summer heat out.
This makes foam-board insulation better for hot climates like Florida or Arizona.
Most insulated garage doors have an R-value of between R-6 and R-13. With an R-value of 4.8, the Matador garage door insulation kit offers slightly less efficiency than a brand-new energy-efficient garage door but at a fraction of the cost.
That’s pretty good value for the price.
What I liked
The Matador kit has thick insulation panels – about 1 1/4 inches each. This not only blocks out the heat and cold from the outside but also helps reduce vibrations in the door.
Insulated and quieter. Works for me.
I also like the finished look of the Matador kit more than other garage door insulation kits. The white foam panels slip in nicely to many garage doors, so it’s hard to tell that this isn’t a pre-insulated door.
What I didn’t
It fits nicely on many garage doors.
But not all garage doors…including mine.
I read several reviews of the Matador kit before purchasing it. None mentioned that I needed a specific garage door type. That meant I expected a more straightforward installation for the Matador garage door insulation kit than I had.
Don’t get me wrong. The installation was still relatively simple, but it wasn’t plug-and-play.

Will It Work On Your Garage Door?
Matador designs their kit from most garage door manufacturers to fit on pan-style garage doors.
A pan-style garage door is a thin layer of steel between you and the outside world. If you could see a side cutaway view of the door, it looks like an “L” shape.
If you’ve ever seen dented garage doors or doors that have been snapped in half because something ran into them, chances are it was a cheap, pan-style garage door.
Aaron Overhead Doors summarizes the differences between a pan-style door and a “sandwich” garage door.
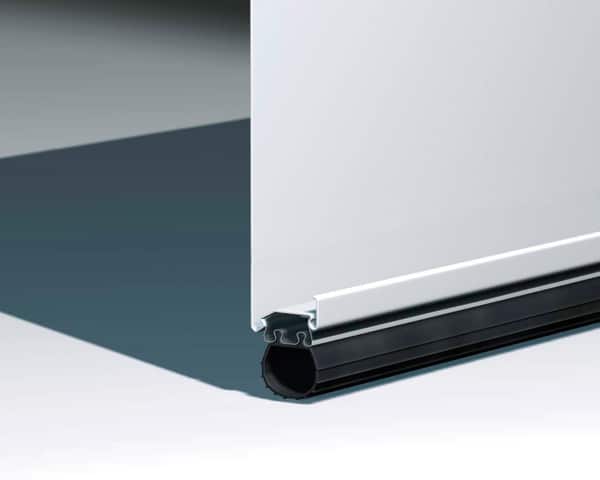
The foam panels of the Matador kit are designed to snap neatly into place, resting on the bottom metal lip.
Easy peasy, with no glue or adhesives needed.
Because I didn’t have a pan-style garage door, I had to cut my foam insulation pieces to fit and use foam board adhesive to secure them. It wasn’t a big deal but added extra time to the process.
How to Install the Matador Garage Door Insulation Kit
As I mentioned, the Matador insulation kit comes in pre-cut foam sections to fit your individual door size.
The first step is to measure the height of your garage door sections so you know where to cut.
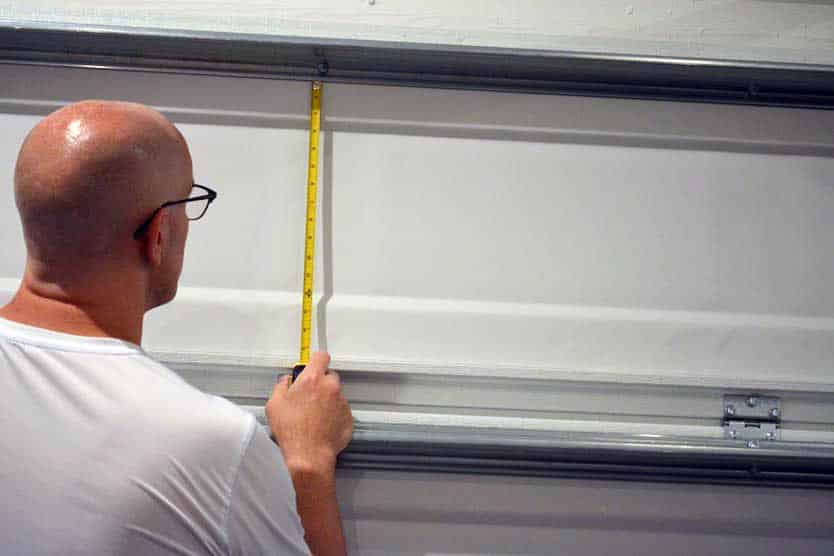
This picture shows that my garage door has a flat metal lip on the bottom of each panel next to my right hand.
From there, I measured until the bottom edge of the bare metal piece at the top of the panel.
Be sure to leave enough room for the door to move freely.
Test fit each piece as the garage door opens and closes – especially if you’re using adhesive.

Once you’re sure about the clearance and have everything measured correctly, it’s time to start cutting.
You’ll want a sharp extending blade knife, which costs between $3 and $5 at any hardware store. I used the same knife to cut my Kaizen foam inserts for my tool drawers.
Alternatively, if you’ve got a hot wire cutter, now’s an excellent time to use it.
Whether you use a knife or a hot wire, be sure to go through the foam on the first cut if possible.
That gives you a much smoother cut.

The cuts won’t always be straight, but you can get them close with some practice.
Another good tip is to use a drywall T-square to help you get perfect 90-degree cuts.
If you have a pan-style garage door, you can bend the foam panel slightly and snap it into place. You’ll be able to install the entire door in about 30 minutes.

Since I needed to use foam board adhesive, I applied it liberally on each foam section.
But…I soon realized the garage door would only contact the foam at the top and bottom edges.
The lesson is to pay attention to where your foam panel will contact your garage door so you don’t waste adhesive.
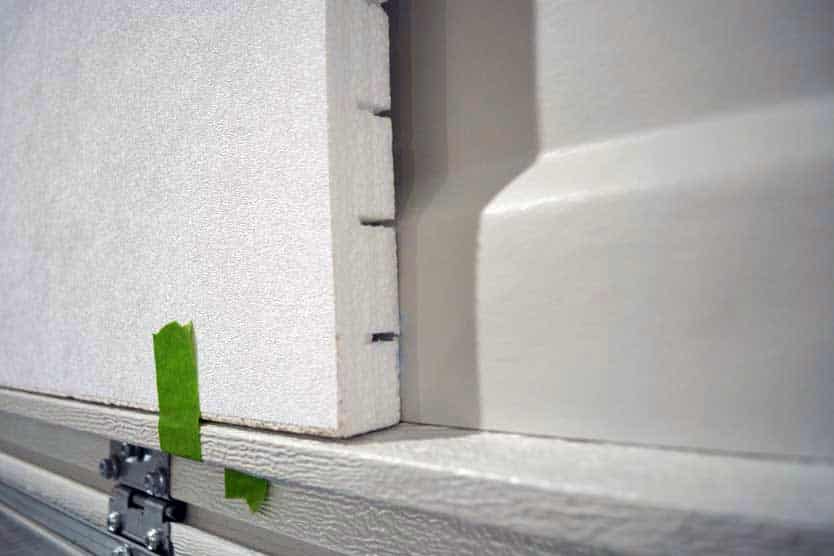
After the panel was in place, I added painter’s tape to help keep it secure while drying.
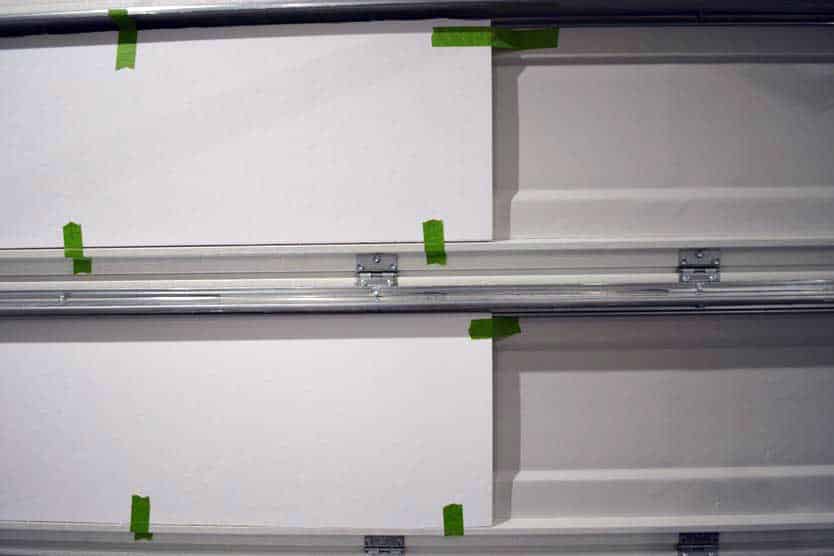
Once the first pieces were installed, I waited overnight while the adhesive dried completely. This made the installation take longer, but it allowed me to use painter’s tape to ensure the pieces stayed in place.
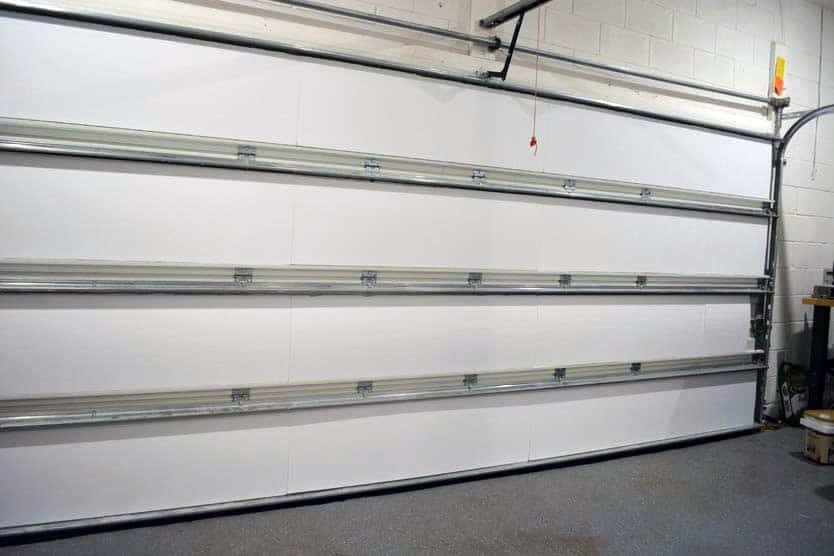
Eventually, all the pieces were in place, and my door was finished.
Wrapping It Up
Overall, I like the way the Matador Garage Door Insulation Kit looks. It’s hard to see the seams in the panels at a quick glance, so it seems pretty cohesive.
I’ve got an 8′ tall, two-car garage door, so I needed two Matador kits. I used all but three panels in both kits.
Provided you have the correct type of garage door, complete installation takes less than one hour.
Garage door insulation kits will add extra weight to your garage door. In this case, it’s an additional almost twenty pounds. Depending on your garage door opener, you may need to adjust the torsion spring afterward.
The final cost was around $200, counting the two tubes of construction adhesive.
Overall, this has helped keep the temperature inside my garage about twelve degrees cooler than the outside air during the summer. That should significantly reduce my heating and cooling costs over time.
Proper insulation and cooling are all about making small changes. Eventually, those changes will add up and make your garage much more comfortable to work in.
Check out my article here for an overview of garage door insulation!