
Nothing annoys me more than opening a drawer and watching everything slide around. In one instant, my tool organization was ruined.
Foam inserts are nothing new. Mechanics have been using them for years. I first used them to hold and transport painted miniature figures back when I played Dungeons & Dragons in college.
It’s a fantastic idea, but I never thought to use it to organize my toolbox.
I should have, and so should you.
What is Kaizen Foam?
Kaizen foam is made by a company called FastCap.
Like other foam products, it helps keep your hand tools organized and accessible. Unlike tool drawer liners, Kaizen foam will keep your tools from shifting around during transport or when you open the drawer.
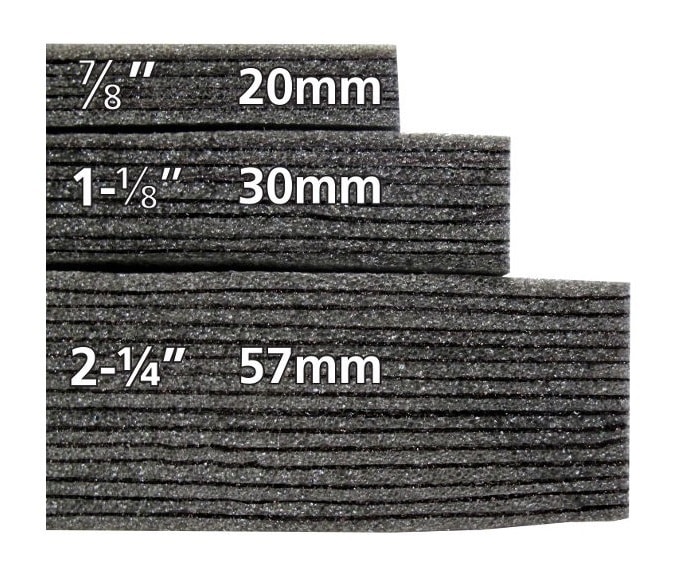
Kaizen foam sheets are stacked in layers, allowing you to get the perfect fit for your toolbox.
The layers peel away easily to get the correct depth, allowing all your tools to sit flush with the top of the foam.

FastCap originally started on an idea for peel & stick covers for screws.
Since then, they’ve branched out to other adhesive products and organization tools. They also have several Lean Products designed to increase efficiency.
If you’ve ever taken a business class, you’ve probably heard the term ‘Kaizen.’
It’s a Japanese word describing a philosophy for “continuous improvement” at every level of an organization and finding efficiencies wherever possible.
Keep that concept of finding efficiencies in mind as you read the rest of this article.
- 2 foot by 4 foot, 57mm-thick sheet of foam provides plenty of material for any shop; Dimensions (L x W x H): 49.8 x 25 x 2.8 inches
- Layered design lets you peel away 1/8-inch at a time to fit your drawer depths and tool sizes
Choosing the Right Kaizen Foam Sheets
Kaizen foam comes in large 2′ x 4′ sheets that must be cut to size. The only difference is in the depth of the sheets and the color.
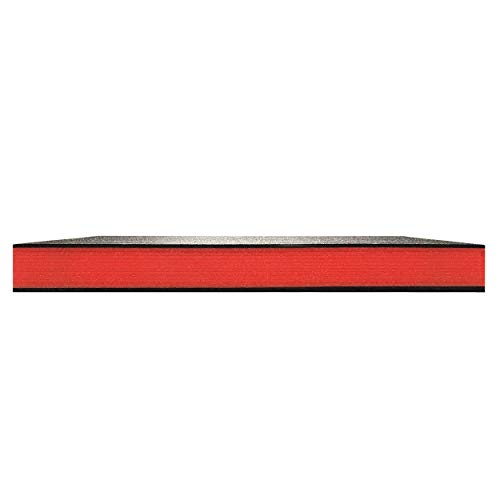
There are only two color options: solid grey and grey with white foam underneath.
The grey\white foam will look grey on the surface, and the white will show through when a tool is missing.

I went with the grey foam, but I’d likely choose the grey & white combination if I had to do it again.
It makes it easier to instantly see when a tool is missing, and the white shows fewer imperfections than the grey.
You want to choose the foam width that matches your tool drawer’s width. If you have a different size, it’s possible to filet the foam to trim off the excess, but it’s not that easy (or neat) a process.
I know this because I ordered the wrong size and had to trim it down.
It worked, and you can’t tell once the foam is in the drawer, but it was messy.
Tools You’ll Need to Cut Kaizen Foam
I hate the ” specialized tools” that companies want you to buy with their product.
They’re usually just a cash grab to add some high-margin accessory to your purchase.
This time, they’re actually beneficial.
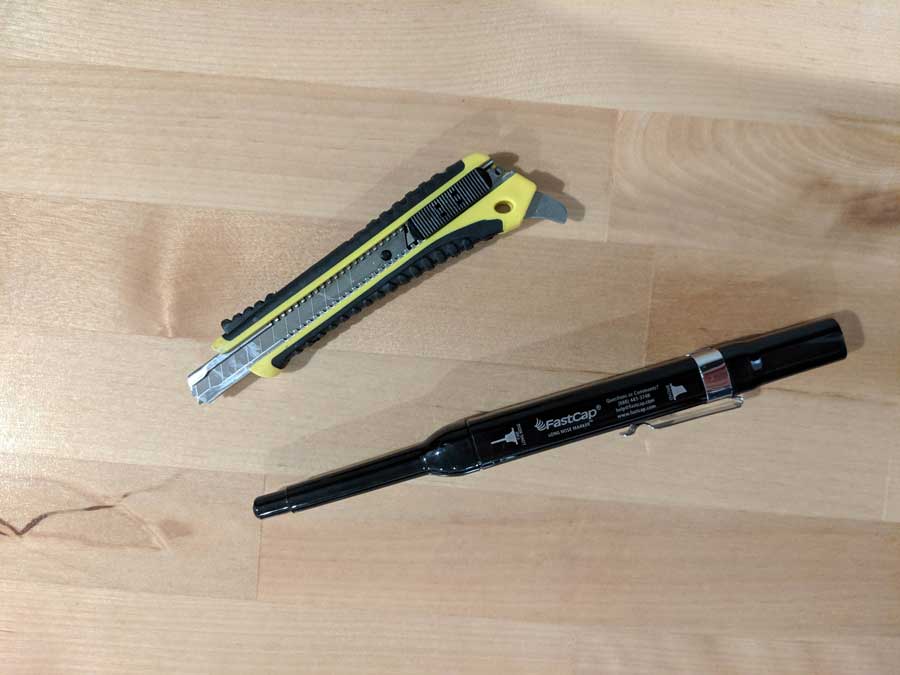
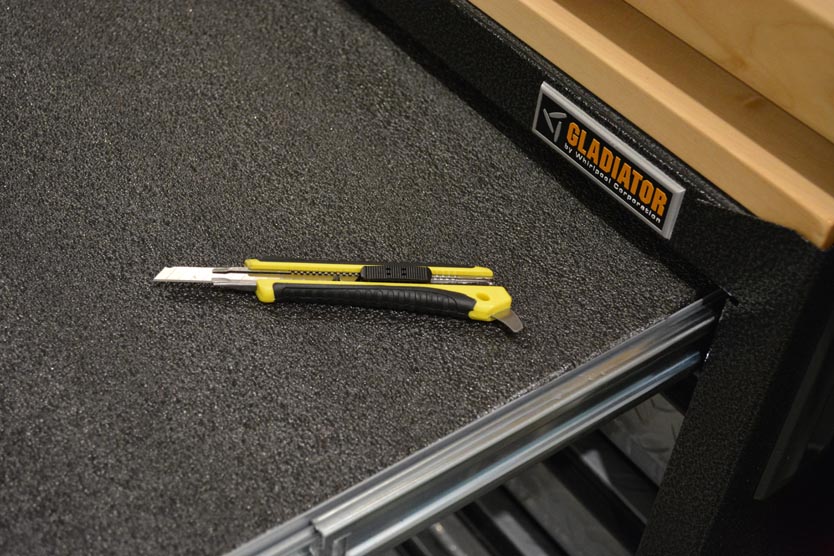
The knife is a standard utility knife with a snap-off blade that extends several inches outside the handle. It’s identical to the utility knife you probably already have in your toolbox.
The only requirement for your knife is to have a blade that extends out farther than the height of the tool you’re cutting a hole for.
That usually means at least an inch to an inch and a half.
Pick one up if you DON’T have a good utility knife with an extending blade or an old knife with a dull blade. It’s a good, inexpensive alternative for custom-cutting Kaizen foam.
The long nose marker is a must-have.
It’s available in black, silver, and gold. I’d go with the silver because it shows up better on the grey foam than black.
Don’t worry about how it will look once you finish. The marker can easily be wiped off with a damp cloth after cutting.
The marker is double-sided, although you’re never going to use it. The long-nose side extends 1 1/8th inch past the marker so you can press it against the tool.
I highly recommend the marker because It’ll make your job much easier.

How to Cut Kaizen Foam to Achieve Maximum Organization
By this point, you’ve picked the proper foam depth, it’s arrived, and you’ve got your tools ready.
Time to start!
Step 1: Measure your drawer
Since Kaizen foam comes in long sheets, you’ll need to cut the foam to fit your drawer.
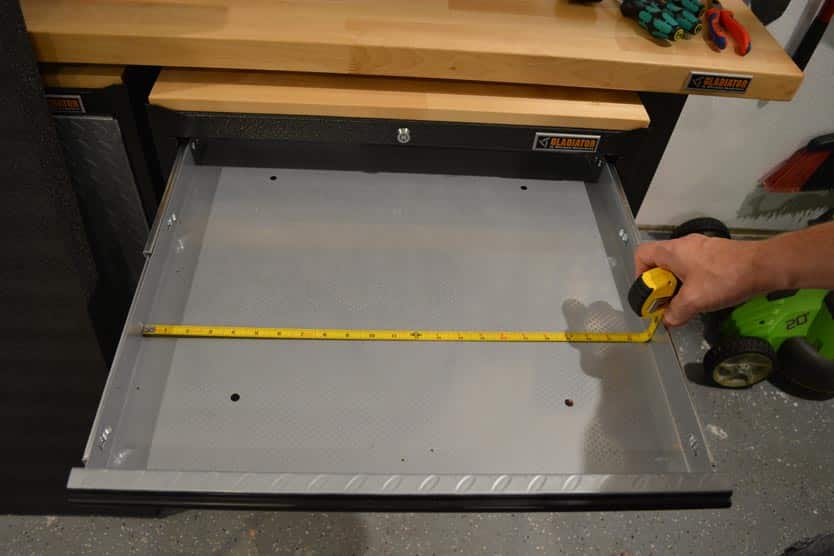
If you’ve already got a rubberized mat on the bottom of your drawer, remove it. The foam will sit flush on the bottom of the drawer, so you don’t need it anymore.
Since my Gladiator Premier GearDrawer didn’t have 24″ drawers, I had to make two cuts in the foam (already there are wasted pieces).
It’s no big deal, just extra work on the first step. I’d be surprised if your tool case wasn’t the same way.
Step 2: Cut the Kaizen foam to fit
To make the cuts:
- Measure off the width of the inside of your tool drawer.
- Make two marks on the Kaizen foam at those lengths – one on each side.
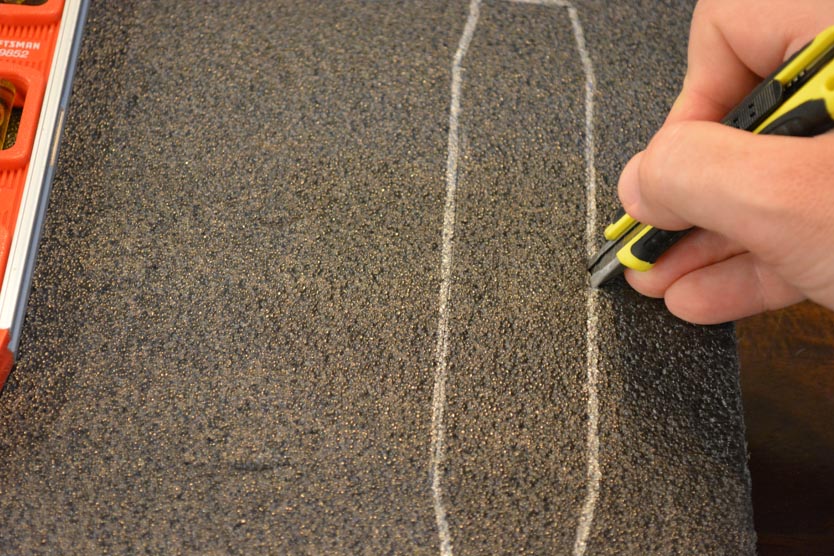
- Take a long level or ruler and trace a straight line between the two.

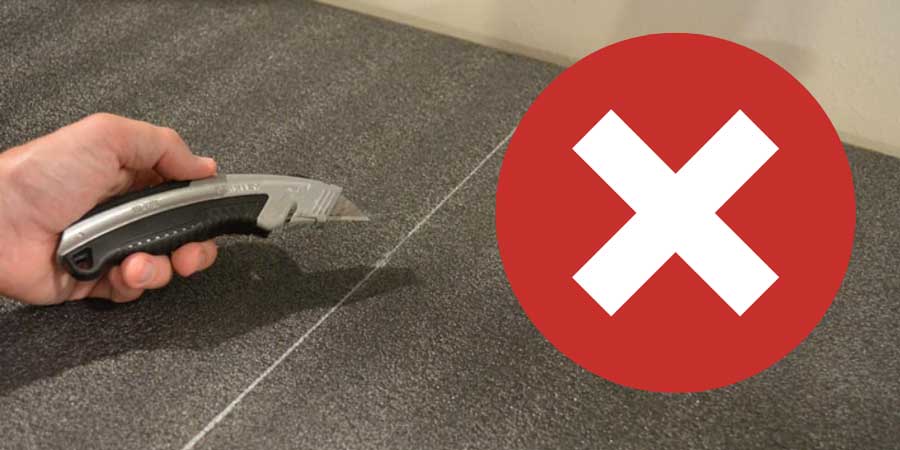
Your first instinct is to make a shallow cut, just to be sure you’ve got the line straight.
Don’t do that.
Trust that the line you’ve drawn is straight (you used a straightedge, after all), and go for it. Cut the whole way through the foam.
The reason is that you’ll get a much cleaner cut if you cut all the way through the foam once instead of trying to saw your way through it bit by bit.
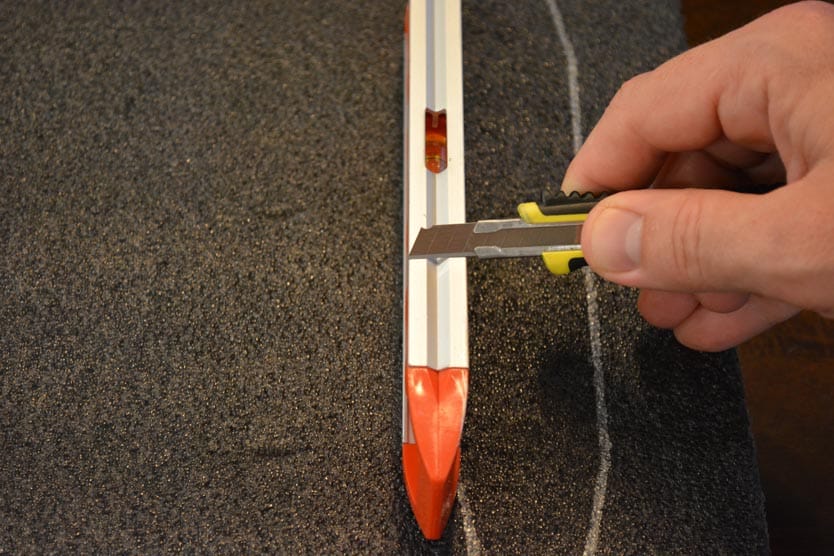
This is where the extending blade comes in handy.
This is also where I learned not to use a utility knife with a dull blade. Yup…that edge is going at the back of the drawer.
Step 3: Test fit the foam in the drawer
This isn’t a step by itself, but you’ll want to test fit the Kaizen foam in the drawer before you put all the work into cutting around your tools.
The foam should fit snugly in the drawer and not overlap anywhere.
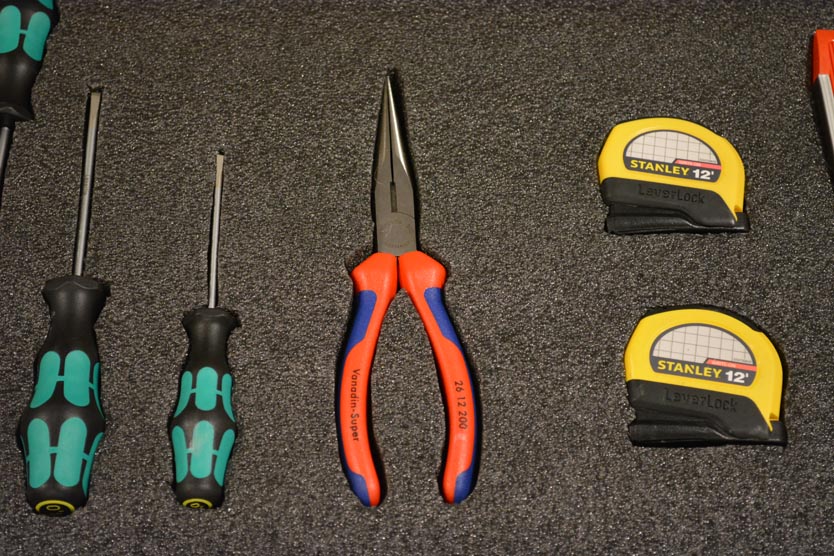
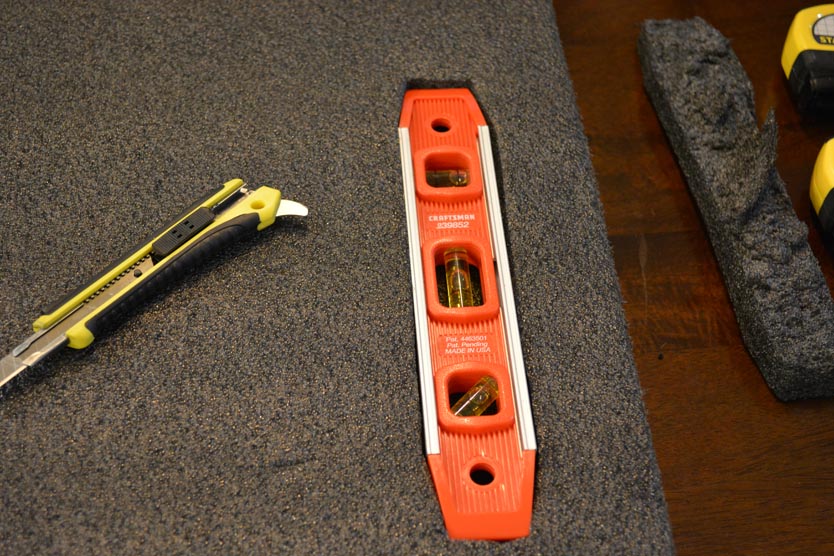
Step 4: Trace your first tool
I recommend starting at one of the corners. Use as simple a tool as possible.
Leave the screwdrivers, wrenches, and ratchets for later once you know how to make your cuts.
I started with a small Craftsman level, which is almost entirely rectangular except for the sloped edges.
When drawing your outline, hold the marker straight up and down to get as tight a shape as possible.

Step 5: Make your first cut
Here’s another place where the extending blade comes in handy.
You’ll want to cut just as deep as it takes to let the tool sit flush with the top of the foam.
A good way to do that is to lay the tool on its side and extend the knife blade as far as I need.
This lets me cut right to the blade guard and get a consistent depth all the way around.
Be sure to cut inside the lines so there’s a tight fit.
Step 6: Pull out the excess foam
The layered foam makes this step easier, which is the big selling point of Kaizen foam over anyone else.
You want to dig your fingers as deep as you’ve made your cuts.
That way, you’re pulling all the layers out simultaneously rather than one at a time.
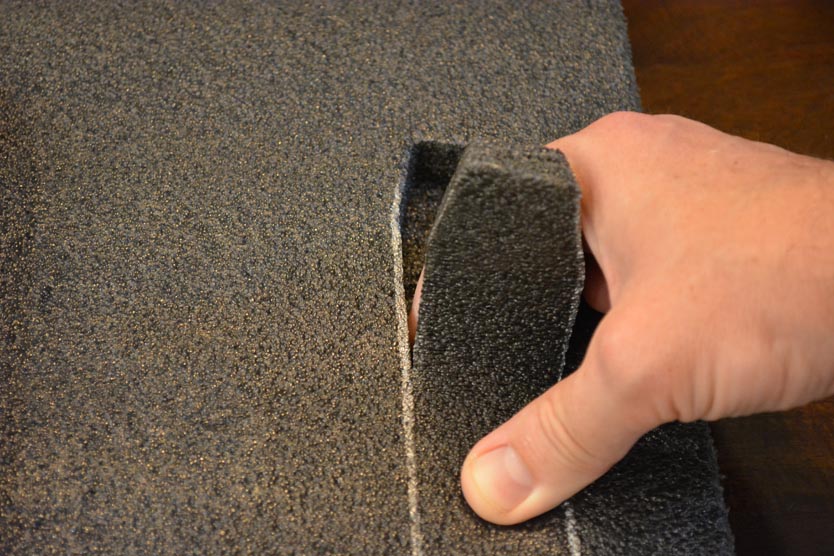
Once the foam separates, pulling out the entire piece is effortless.
Throughout the entire project, I didn’t have any pieces that broke apart other than where I cut them.
Once the main piece is pulled out, take a moment to check the edges and clean up any lines and stray bits of foam in the bottom of the hole.
Step 7: Clean up
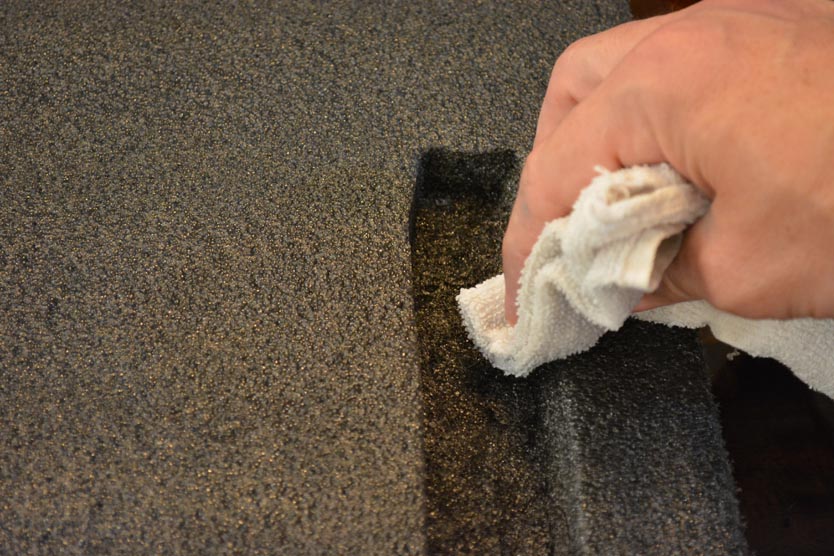
The FastCap marker is easy to clean up with a damp cloth.
You can use the markers as much as you need to make it look perfect.
Step 8: Repeat…
Cutting the perfect spot for that single tool took about 15 minutes from start to finish.
More intricate tools will take longer, but you can’t argue how cool it looks when you’re done.
Tool Box Organization Tips & Tricks
I like to keep it honest here. There are a lot of home improvement projects that are a lot of fun.
This isn’t one of those projects.
- Always buy more than you need. You’ll have wasted pieces or find other places where you want to use them.
- Their long-tip marker is actually worth it.
- Their knife is ONLY worth it if you don’t have another thin utility knife, preferably with snap-off blades. Box cutters or utility knives are horrible for this.
- Take pictures of a couple different layouts. It’s a great reference tool while cutting and lets you try different options side-by-side.
- You’ll never cut a straight line all the way through, so you better have a sharp blade.
- Hold the marker straight up and down. If you hold it at an angle, you’ll cut too small a hole, and your tool won’t fit.
- Always make minor adjustments. Don’t cut too much at once.
- When you’re pulling up the foam after you cut, try to keep the first plow intact. It’s easier to pull up in one big chunk and…
- You can fillet the cut foam and use it as a base if you want a smooth bottom to the tool cavity.
- All those videos showing how easy it is to cut the foam are complete BS. Remember that those videos show people who do this for a living and have done it hundreds of times. You’re going to struggle.
Kaizen Foam Alternatives
FastCap doesn’t make the only tool organization foam.
A couple of the more popular alternatives are Shadow Foam and Kaizen Inserts. I’ll explain each briefly and why I went with Kaizen Foam from FastCap.
Shadow Foam is based in the UK but ships worldwide, so it didn’t bother me. What I liked about them is that they have several different color options (blue, red, black, grey, purple, green, orange, and yellow). If you’re going for a specific color scheme in your garage, you can keep that going even in your tool drawers.
While the colors are fantastic, I’m going for a more subtle look in my garage. Also, they didn’t have the same layered foam as FastCap, so Shadow Foam looked harder to use than Kaizen Foam.
Kaizen Inserts looks to use the same foam that FastCap does. Still, I included them on the list because they have some really cool tools like the Kaizen Holester that helps to cut symmetric finger holes in your foam sheets.
Their combined “Kaizen Cut Kit” seems too expensive for what you get, but the Holester appears like a great idea.
The Verdict
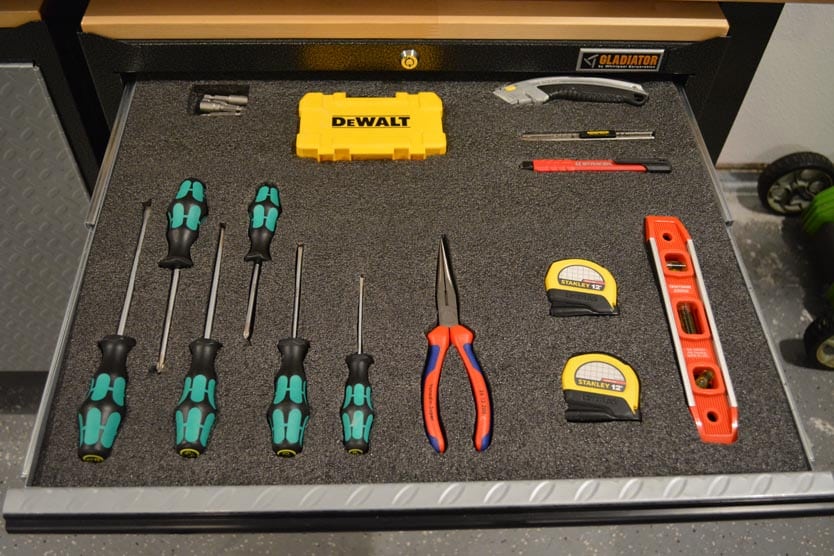
I’m thrilled with my Kaizen foam drawer. My tools are much more organized than before and don’t slide around when I open and close the drawer.
It’s easy to see when a tool is missing, although the grey & white foam would be even easier. If I had the choice again, I’d go that route instead.
The process isn’t as easy as all the videos on YouTube make it seem, but remember that those people have been doing this dozens or hundreds of times.
Even though it may not be as easy as advertised, it’s an incredible way to keep your tools organized. I highly recommend FastCap Kaizen foam for anyone, not just tool guys.
