If you plan on heating or cooling your garage, you must have as much insulation as possible.
We’ve previously discussed insulating your garage door and walls, but what about the ceiling?
Garage ceiling insulation is a no-brainer if you have living space above your garage or a roof that traps the heat.
But is insulating your garage ceiling right for you?
Let’s look at some of the benefits and give a brief overview of the installation process.

Should You Insulate Your Garage Ceiling?
Garage ceiling insulation can be very beneficial. Best of all, you don’t have to spend a lot to see the impact.
Here are what I think are some of the most important ones:
- Insulation is the only way to keep the heat out: Your garage is the largest non-insulated space in your house. I’ve talked a lot about insulating your garage door. Still, keeping your garage ceiling insulation dialed in and efficient is essential, too.
- Heat rises: If you have living space above your garage like I do, that heat will go straight through your garage ceiling into the floor above. That can quickly increase the overall temperature by several degrees in the summer. That adds to your air conditioning bill, especially if you use a portable air conditioner in your garage.
- Insulation is an excellent sound barrier: Whether you use your garage for making music, storage, parking cars, or working out, a little less noise sound-deadening insulation will be perfect for everyone else in the house.
- Insulation often raises the value of a home: Having a well-insulated home can often mean the difference between a potential buyer choosing your home or your neighbor’s. It’s a simple, quick, and cheap way to improve your home’s value.
- Increases the life of the roof and the floor above it: Drastic temperature changes can expand and shrink the wood and drywall in your home.
To me, that’s enough reason to insulate the roof of your garage.
Better yet, many homeowners who’ve completed the project point to this as one of the cheapest home modifications you can make.
How to Choose the Garage Ceiling Insulation for Your Home
When it comes to insulating your garage ceiling, not all materials are created equal. Each type of insulation comes with its own pros and cons that can significantly impact your garage’s efficiency and budget. Here’s a quick dive into some common types of insulation and what they bring to the table.
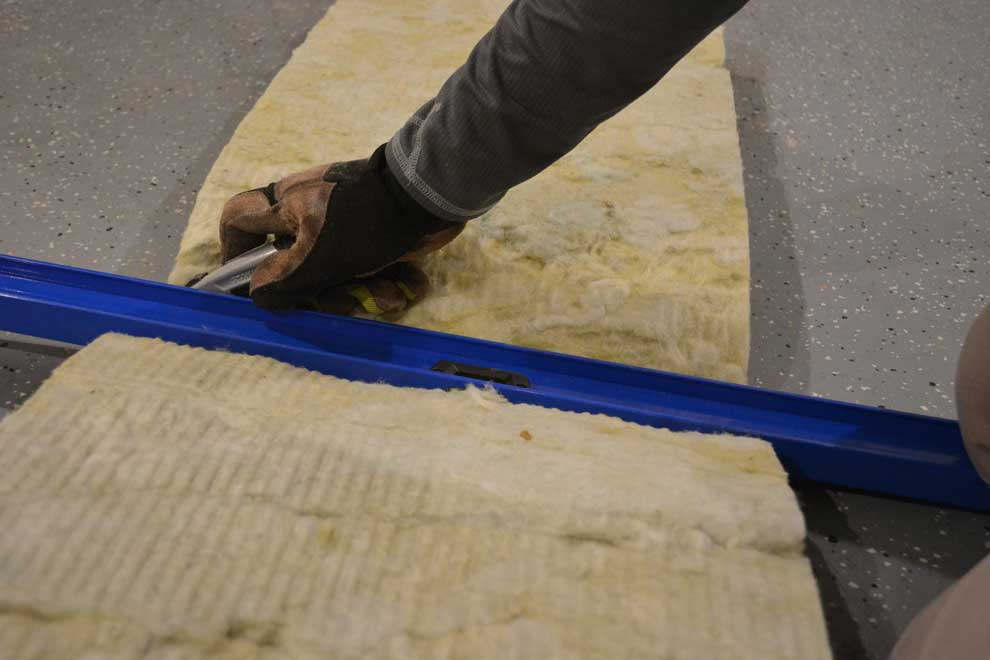
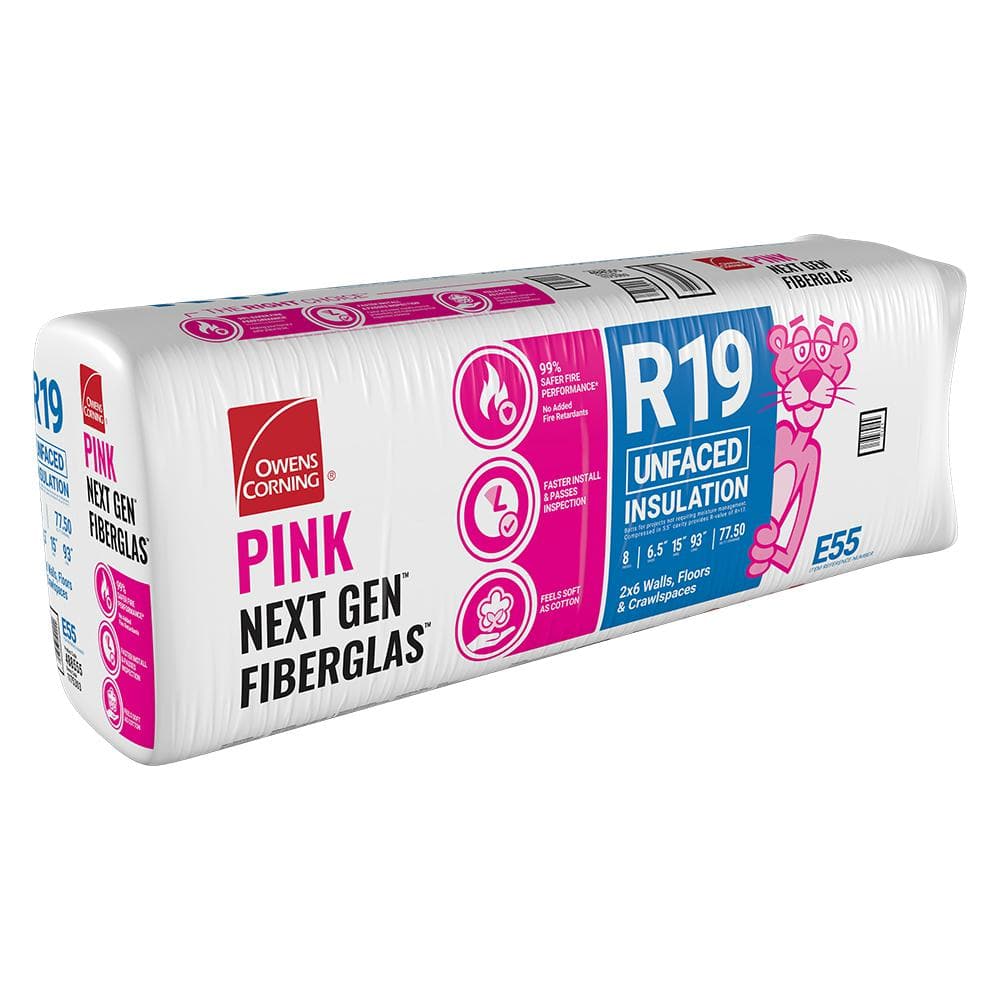
- Fiberglass Batts or Rolls: Fiberglass batts are a popular choice and are easy to install and budget-friendly. However, they’re vulnerable to moisture and pests and can sag over time.
- Blown-in Cellulose or Fiberglass: If you’ve got irregular spaces or gaps to fill, blown-in insulation works wonders. However, it calls for specialized machinery and professional installation. Also, keep in mind that it may settle over time.
- Rigid Foam Boards: These are great for being lightweight and moisture-resistant. Yet, they need cutting for a precise fit, and even then, gaps can appear between panels.
- Spray Foam: While expensive and requiring professional installation and proper ventilation, spray foam is a powerhouse. It’s the most effective and durable option available.
What to Consider for Your Garage Ceiling Insulation
- Desired R-Value: This measures insulation effectiveness. According to Energy Star, most U.S. attics need an R-value between 30 and 60. Your choice will depend on your local climate and the insulation levels in the rest of your house.
- Space and Clearance: The size of your garage ceiling may limit your insulation options. Rigid foam boards work well for thin walls and doors. Spray foam expands to fill any space, offering more flexibility.
- Budget and Skill Level: Your wallet and willingness to roll up your sleeves will also guide your choice. If you’re handy, go for a DIY option like fiberglass rolls. On the flip side, hiring a pro for spray foam insulation might be worth the investment for long-term benefits.
Garage Ceiling Insulation Process
If you’re the DIY type, I want to give an overview of how you’d add insulation to your garage ceiling.
This isn’t meant to be a ‘how-to’ guide. Instead, consider it a way to determine if you should DIY it or hire a professional.
First, let’s look at some of the stuff you’ll need.
Tools and Materials
Before you start, you’ll need to gather a handful of supplies. Insulating your ceiling can be finished in a day, but I still recommend having a helping hand or two.
Supplies:
- The Right Garage Ceiling Insulation: Spray foam, insulation batts, cellulose, injection foam, or whatever other insulation you prefer. Each has pros and cons, so do your research beforehand. Humidity, temperature, and packing all change the effectiveness of each material.
- Standard tools: This will vary depending on whether you have a ceiling in your garage and what type of ceiling it is. Expect to need cordless screwdrivers, cordless drills, and a hammer.
- An A-frame ladder or scaffolding: Scaffolding is always a safer choice, but it can be a bit pricey for such a quick and easy job. Another option is to rent some scaffolding from your local big-box store.
- Safety goggles, gloves, and long-sleeve clothing: Itchiness and irritation are common side effects, regardless of material. I also recommend grabbing a safety mask to prevent fiberglass from entering your lungs.
- Vapor barrier: A vapor barrier is a plastic or foil sheet that helps block moisture from collecting where you don’t want it. Without it, mold and bacteria can form throughout the garage, including inside the insulation. Once mold starts to grow, you’ll have to rip out everything and start over again.

How to Insulate a Garage Ceiling
Once you’ve got all the materials you need, it’s time to get started.
- Remove everything from inside your garage: Insulation is messy, and you don’t want to get any of it on your valuables. Fiberglass has a tendency to get caught in weird spaces!
- Locate all electrical boxes: Make sure they have room to heat up without causing a fire hazard. There should be plenty of space around all wiring and other electrical parts.
- Install the vapor barrier: Remember, a vapor barrier is just as important as the insulation. If there’s any condensation or mold on the surface, remove it before installing the vapor barrier.
- Place your garage ceiling insulation snugly against walls and rafters: Batt insulation can be moved around if it doesn’t overlap another piece. If you overdo spray foam, you can cause gaps in the insulation. Most importantly, never allow gaps or spaces between any insulation.
- Replace your ceiling panels.
That’s all there is to it!
Adding insulation is one of the most straightforward projects you can do around your house. Check out my overview of how to insulate a garage here.
Common Mistakes
As with any project, there are some common mistakes to watch out for when insulating garage ceilings:
- Mind the gap: Insulation needs a small amount of air to work properly. If you tightly pack fiberglass insulation together, it’ll lose its effectiveness. Batt insulation needs small air gaps between the fiberglass to help block outside temperatures.
- Stay safe! Use proper safety equipment. Seriously. Fiberglass is itchy, so wear long sleeves and gloves. Safety glasses keep small particles out of your eyes, too.
- Using too little insulation: Insulating is one job where you can’t cut corners. Overlapping, gaps, and excessively thin insulation will all cause problems down the road.
- Insulating over an electrical box: This should go without saying, but covering up an electrical box is a fire hazard. Don’t do it!
- Use flame retardants if building codes require it: Some garages require flame retardants to be installed in addition to the insulation. Make sure you check local fire codes before you start working.
- Don’t skip the vapor barrier! Nothing is worse than needing to redo a project because there were problems down the line. Vapor barriers help control moisture and let your insulation do its job: control temperature & deaden sound.
These may seem like simple mistakes, but they’re all too familiar.
If you’re not confident in your ability to install garage ceiling insulation yourself, you can always hire someone else to do it for you.

