

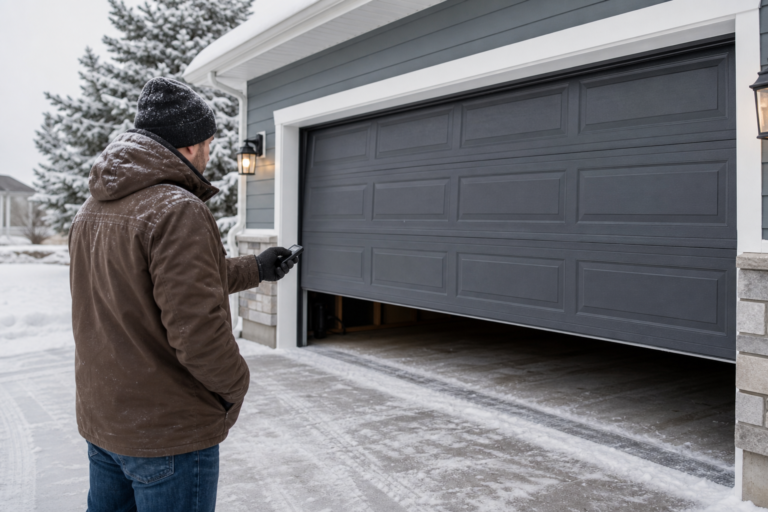
Dealing with a situation where garage door won’t open in cold weather is one of those garage frustrations that catches you off guard. Everything seemed fine until one day you notice something isn’t right. The reassuring truth is that these issues almost always trace back to identifiable causes with practical solutions.
This guide covers the most common culprits in diagnostic order, starting with the simplest checks. Most readers find their answer within the first few sections without needing a service call.
Understanding the Basics
Before diving into specific cold-weather problems, run a manual test. Pull the red emergency release cord hanging from the opener trolley to disconnect the motor. Lift the door by hand. It should move smoothly with moderate effort and stay put when you stop at the halfway point.
If it drops or feels unusually heavy, your springs are the problem. If it moves fine manually but won’t budge with the opener engaged, the issue is electrical or mechanical within the opener itself.
Lubrication is the cheapest, most effective maintenance. Apply white lithium grease or silicone-based lubricant to hinges, rollers (unless sealed nylon), spring coils, and track contact points every 6 months. Skip WD-40 for this, it’s a solvent that displaces moisture but doesn’t provide lasting lubrication.
Cold weather thickens petroleum-based lubricants into sludge, adding resistance that strains the motor and slows door travel. If you lubricated in fall with a heavy grease, it might be gummed up now. Wipe off the old gunk with a rag and reapply a cold-rated silicone spray.
Safety sensors mount about 6 inches above floor level on both sides of the door opening. They send an infrared beam across the gap. If anything blocks or misaligns that beam, the door won’t close. For detailed guidance on proper sensor alignment, check out our garage door safety sensor alignment guide.
Sensor issues are the number-one cause of “door won’t close” complaints and are almost always a quick fix. In cold weather, frost buildup on the sensor lenses or slight track shifts from freezing ground movement can knock them out of alignment. Wipe the lenses clean with a dry cloth and check that the LED indicators on both units are lit and steady, not blinking.
Contracted Metal Tracks
Metal contracts when temperatures drop. A garage door track that fit fine in summer can pinch inward by a fraction of an inch in sub-freezing weather, creating friction points that bind the rollers. You’ll hear scraping or grinding as the door moves, or it might stop partway and reverse.
Check for visible gaps between rollers and track walls. If the door runs smoothly by hand when disconnected from the opener but struggles under power, the tracks have likely shifted.
Tap gently on the track sides with a rubber mallet to nudge them back into alignment. Loosen the mounting brackets slightly, adjust the track position so there’s even clearance on both sides of the rollers, then retighten. Use a level to confirm the tracks are plumb vertically and parallel to each other.
A quarter-inch of misalignment at the top translates to significant binding force over the door’s full travel.
Thickened lubricant compounds the problem. Old grease turns into paste below 20°F, adding drag that makes minor track misalignment feel like a major obstruction. Clean the tracks completely with a degreaser and rag, then relube with a silicone or synthetic product rated for your local winter lows.
Read the product label, some garage door lubricants are only rated to 0°F and will stiffen below that.
Frozen Weatherstripping Stuck to the Floor
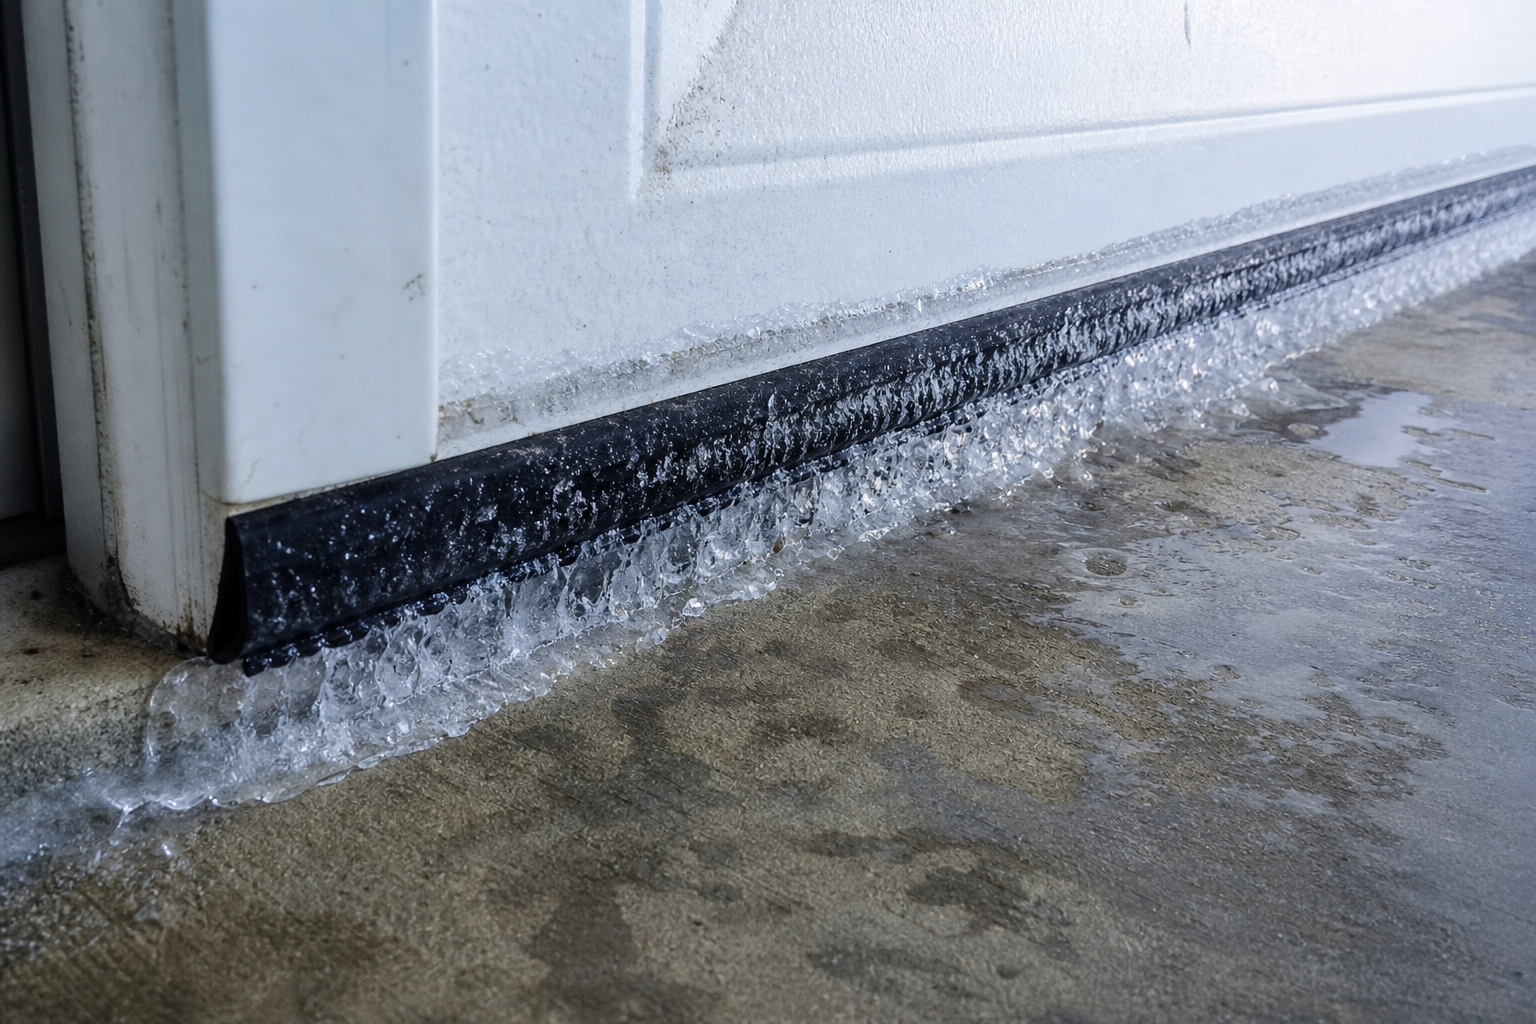
The rubber bottom seal on your garage door absorbs moisture from rain, snow, and humidity. When temps drop overnight, that moisture freezes the seal to the concrete floor. Hit the opener button in the morning and the motor strains against the ice bond, often triggering the auto-reverse safety or tripping a circuit breaker before the door budges.
If the door won’t open and you suspect ice, don’t keep hitting the button. Repeated attempts overheat the motor and can strip gears or burn out the capacitor. Instead, pour lukewarm (not boiling) water along the base of the door to melt the ice.
Use a heat gun on low setting if you have one, keeping it moving to avoid warping the seal. Once the door releases, open it fully and let the seal dry before closing again.
Prevent future freezing by treating the bottom seal with silicone spray after every cleaning. The coating sheds water instead of absorbing it. Some installers apply car wax to the seal, which works similarly.
Replace cracked or brittle weatherstripping entirely. Old rubber loses flexibility in the cold and tears when the door opens, creating gaps that let in drafts and pests even after you solve the freezing issue. For step-by-step instructions on replacing worn seals, see our garage door weather stripping replacement guide.
Check the concrete floor for low spots that pool water near the door. A puddle that sits under the seal will freeze solid every cold night. Fill depressions with hydraulic cement or a self-leveling floor compound. Improving drainage outside the door helps too. If meltwater runs toward the garage instead of away from it, you’re fighting a losing battle.
Weakened Springs in Low Temperatures
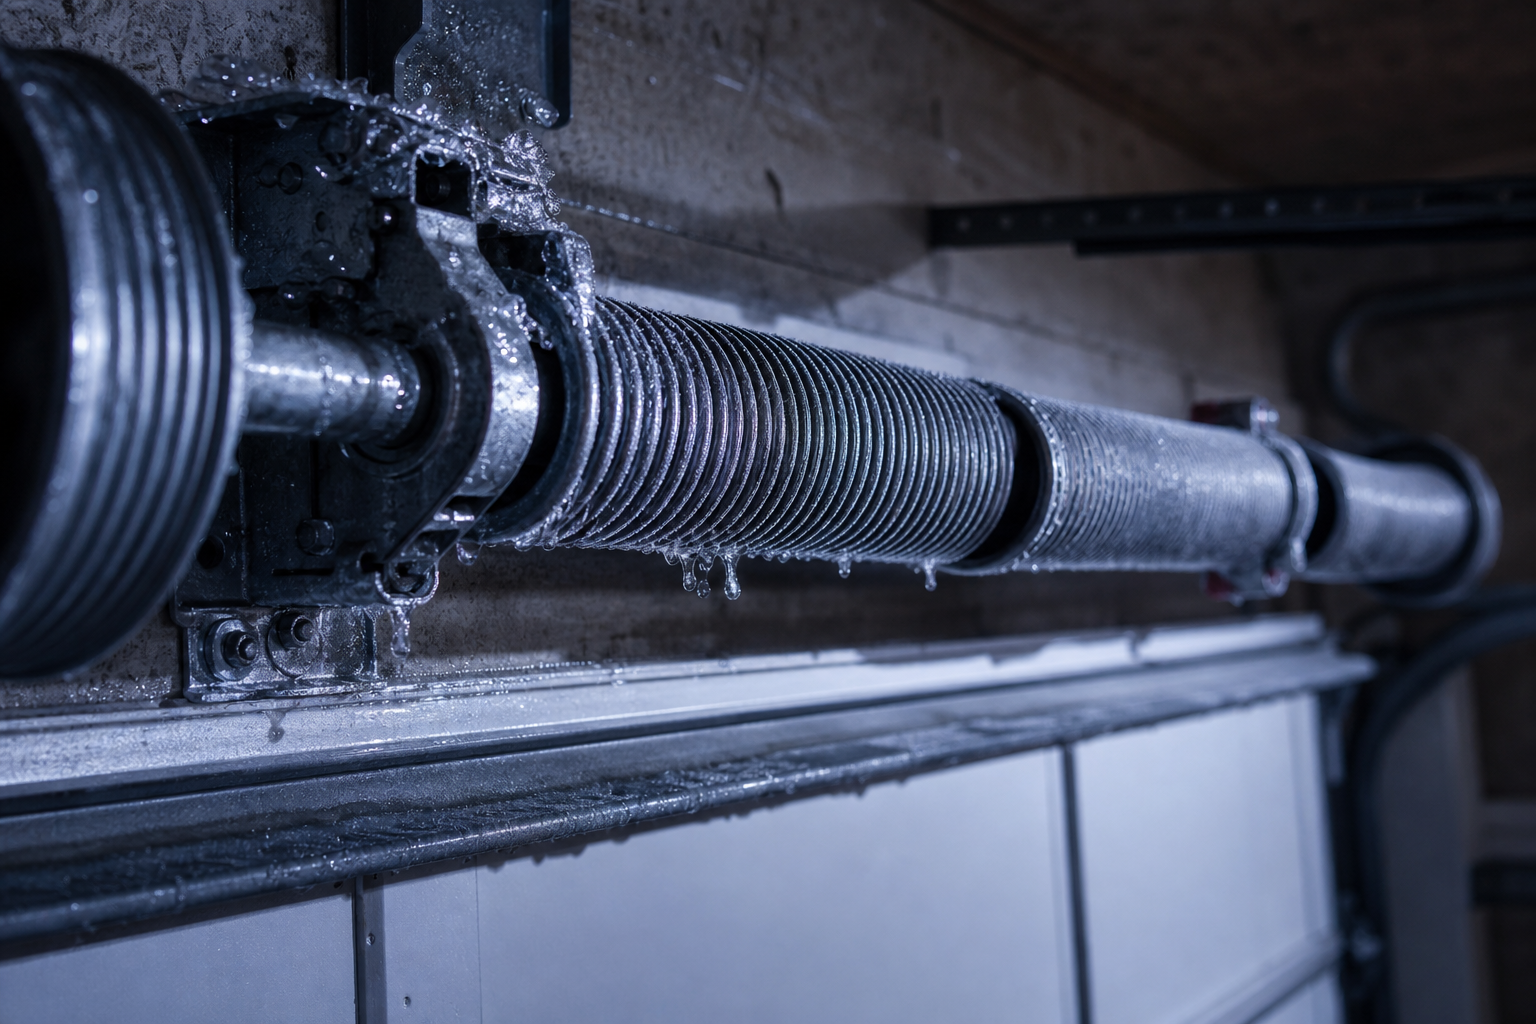
Garage door springs provide the lifting force that counterbalances the door’s weight. Torsion springs (the big coils mounted on the shaft above the door) and extension springs (the long springs running along the tracks) both lose tension when metal gets cold.
The door feels heavier, the opener motor struggles, and you might hear a slow grinding as it creeps upward instead of lifting smoothly.
This is physics. Metal contracts and stiffens at low temps, reducing the spring’s effective lifting power by 10 to 20 percent in extreme cold. If your springs were already nearing the end of their service life (typical lifespan is 10,000 to 20,000 cycles, or about 7 to 12 years), cold weather pushes them past the tipping point.
Test spring balance with the door disconnected from the opener. Lift it manually to the halfway point and let go. It should stay in place or drift slightly. If it drops quickly, the springs are weak.
You’ll also see visible gaps between coils on torsion springs that have lost tension, a tight spring has coils pressed together.
Replacing springs is not a DIY job unless you have specific training. Torsion springs hold hundreds of pounds of stored energy under tension. A slipped winding bar can break bones or worse. Extension springs under load can snap and whip across the garage.
Call a professional for spring replacement. Some techs offer same-day service in winter because this is a common call.
If you’re waiting on a service appointment and need to get the car out, you can manually lift a door with weak springs, it just takes more effort. Get help from another person for a two-car door. Lift steadily and don’t let go until the door is fully open and resting against the stops.
Opener Motor Strain and Limit Settings
Garage door openers are rated by horsepower: 1/2 HP for single doors, 3/4 HP for standard two-car doors, 1 HP or higher for heavy insulated or oversized doors. For help determining the right size for your setup, check our comparison of 1.25 HP vs 1.5 HP garage door openers.
If your opener is undersized for the door weight, cold weather tips it over the edge. The door moves slower, the motor runs louder, and the unit may shut off mid-cycle to prevent overheating.
Check the motor housing for a reset button, usually red or black on the side or back of the unit. If the thermal overload tripped, press the button to reset and try again. If it trips repeatedly, the motor is working too hard. Causes include weak springs (see above), binding tracks, frozen seals, or a worn drive gear inside the opener.
Limit settings tell the opener how far to travel before stopping. If the down-limit is set too far, the door pushes hard into the floor at the end of travel, straining the motor. If the up-limit is set too short, the door doesn’t open fully and the motor keeps running, also straining.
For detailed instructions on adjusting these settings, see our guide on garage door opener travel limits adjustment.
Openers have adjustment dials or screws on the back or side of the motor unit, labeled “up” and “down” or with directional arrows. Small turns (quarter-turn increments) adjust the travel distance. Set the down-limit so the door rests on the floor without the motor continuing to push. Set the up-limit so the door opens fully and stops without the motor running on.
Cold weather affects these settings slightly because metal components contract, changing the door’s effective height by fractions of an inch. If your limit settings were dialed in tight during summer, they might be off now. Readjust if needed.
Hardened Rollers and Hinges
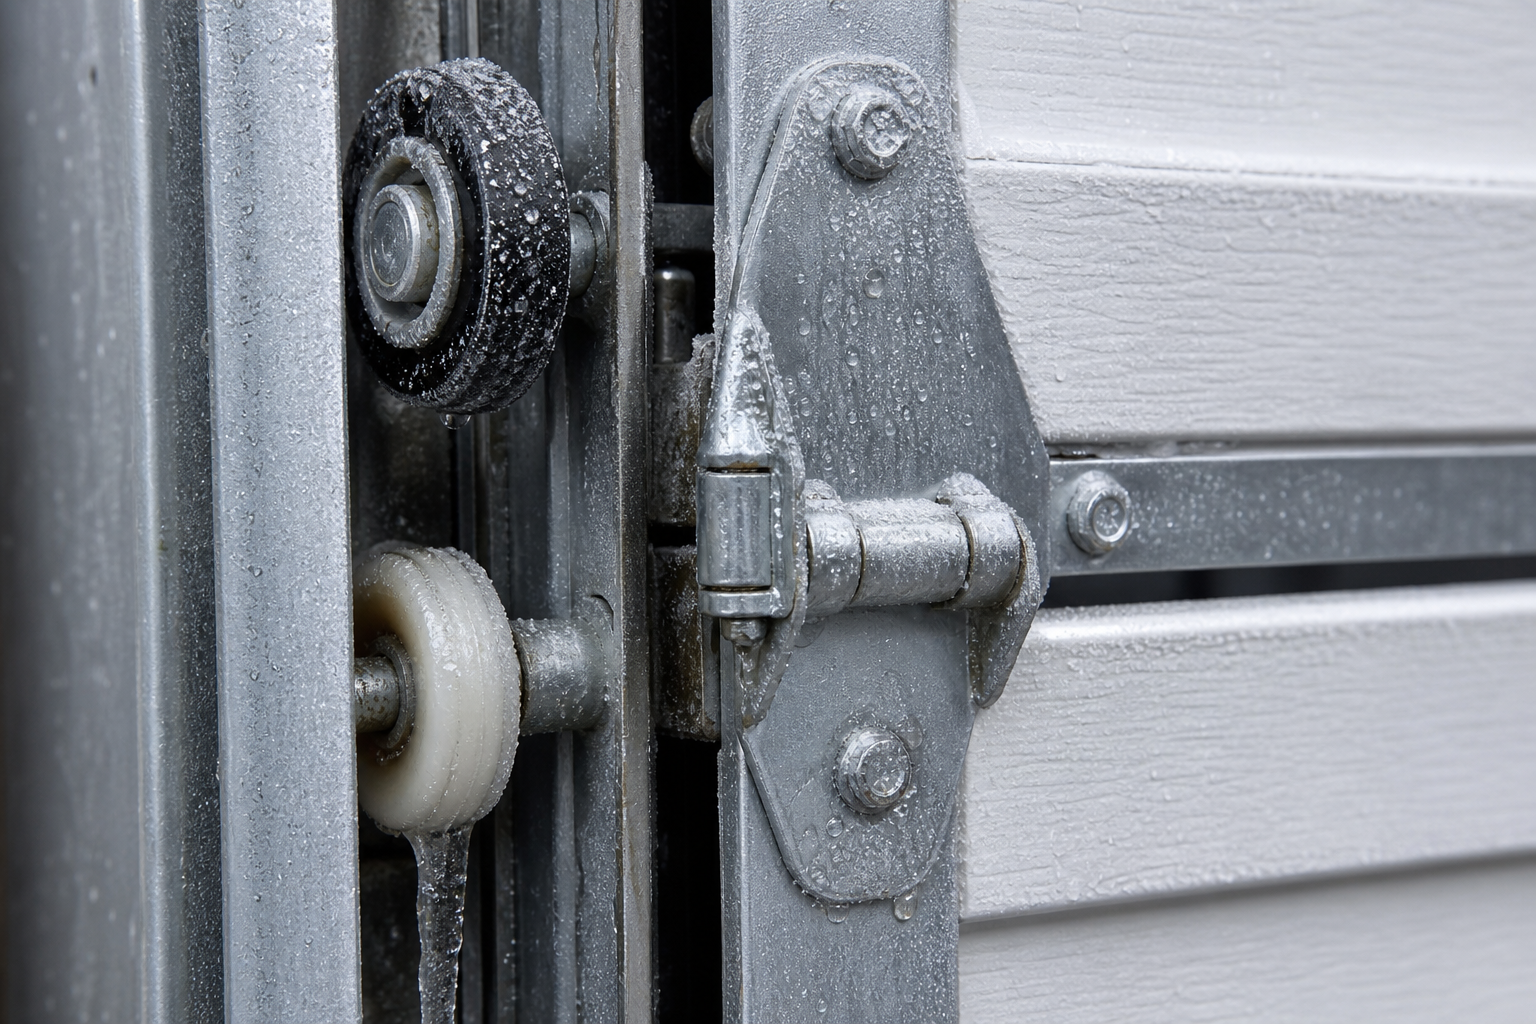
Garage door rollers are either steel ball-bearing, nylon, or sealed nylon. Steel rollers need regular lubrication. When cold weather thickens the grease or moisture freezes inside the bearing, they seize up and drag instead of rolling. You’ll hear squealing or grinding and the door jerks as it moves.
Remove each roller one at a time (never more than one, the door will shift), clean it with degreaser, and relube with cold-rated grease. If the bearing is rusted or pitted, replace the roller.
Steel rollers run about the cost of a fast-food meal each, while nylon rollers with sealed bearings cost more but don’t need lubrication and run quieter. Swapping to nylon is a common upgrade during a repair.
Hinges connect the door sections and allow them to articulate as the door curves along the track. Dry or dirty hinge pins bind in the cold, creating resistance that the opener struggles to overcome. Apply lubricant to every hinge pin and the roller shafts where they pass through the hinge plates.
Work the door by hand a few times to distribute the lube, then test with the opener.
Electrical Issues: Batteries, Wiring, and Remotes
Cold drains battery power. If you’re using a battery-powered wall button or keypad, weak batteries in winter might not send a strong enough signal to trigger the opener. Swap in fresh batteries and test. Remote controls in the car suffer too. Leave the remote indoors overnight instead of in a freezing vehicle, or keep a spare inside.
Wiring connections expand and contract with temperature changes, creating intermittent faults. Check the wire terminals on the wall button, safety sensors, and the opener motor unit. Look for corrosion (green or white buildup), loose screws, or frayed insulation.
Tighten terminals and clean contacts with electrical contact cleaner or a pencil eraser to remove oxidation.
Some older openers use a simple push-button wired to the motor with bell wire (two thin strands, usually white). These wires run through unheated spaces and can crack or short out in the cold. Run a new wire if you find damage. Use 18-gauge stranded copper, it’s more flexible and cold-resistant than solid core.
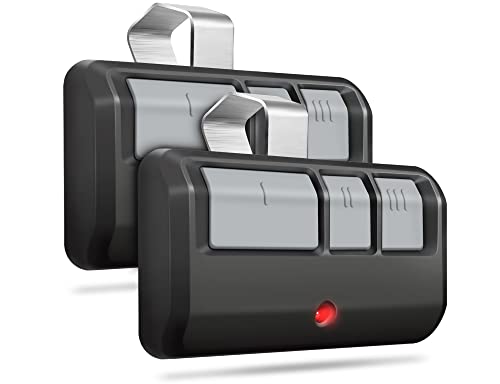
Garage Door Remote
A reliable replacement remote can solve many cold-weather connectivity issues
Preventive Maintenance Steps for Winter
Winterize before the first freeze to avoid most of these problems. Run through this checklist in late fall:
Lubricate all moving parts with a cold-rated product. White lithium grease works to about 0°F. Synthetic or silicone sprays handle lower temps. Hit the hinges, roller shafts, spring coils, track contact points, and the opener’s drive chain or belt if accessible.
Test the auto-reverse safety. Place a 2×4 flat on the floor under the door and close it. The door should reverse immediately when it contacts the board. If it crushes the board or reverses slowly, adjust the force settings on the opener. For detailed instructions, see our guide on garage door opener force settings adjustment.
Inspect weatherstripping around the door and the frame. Replace brittle or torn seals before they fail completely in freezing weather. Run a bead of exterior-grade caulk along gaps between the door frame and the wall to block drafts.
Check the balance and spring tension manually. A balanced door holds position at any point when lifted by hand. If it drifts or slams, schedule a spring adjustment before cold weather worsens the problem.
Tighten all hardware. Vibration from daily use loosens bolts and screws over months. Walk around the door with a socket set and screwdriver, snugging down track brackets, hinge bolts, and roller shafts. Don’t overtighten, just firm.
Clean the tracks with a rag and degreaser to remove built-up grime. Dirt mixed with cold-thickened lubricant creates a paste that binds rollers.

Garage Door Lubricant
A cold-rated silicone spray is essential for winter maintenance
Additional Cold-Weather Symptoms and Fixes
Frost on the inside of the door panels or around the frame indicates poor insulation and air leaks. Cold air infiltrating the garage drops the temperature of all components, worsening every issue covered above. Adding an insulation kit to the door and sealing frame gaps improves both comfort and door performance.
An insulated door also reduces strain on the opener because insulation adds rigidity and reduces flexing.
If the door opens fine but won’t close, the safety sensors are almost always the culprit. Frost on the lenses, a shifted sensor bracket, or sunlight hitting the sensor at a low winter angle all prevent the infrared beam from completing. Wipe the lenses, realign the brackets so the LED indicators are solid, and shade the sensors if direct sun is the issue.
Doors that close partway and reverse usually have a down-force setting that’s too sensitive or a down-limit that’s adjusted wrong. The opener thinks it hit an obstruction and reverses to prevent damage. For more troubleshooting tips on this specific issue, see our article on garage doors that stop halfway.
Increase the down-force slightly (small adjustments, test after each change) and verify the down-limit stops the door flush with the floor.
Grinding or popping noises that appear only in cold weather often trace to the drive mechanism inside the opener. Belt-drive units have plastic or rubber belts that stiffen and slip when cold. Chain-drive openers have metal chains that contract and bind on the sprocket.
Lubricate the chain with garage door lubricant (not oil, which flings off). Belts don’t need lube but check for cracks or fraying. A worn
